To create and update employees and employee information by import, navigate to the "Operations" section in the Operations Portal.
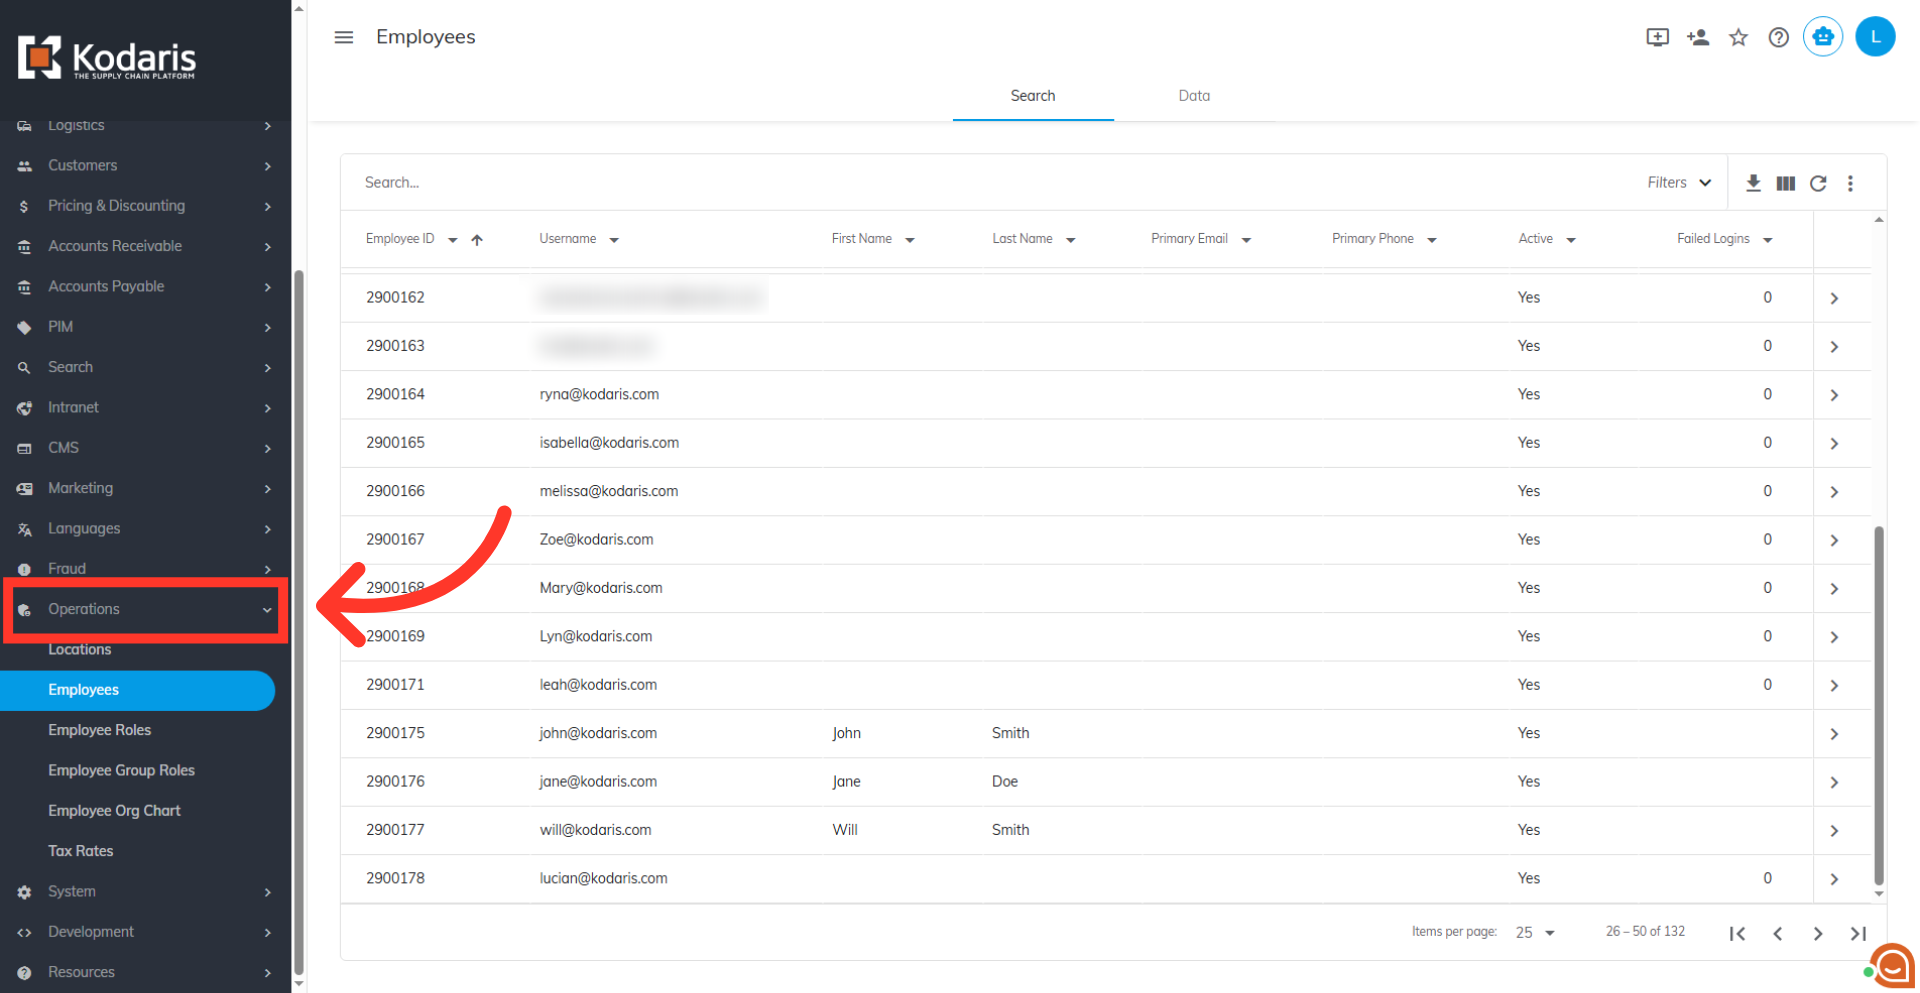
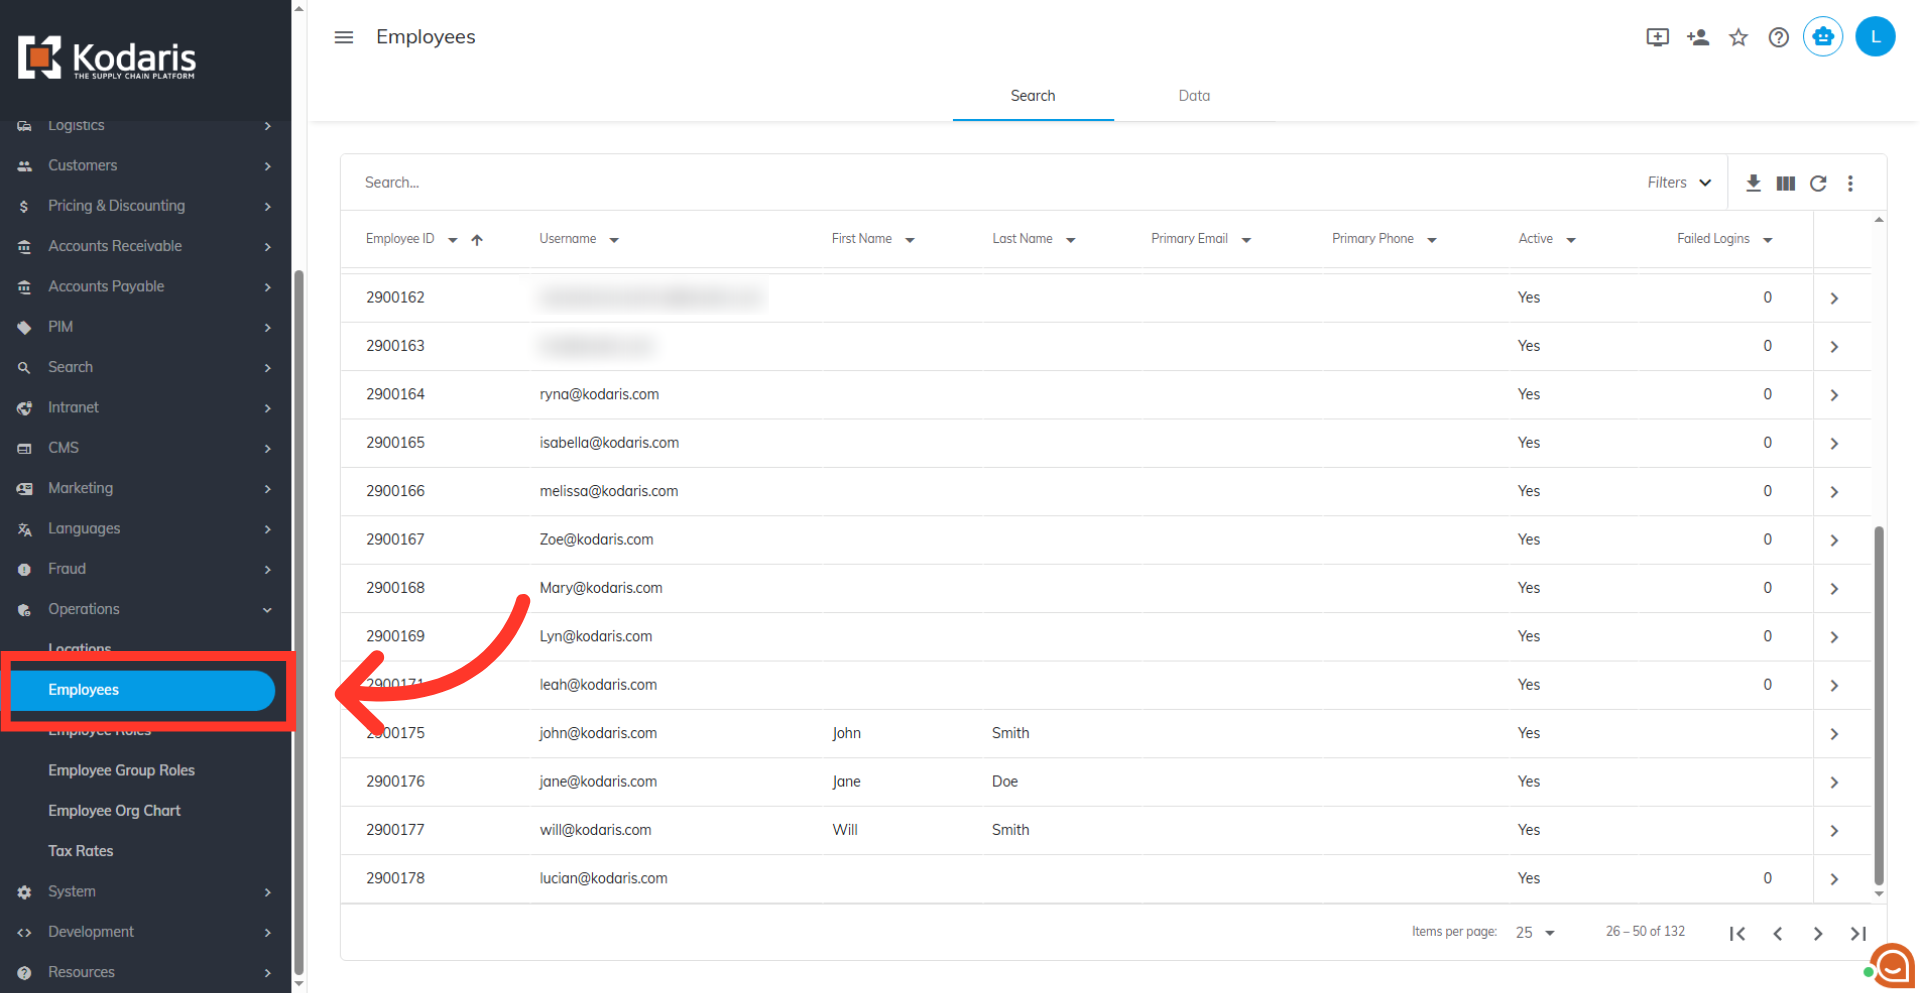
Then, click "Employees". In order to access and update "Employees" your account must be set up either as an "administrator" or a "superuser", or have the roles of "administratorView" and "administratorEdit," along with "importEdit" and "importView." These last two roles are needed for importing later on.
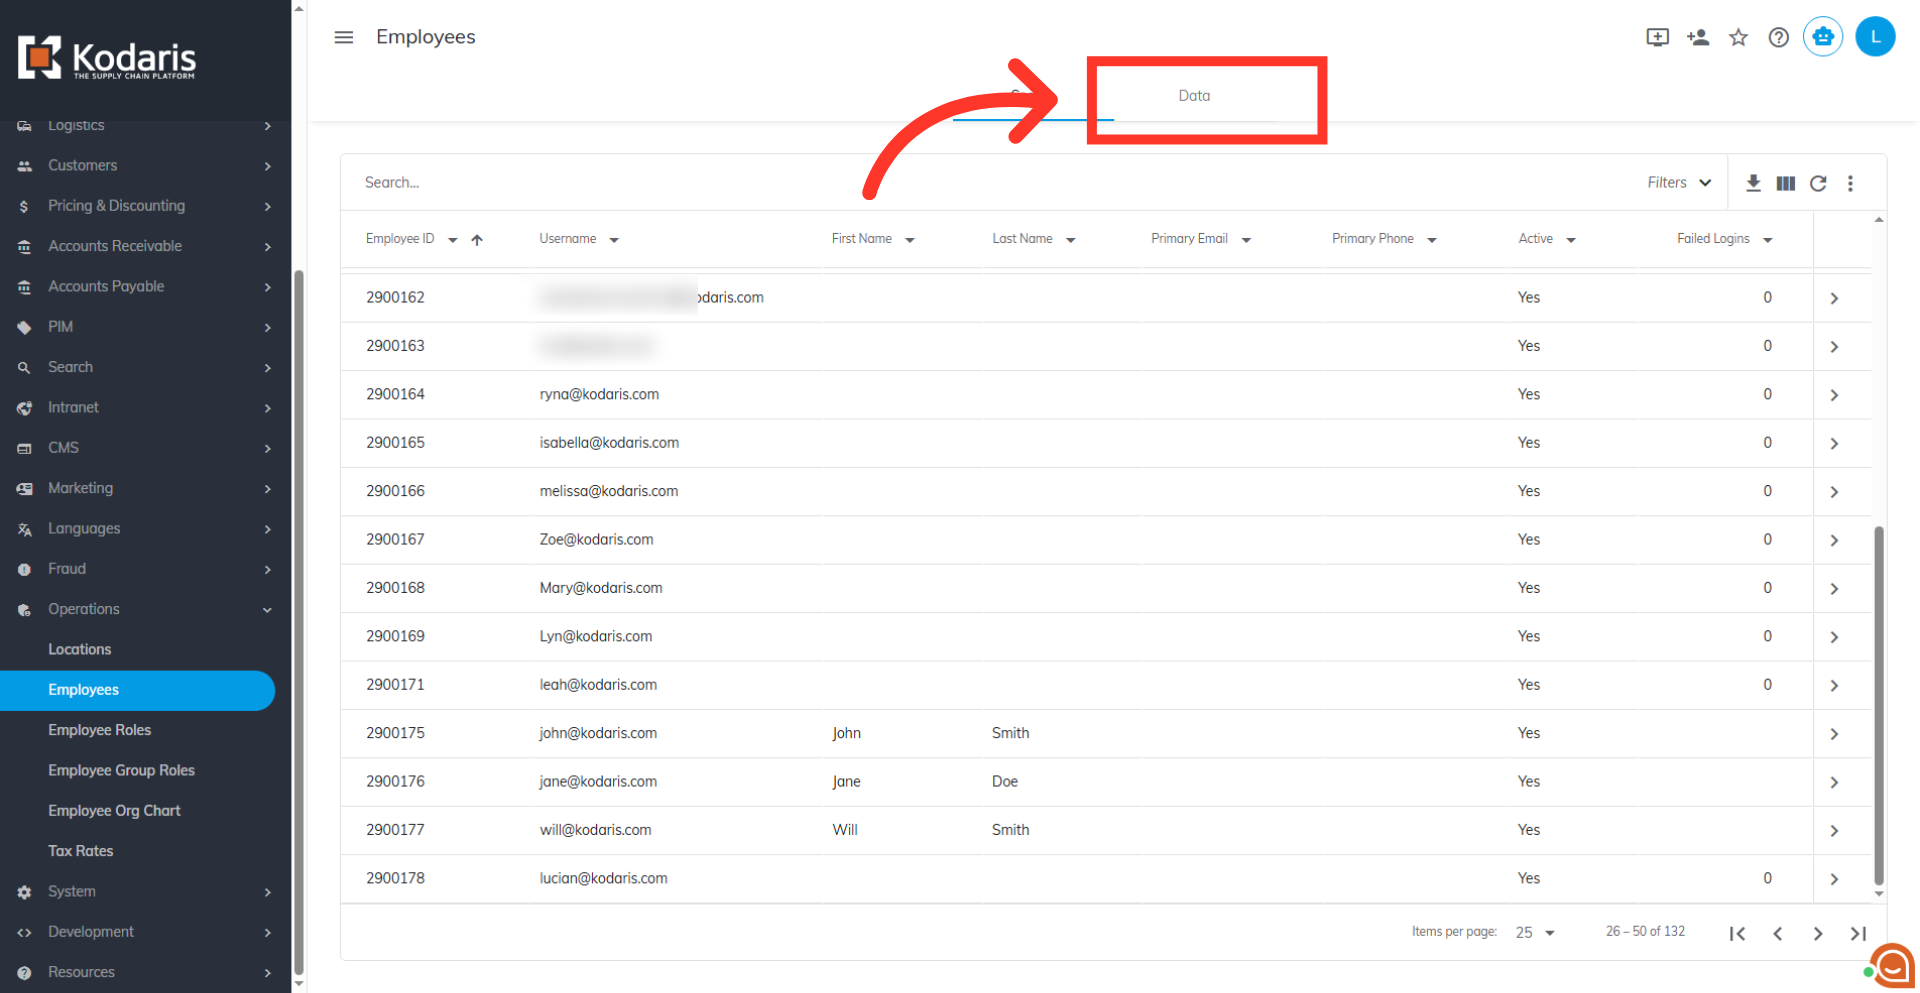
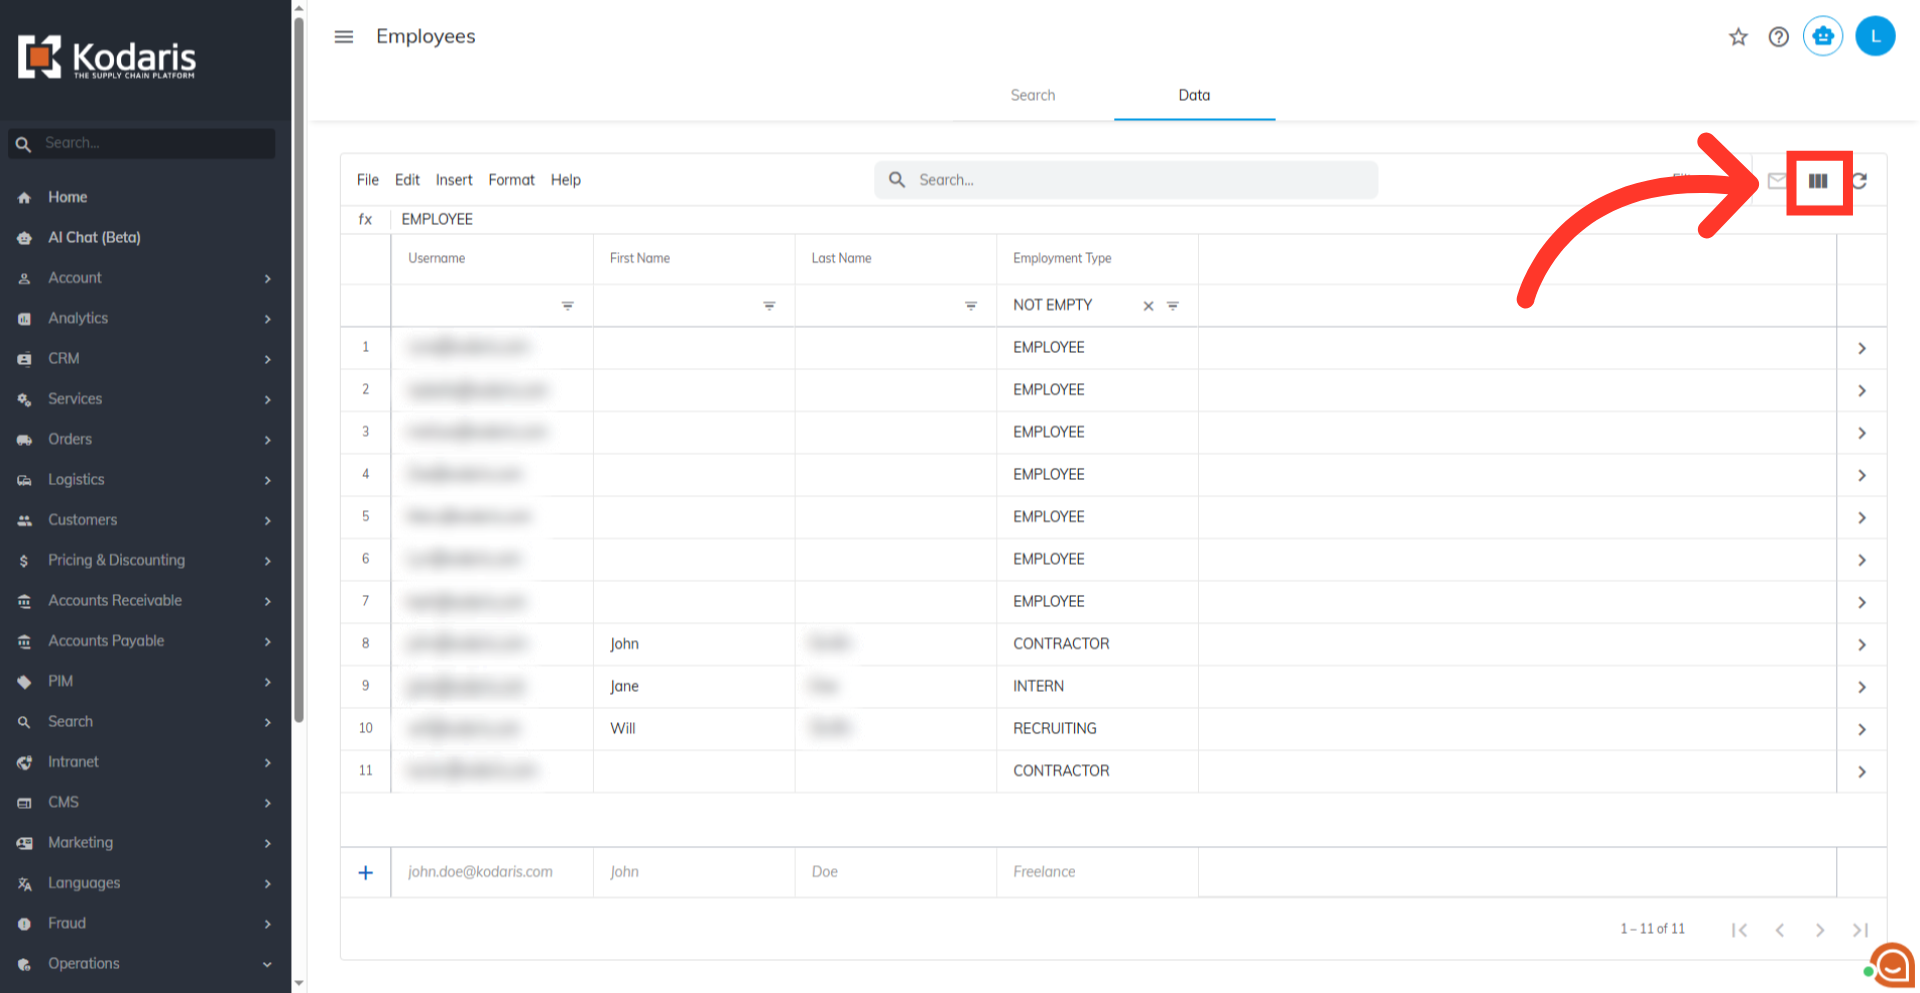
Go to the "Data" tab.
You can filter the information displayed in the grid. Click the "Show/Hide Columns" icon.
If you would like to export a file that can be used for importing employees, you will need the required "Username" column added to the grid. You can also include any other helpful columns if you would like, such as "First Name" and "Last Name". Uncheck any columns that are not needed to simplify the export file.

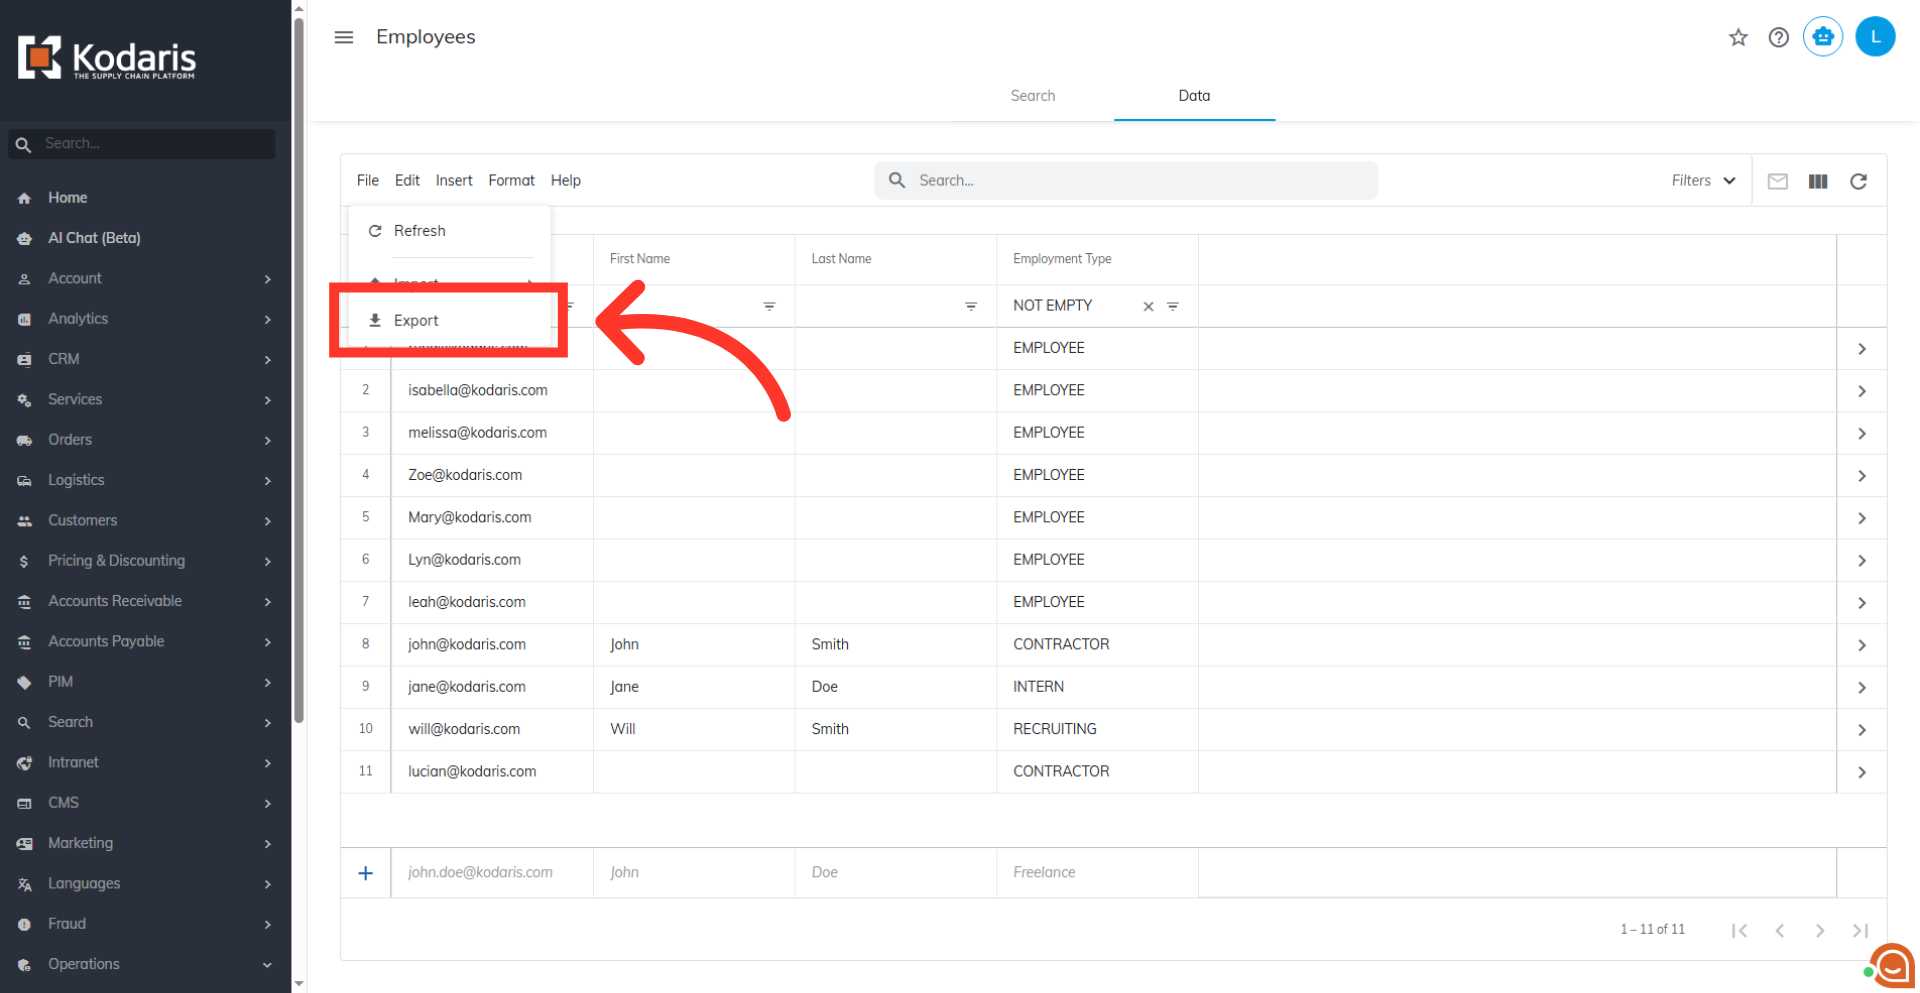
Now, click on the "File" menu.

Then, select"Export".
You can rename the export by clicking into the field and updating the name.

Then, click "Save" to save the file to your computer. If you are exporting a large amount of data, it may take a small amount of time to complete the export.

Here you can see an example export that includes the required column "Username" along with any other columns chosen. Any data included with the export will also be in the spreadsheet.
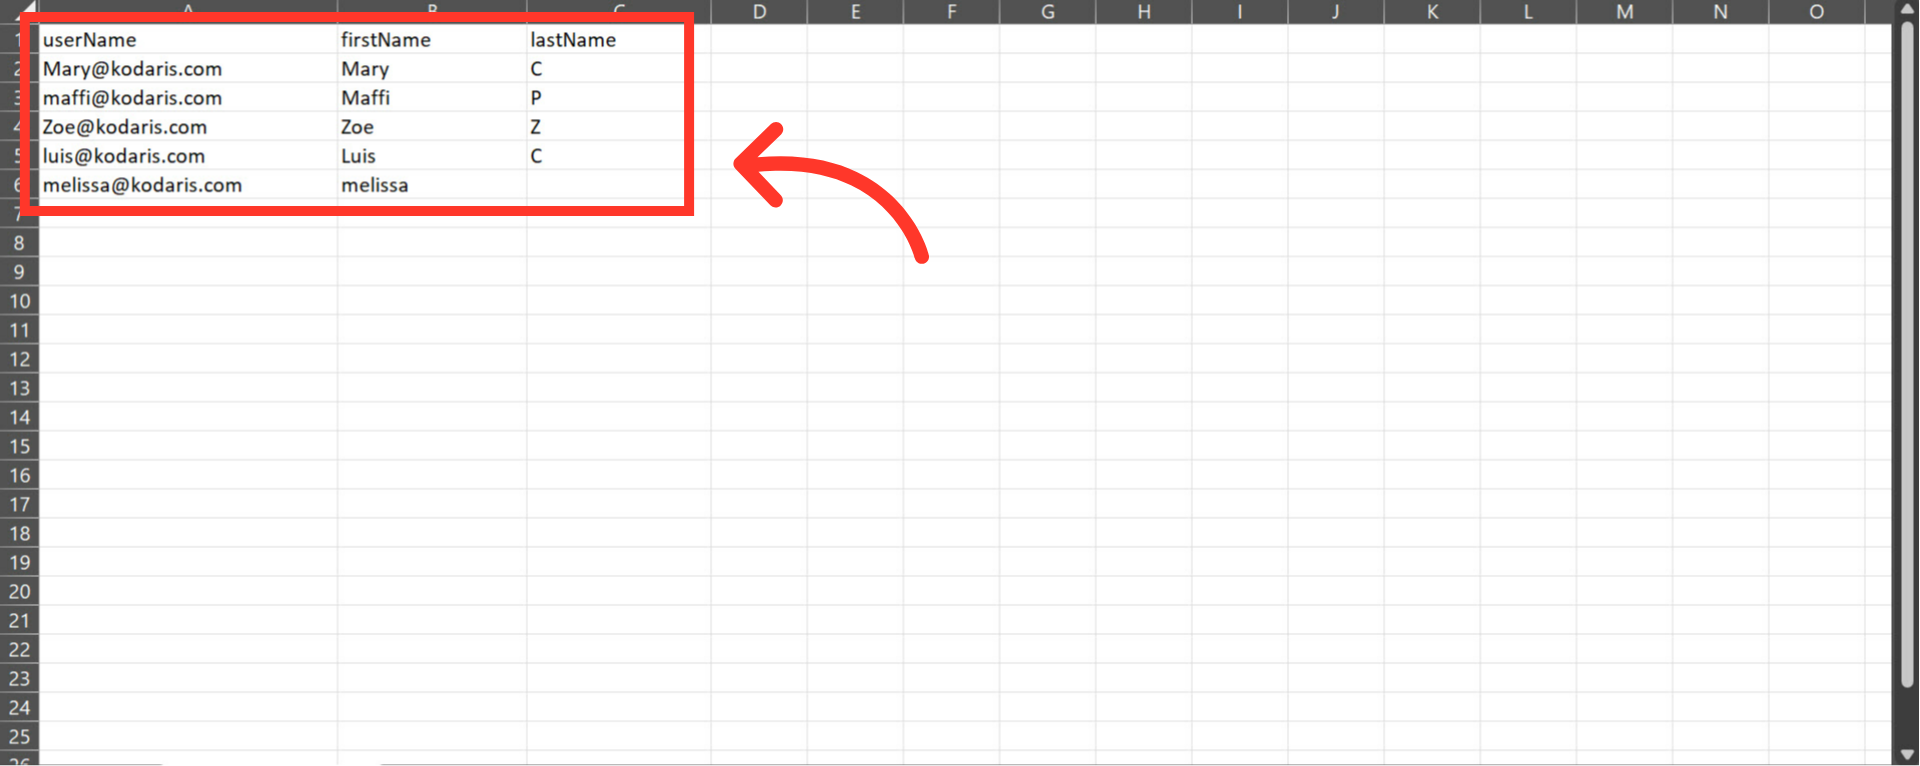
"userName" column contains the username of the employees. When importing new employees, make sure that the username is a valid email address since they'll use this to log in to their account.

"firstName" column contains employees’ first name.

"lastName" column contains employees' last names.

"roles" column contains the permissions of the employees. By default, this column is not available when exporting employees, so you need to add this column manually in the file. You can add as many roles you like, but for multiple roles you will need to separate each with a comma. If you are adding roles with this import, the roles will need to follow the text format that is used in the operations portal, an example is "companyAdmin".

After updating the needed changes in the export, save as a .CSV file. Ensure the spreadsheet contains only the data intended for the update. If a cell is empty when importing, the import will remove any existing data.

Now that your file is ready to import, go back to the "Data" tab of the"Employees" screen and click the "File" menu.

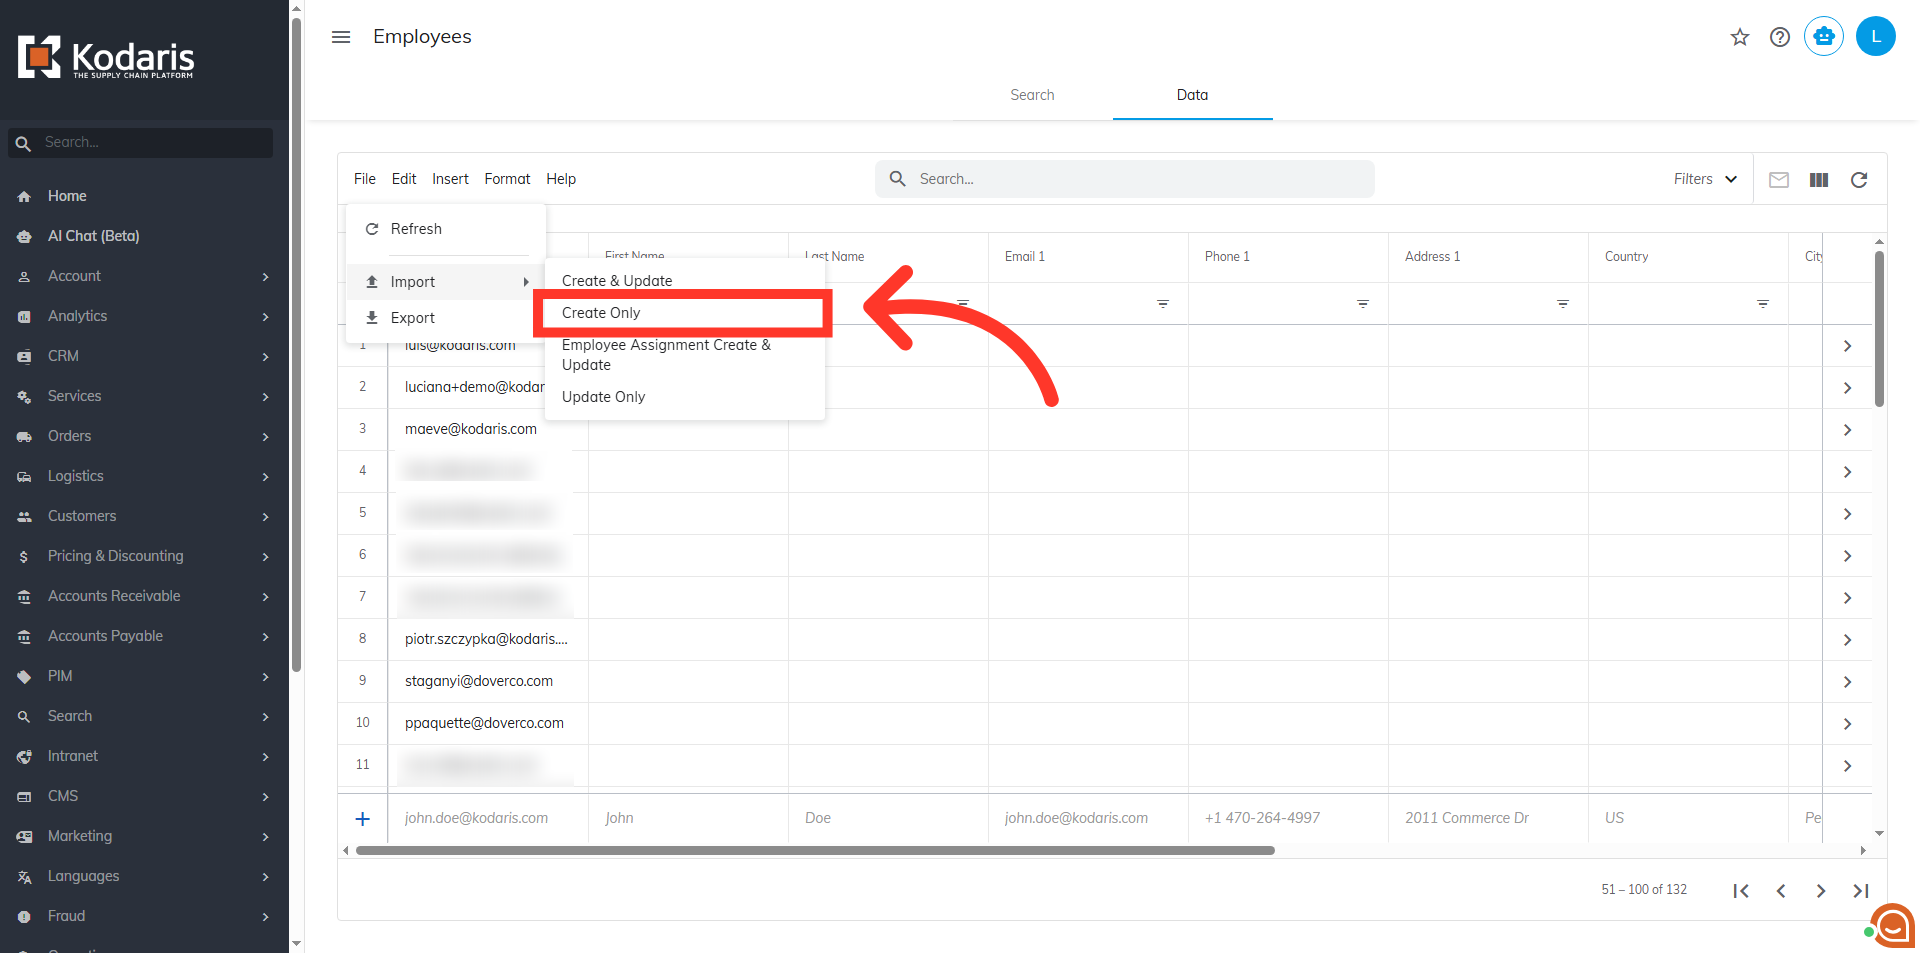
Now, select "Import".

Choose your preferred import option. "Create & Update" will create any new employee record included in the spreadsheet and also update existing with the data in your spreadsheet. "Create Only" will only create new employee record with the data in your spreadsheet. "Employee Assignment Create and Update" option allows you to bulk-assign employees to companies or modify existing assignments. "Update Only" will only update existing employee record with the data in your import. In this example, since we are creating new employee records, we will want to choose the "Create Only" option.
Choose the .CSV file you would like to import. Please be sure that you select the correct file, as there are no rollbacks for imports.
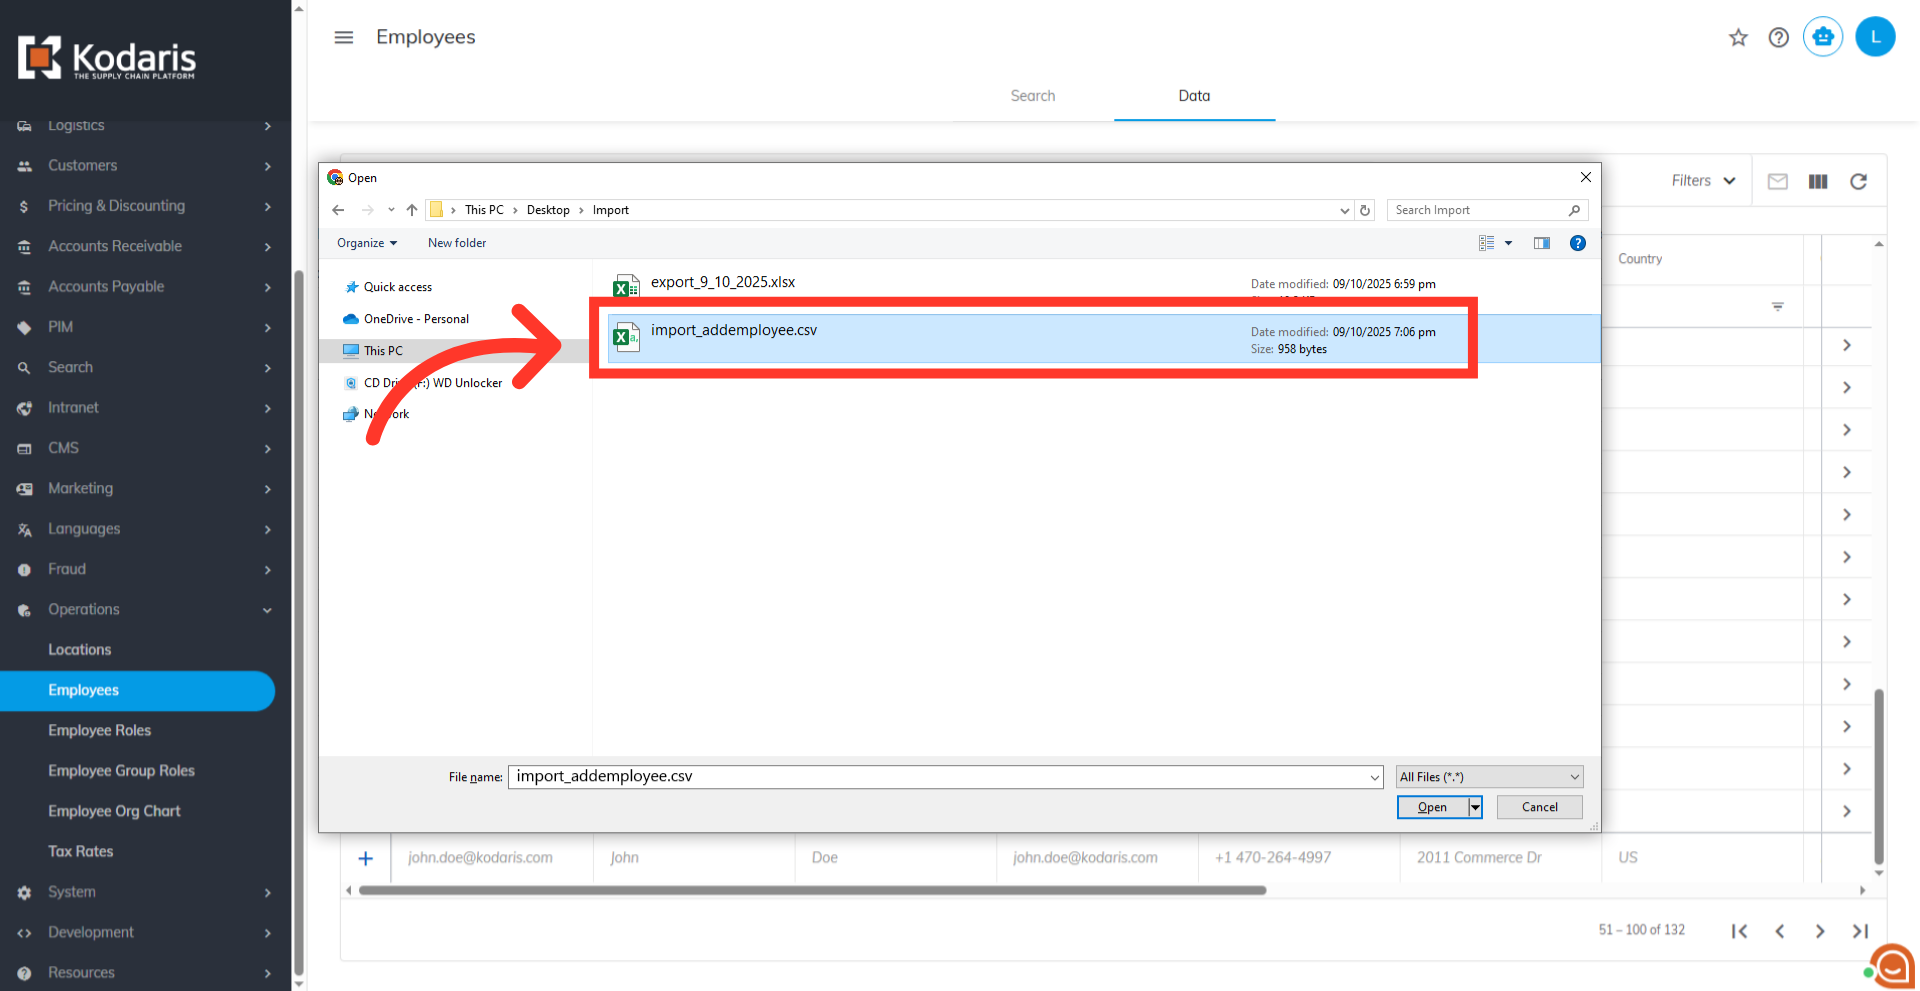
Click "Open". The import will run in the background. Allow a few minutes for the data to be imported, and note that larger imports may take longer.

An import message will appear letting you know that the import file is in process and to check back in a few minutes for the imported data. If you are importing large amounts of data, it may take a short amount of time to complete. The import will continue to run in the background.

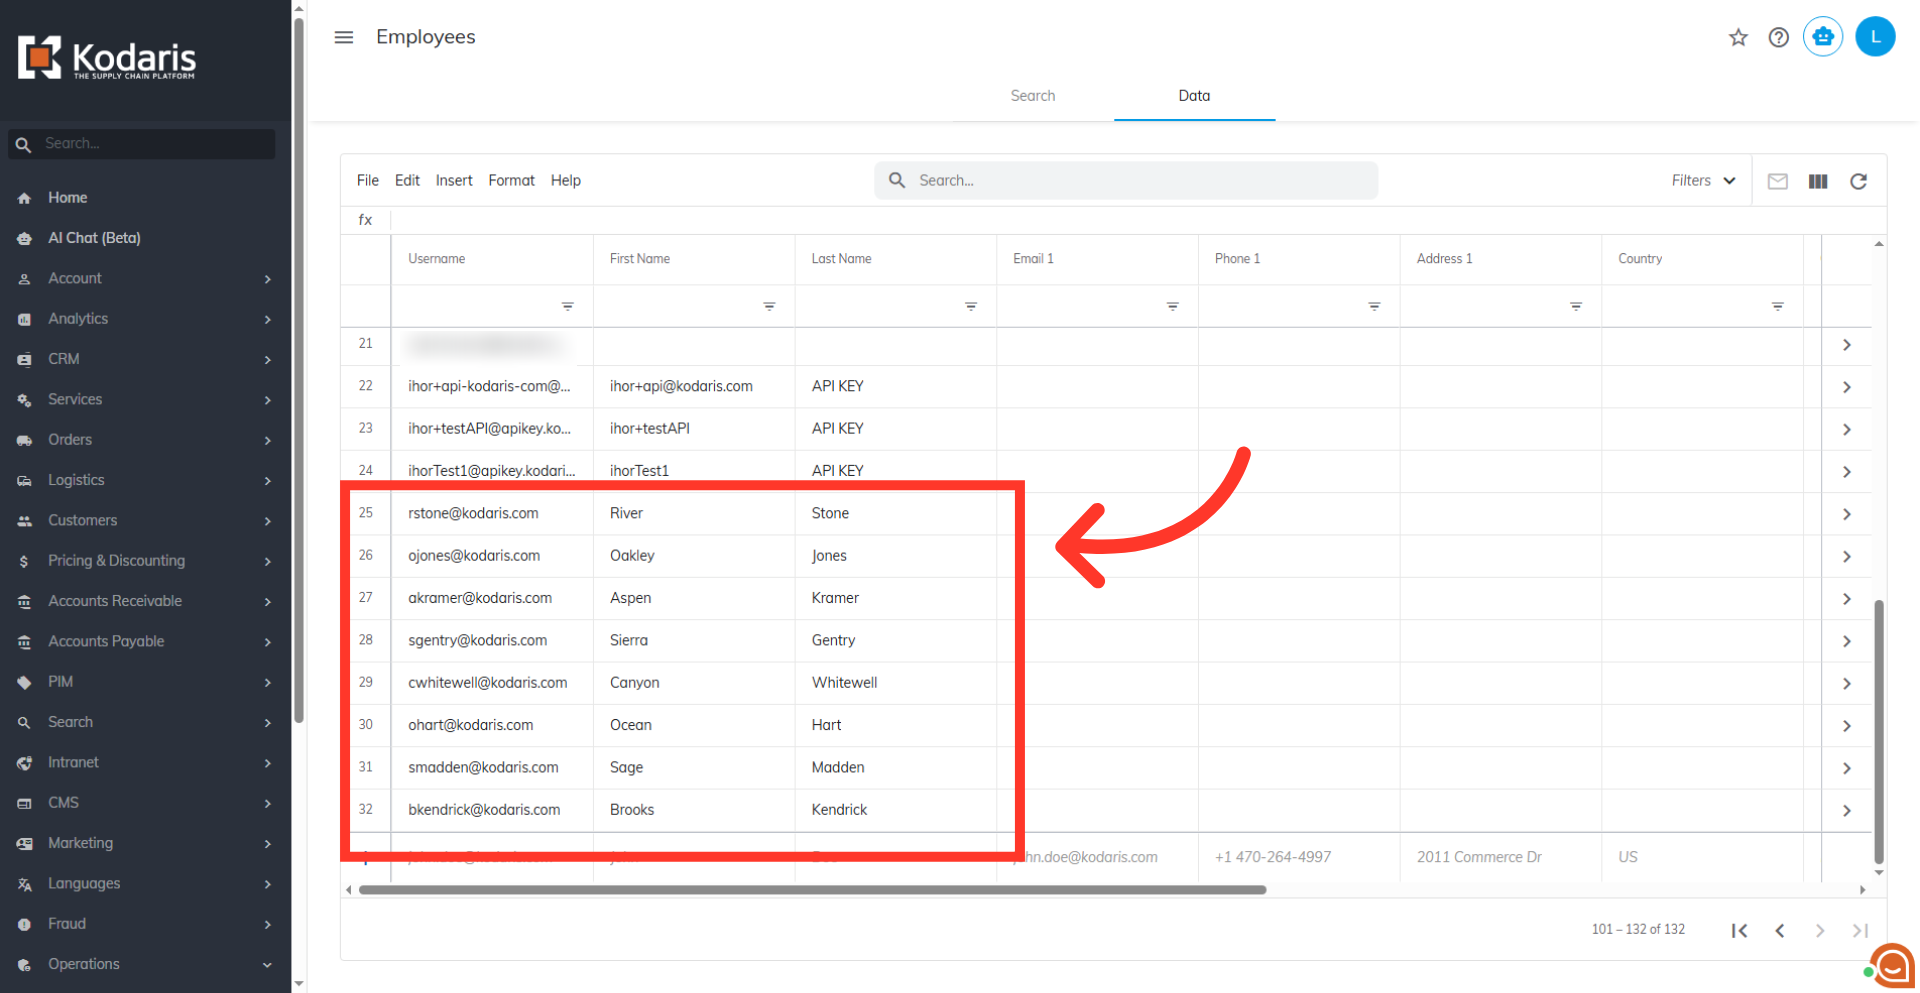
Once the import has finished, confirm the updates on the Employees screen.
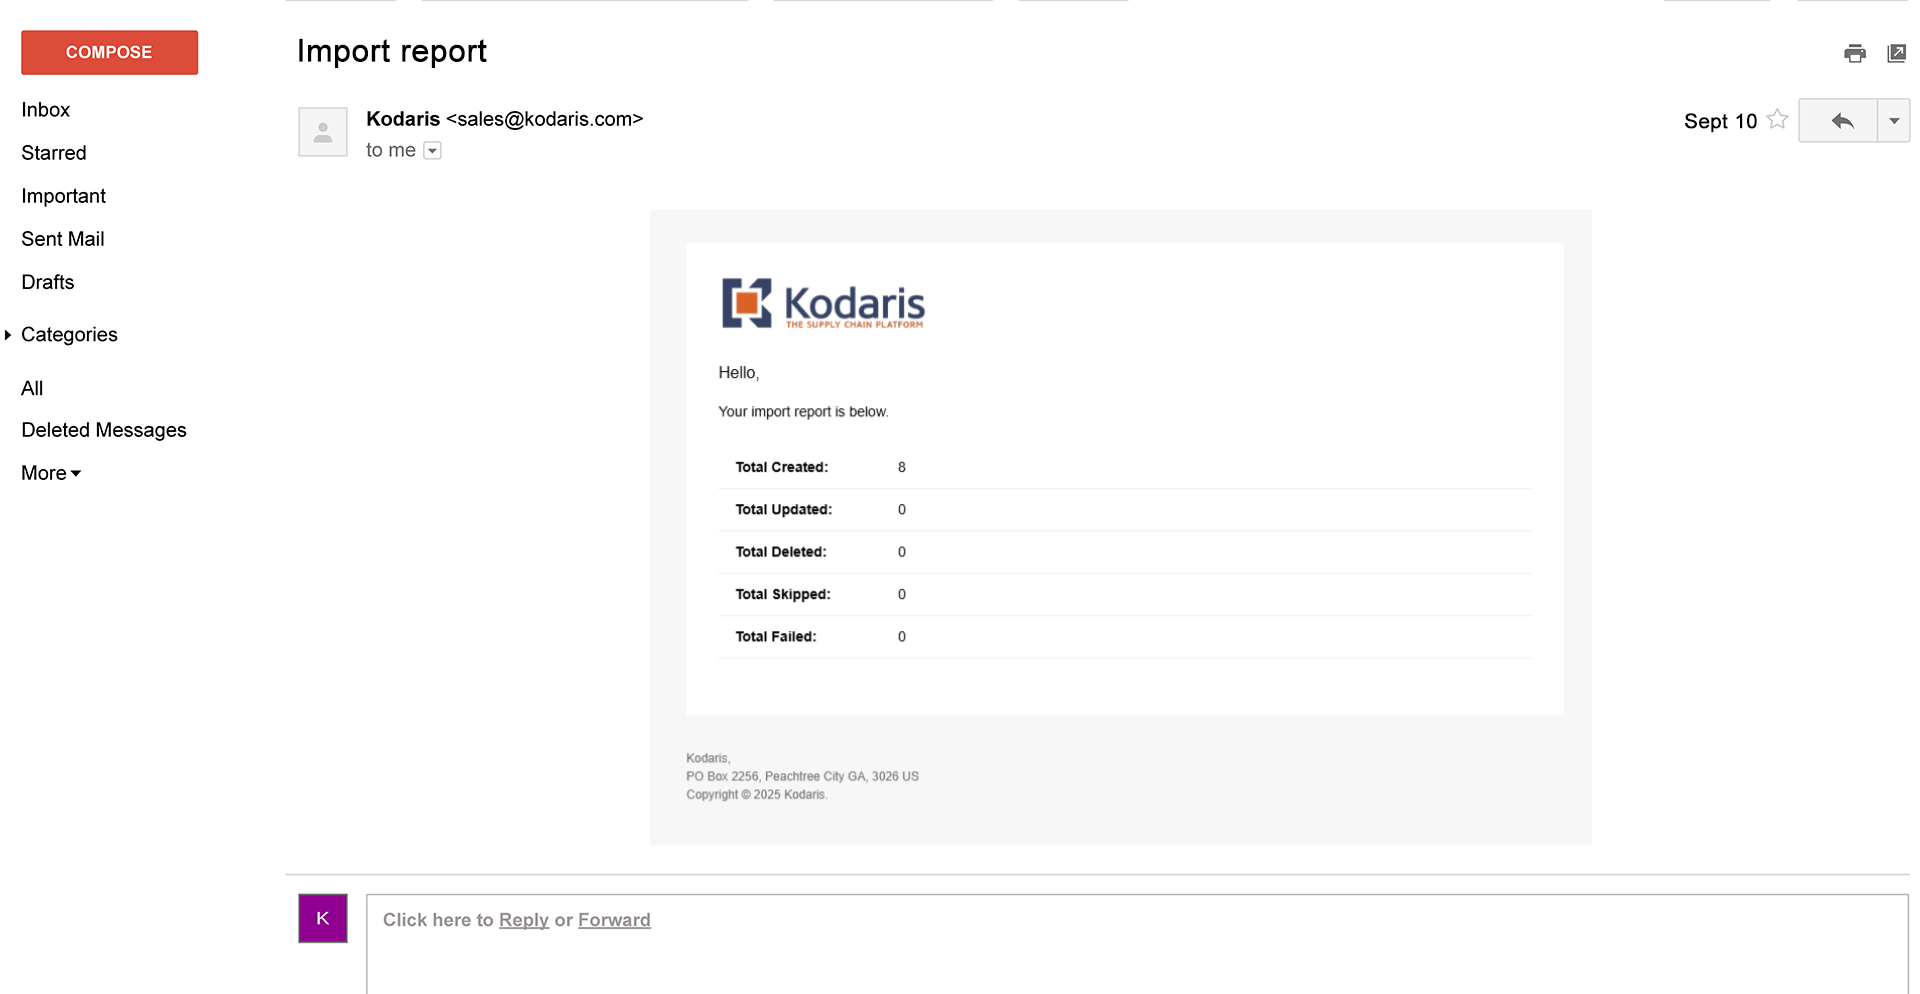
An email report will also be generated once the import is successful.