Ticket groups are useful for organizing, sorting, grouping, and managing tickets based on your specific projects and needs. In your operations portal, navigate to the "Systems" section.

Then, select the "Settings" to go to the "Settings" screen. In order to access "Settings" you will need to be set up either as an "administrator" or a "superuser", or have the appropriate roles: "settingEdit," and "settingView."
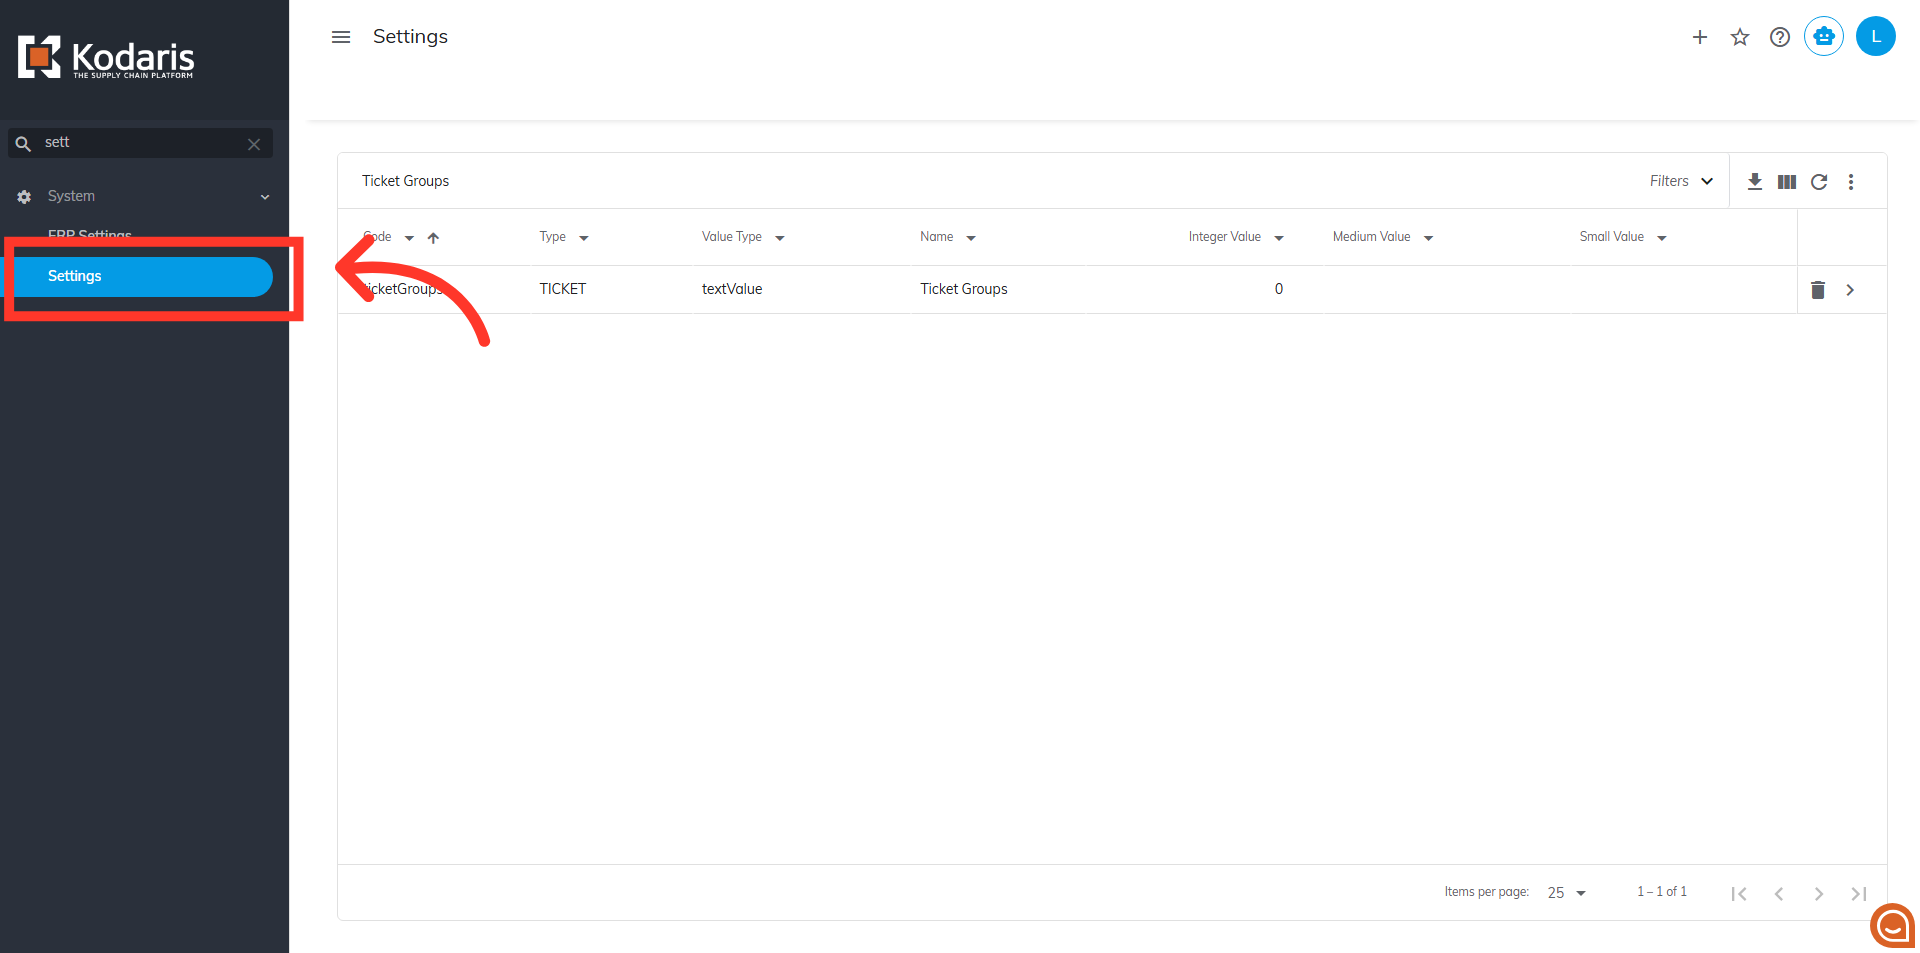
Then, on your “Search” tab, use the search bar or the column filters to narrow down your list and locate the "Ticket Groups" setting. Fill the search bar with "ticketGroups".

Then, click on the more details icon to access your setting details

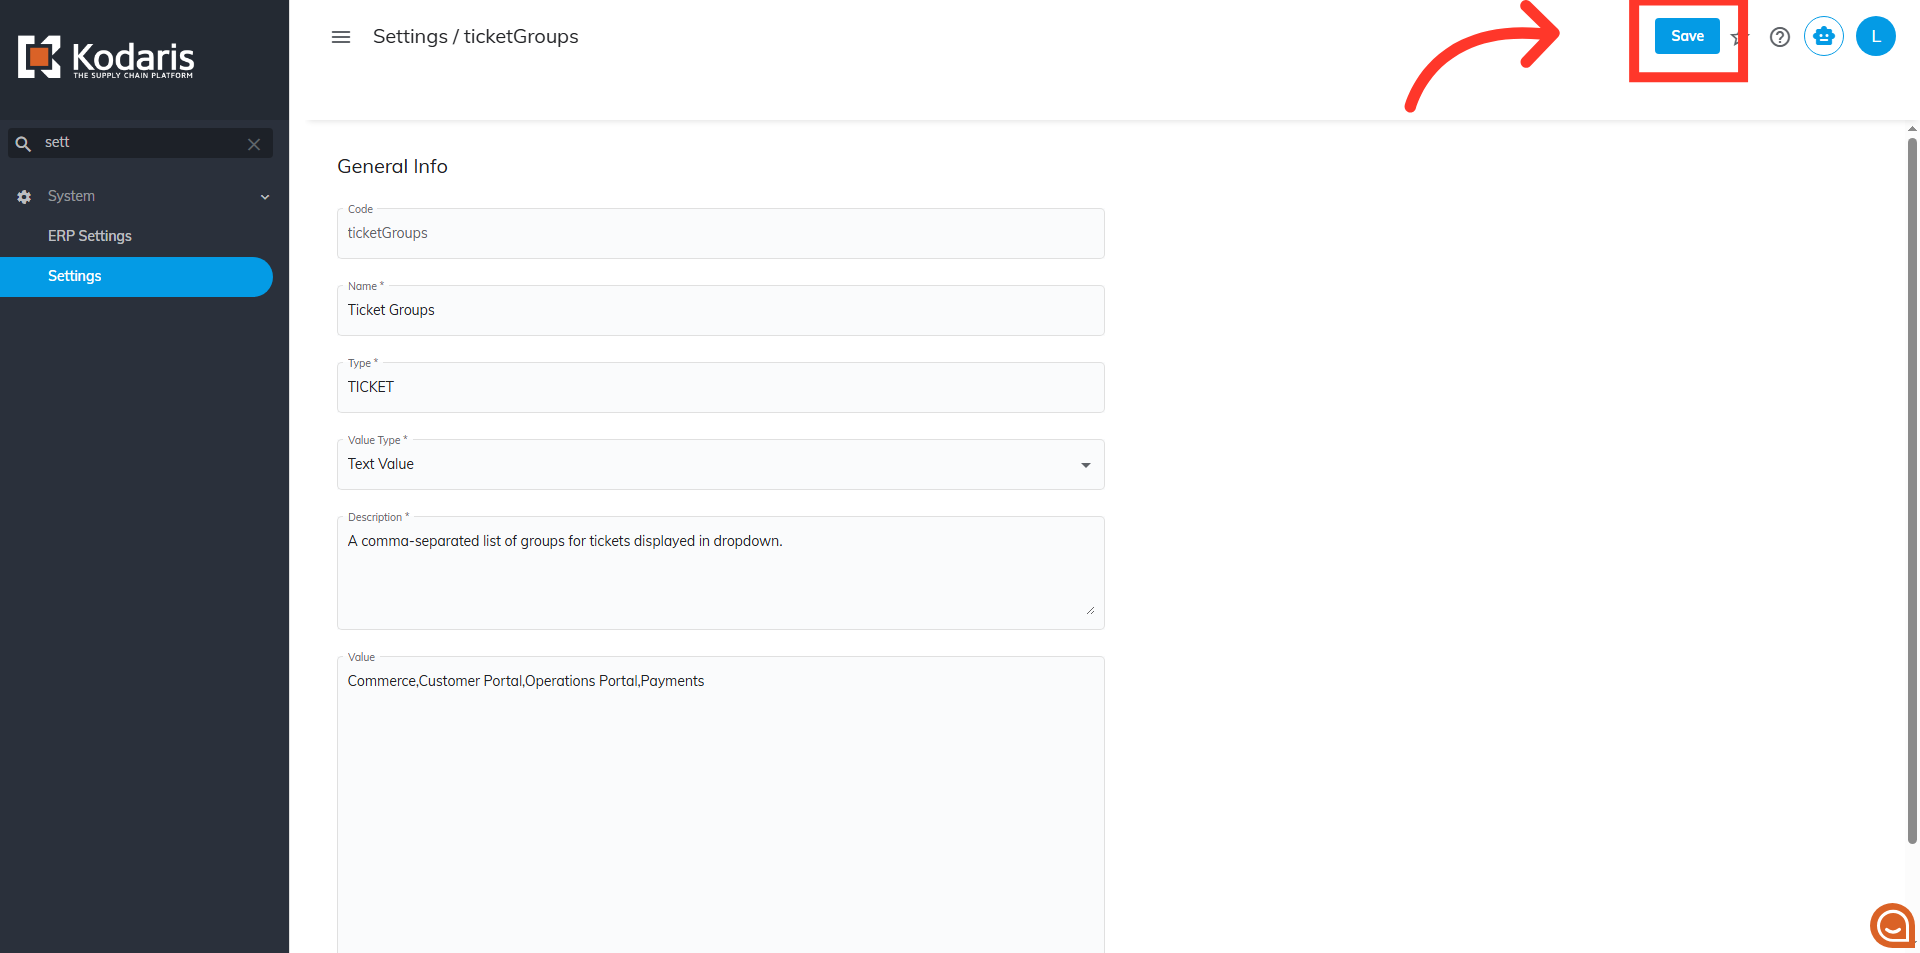
On the details page, enter a comma-separated list of values to define your ticket groups in the "Value" field. These values will be available on any ticket in your operations portal.

Then, click "Save" to apply your changes.
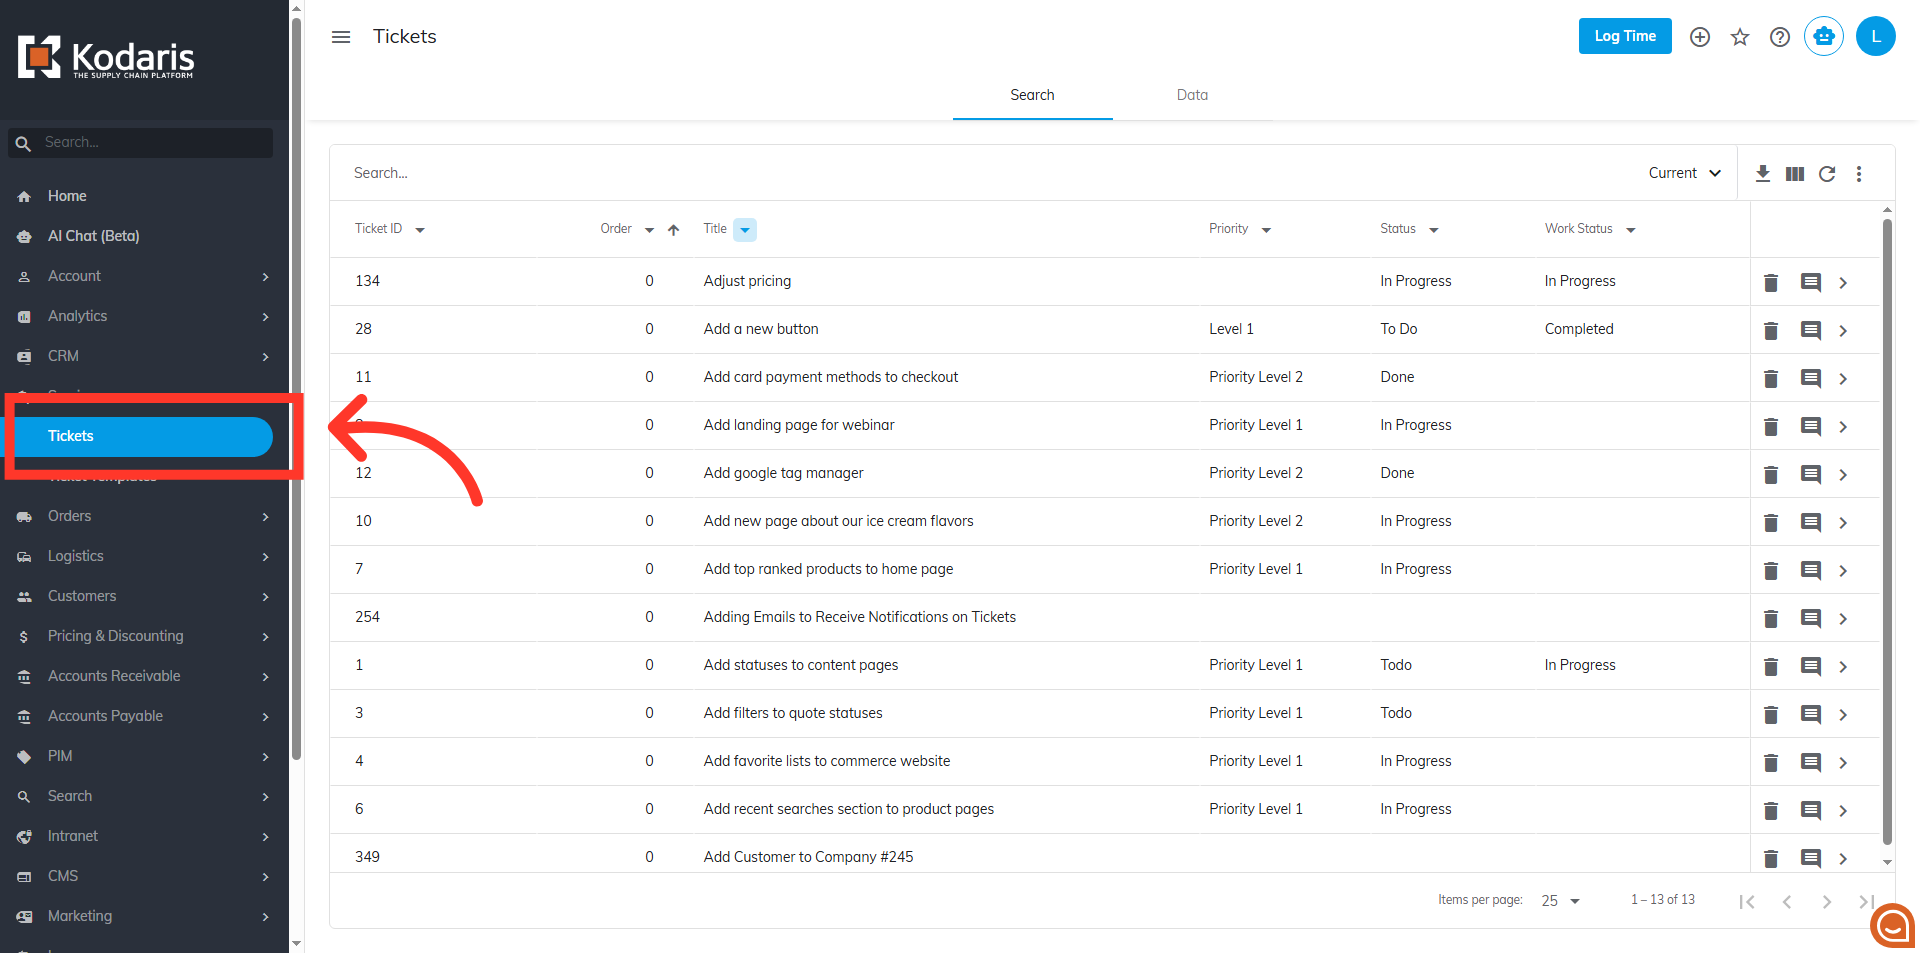
Once you have set up the options for your ticket groups, navigate to your "Services" section.
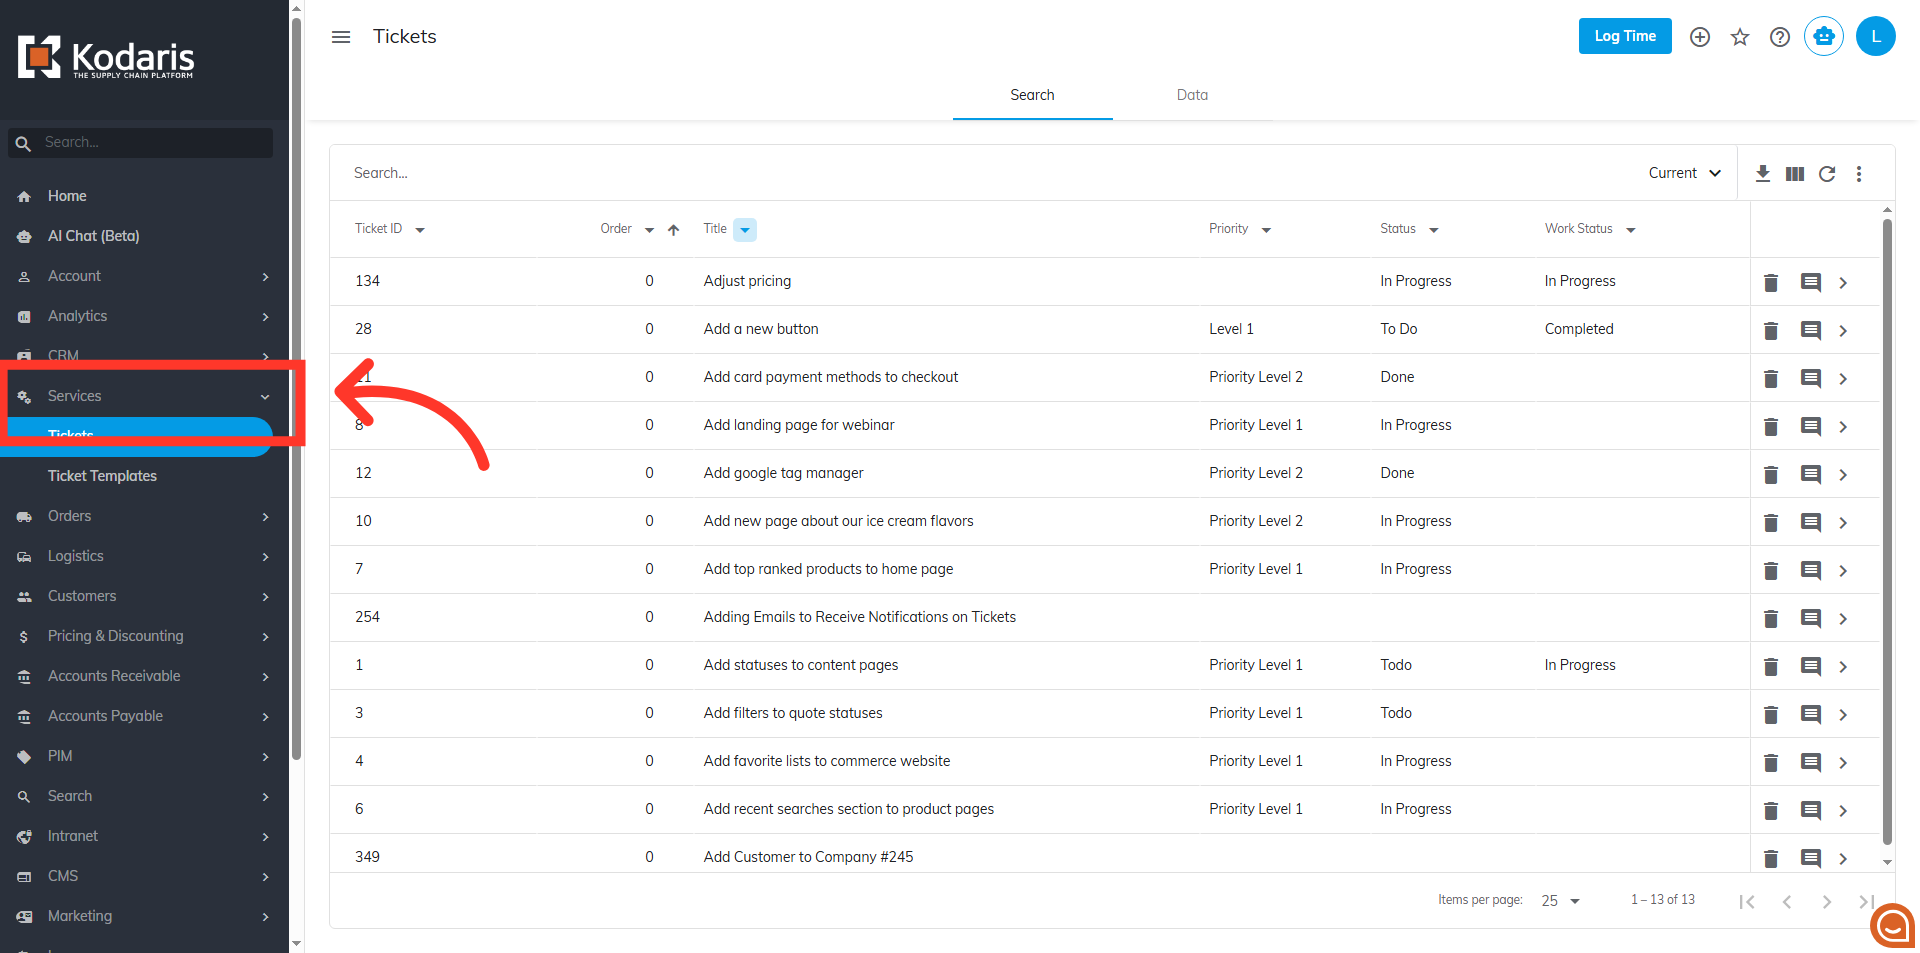
Click on "Tickets". In order to access and update "Tickets" your account must be set up either as an "administrator" or a "superuser," or have the roles of "ticketView," "ticketEdit," "ticketViewAssigned," and "ticketEditAssigned."
Use the search bar or column filters on the "Search" tab to find the ticket you want to check.

Click on the more details icon to access your ticket’s details screen.

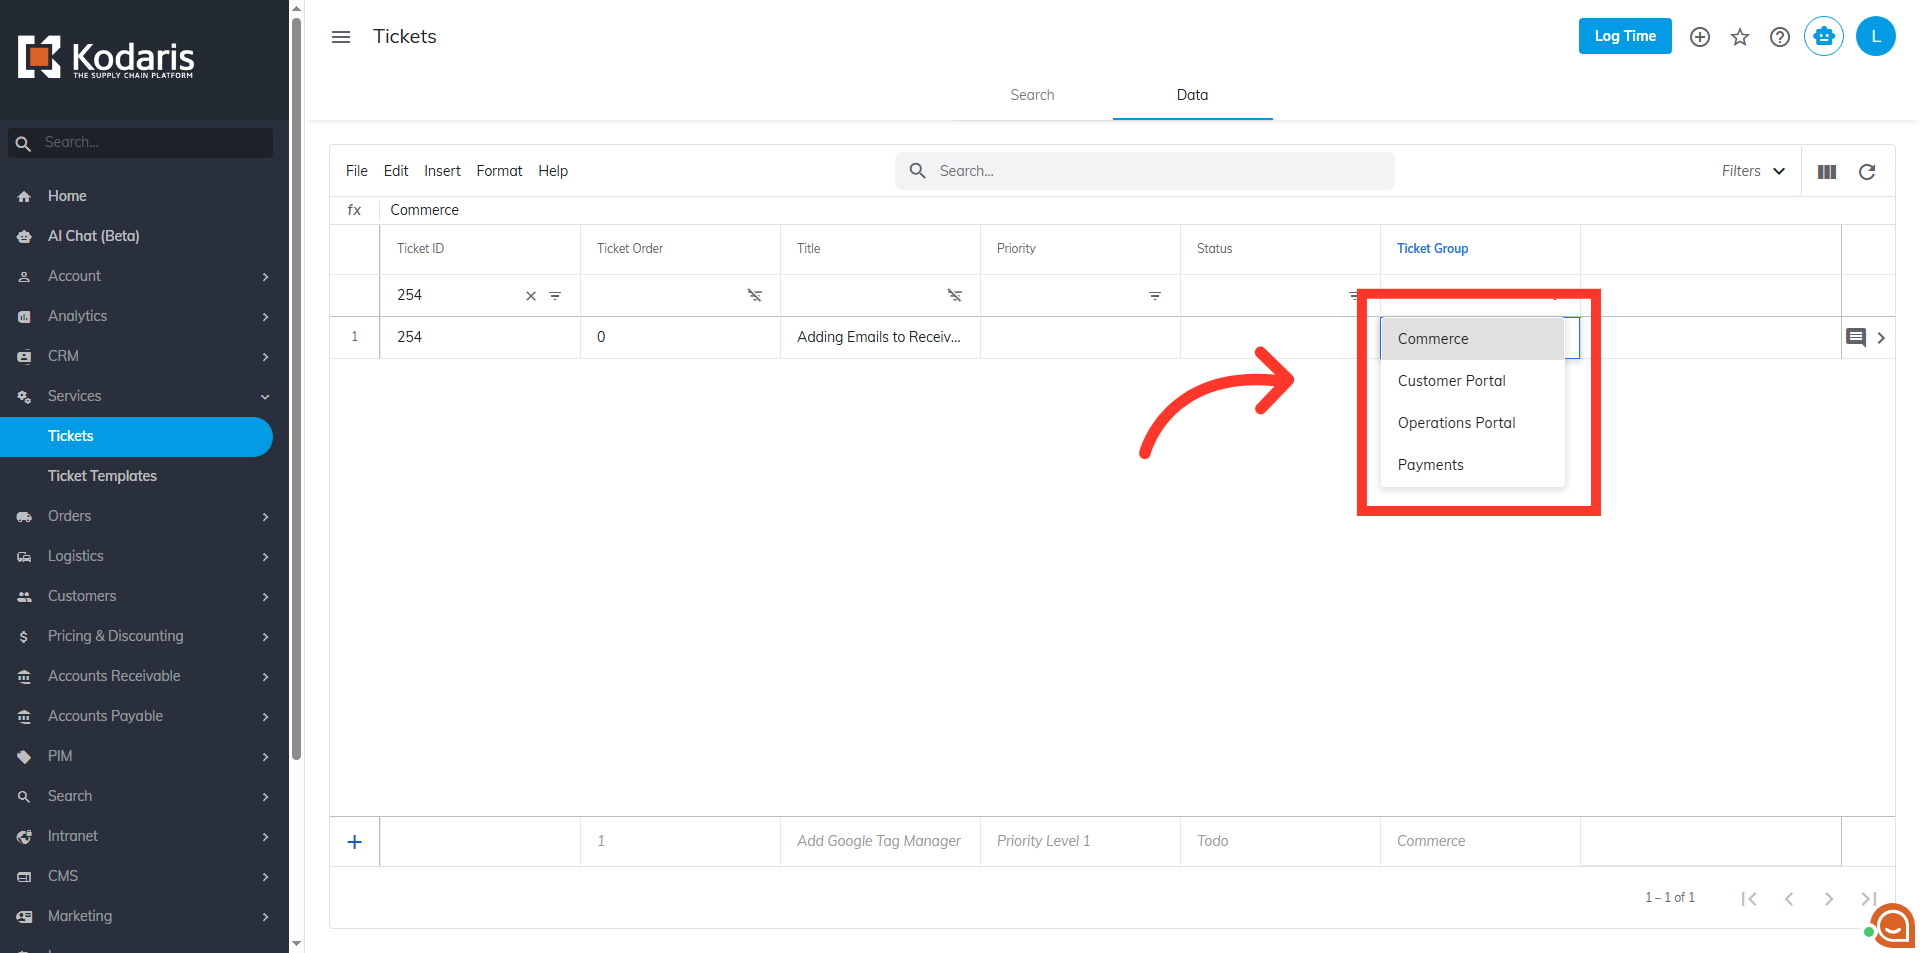
On the details page, use the "Ticket Group" dropdown to select one of the values you configured.

Go to the "Data" tab of your "Tickets" screen to change the values on the columns grid.

Click the "Show / Hide Columns" button.
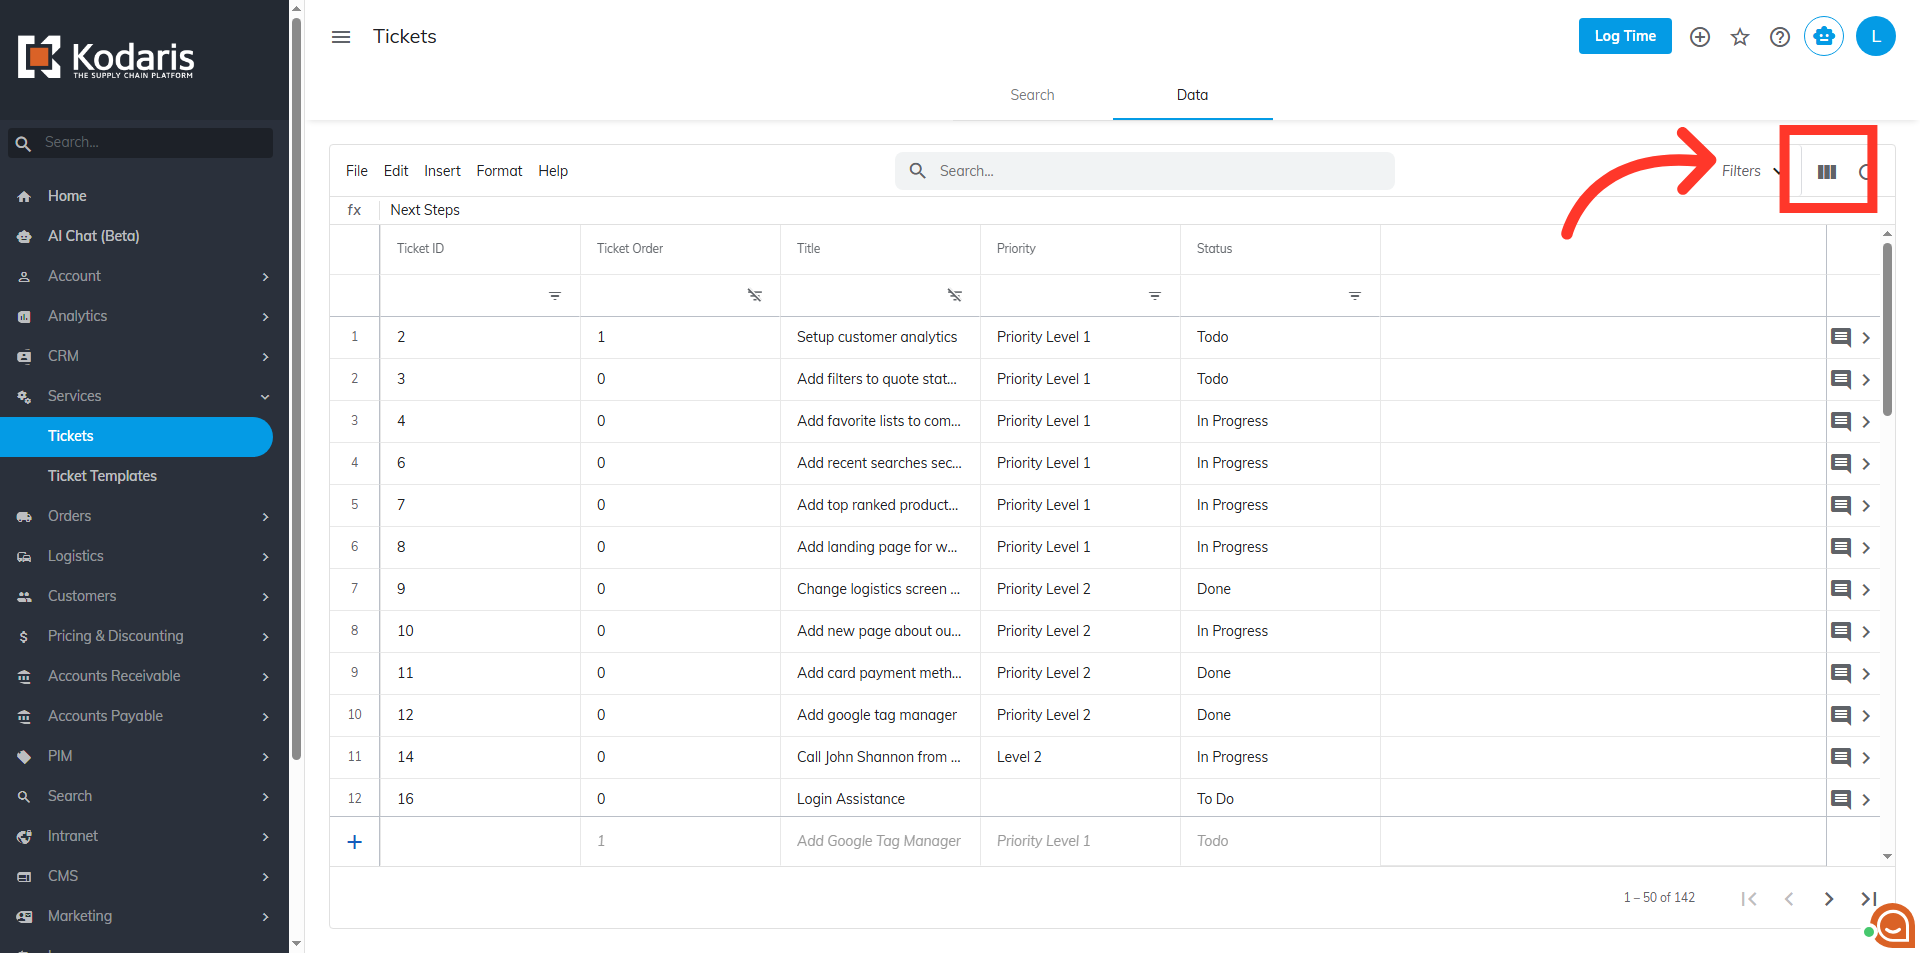
Select the "Ticket Group" field to make the column visible in the ticket grid.

To quickly edit from the grid, just double-click on a cell in this column.