To add a new customer to a company, navigate to the "CRM" section in the Operations Portal.
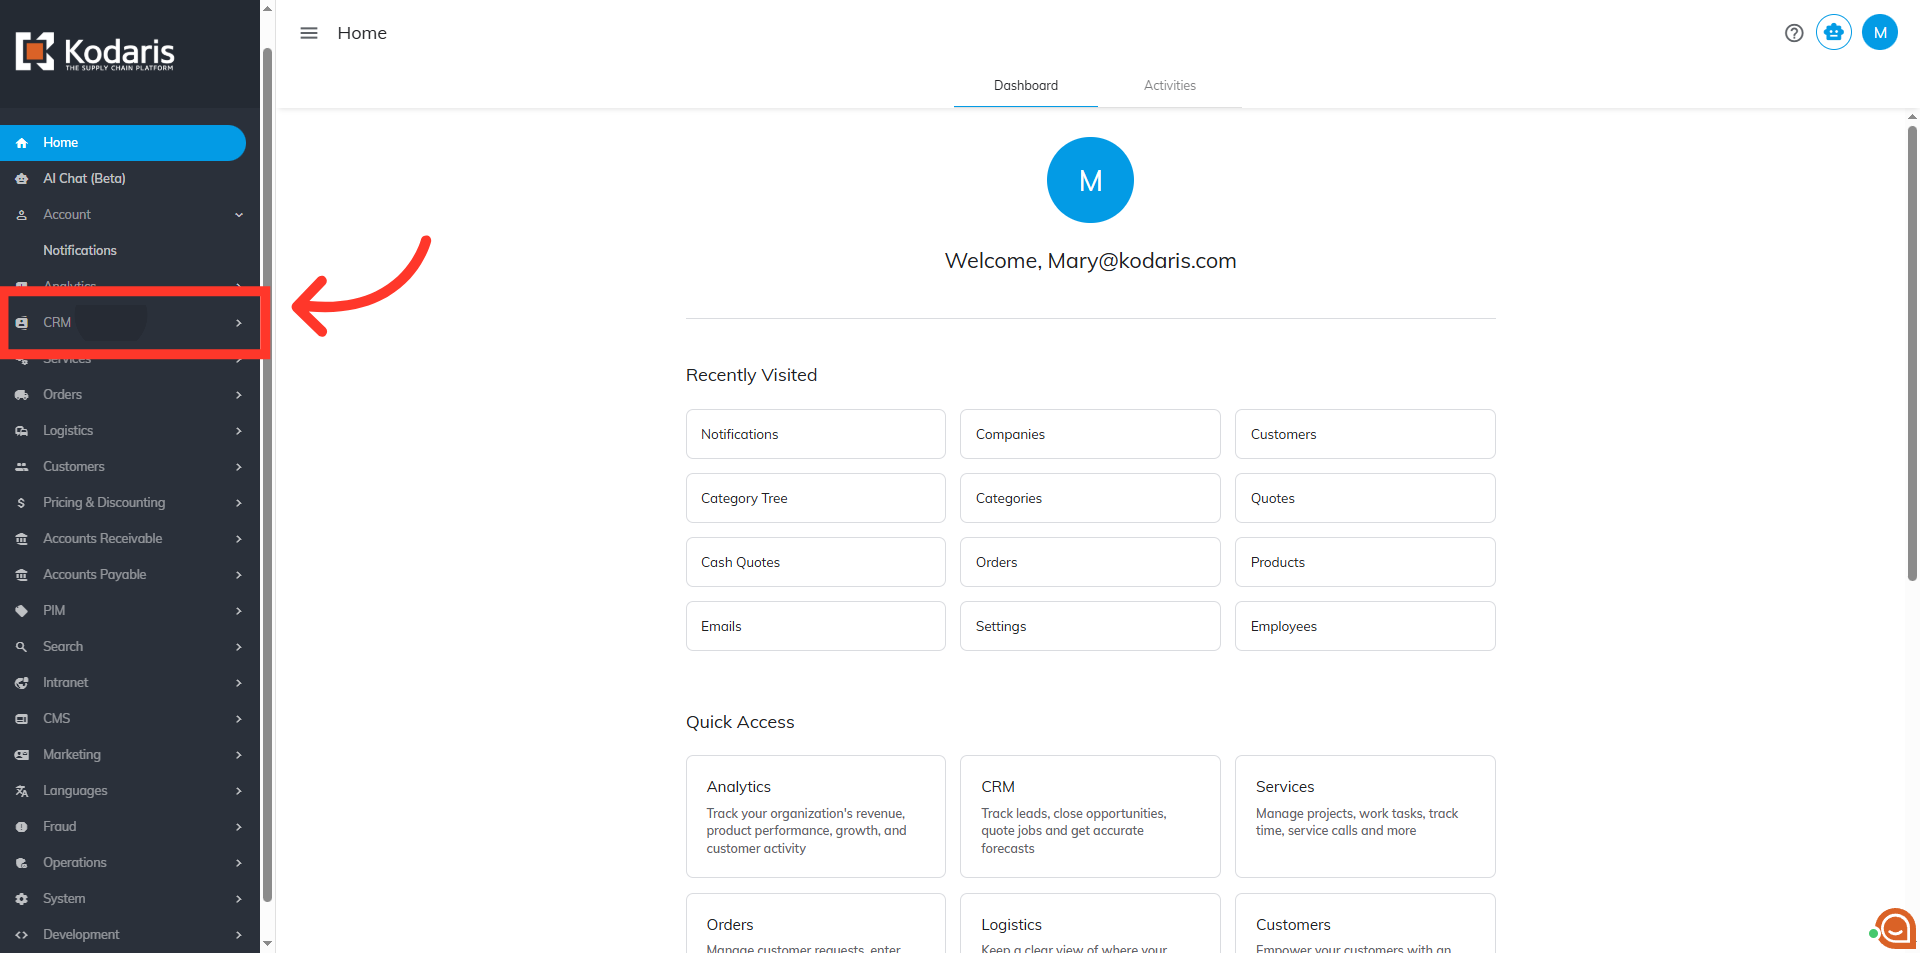
Then, click "Companies". In order to access "Companies" you will need to be set up either as an "administrator" or a "superuser", or have the appropriate roles: "companyView and companyEdit", or "crmCompanyView and crmCompanyEdit". Just a reminder, "crmCompanyView and crmCompanyEdit" access only allows employees to view companies that are assigned to them.

Search for the company by entering the company code or name in the field.
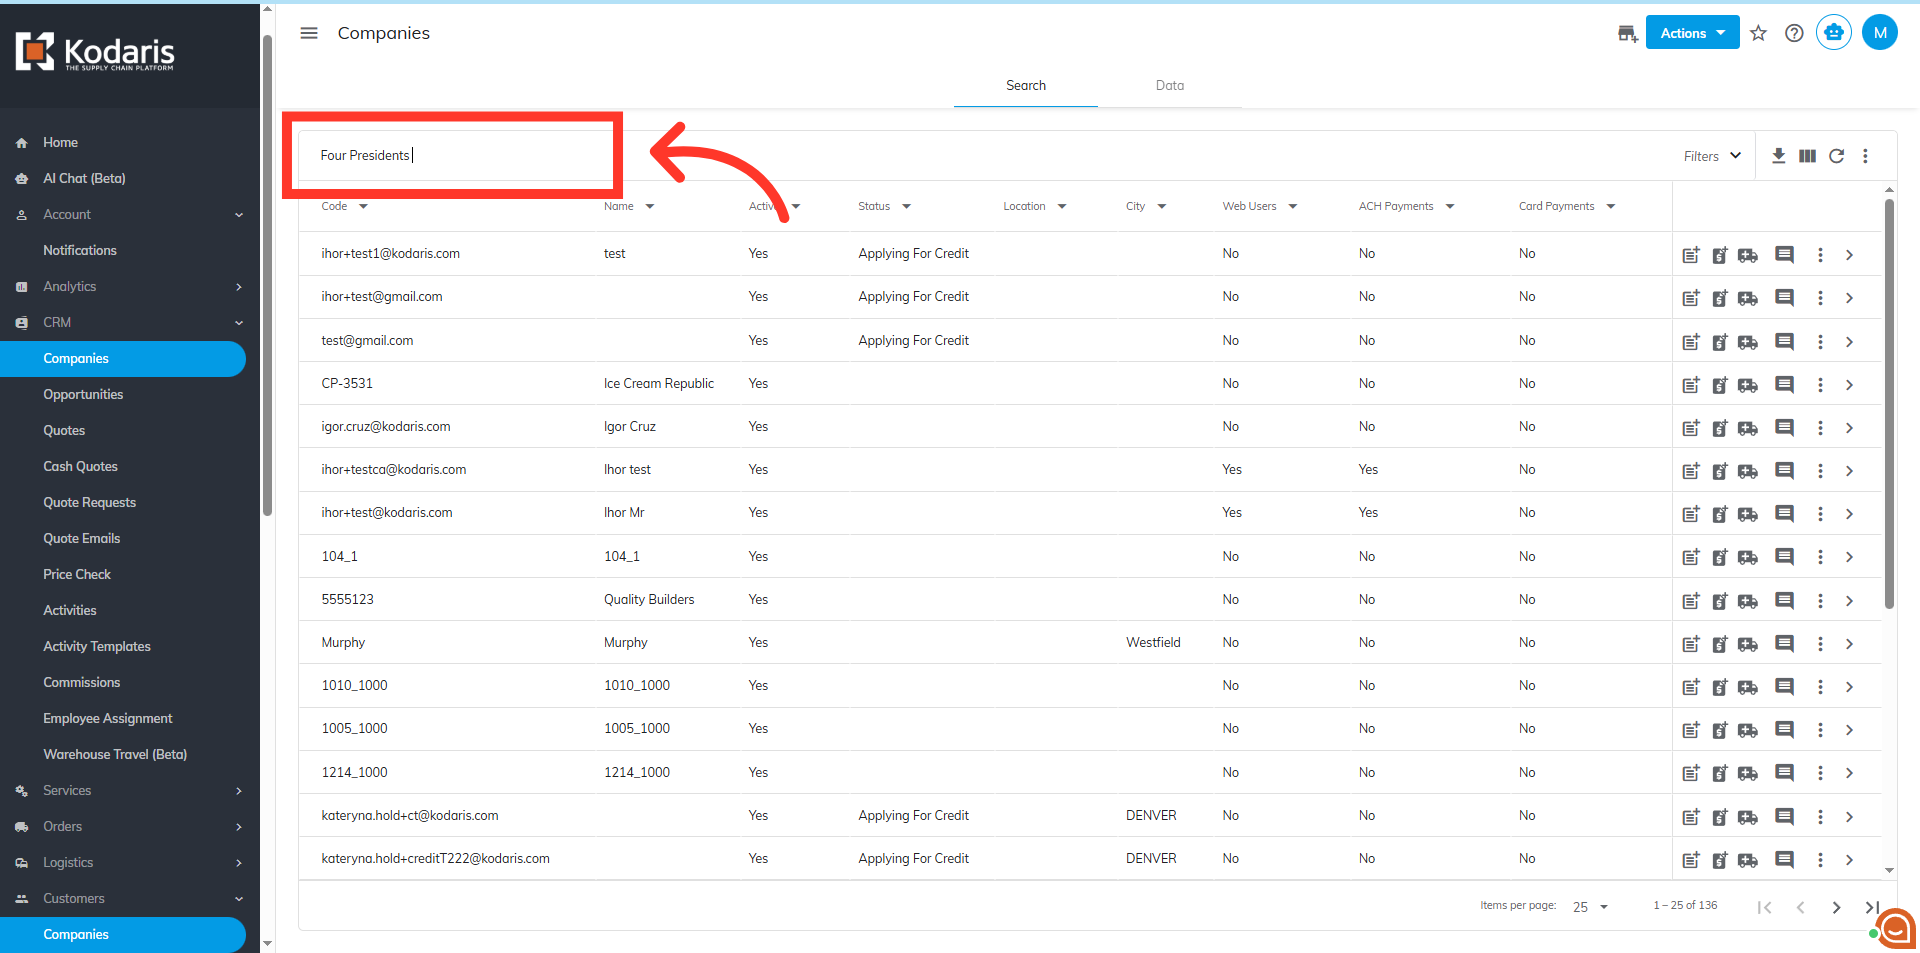
Click on the more details icon to view company settings.

Click on the "Add Customer" icon at the top menu of the screen.

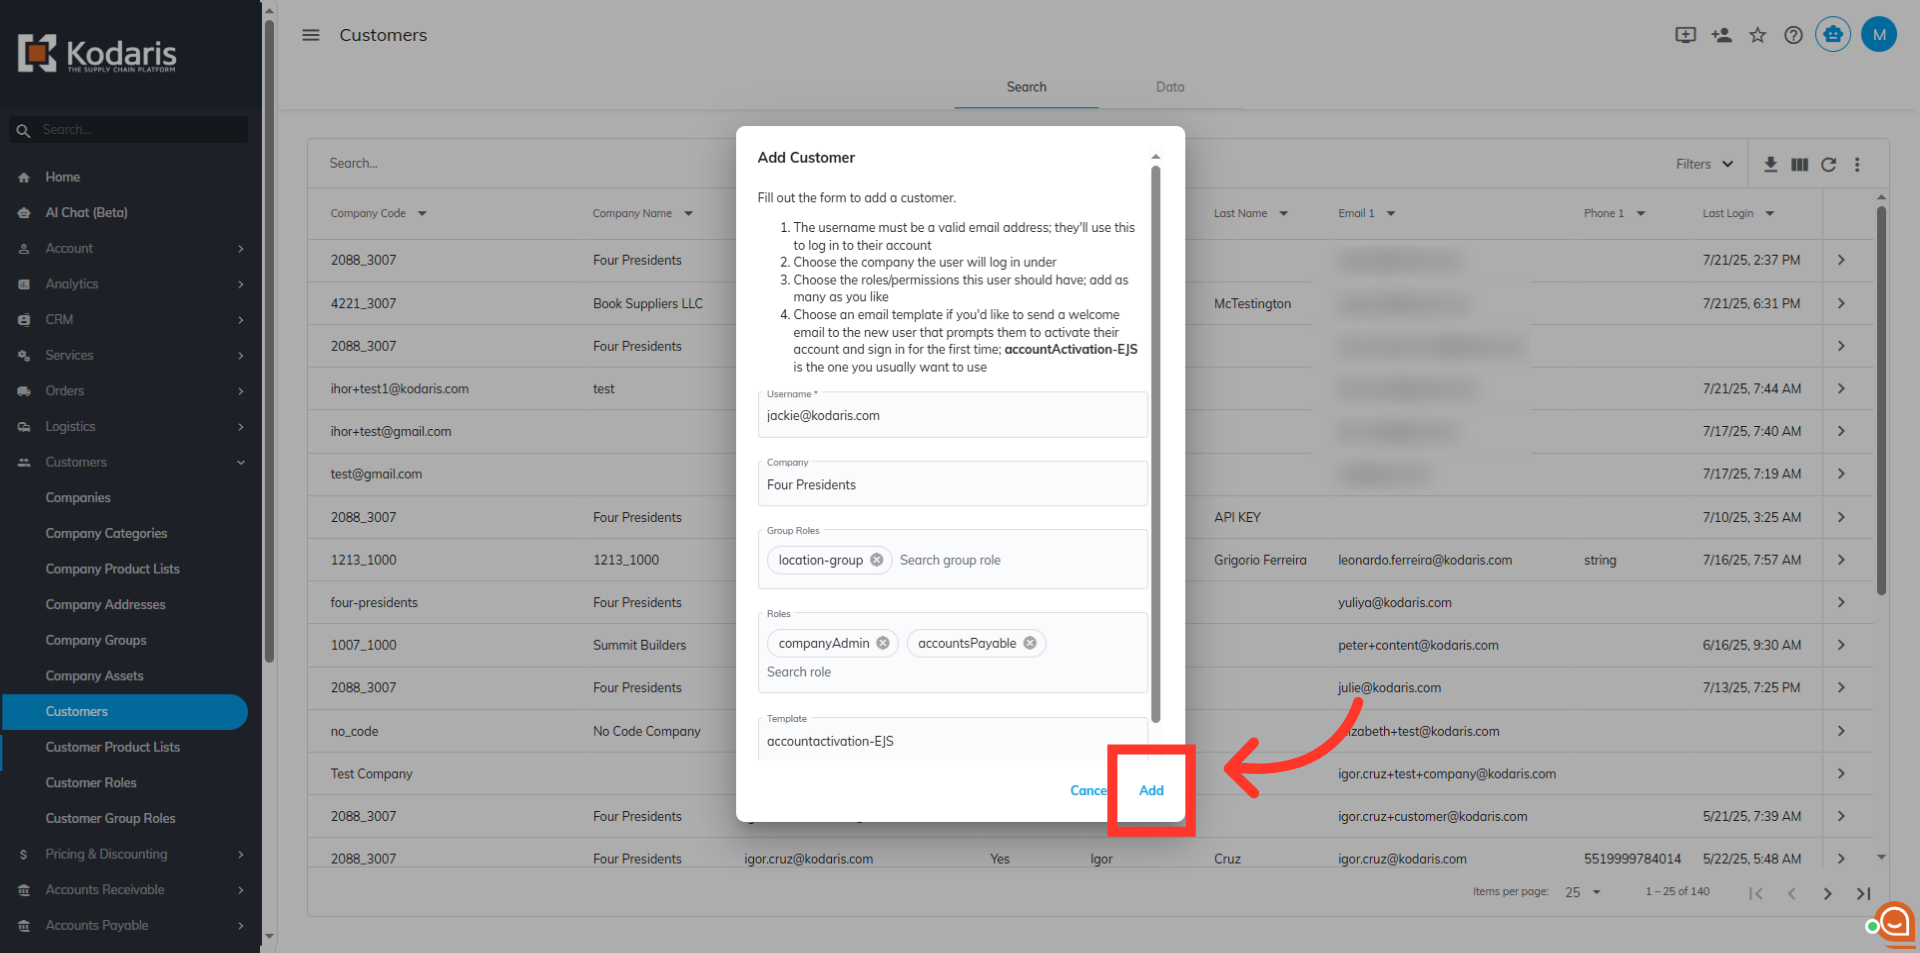
A dialog box will appear. Enter the customer's email address as their username.

If you are using "Group Roles" these can be assigned at this time. To assign group roles, click on the "Group Roles" field and select from the options.

Click the "Roles" field to assign a role to the customer. You can assign multiple roles if needed.
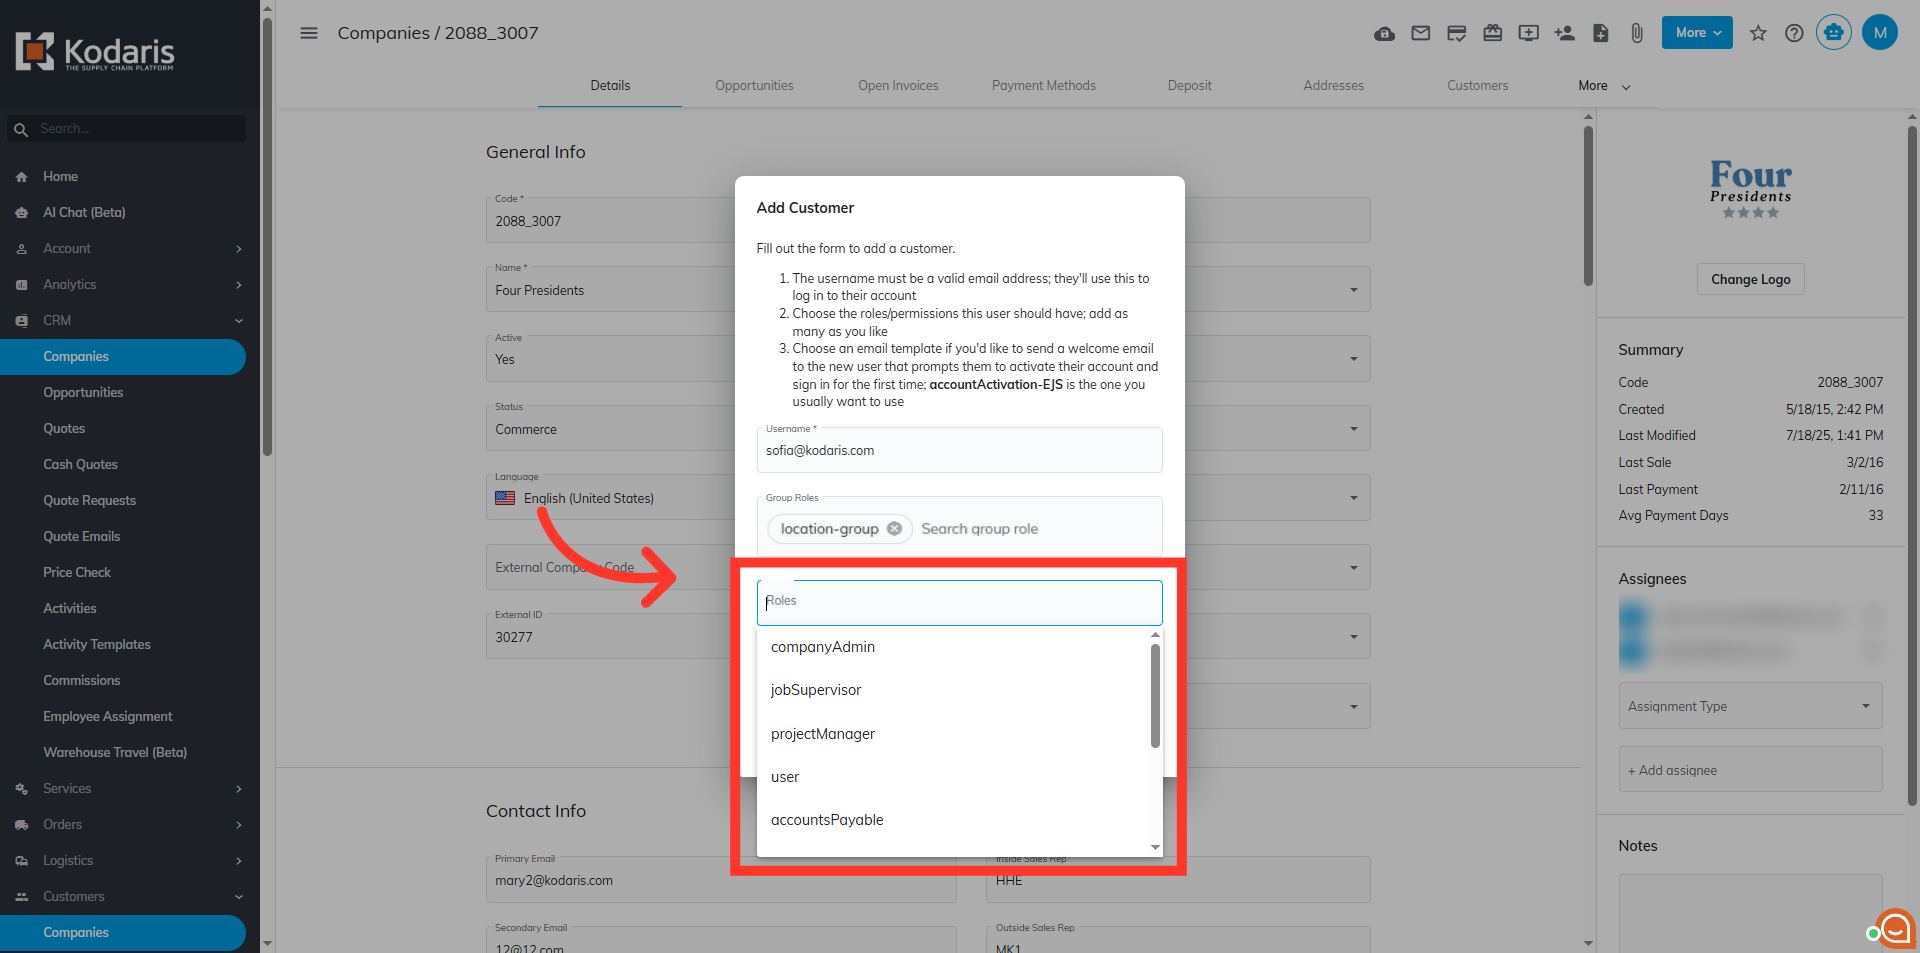
If you would like to send an account-activation email to the customer, click on the "Templates" field. Type-in "accountactivation" and select "accountactivation-EJS" from the options.

Click "Add".

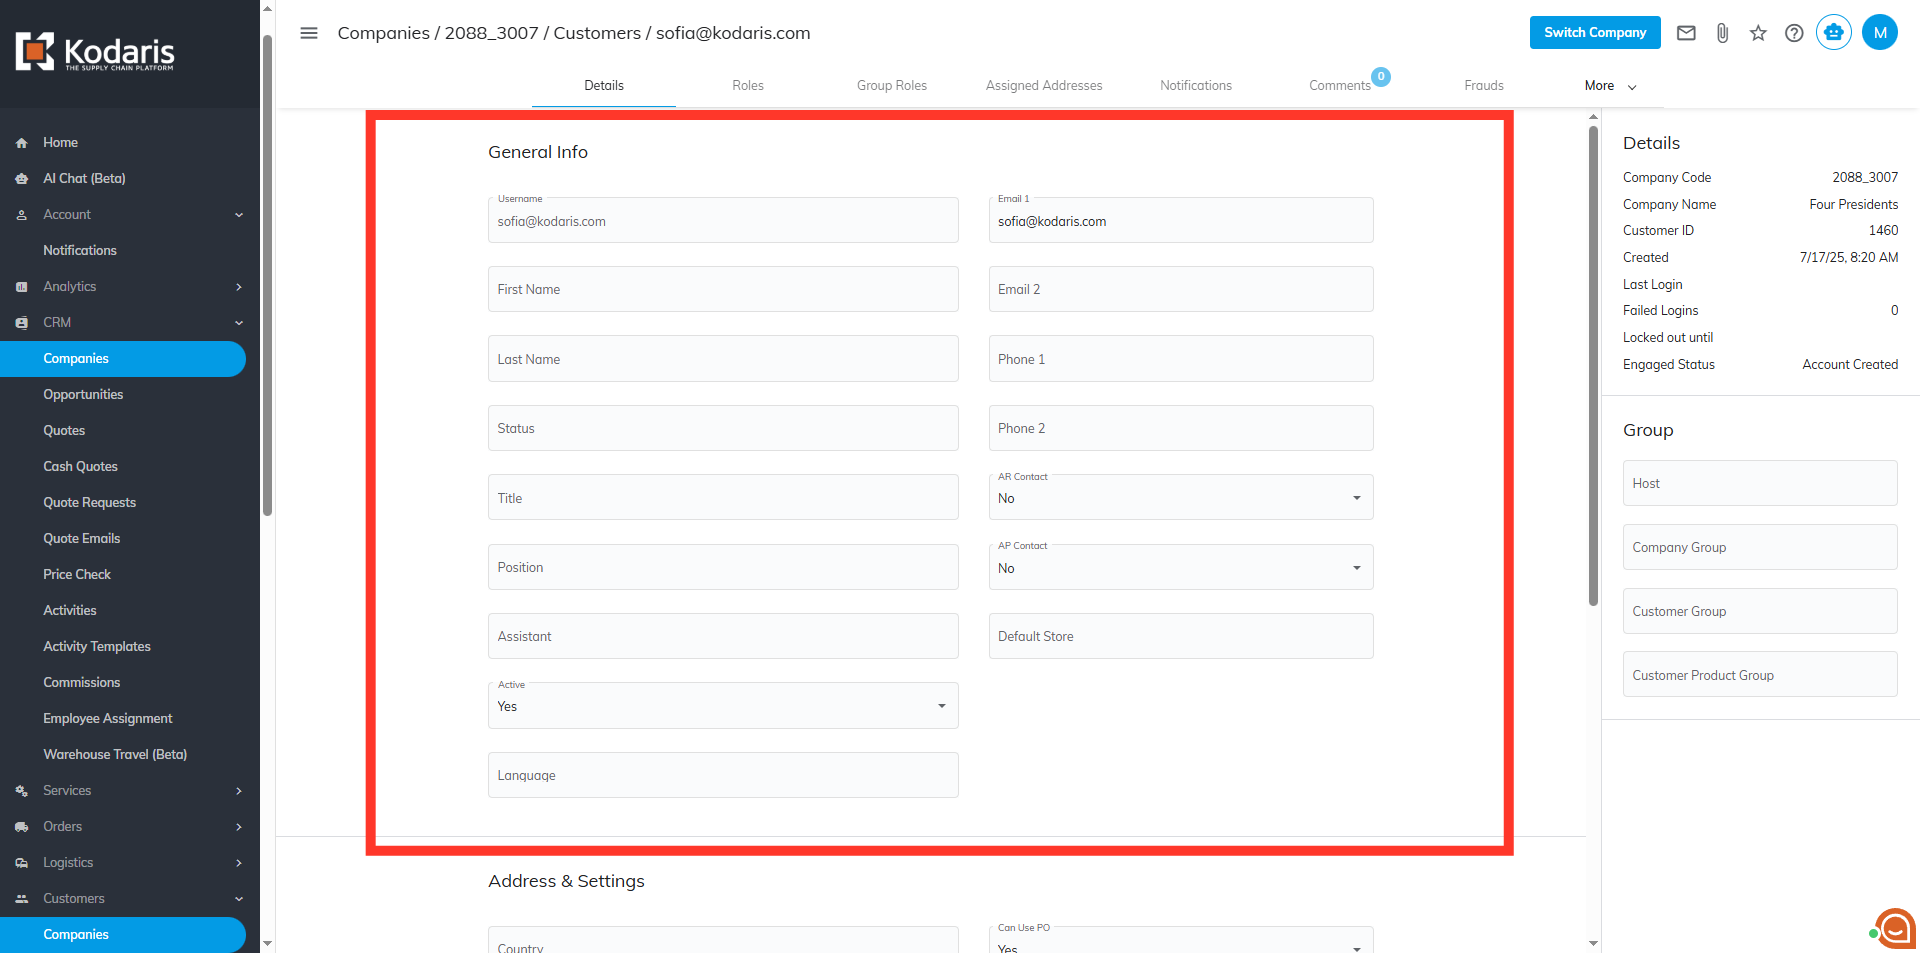
Once the customer has been successfully added, you will be redirected to the customer's details page. The fields can be updated if needed.
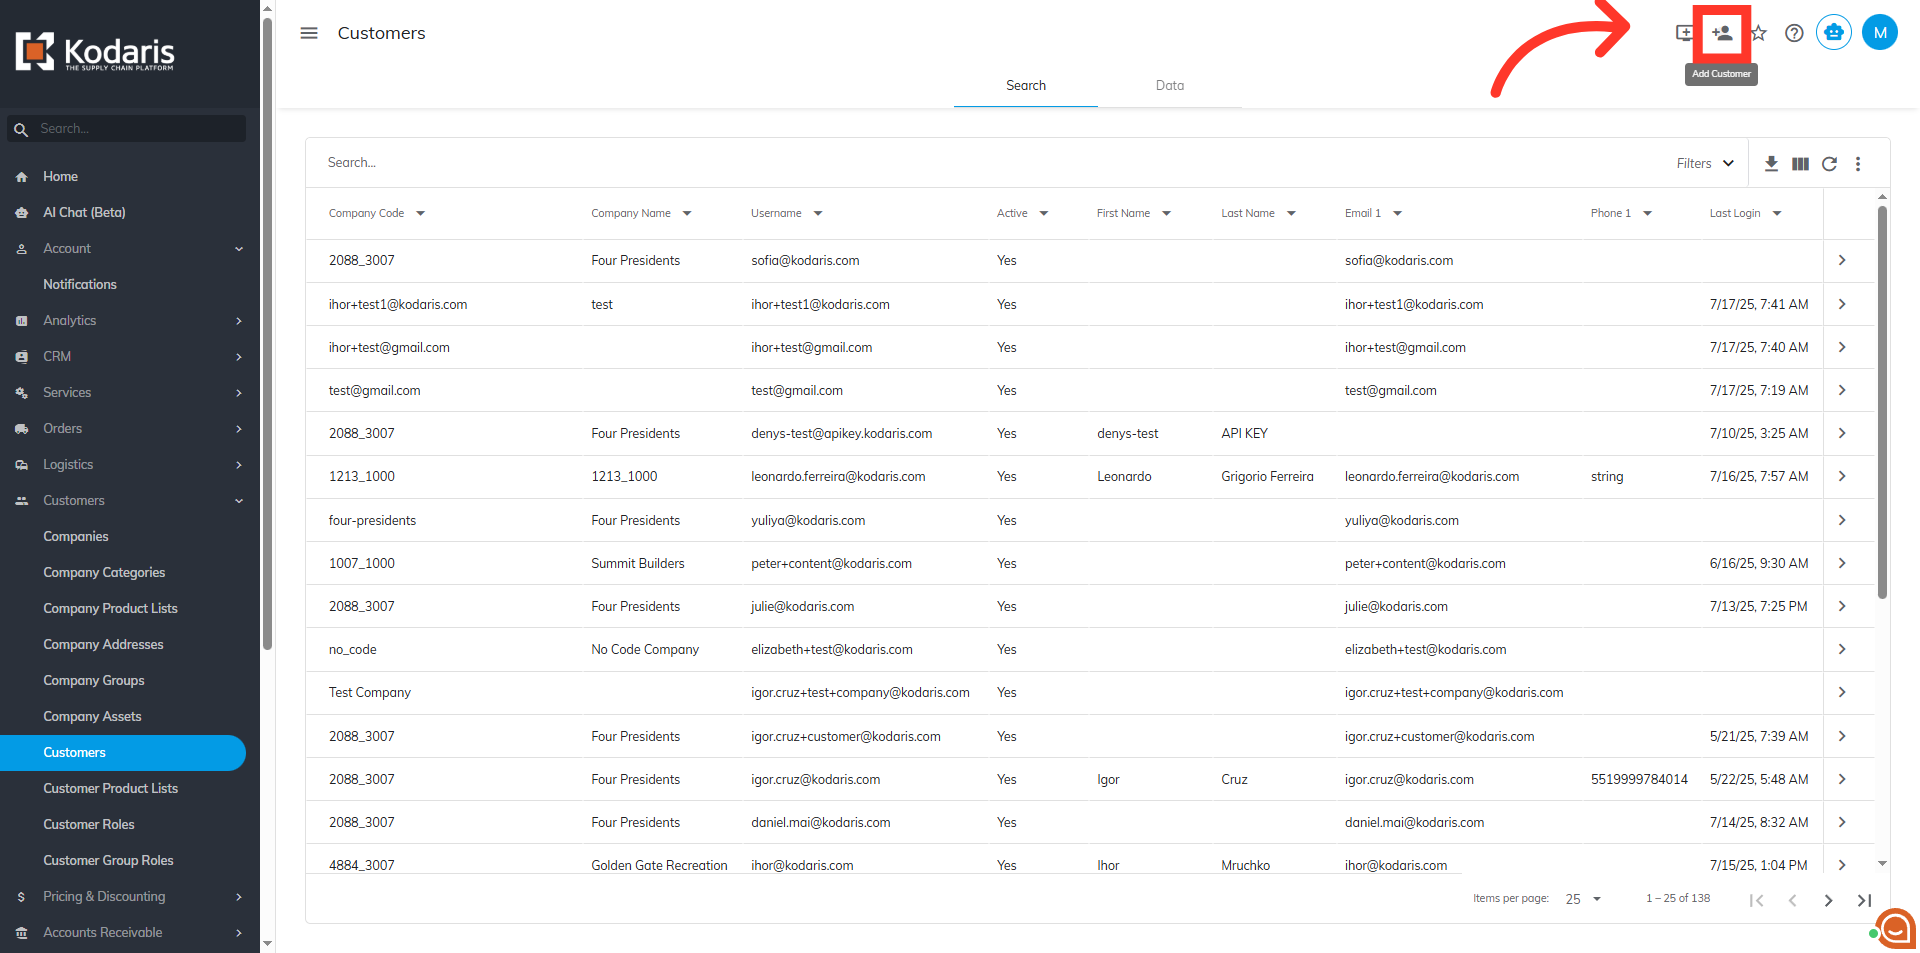
Another way to sign up a new customer is by navigating to "Customers" section.

Then, click "Customers". In order to access "Customers" you will need to be set up either as an "administrator" or a "superuser", or have the appropriate roles: "customerView", and "customerEdit."

Click on the "Add Customer" icon.
The "Add Customer" dialog box will appear just like in the "Companies" screen, the difference is that it has the "Company" field. The "Company" field will be used to assign a specific company to the customer. The other fields can be updated as covered previously.

Fill in all the needed fields, then, click the "Add" button.
If the customer already exists in the system with the same user name, an error message will display
