Editing Menus, Widgets, and Pages in Multi-Site Mode
If you're system is setup in multi-site mode, where you have more than one website, e.g. commerce.kodaris.com and commerce1.kodaris.com, you might want to have different menus, widgets, and pages for each site. This document contains instructions on how to add/update menus, widgets, and pages for each website.
Overview:
https://youtu.be/FspSO_jOq_Y?si=UdGV-hwvRxo6_6qI
Editing Menus and Widgets in Multi-Site Mode
In order to add/update menus and widgets, e.g. the header or footer menus per site, follow the steps below:
Navigate to the operations portal and open the Menus screen
There, in the top left part of the screen, is a Host dropdown. In order to make updates to menus or widgets on a specific website, you'll want to select the website from that dropdown. Just a note, the Default option serves as a fallback. It is the set of menus and widgets that will be shown by default on each site if you do not have website specific menus and widgets setup.
After selecting the host, you can go into the menus and widgets and update them as normal, but now your updates will only apply to that website.
Creating or Editing Pages in Multi-Site Mode
In order to create or edit pages in multi-site mode and only have the pages show up for a specific website, e.g. commerce.kodaris.com instead of commerce1.kodaris.com, follow the steps below:
Navigate to the Pages screen in the operations portal
To add a new page for a specific host, go ahead and create your page as usual by clicking the Add Page button and selecting Gutenberg. Note, if you just want to update a page to only be visible on one website, skip this step and go to Step 3.
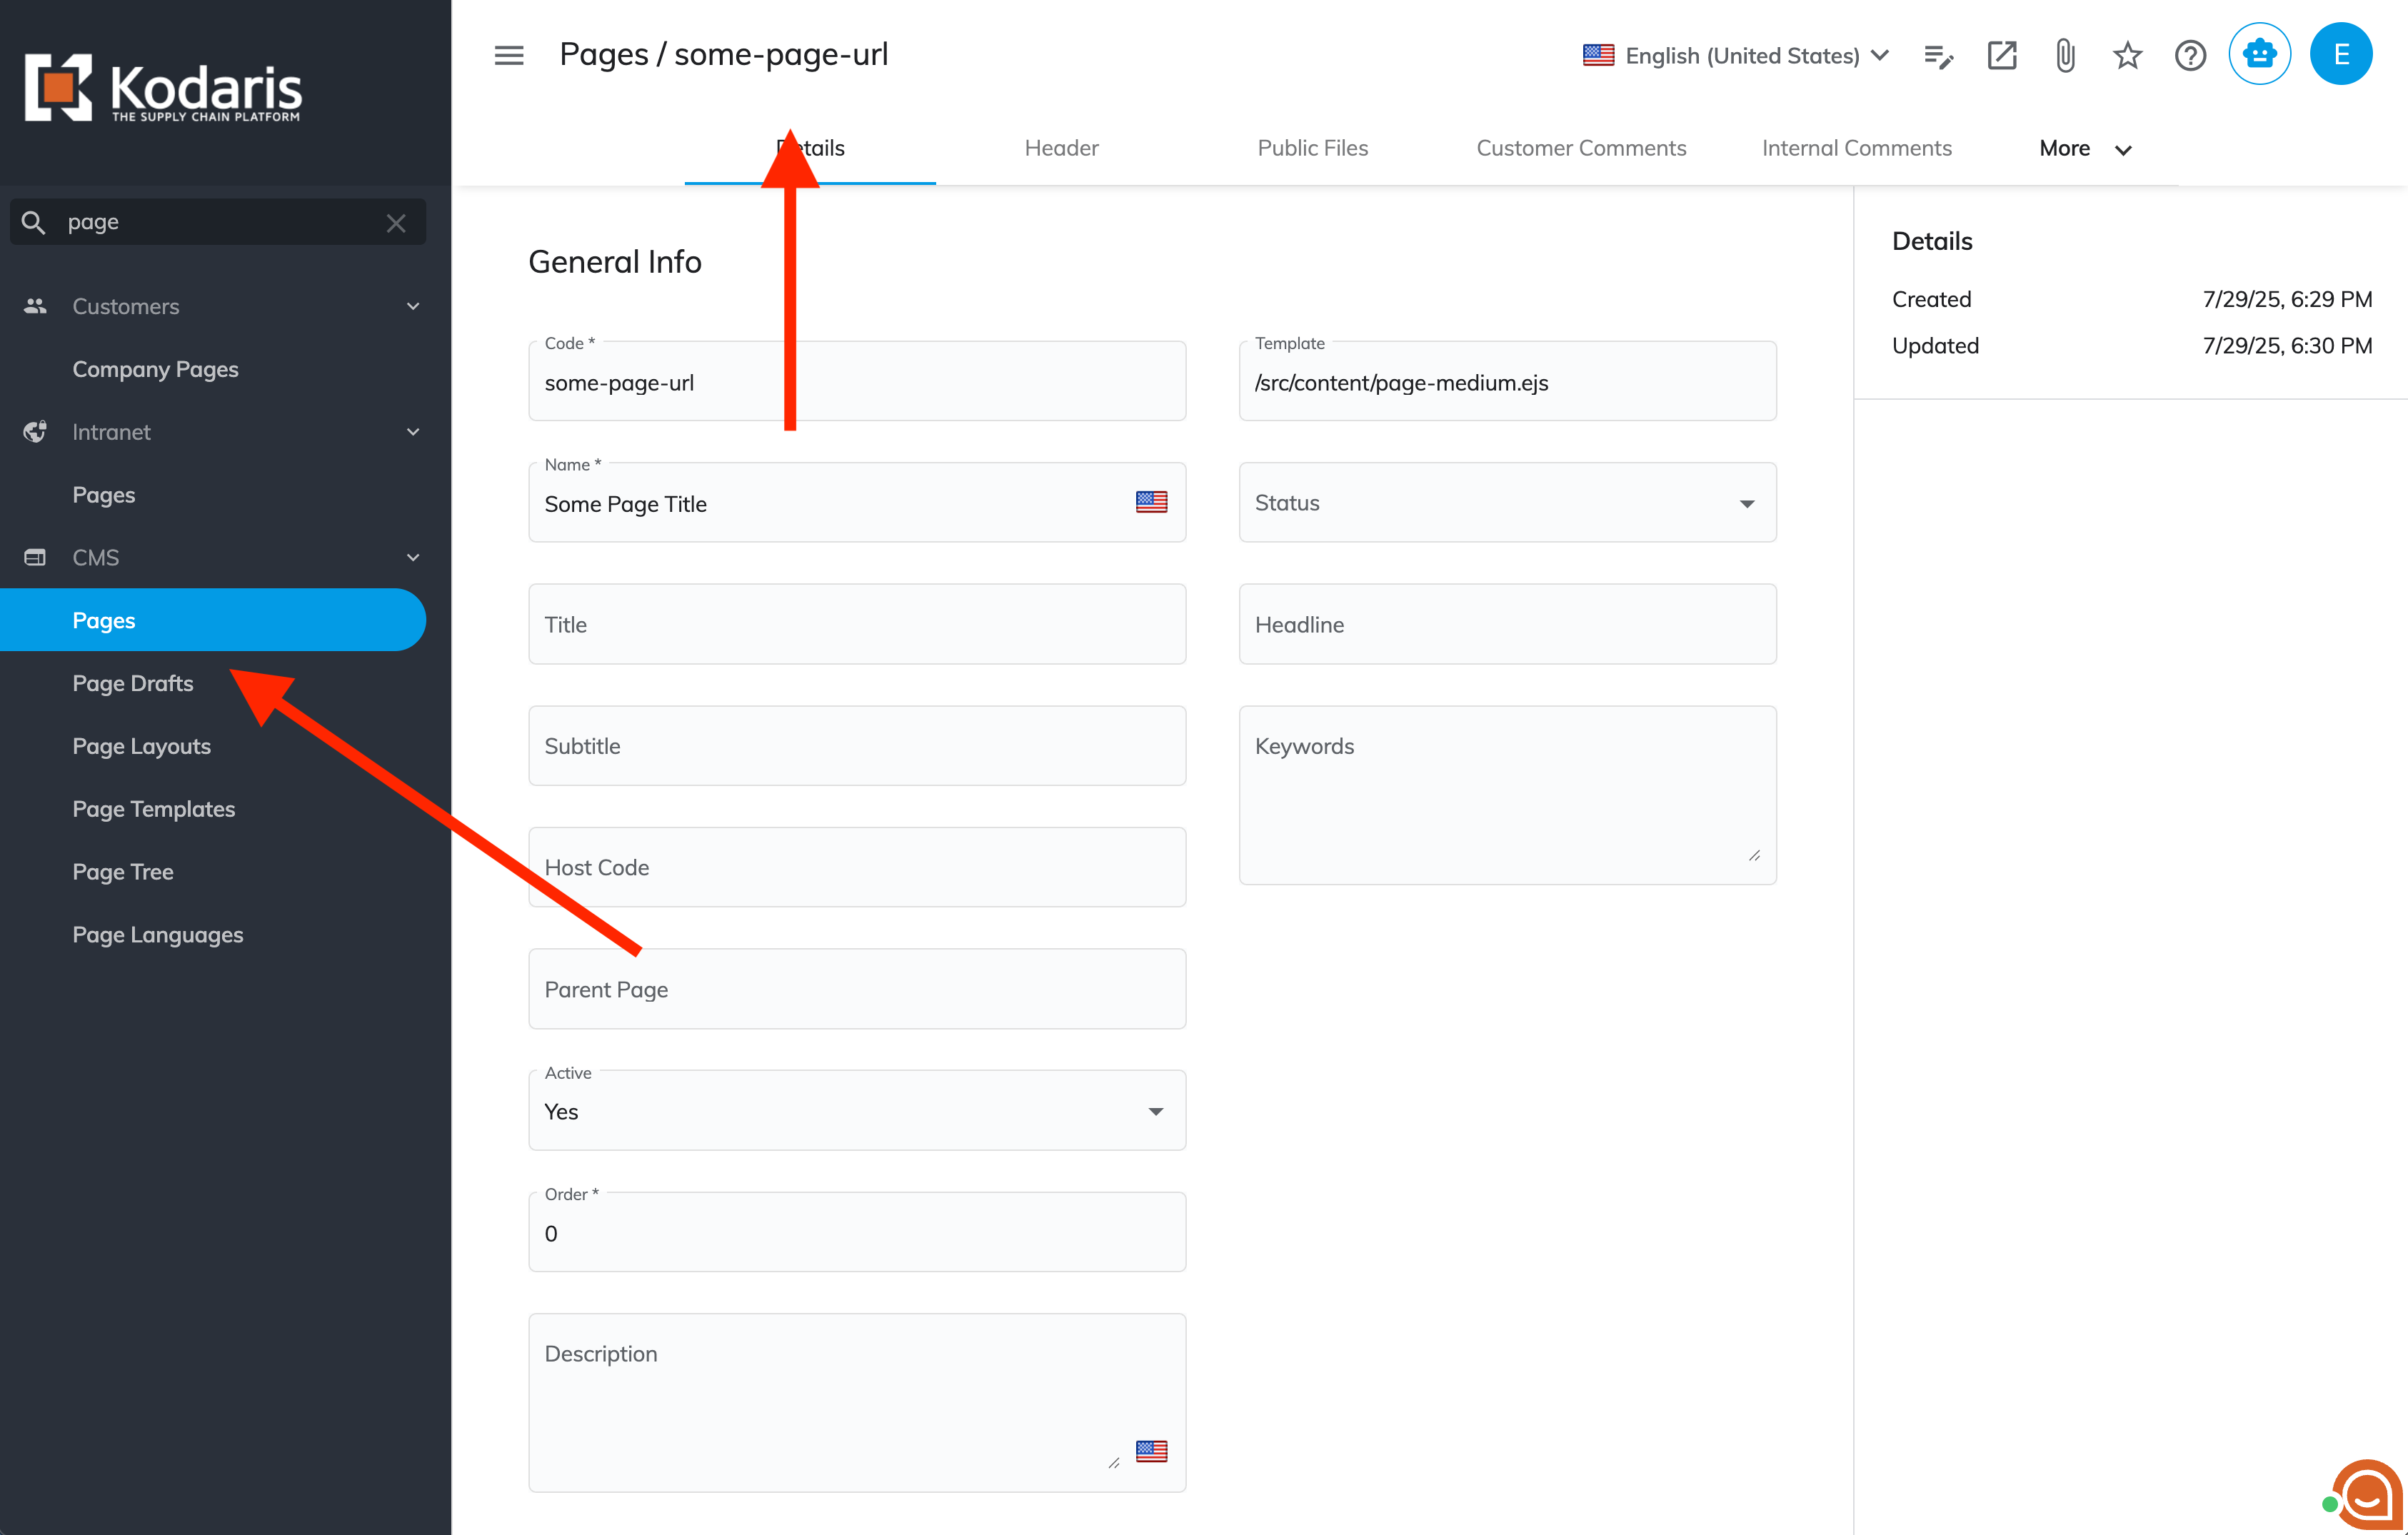
Then, go to the details for your page.
Here, you'll want to update both the page Code and the Host Code fields.
For the Host Code field, click into the autocomplete and select the host/website that you'd like the page to be on. Note, the Host Code is usually the domain of the website.
Then, for the page Code field, you'll want to update your current code to start with the Host Code value plus an underscore. For example, if my page code was initially some-page-url, it should now be go_some-page-url. This just helps indicate to the system that this page is specifically for that website, but you are still going to navigate to the page with the initial URL (some-page-url).
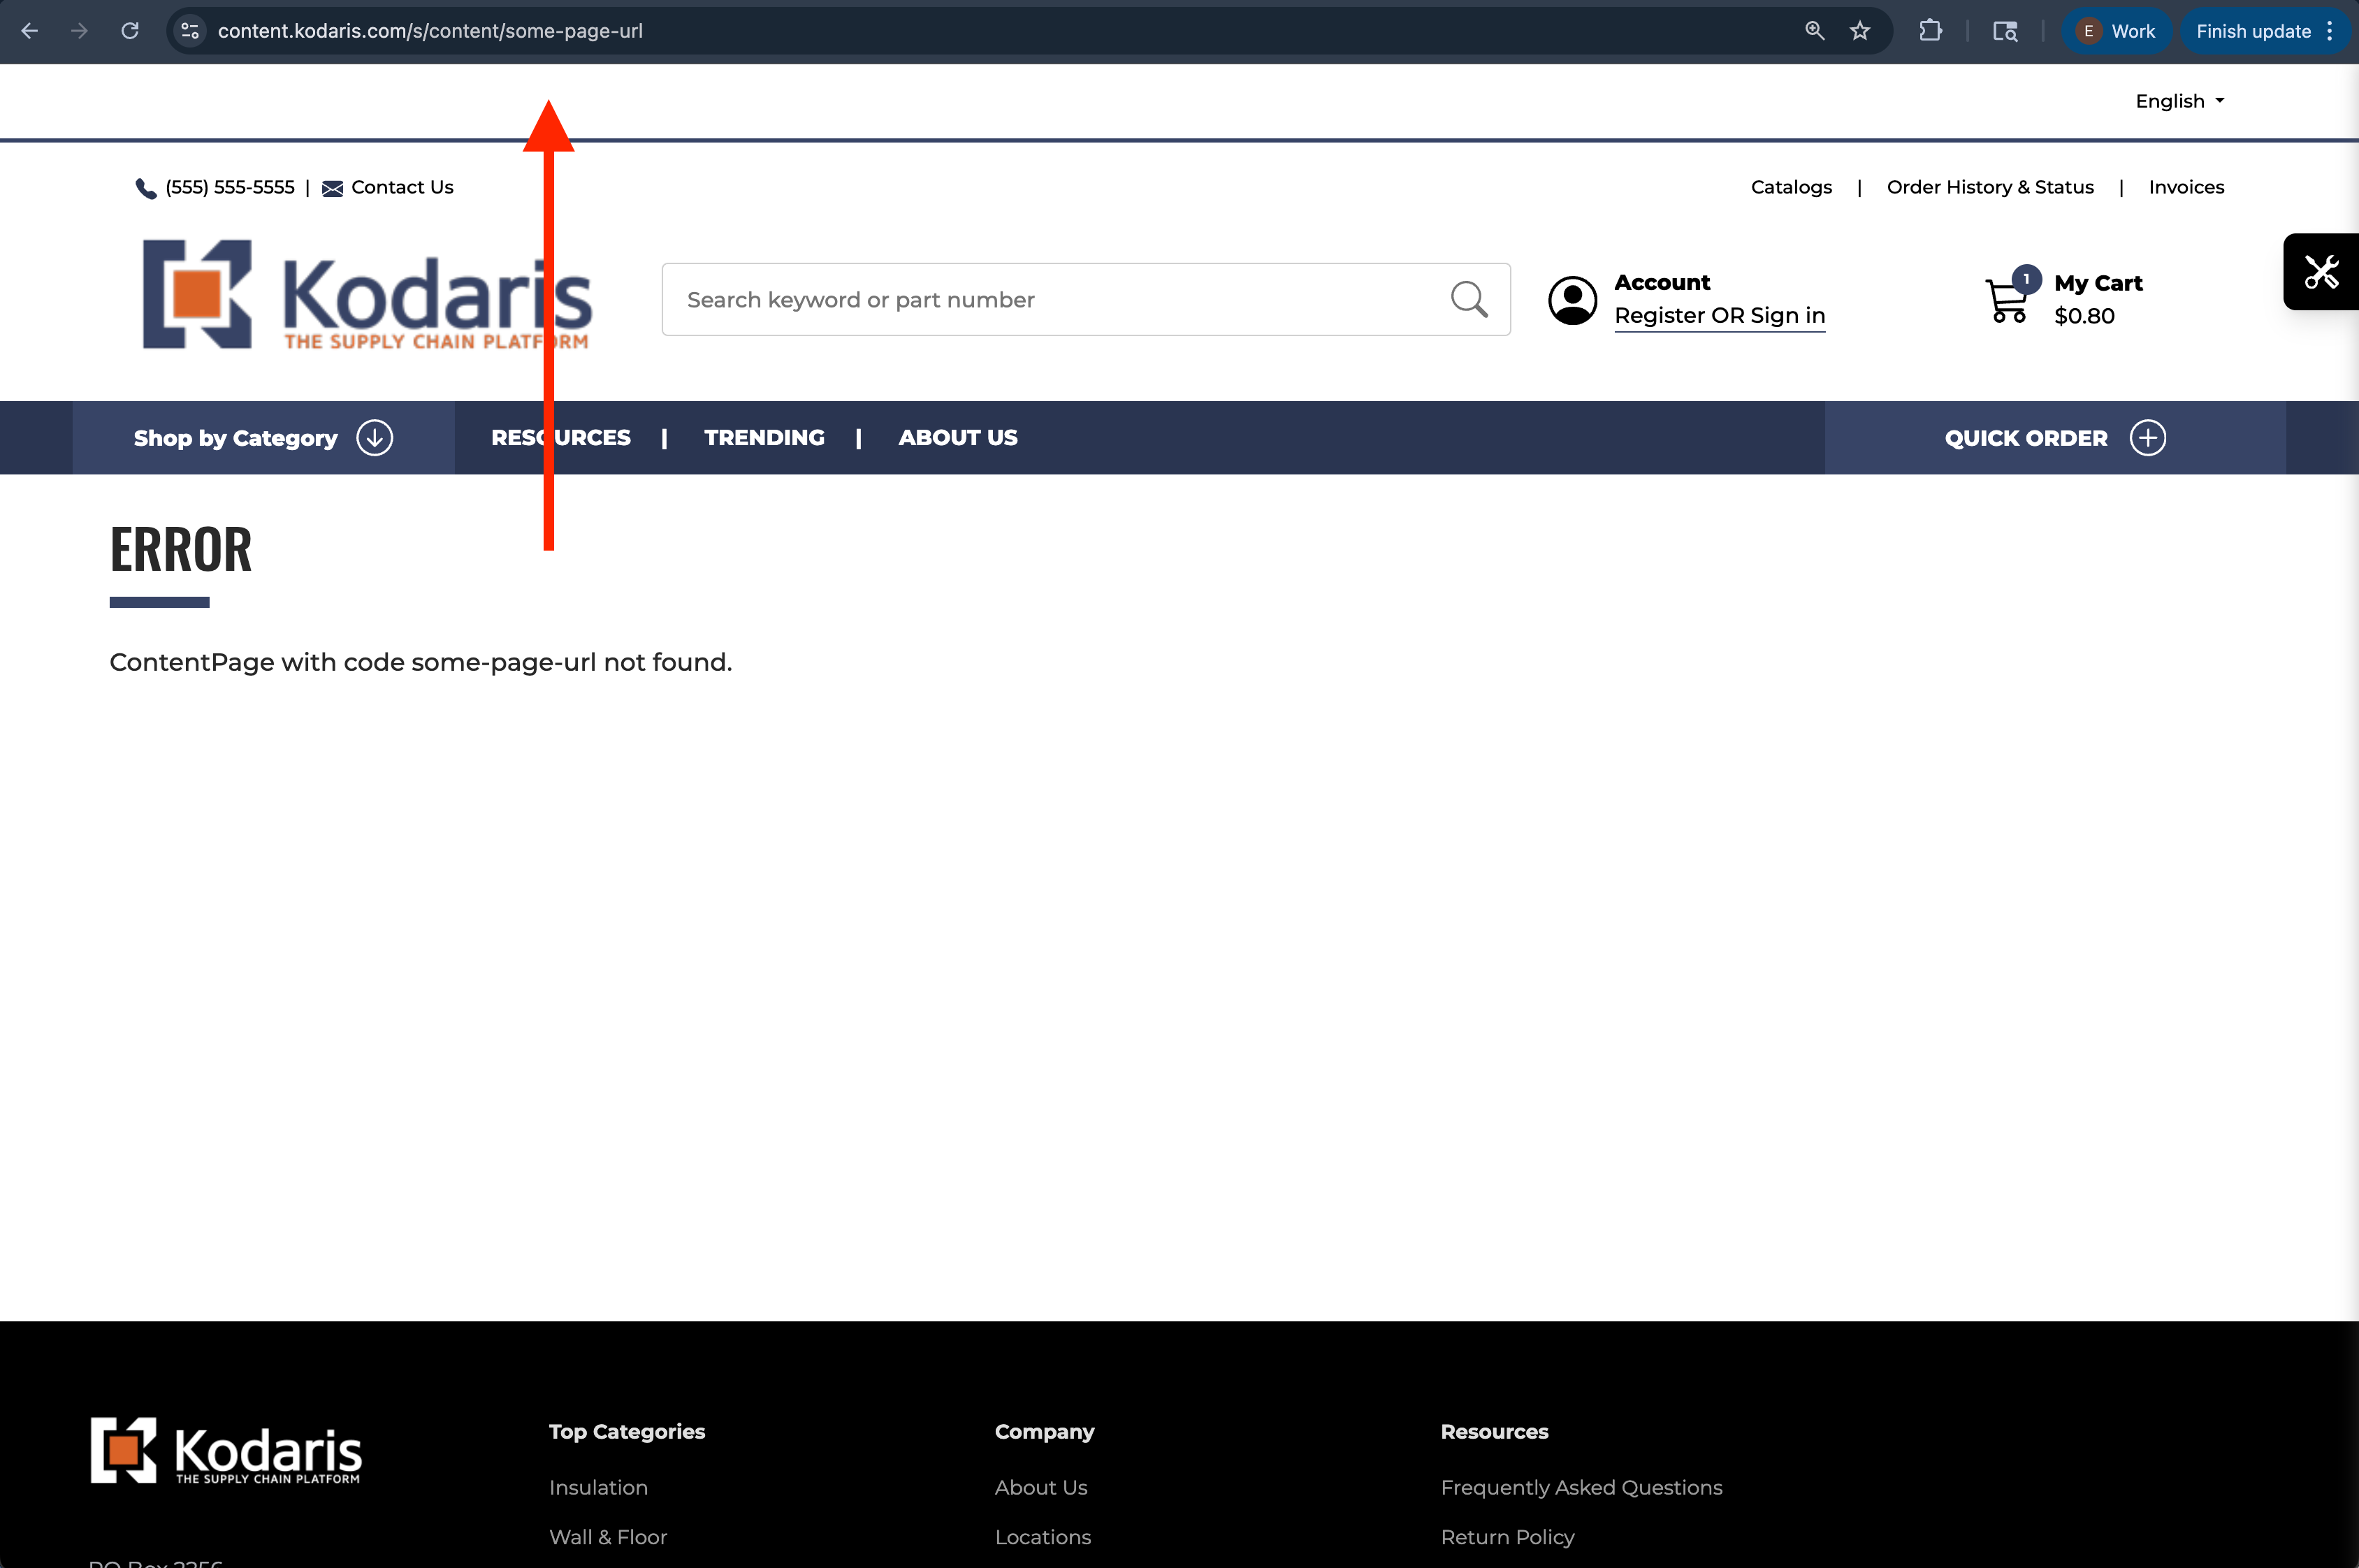
Now, if you navigate to your page on the website with the initial URL, e.g.with some-page-url not go_some-page-url, you'll see your page.
Then, if you navigate to your page on one of your other websites, you'll receive a message that the page wasn't found unless you also have a page setup for that host as well.