When you import categories in the Kodaris PIM, the system uses the Kodaris category code in your spreadsheet to create and update the categories in the Kodaris system from your sheet. However, if you are continuously exporting categories from a different PIM and/or the category codes may change over time, you can choose to import by External ID instead. This allows you to export a unique identifier from your other PIM and import it into the Kodaris external identifier field that will be used on future imports. To do this, navigate to "PIM" section in the Operations Portal.

Click "Categories". In order to access and update "Categories" you will need to be set up either as an administrator or a superuser, or have the roles of: "categoryView" and "categoryEdit".

Go to "Data" tab and we'll first export to get the needed header row for the file.

Click the "Show/Hide Columns" icon.

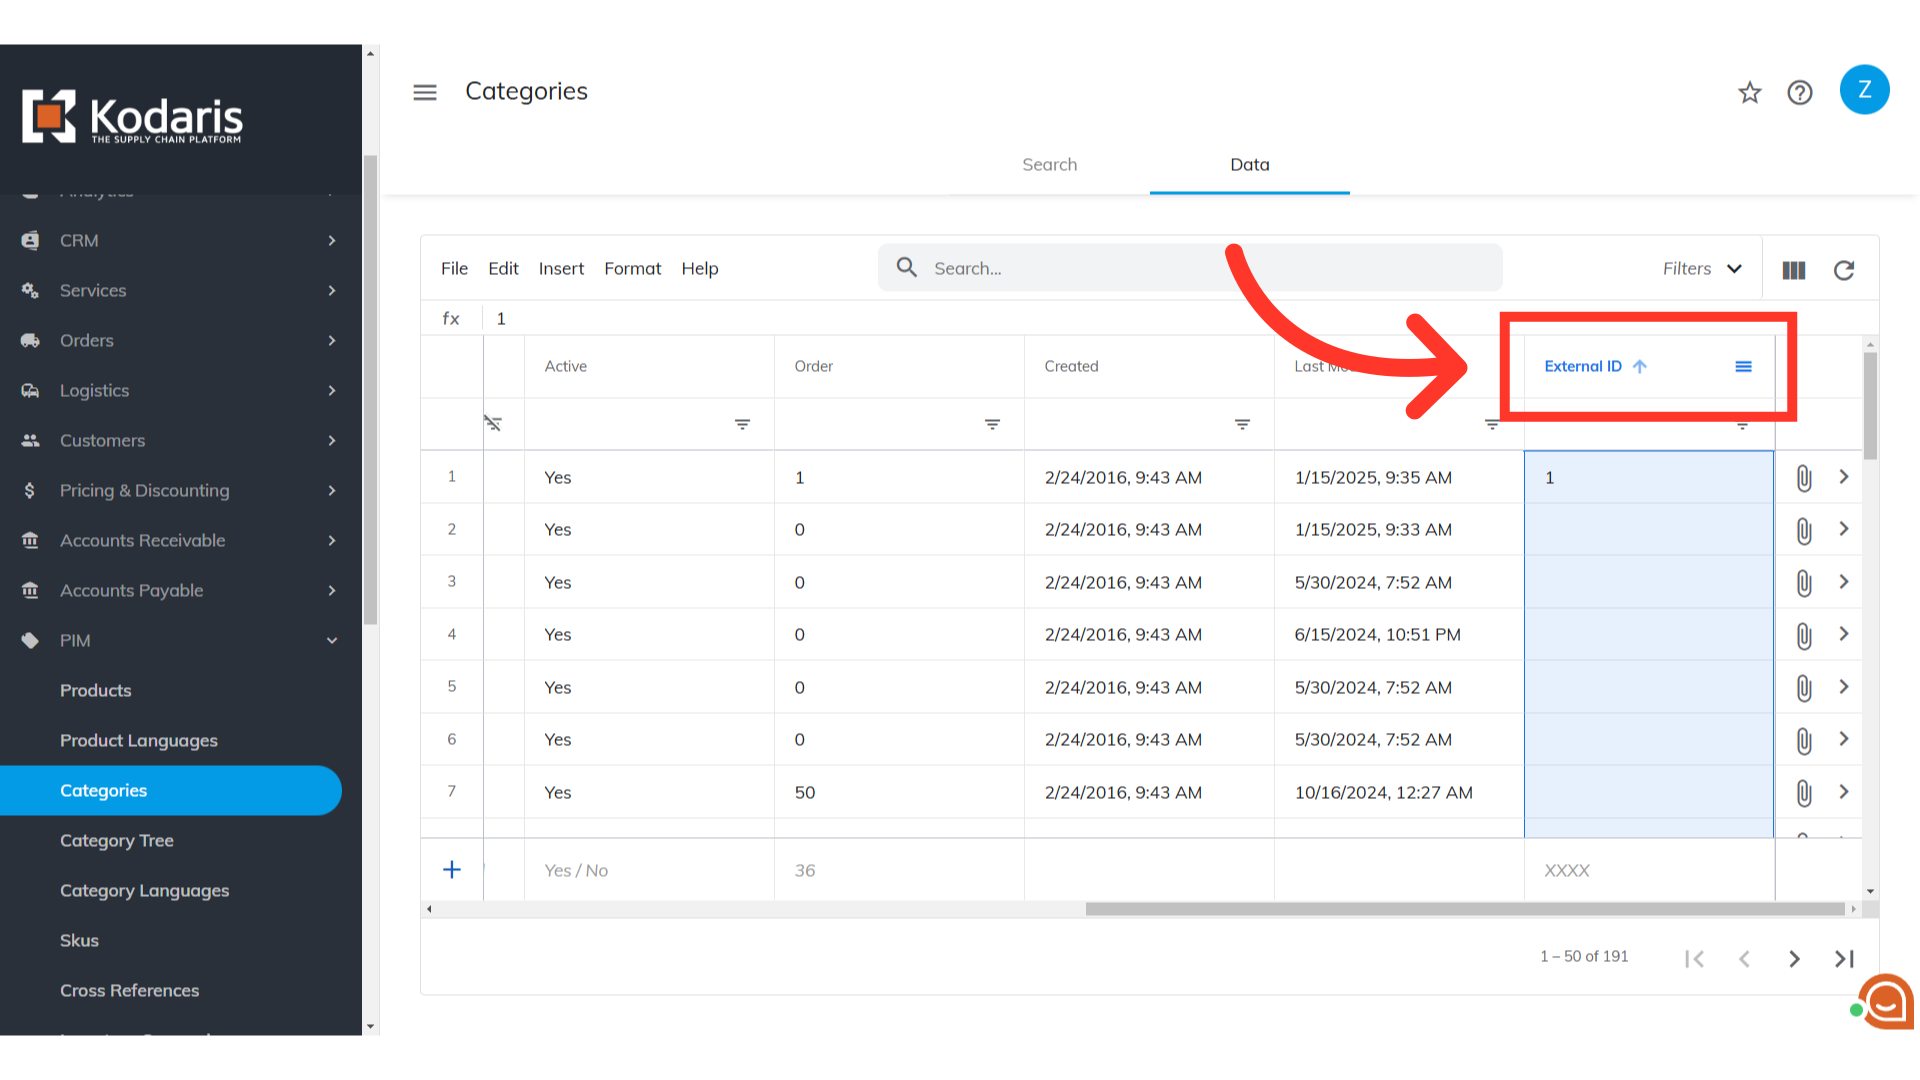
Select "External ID" column and any other columns you want to include with your future import.

"External ID" column is now displayed in the grid.
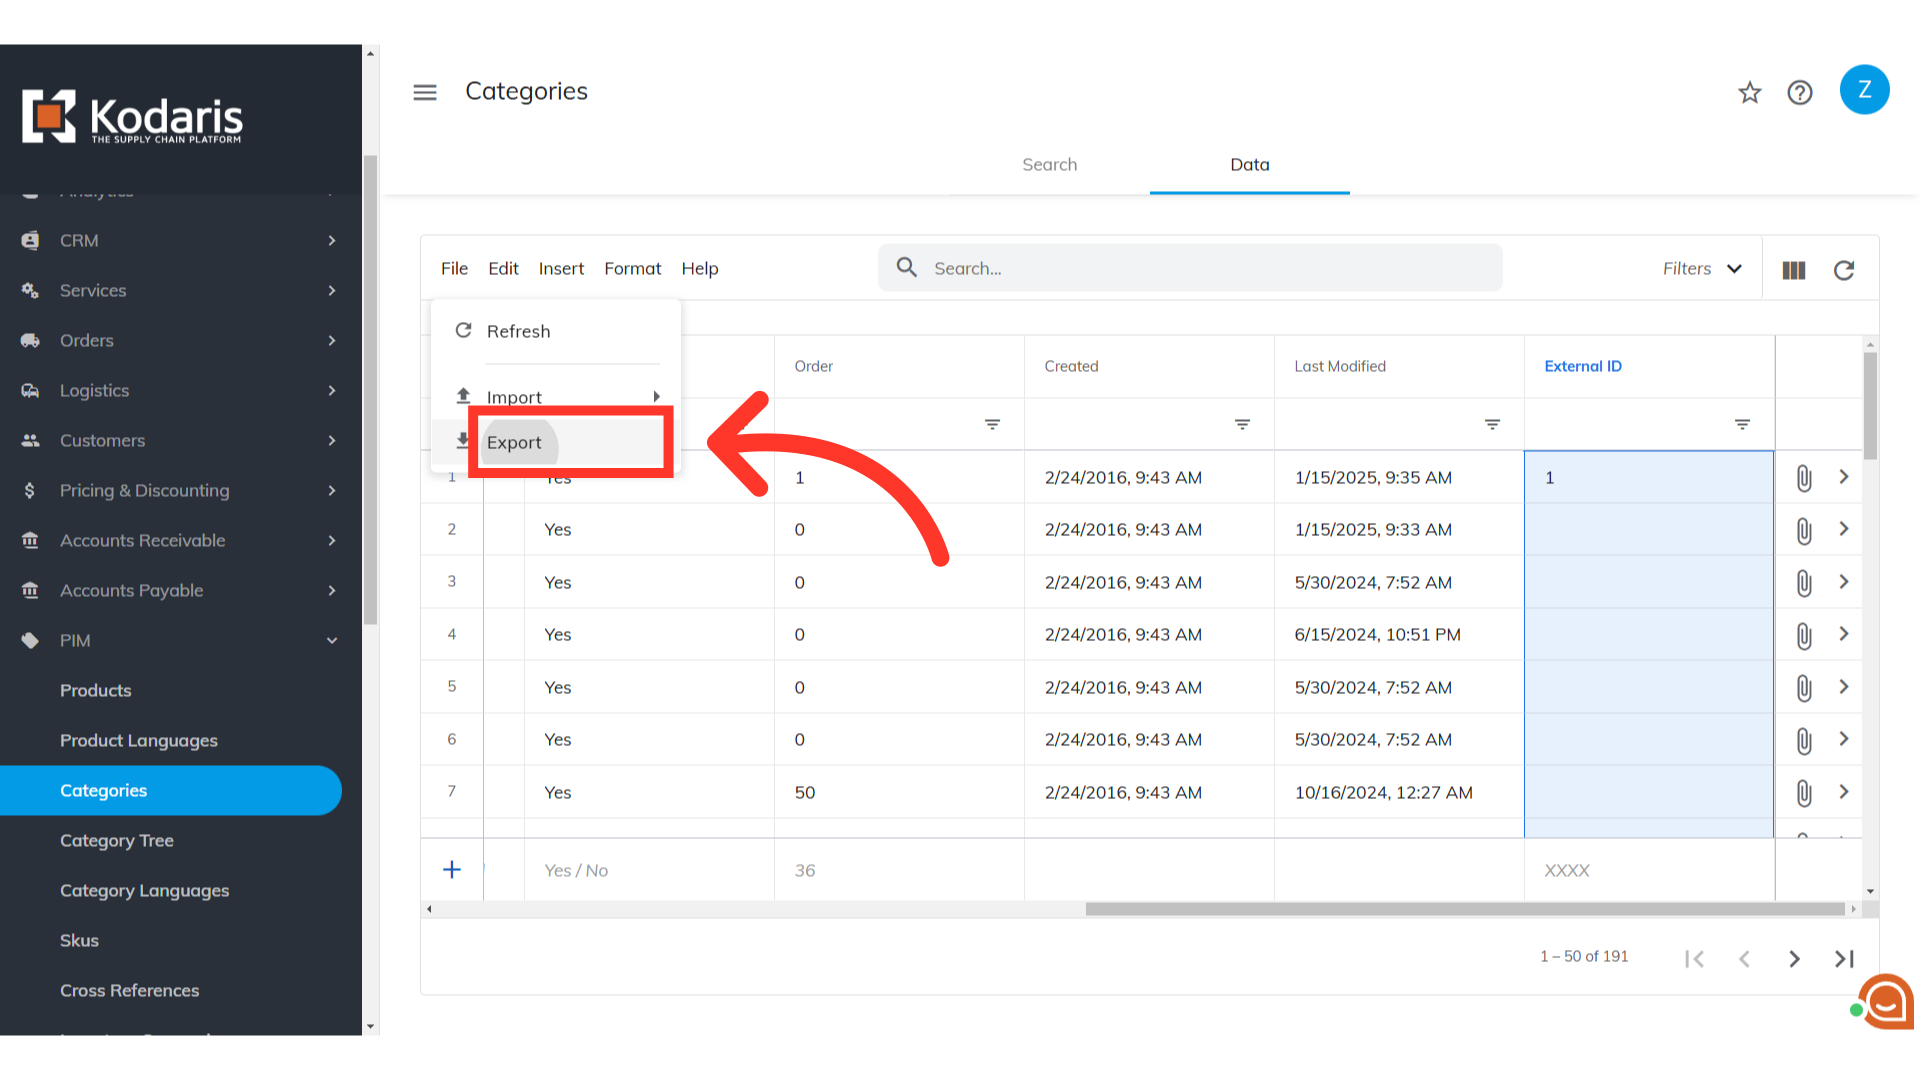
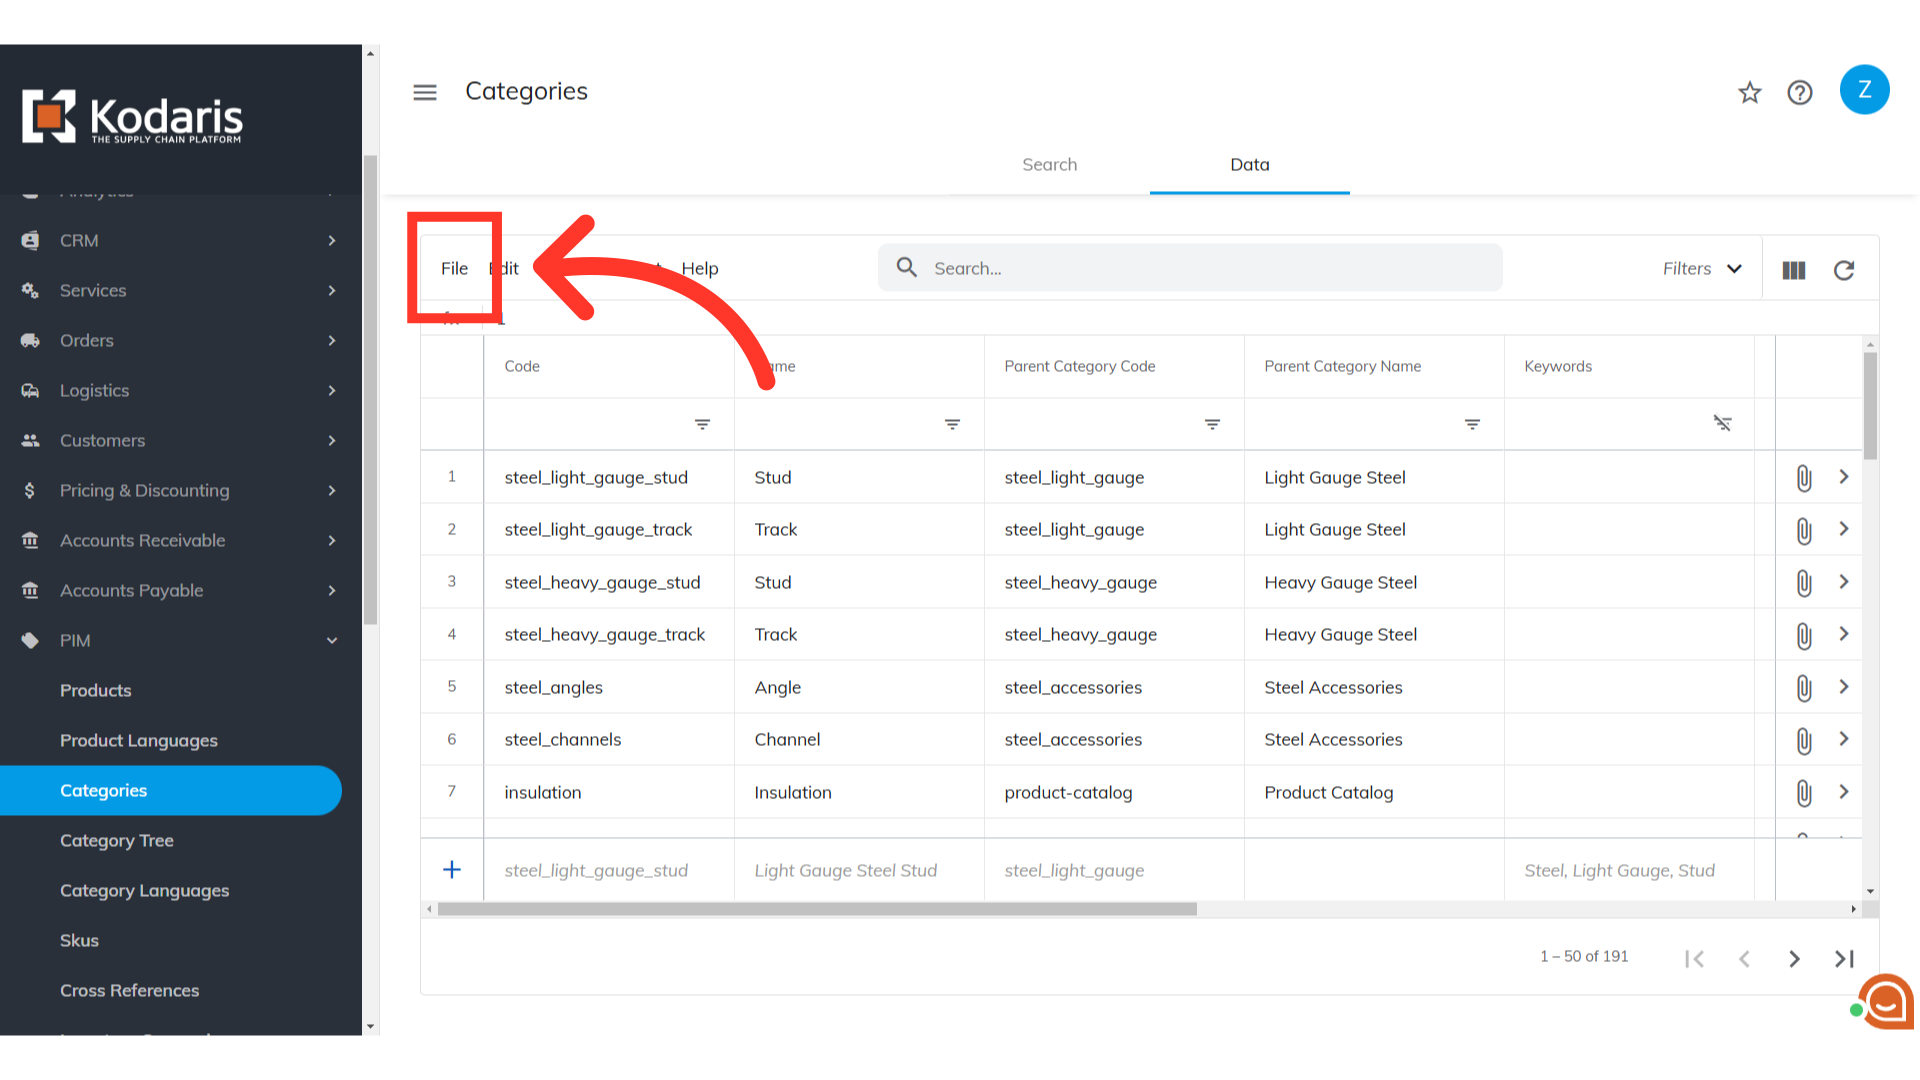
Now, click the "File" menu.

Click "Export" option.
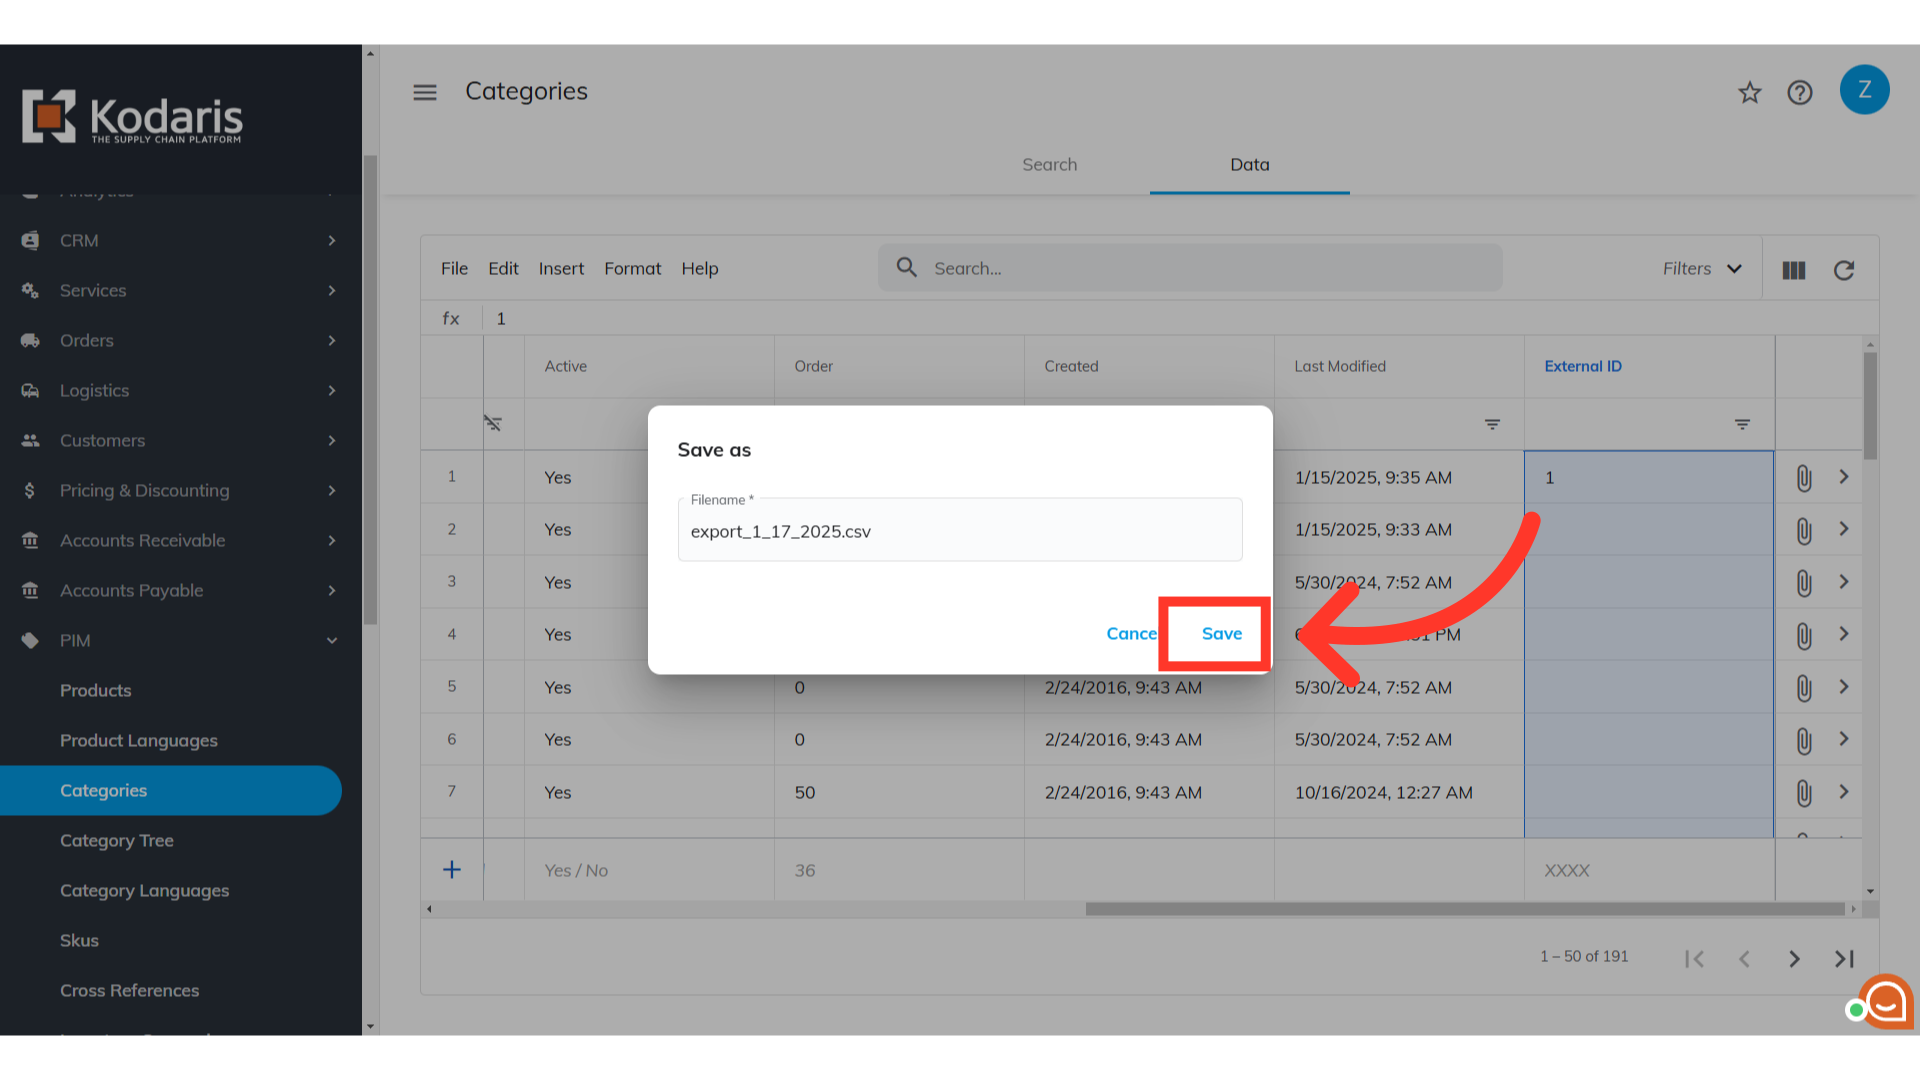
You can rename the export file from here if preferred. Otherwise, click "Save".
The exported file includes the header row that is needed for a category id import. Update the spreadsheet before importing to the system. If you are importing categories by external ID, the external ID fields cannot be updated.

Once your file is ready to import, you can now proceed to importing. Click the "File" menu.
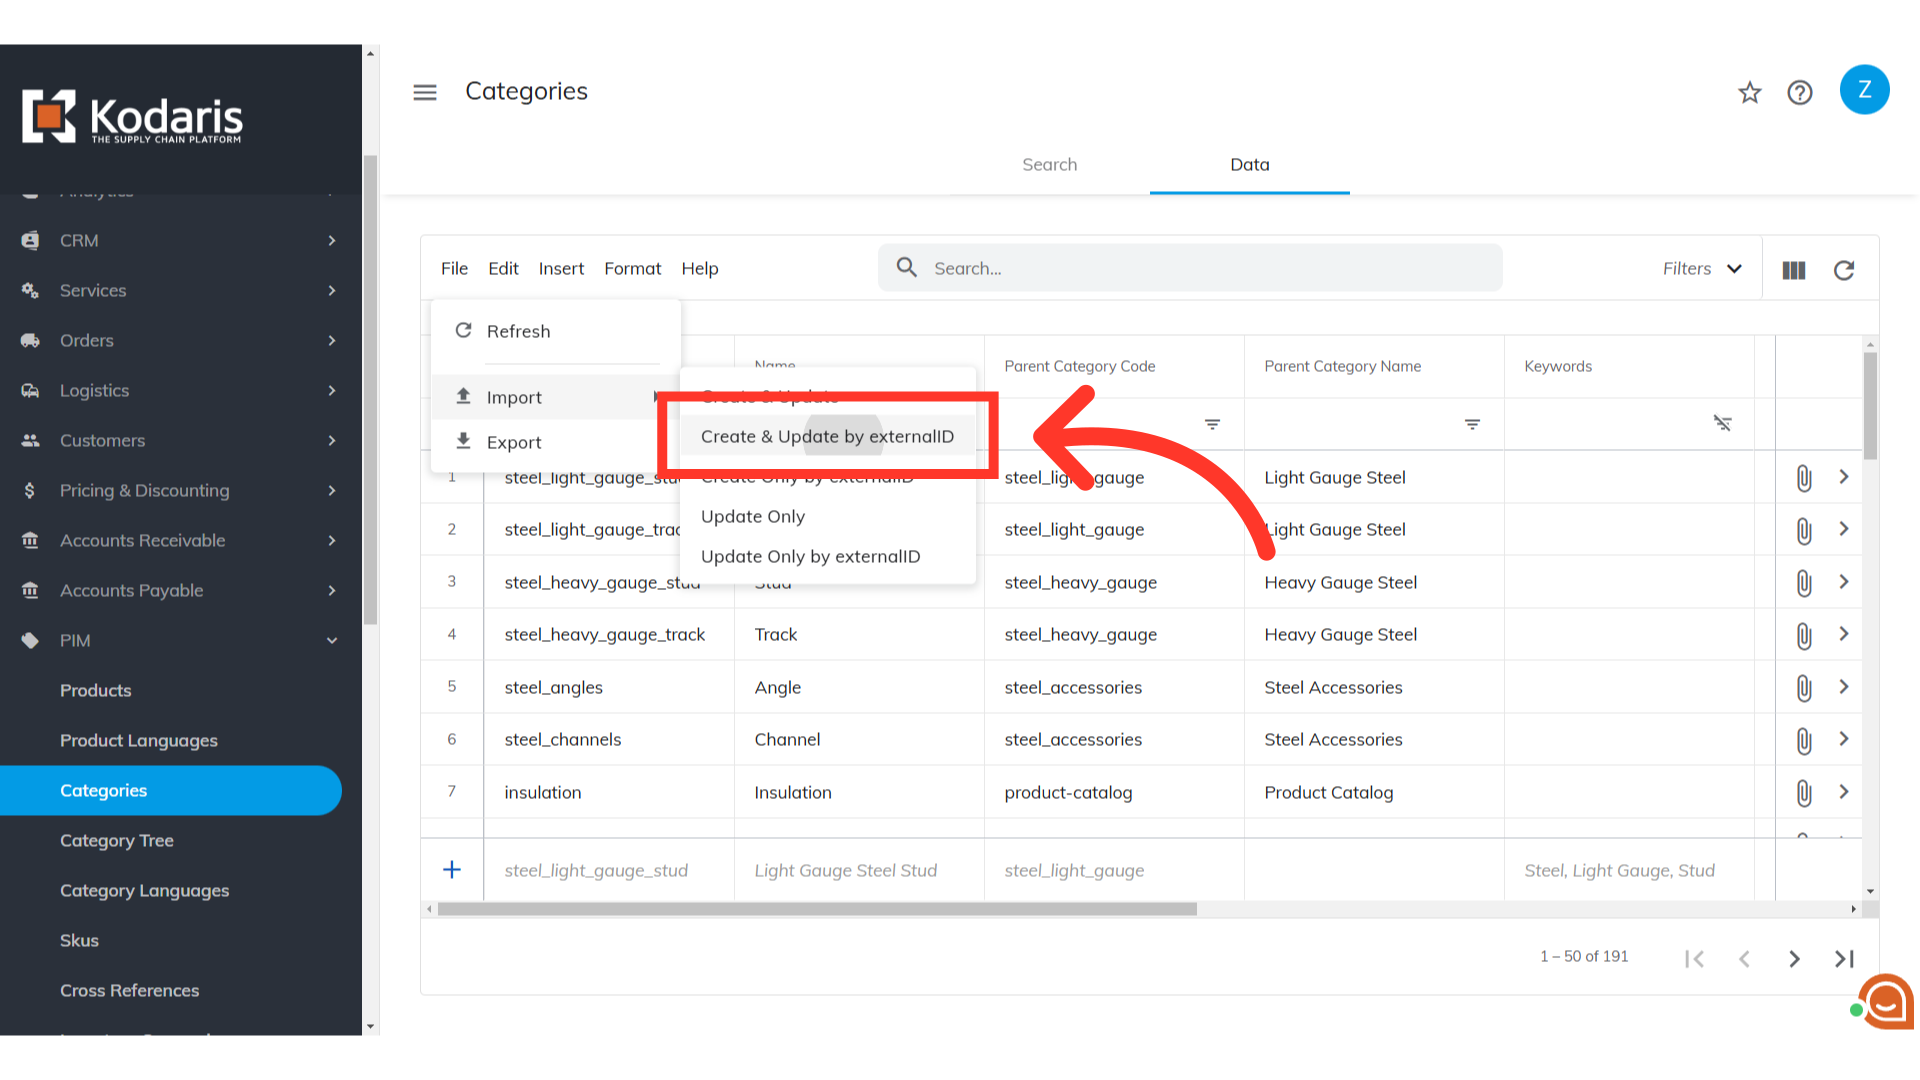
Select "Import" option.

Click "Create & Update by externalID" if there are new categories to be added during import. You can also select "Update Only by externalID" if you want to only update existing categories.
Select the file you want to import from your computer. Be sure to select the correct file to import.

Lastly, click "Open" to start the import.

Once imported has finished, you should receive an import report in your email.
