To mass update the display field on products by importing, navigate to "PIM" in the operations portal. You can also update this information on the product details page, or on the data grid - which acts like an embedded spreadsheet. This documentation will show how to update products by importing, which can be helpful if you would like to quickly update a lot of products.
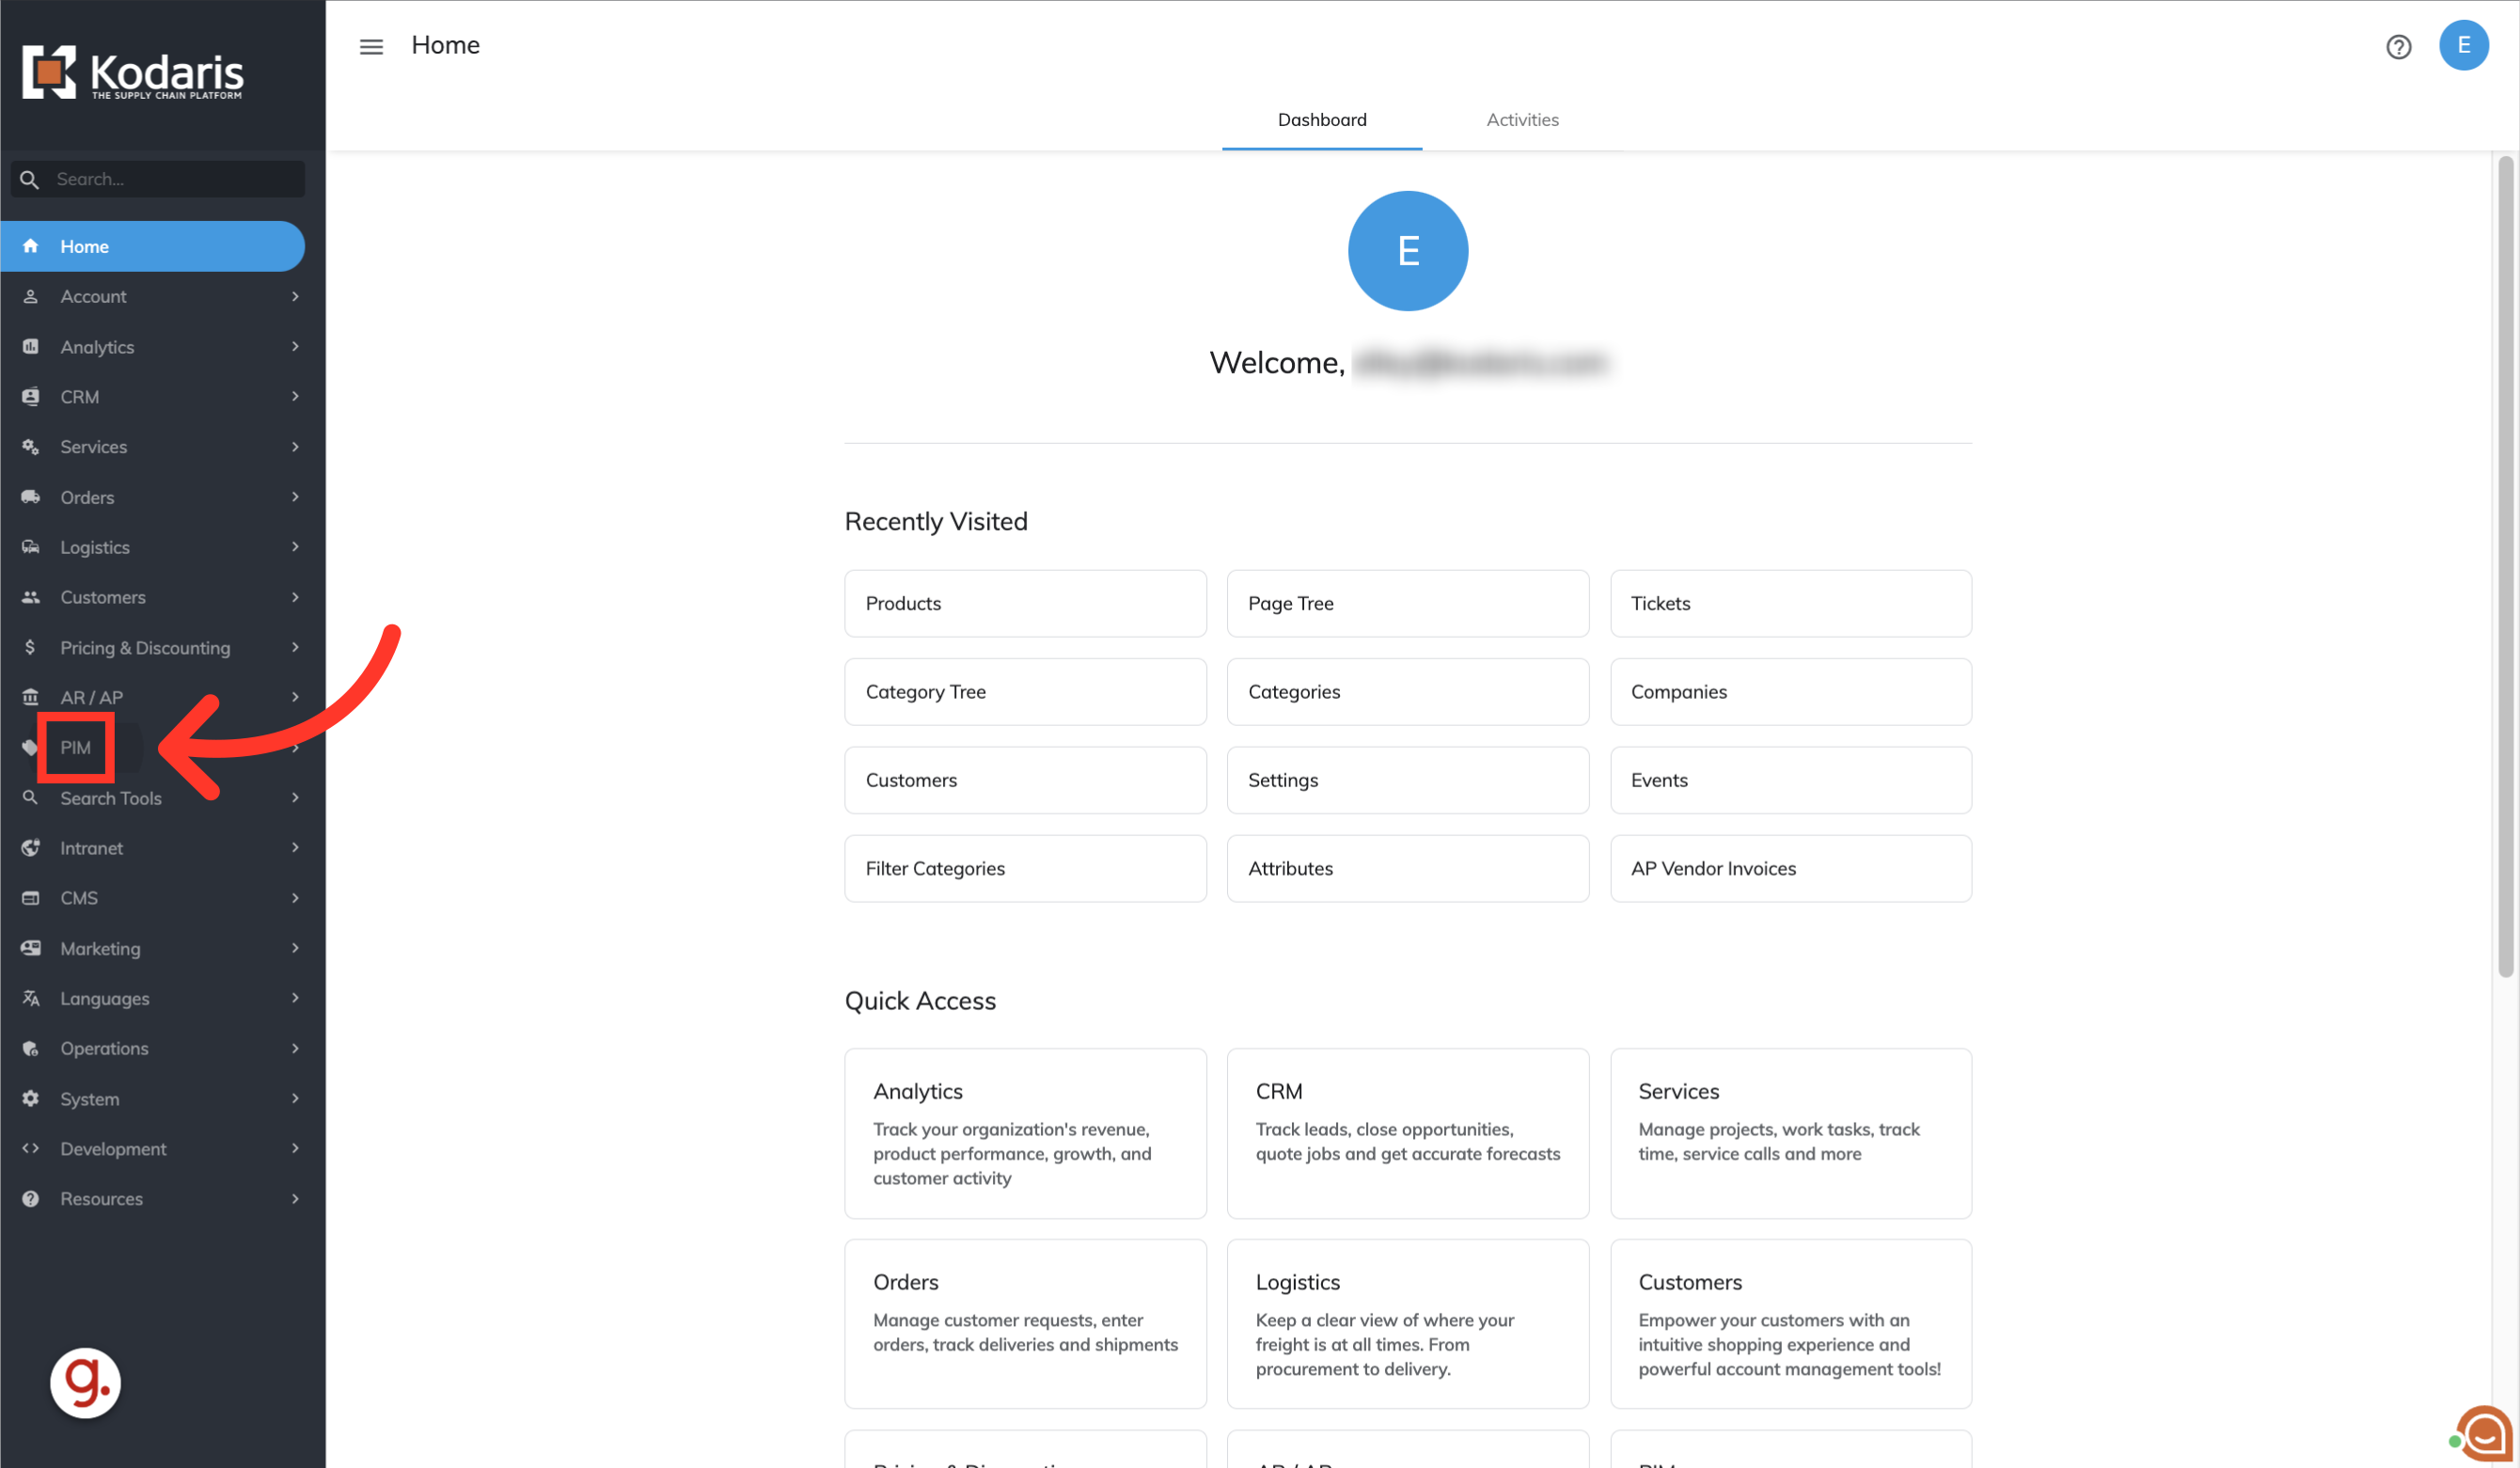
Then, click "Products". In order to access and edit products, you will need to be assigned the role of "administrator" or "superuser". Or have the roles of: "productView" and "productEdit" along with "importEdit and "importView". These last two roles are needed for importing.
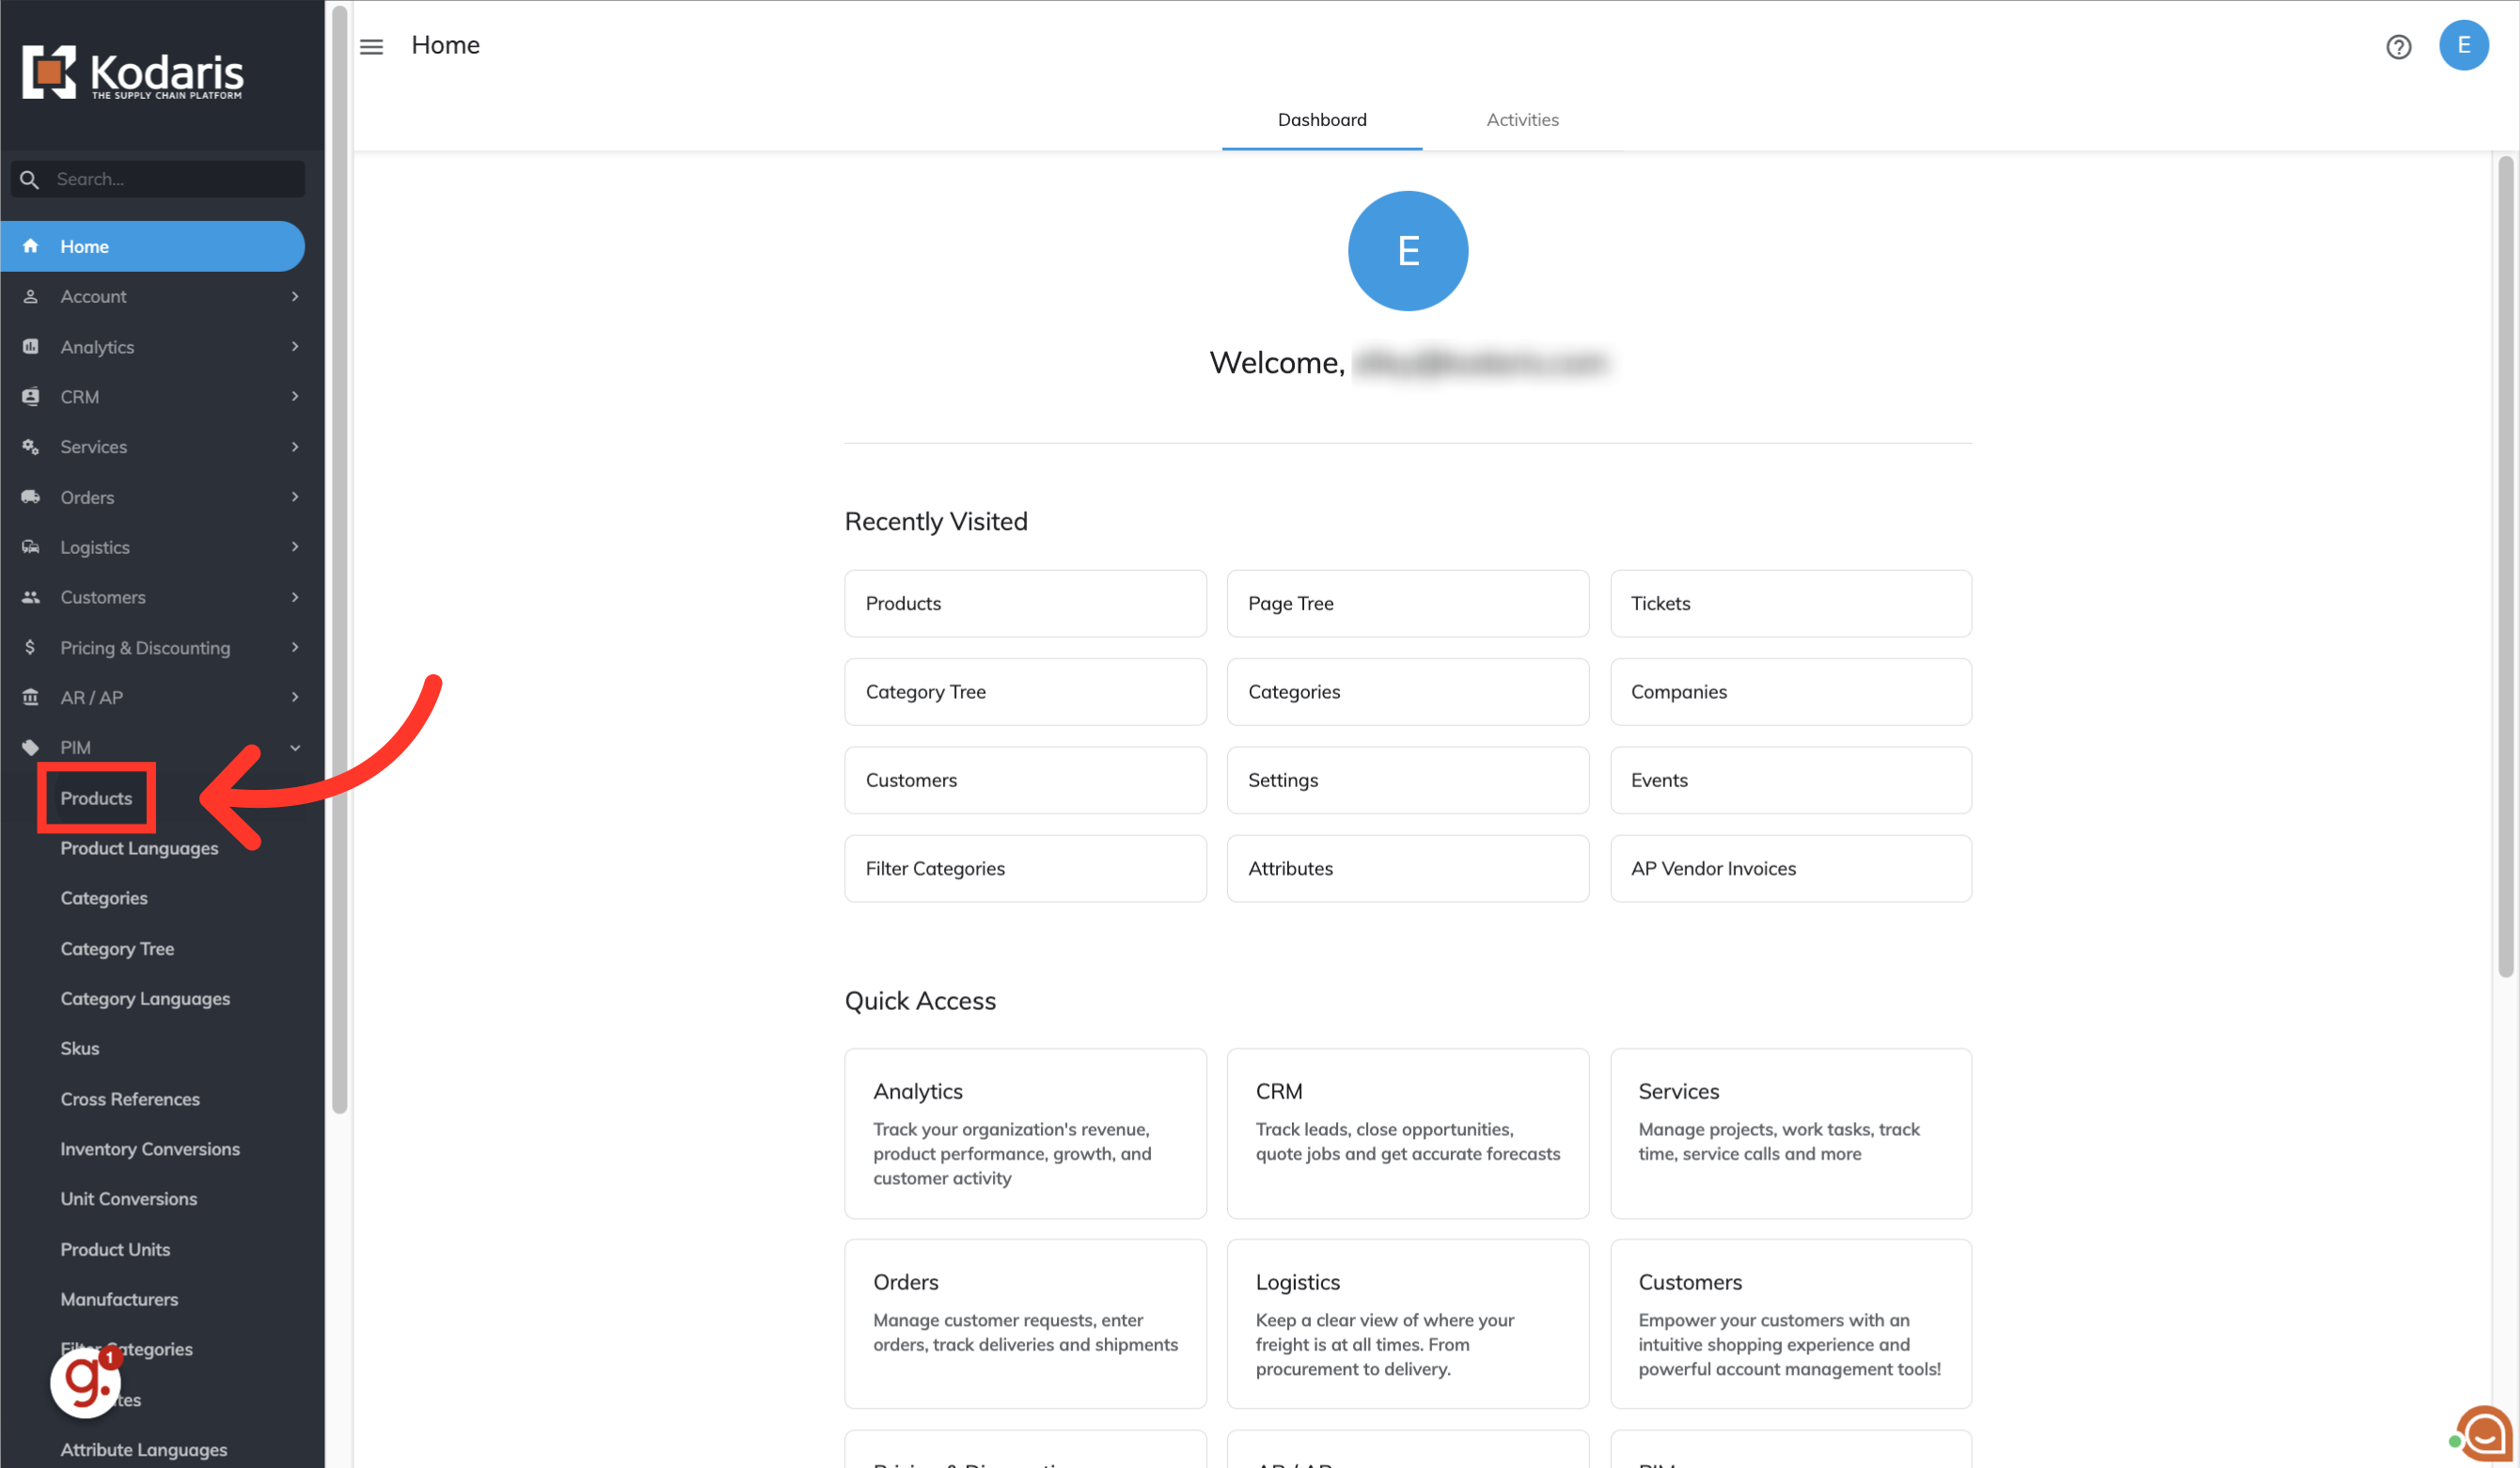
Select the "Data" tab.
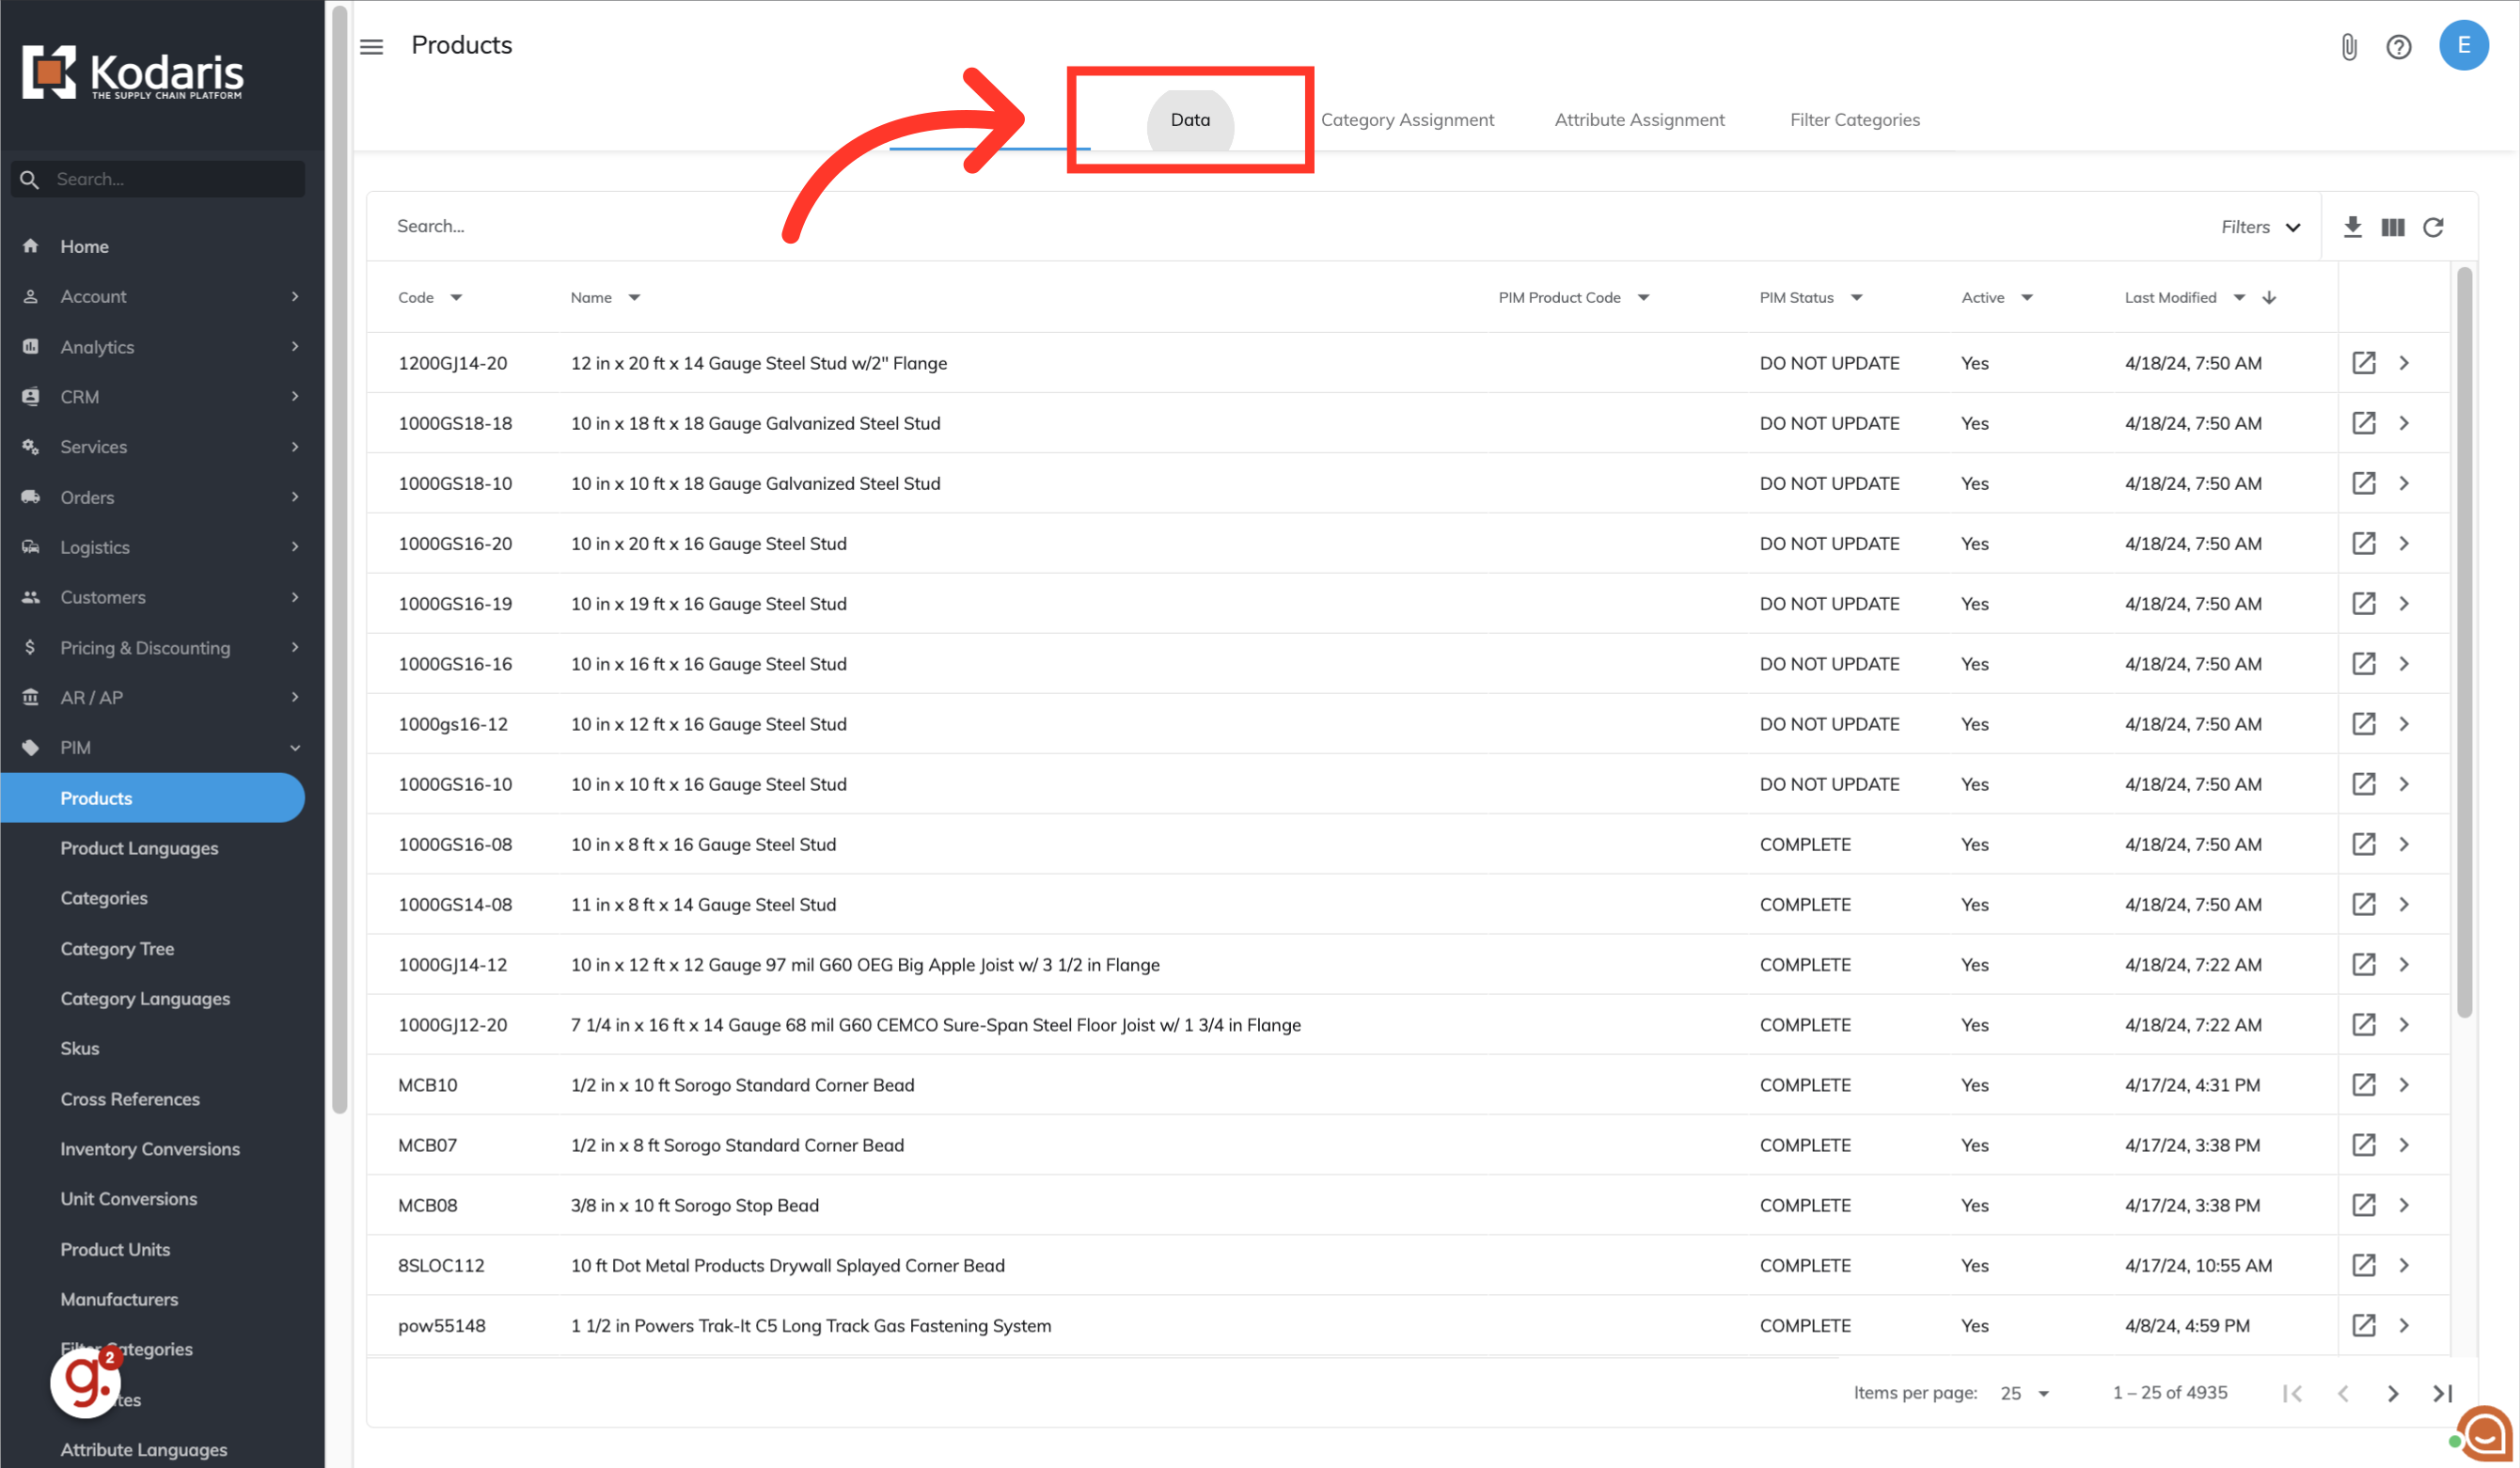
Click on the "Show/Hide" icon to choose the columns you would like to add to your grid.

In order to update the display field by import, you will want to add the code and display columns to your screen. You can also include other columns that you would like to export and update by importing. In this instance, we are also going to choose the "Name" column. If you would like to remove any columns from this screen before exporting, unselect any columns to remove.

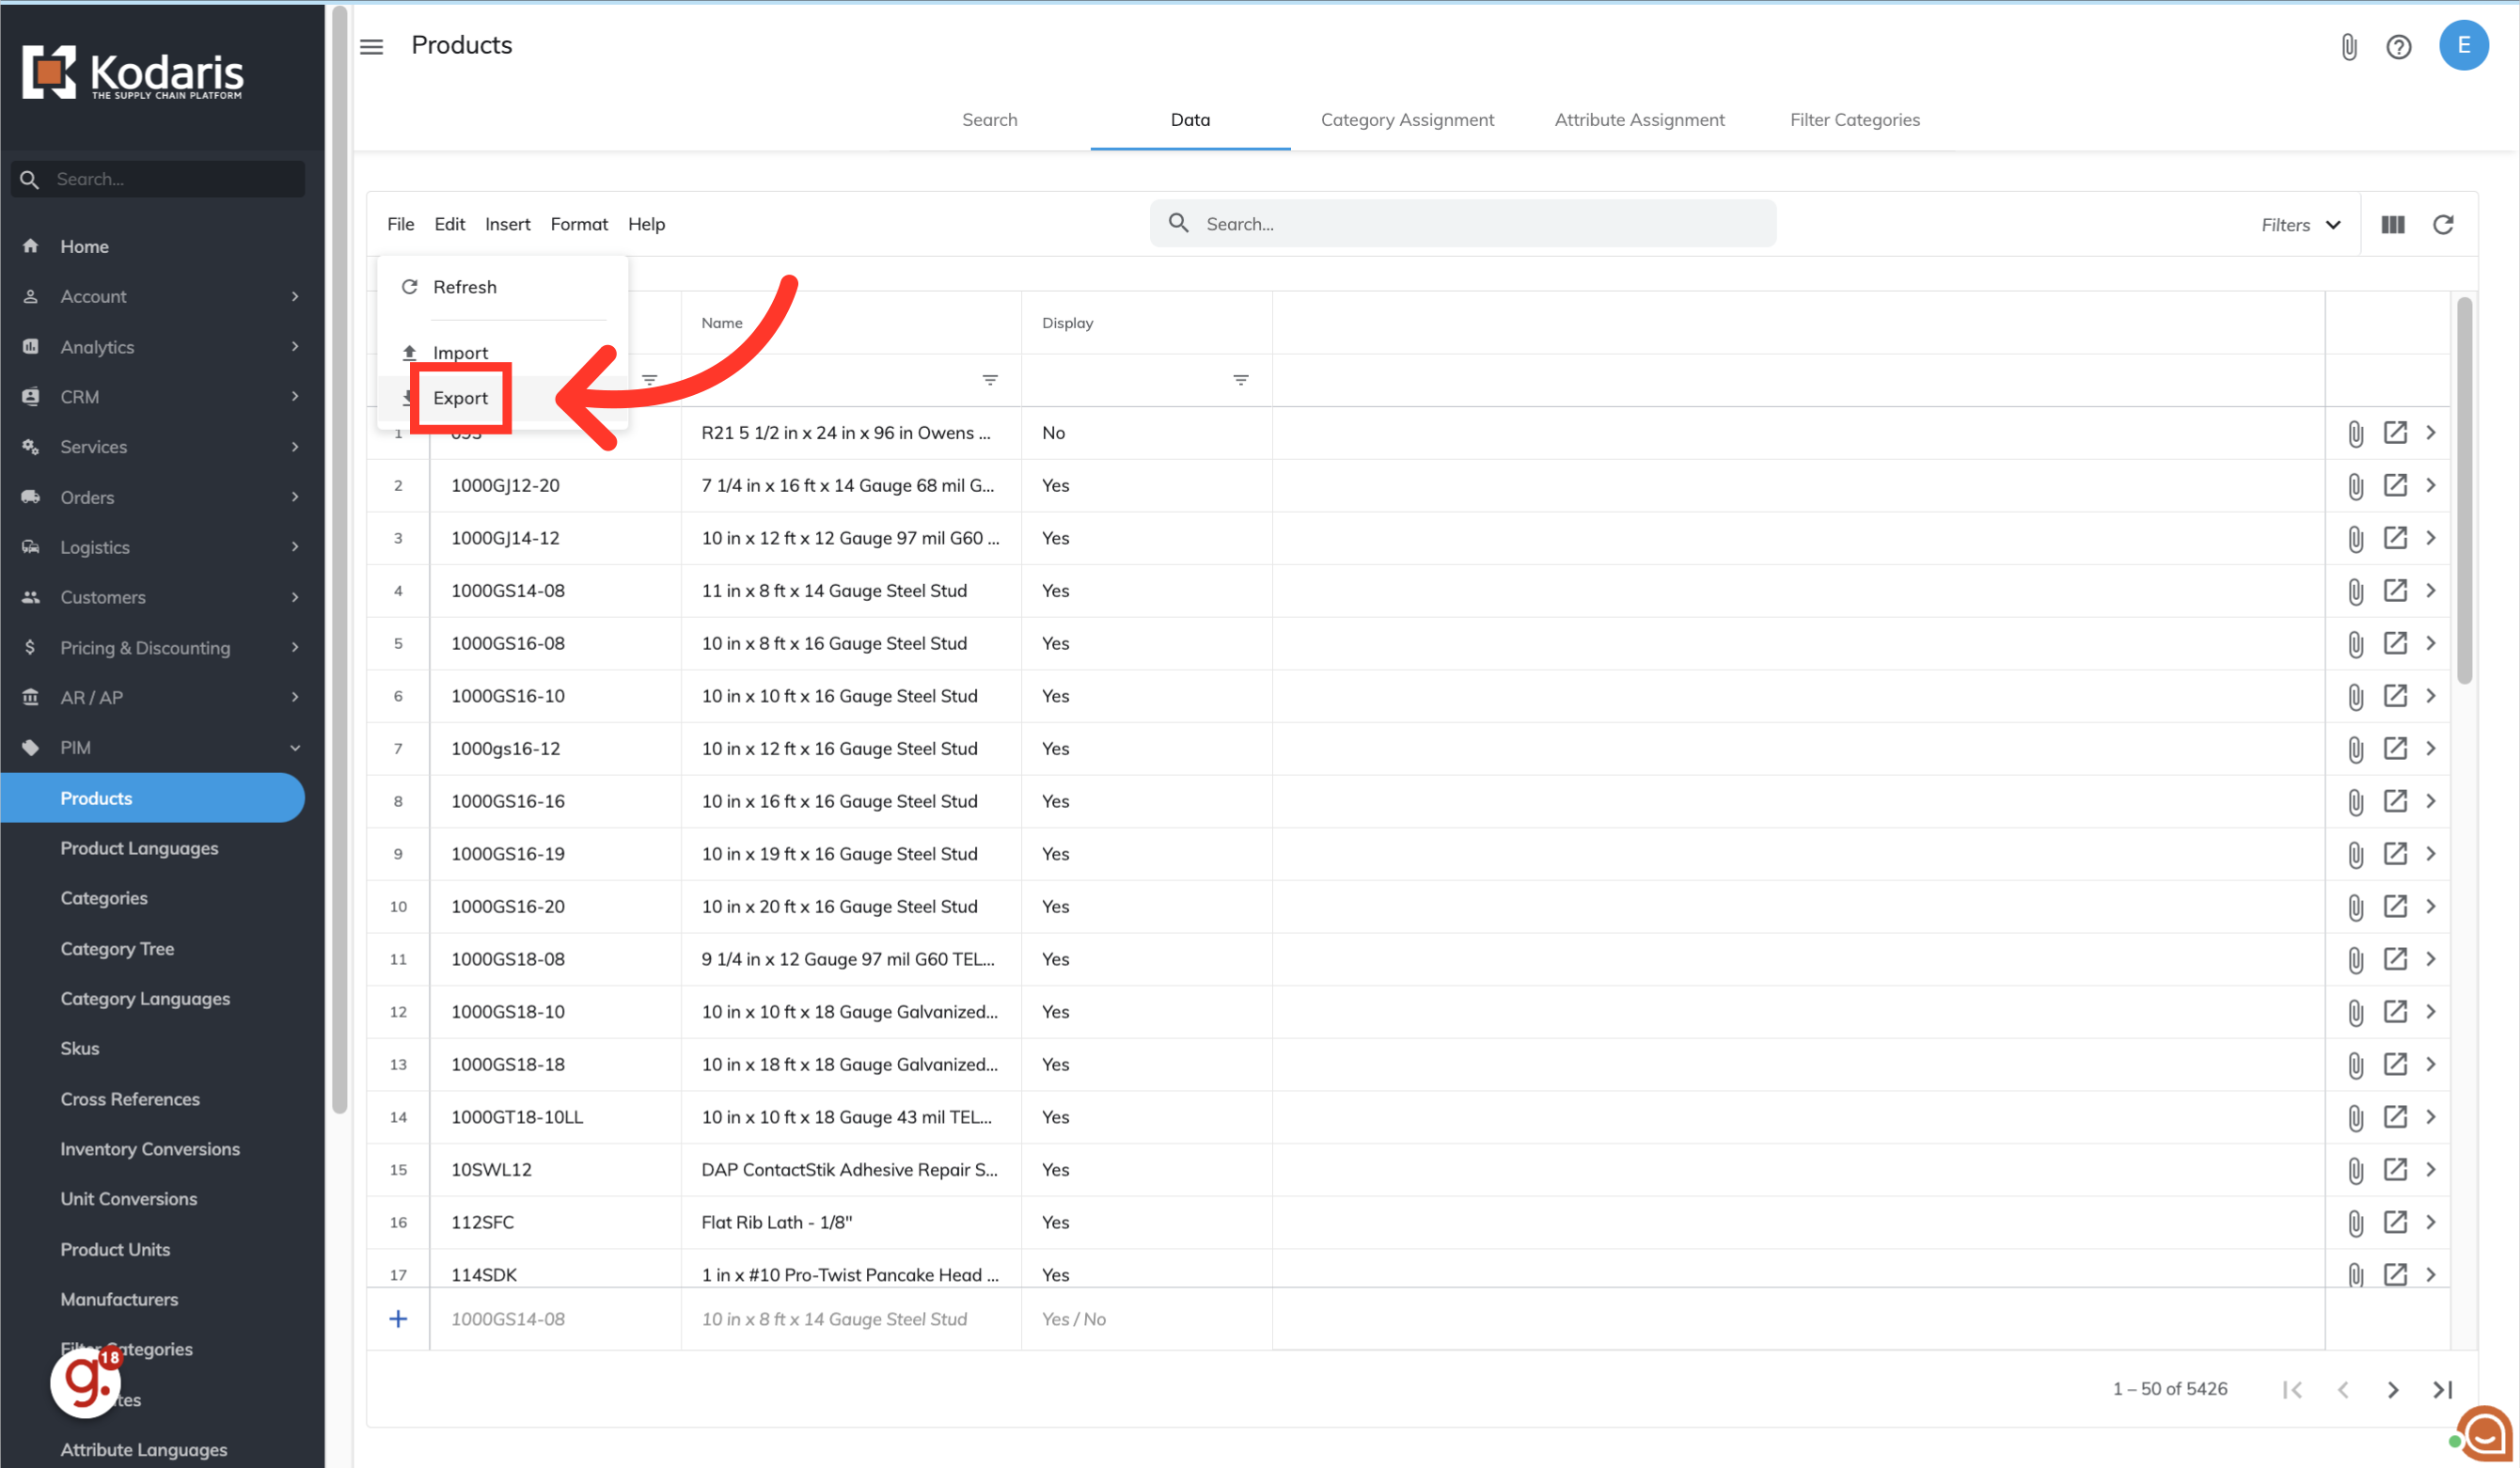
Click "File".
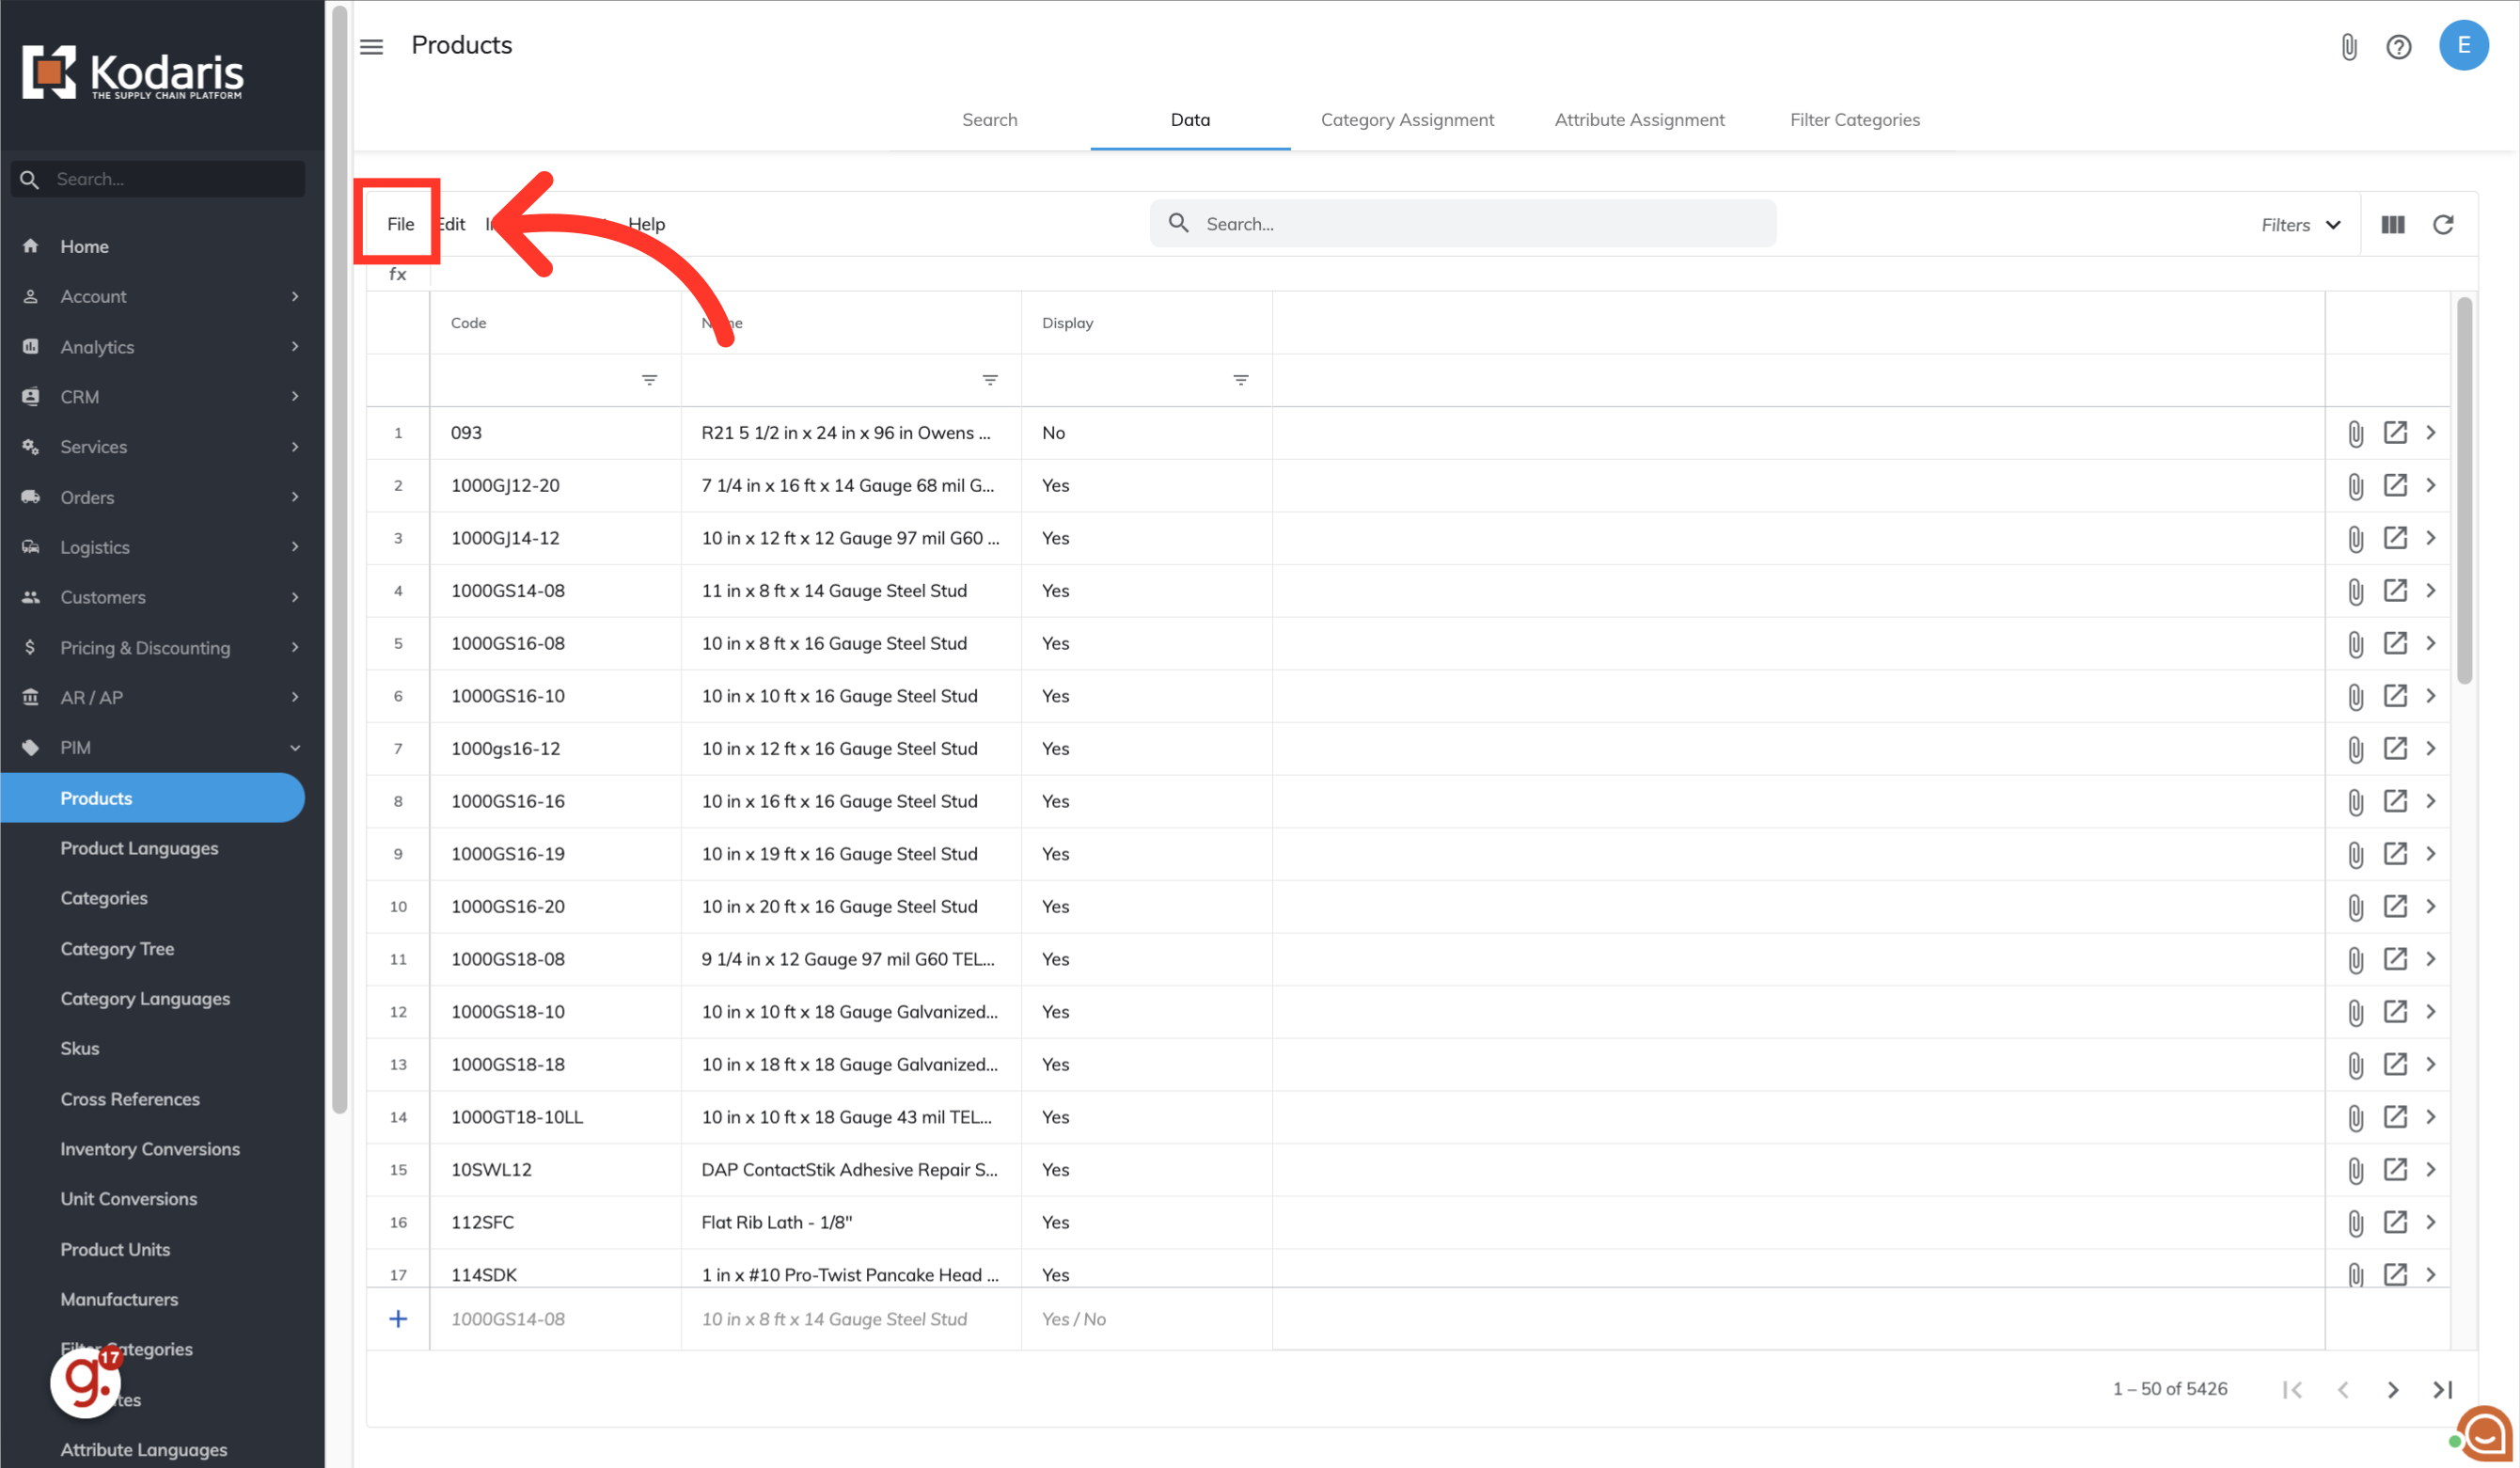
Select the Export option. This export will have the needed header row and data that will be used for importing back into the system when using the "Data" screen.
You can choose to name your export by clicking into the field and typing to update the name.
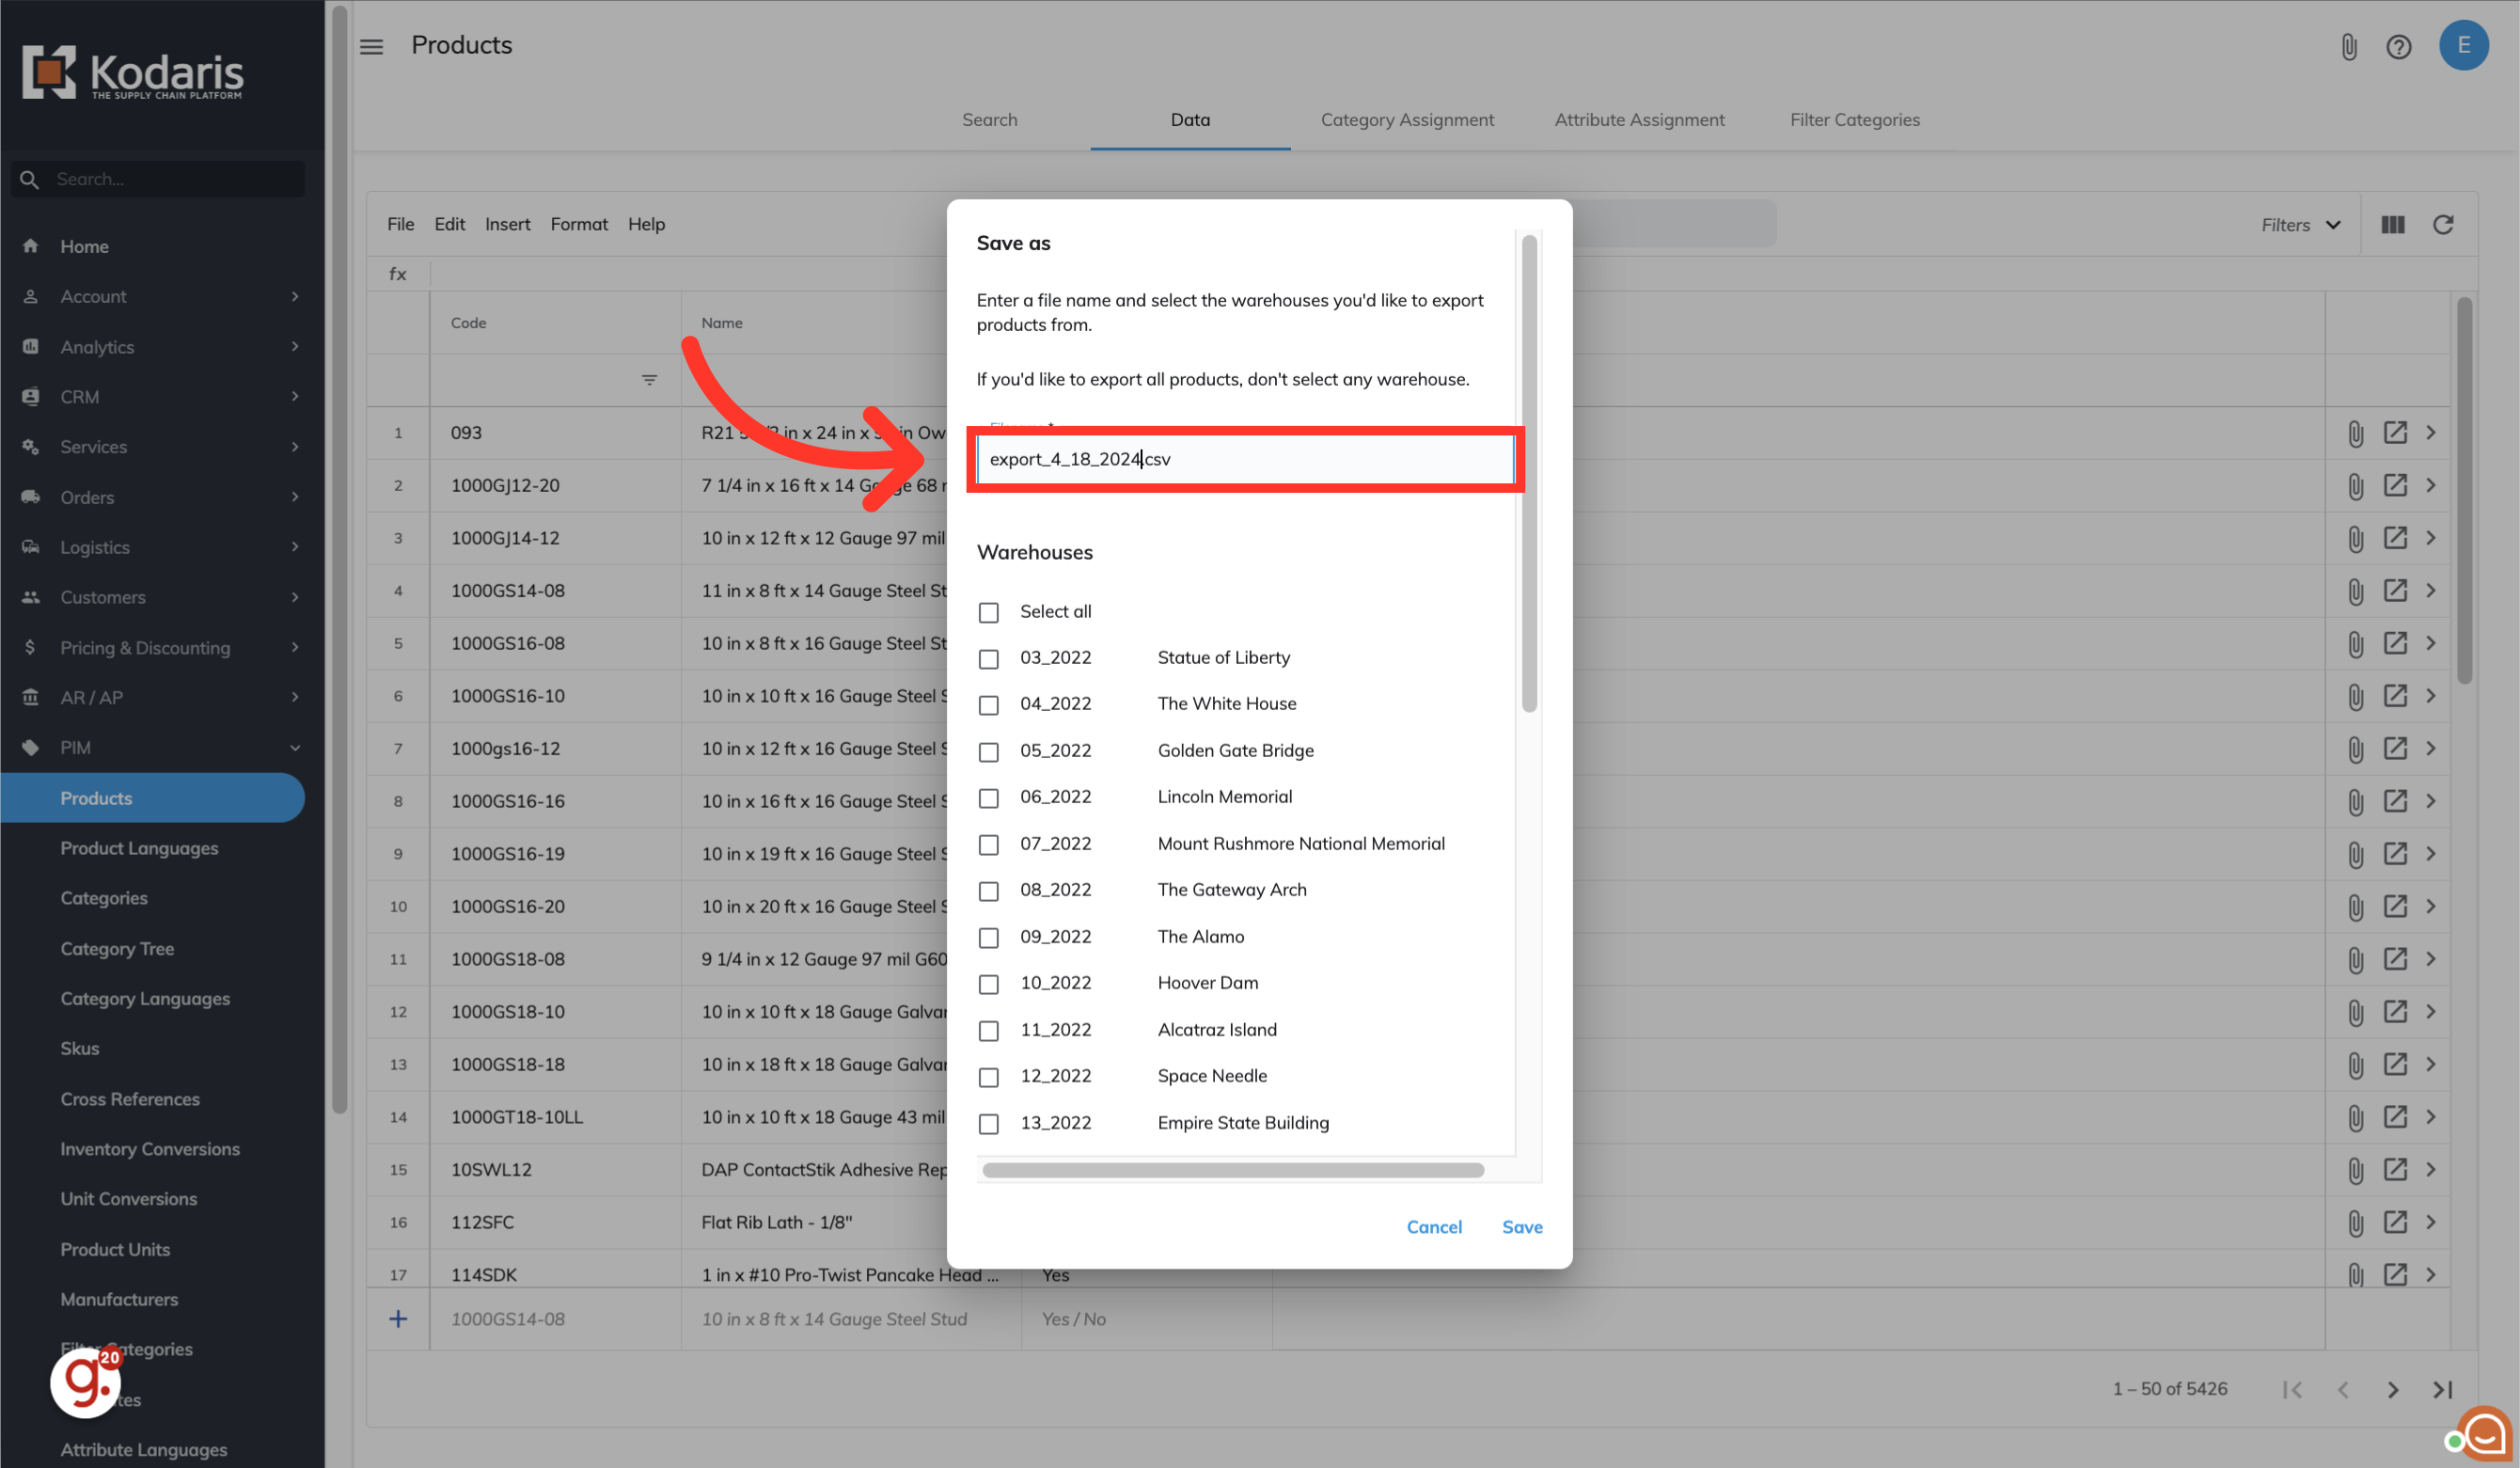
Click "Save" to save the file to your computer. If you are exporting a large amount of data, it may take a small amount of time to complete the export. The file will download and save to your computer.

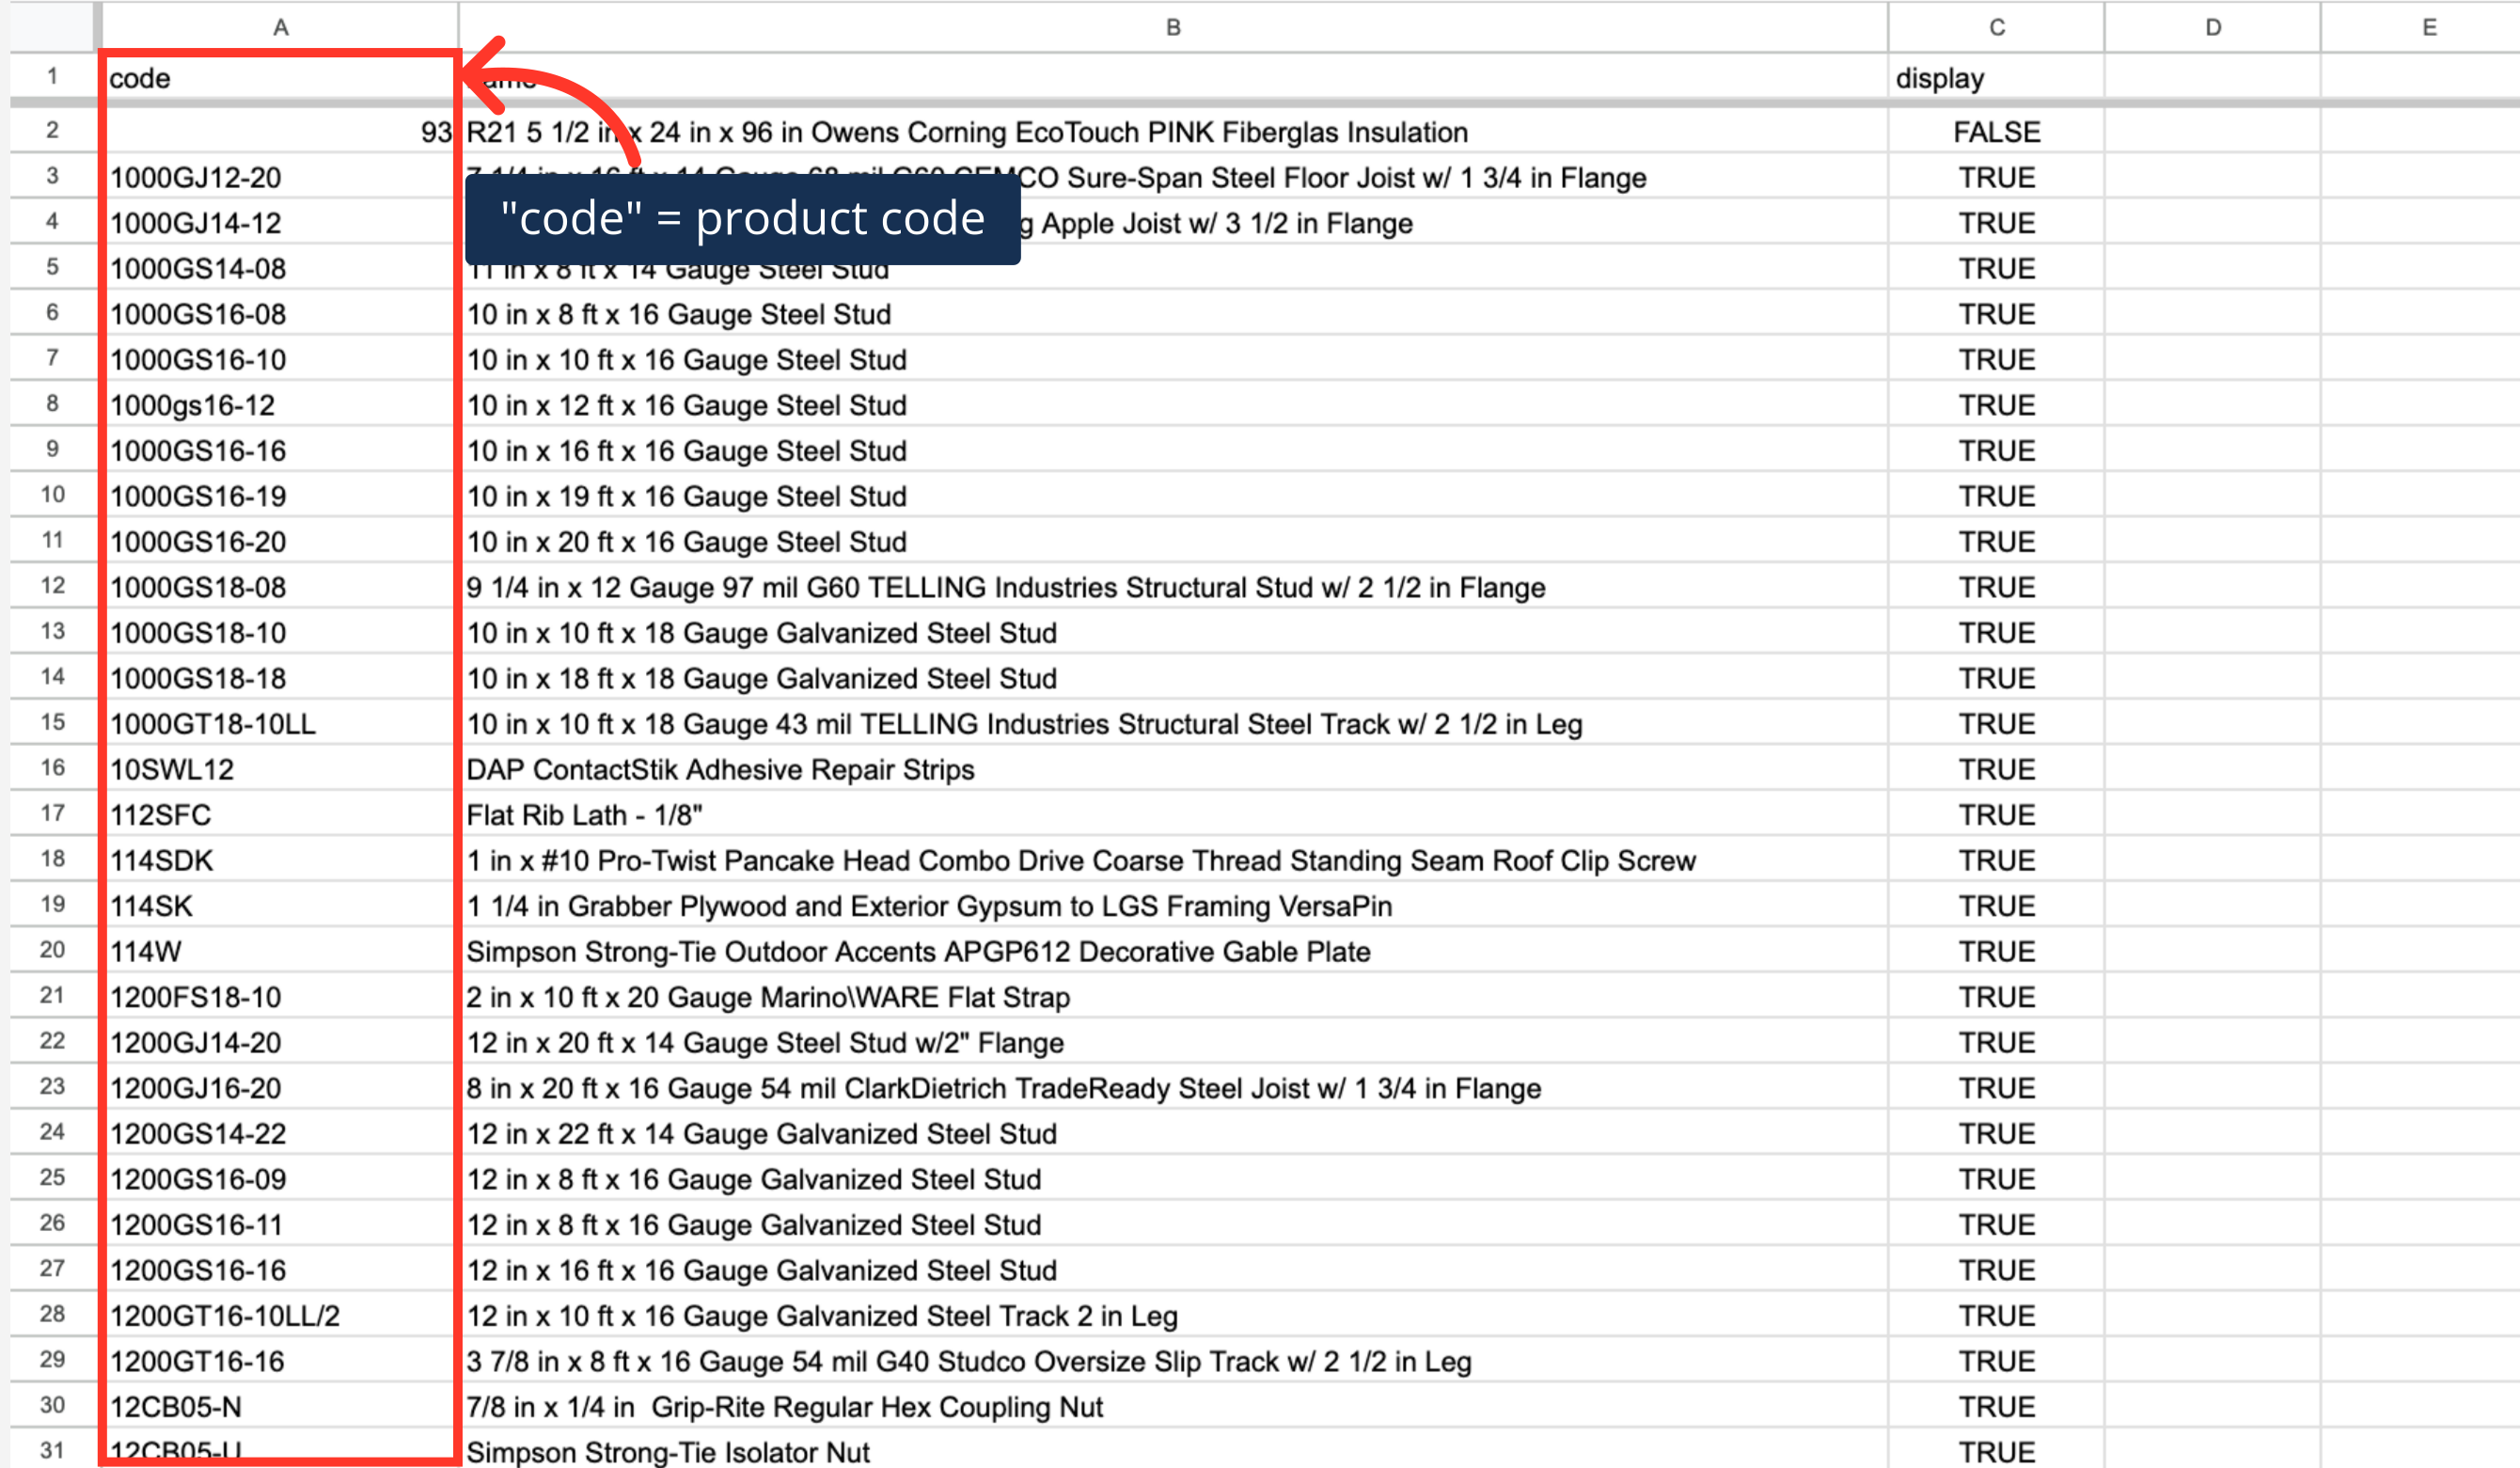
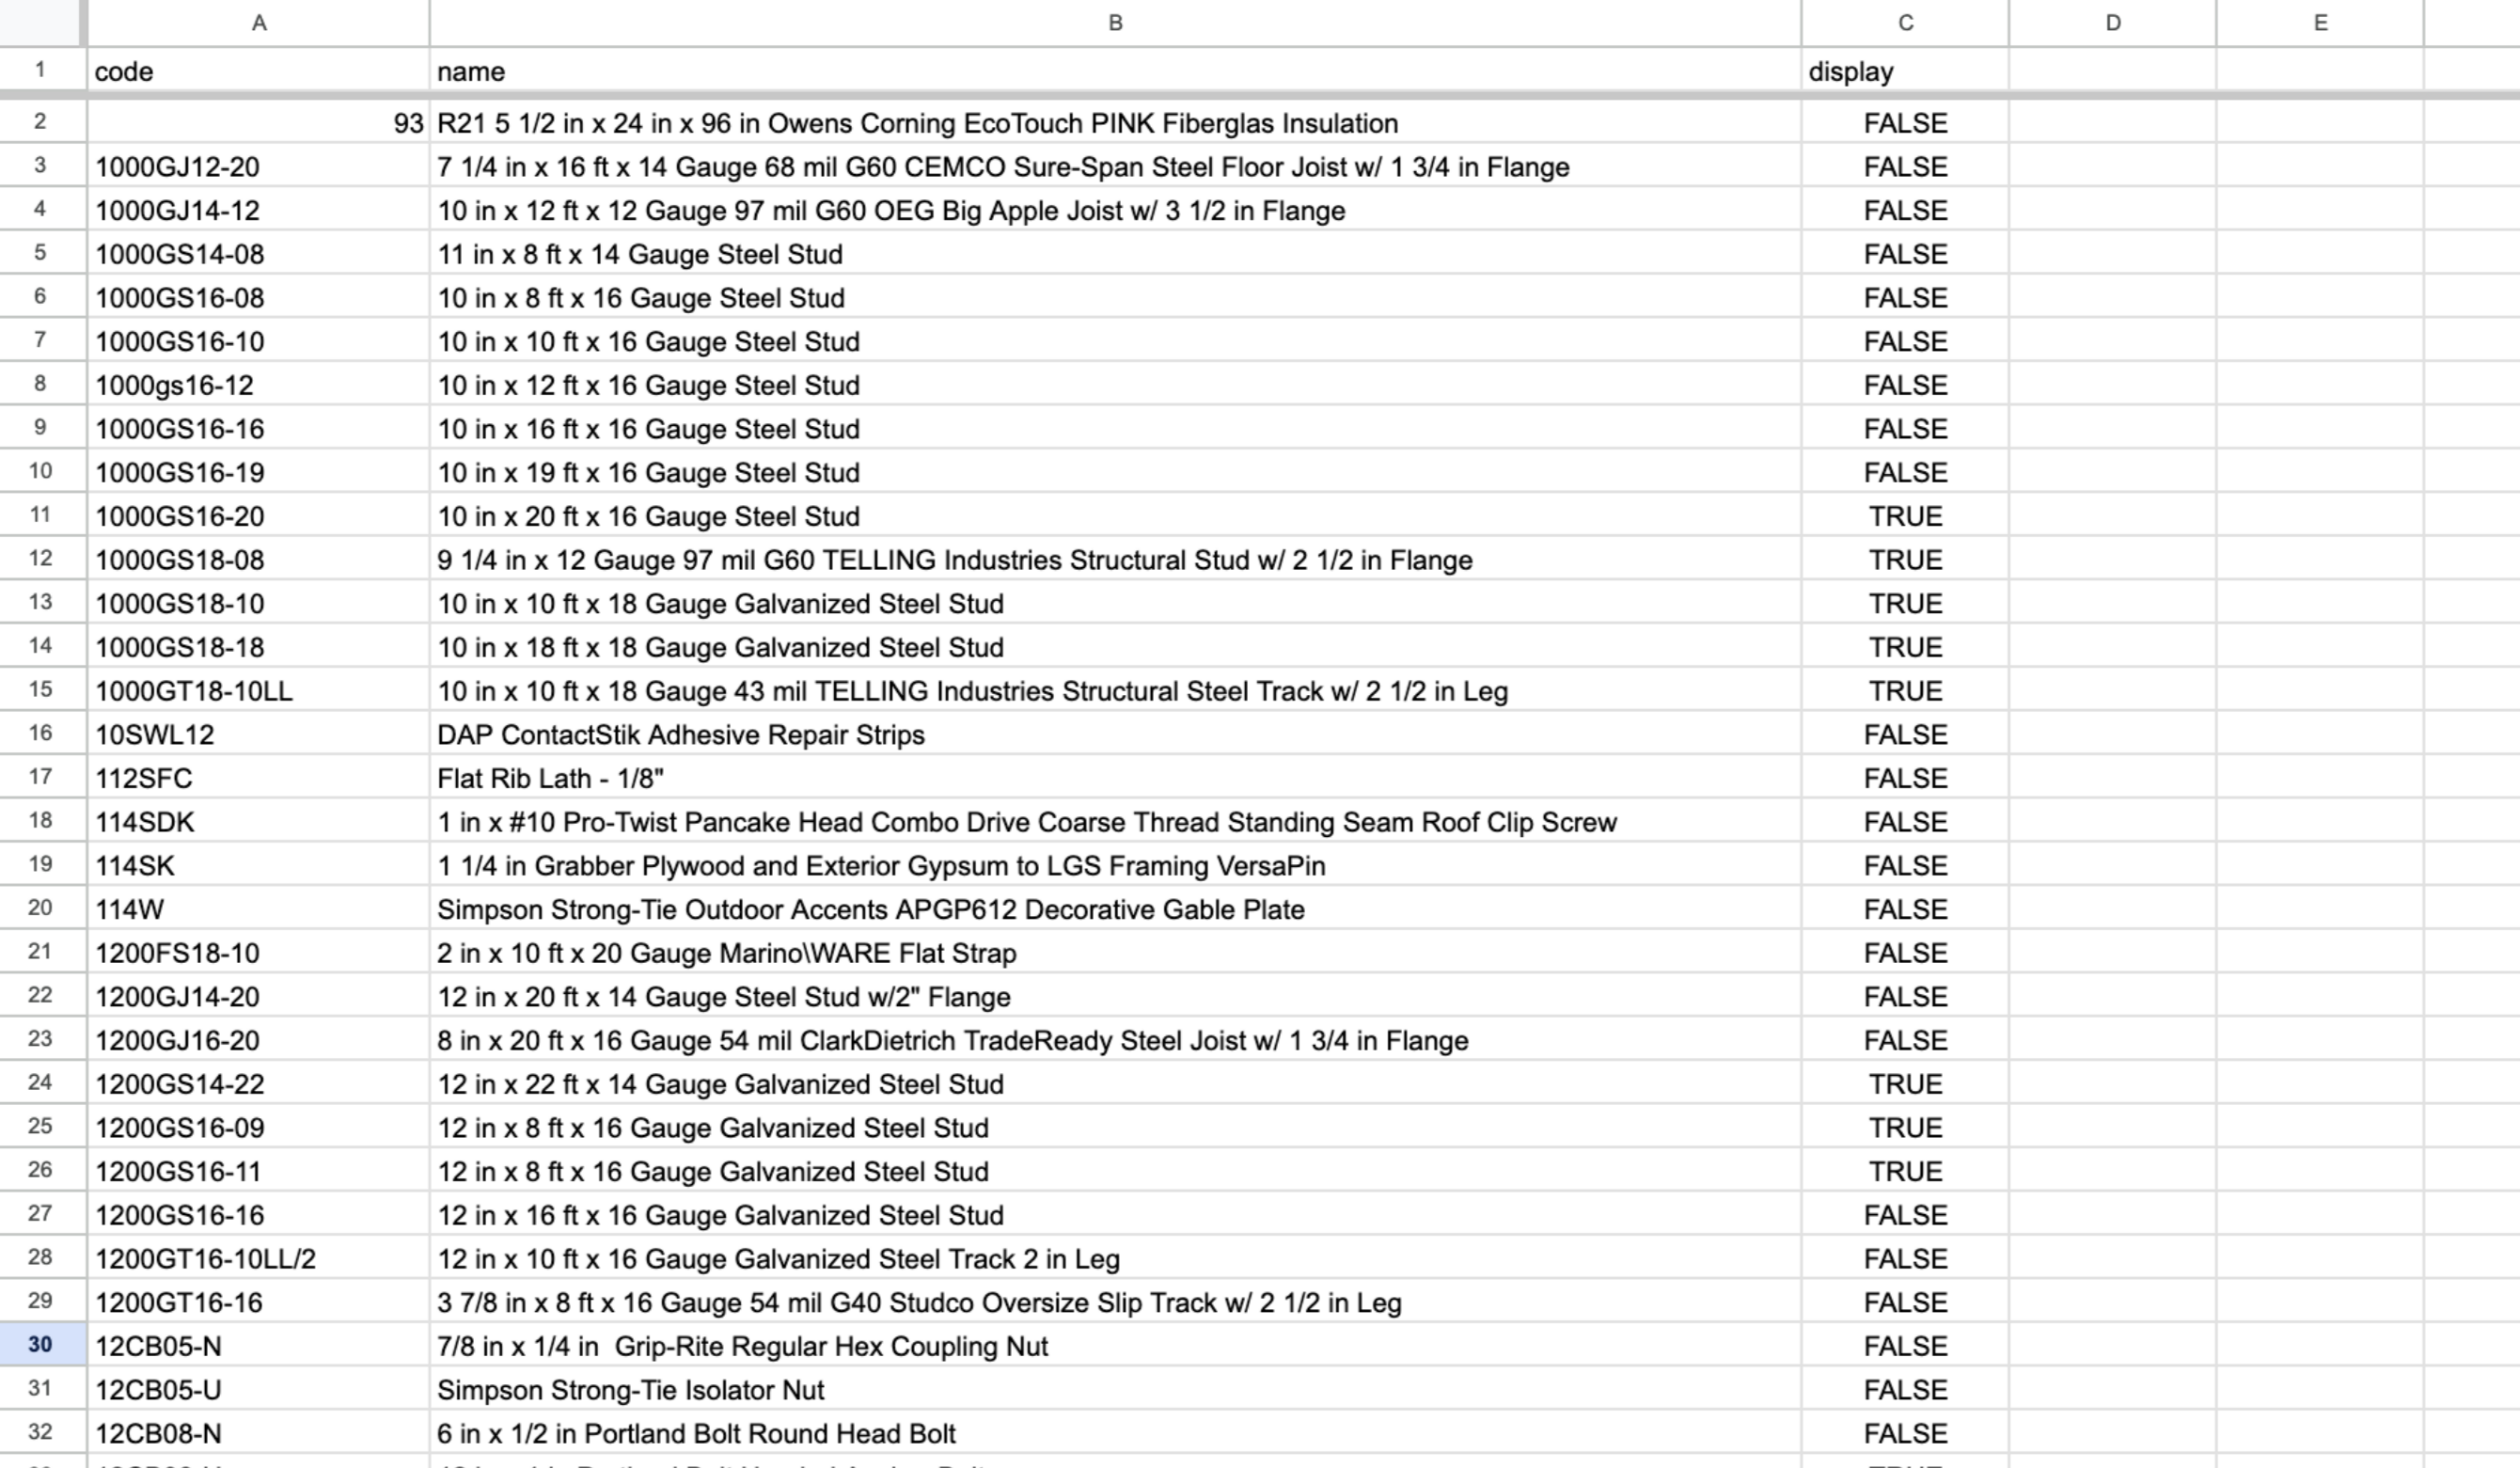
You can see in this sample export that we have the header row that is needed to import data, and also the exported data from the data tab.

The "code" column contains the product code. When importing product data, the code is required as it is the identifying factor for matching information.
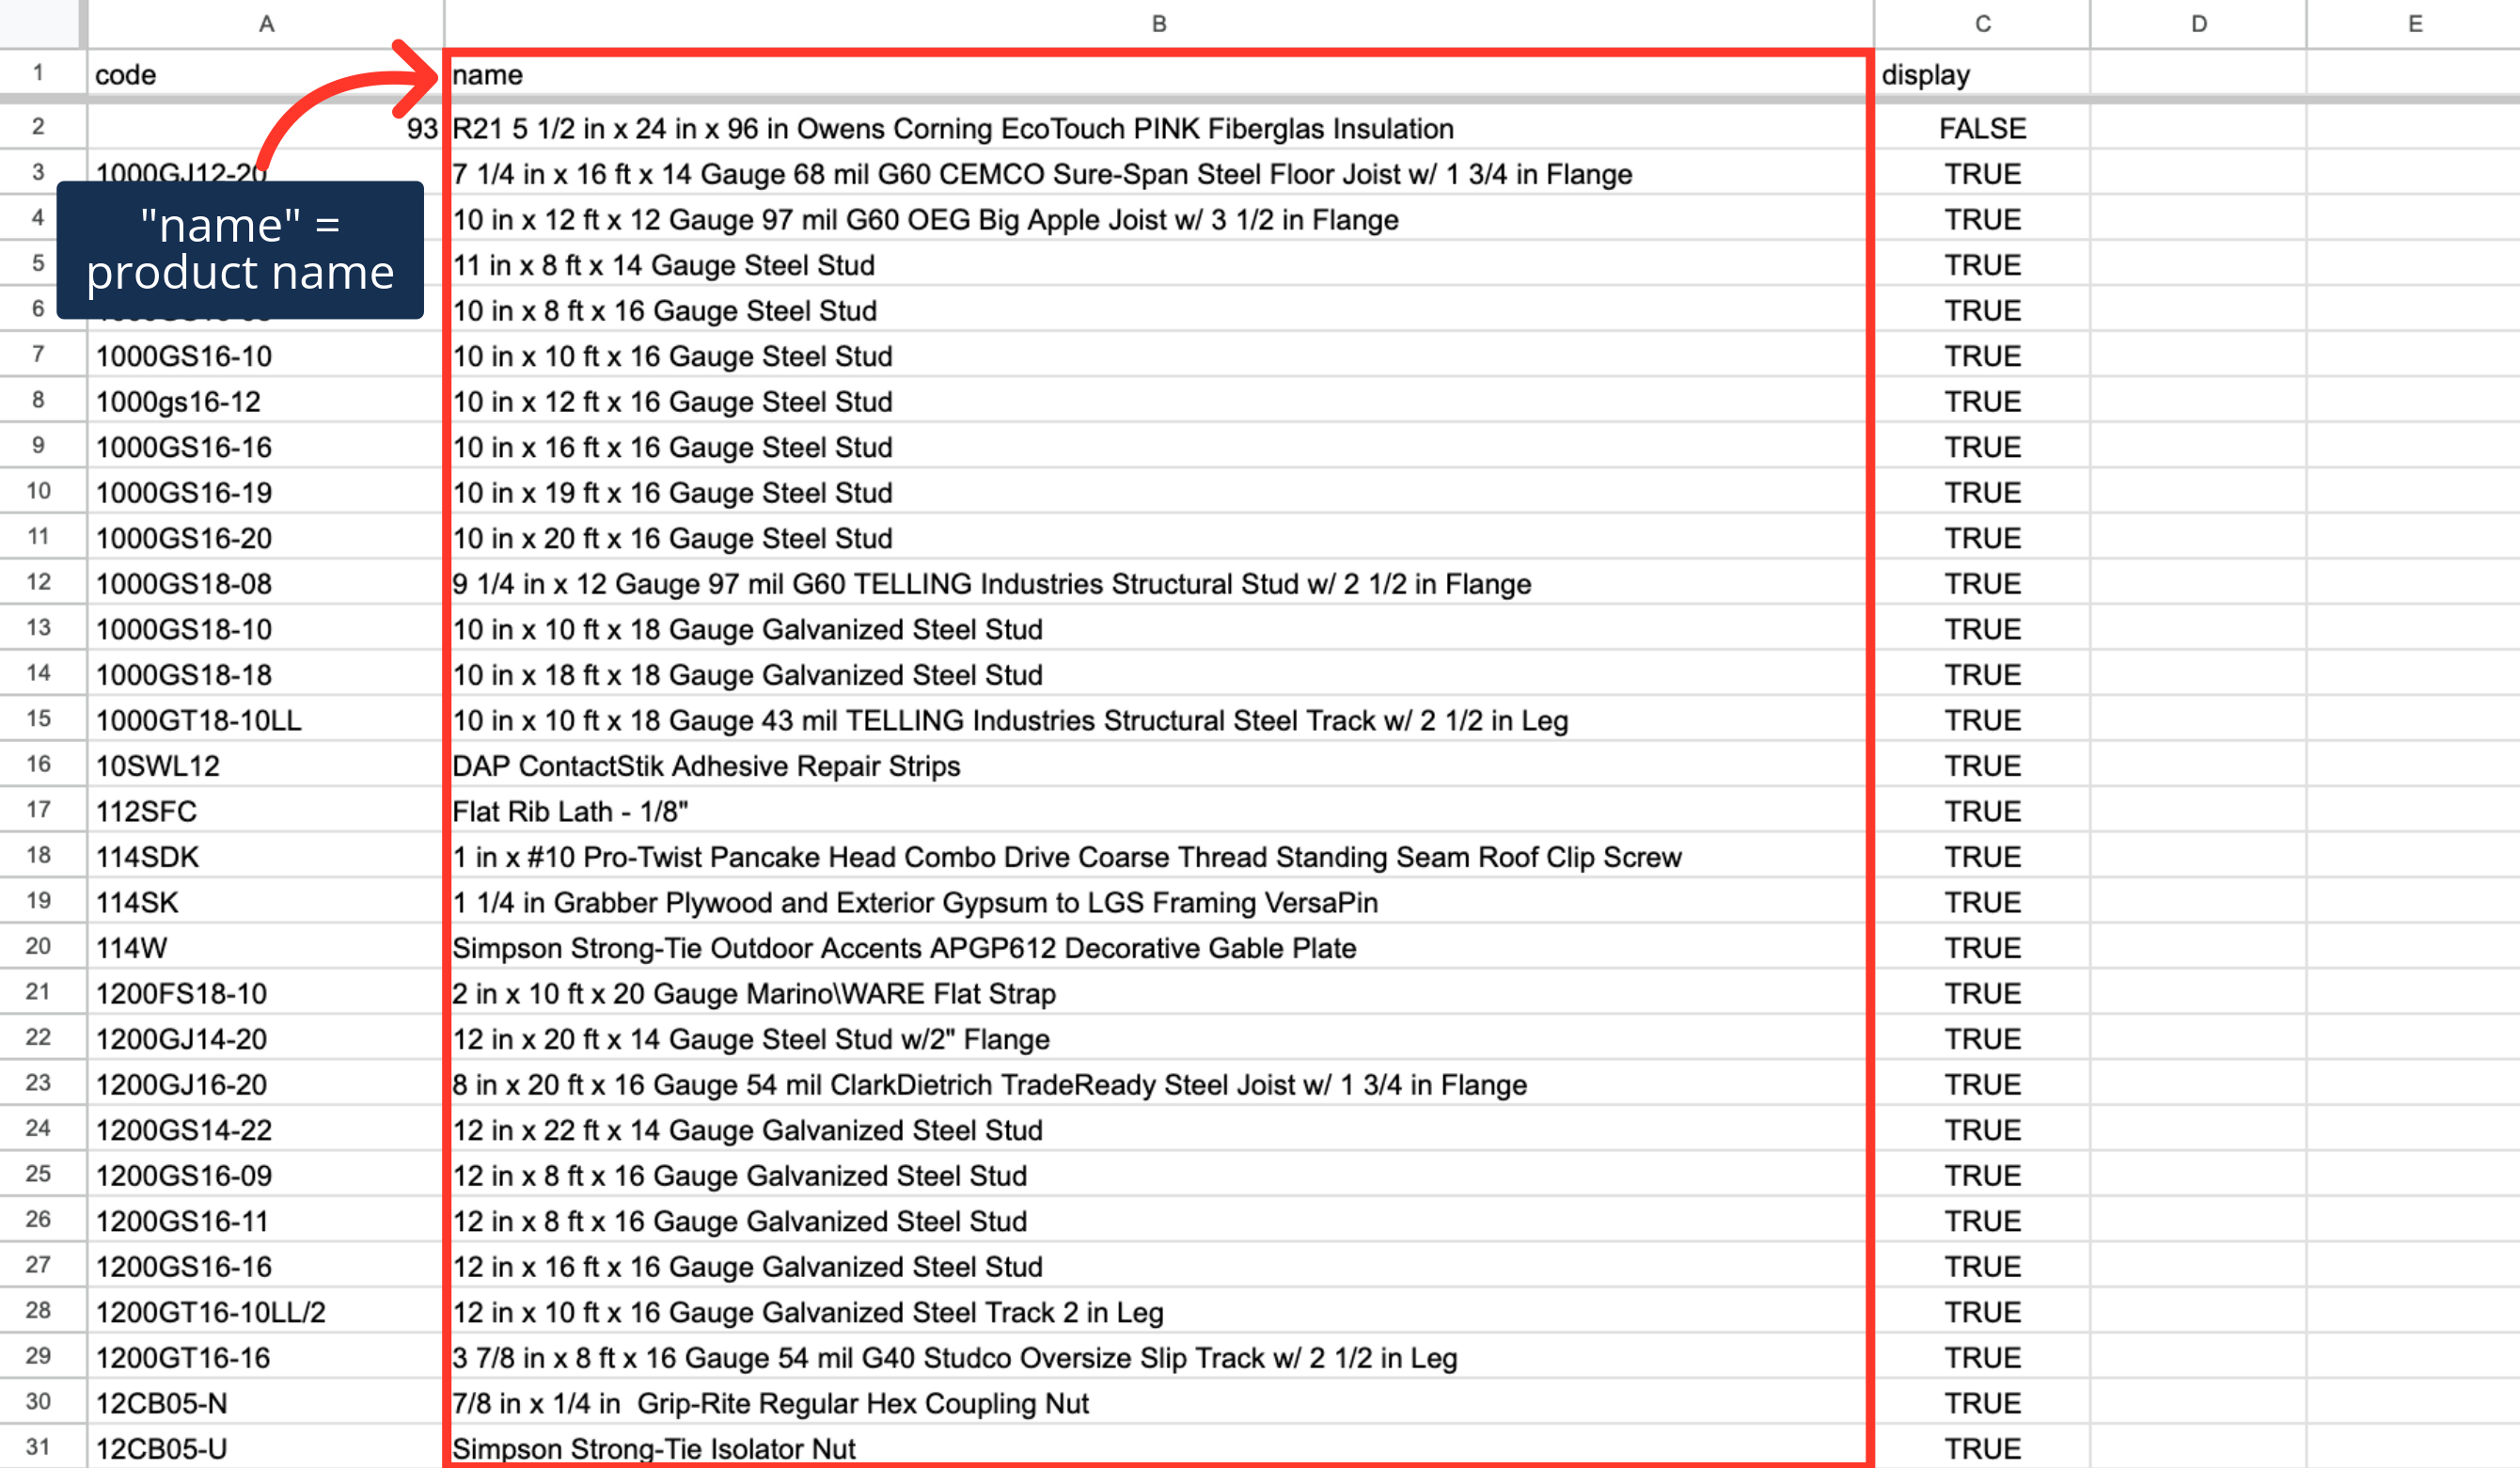
The "name" column contains the name of the product - while not required for importing, it can be a helpful reference when updating product data. You can also make any needed updates to the names, and update with this import if you would like. If you do not wish to update the "name" data, then just remove the column before importing - or you can add an extra character to the name header, and the column will not update with the import.
The "display" column is for the product display field – this field is controlled by Kodaris, not your ERP. If you would like the products to be displayed, this should be "TRUE." If you do not want the product displayed, update the display field to "FALSE."

Once you have entered the data that you would like to update, save your spreadsheet as .CSV file which is spreadsheet compatible and your file is ready to import. Be sure the spreadsheet you are using only contains the data that you would like to update by import. If you remove data from a cell, the data imported into the system will be blank for that field on that product.
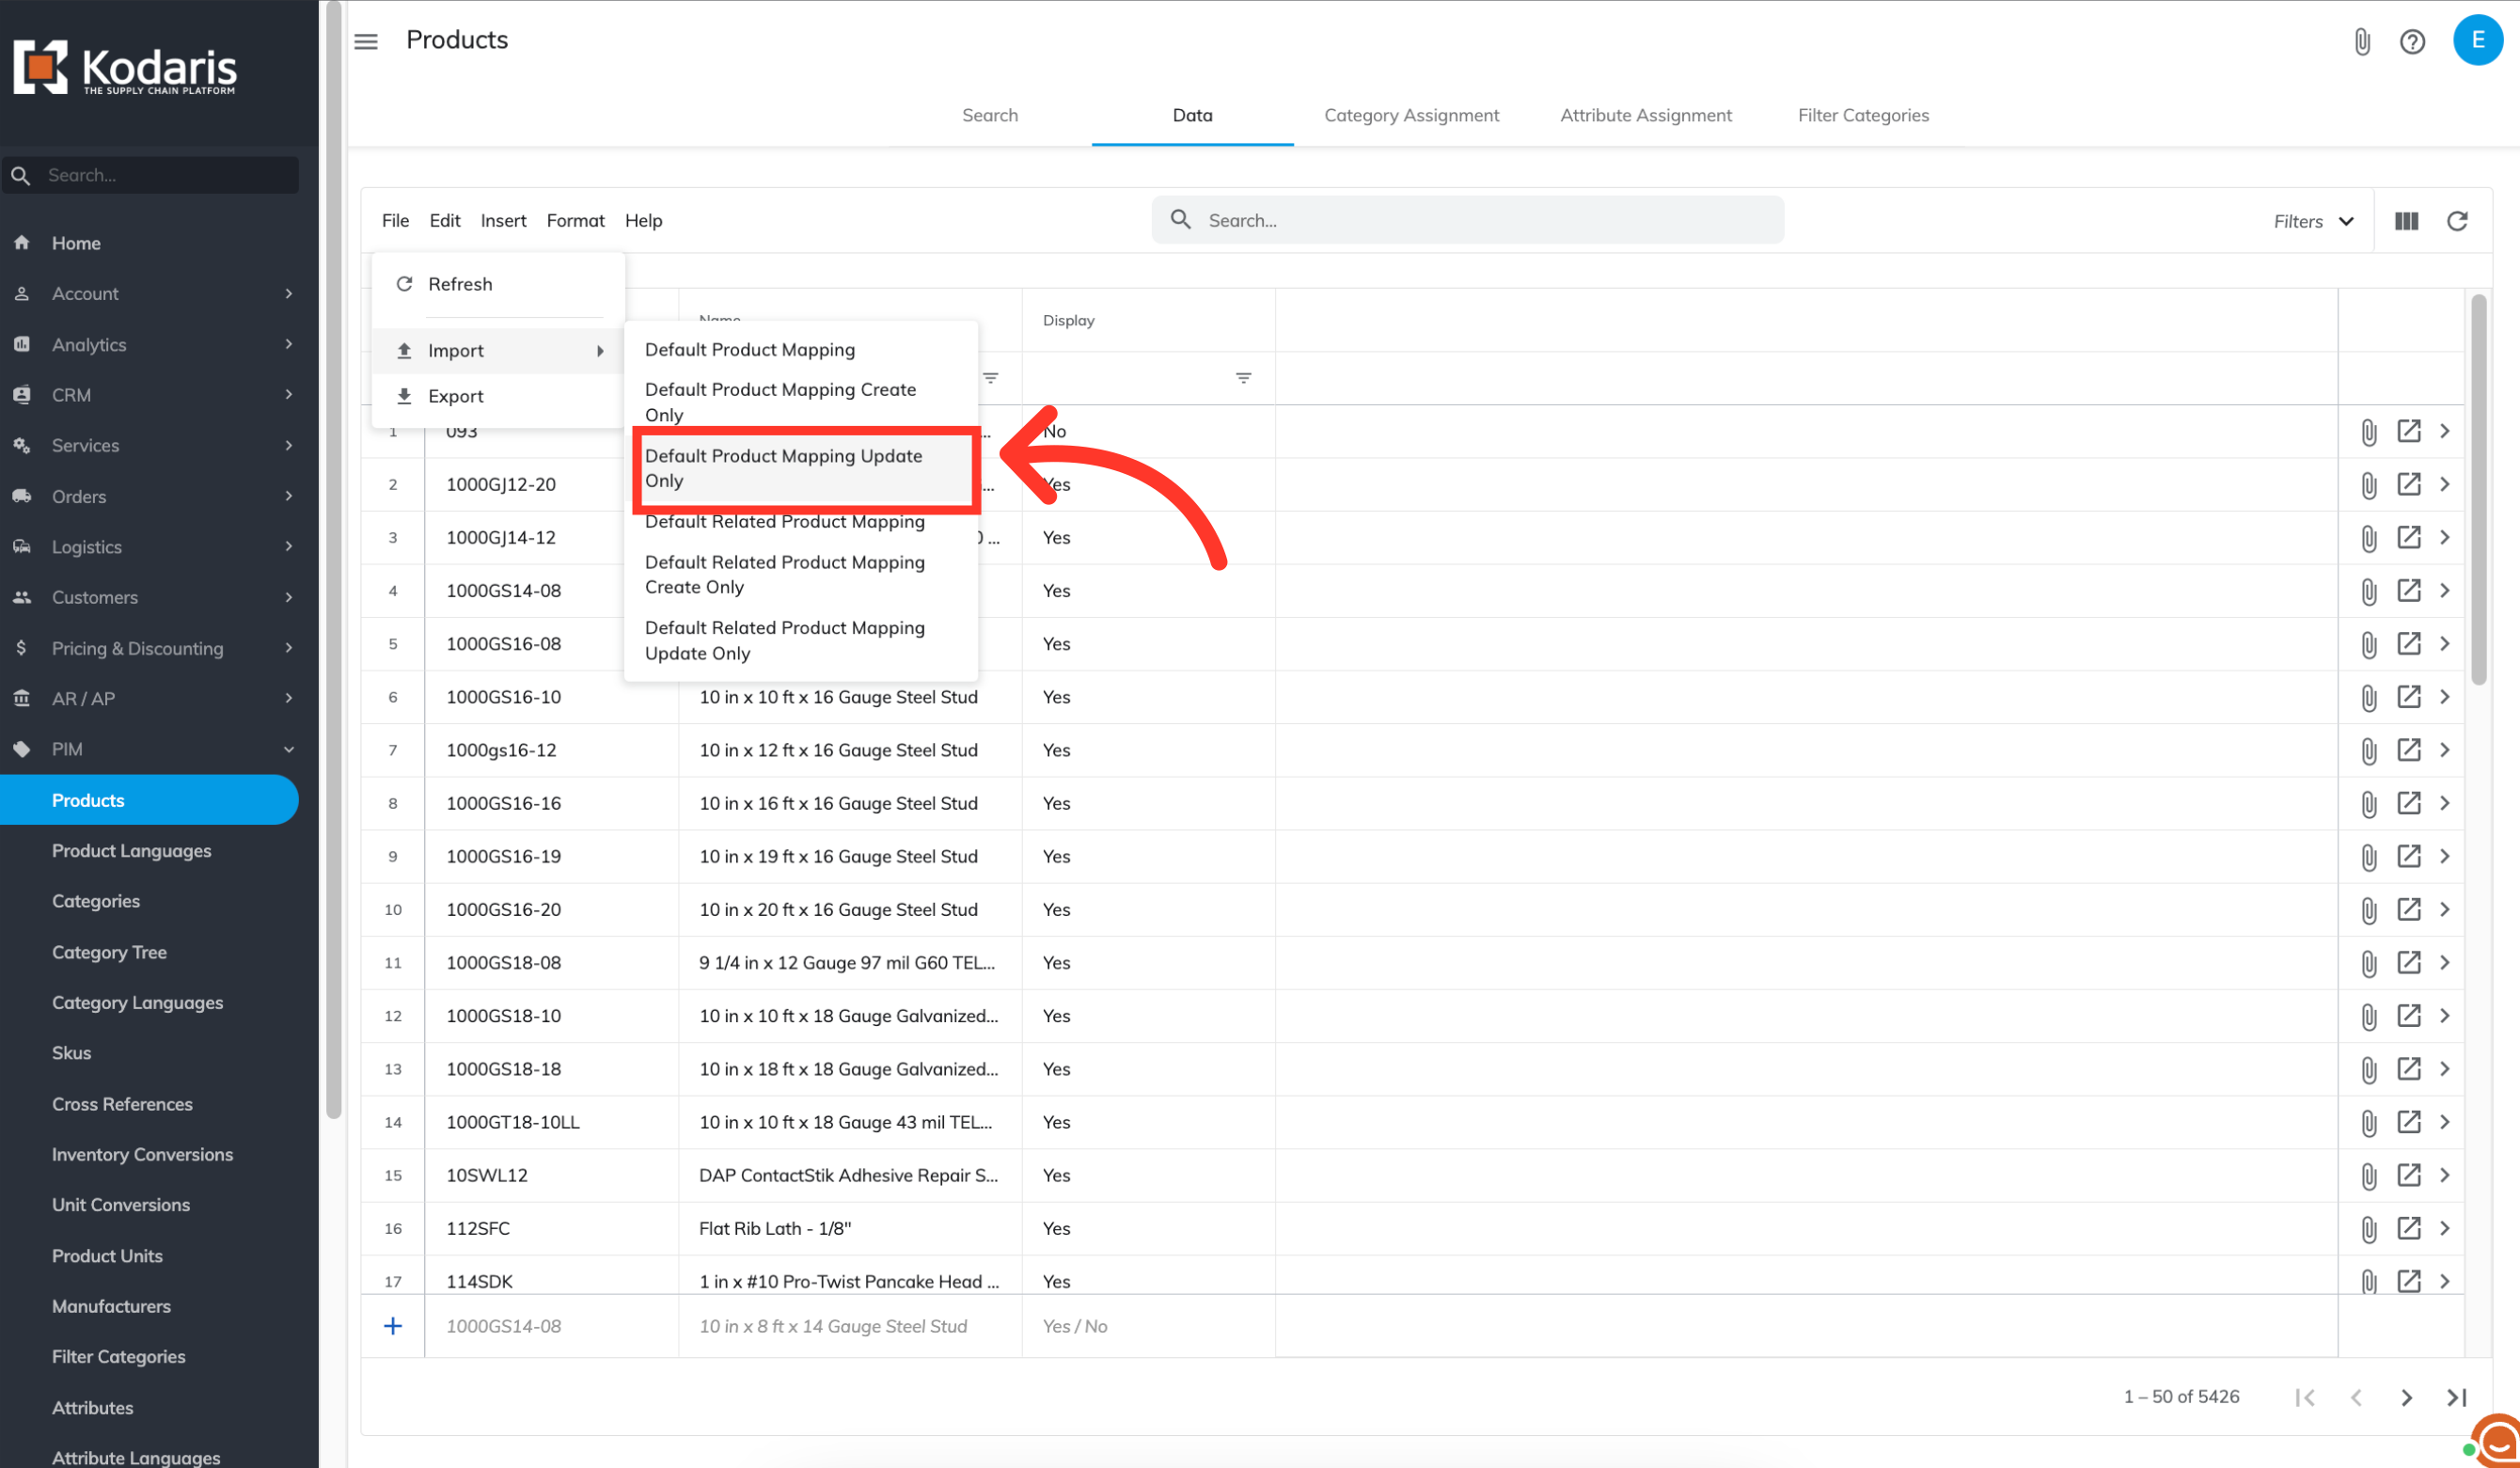
To import the data, click "File".

Click "Import".

Choose your preferred import option. "Default Product Mapping" will create any new product codes included in the spreadsheet and also update existing and new product codes with the data in your spreadsheet. "Default Product Mapping Update Only" will only update existing product codes with the data in your import. "Default Product Mapping Create Only" will only create new product codes and update the new product codes with the data in your spreadsheet. Since we only want to update product data at this time, we want to select the "Default Product Mapping Update Only" option.
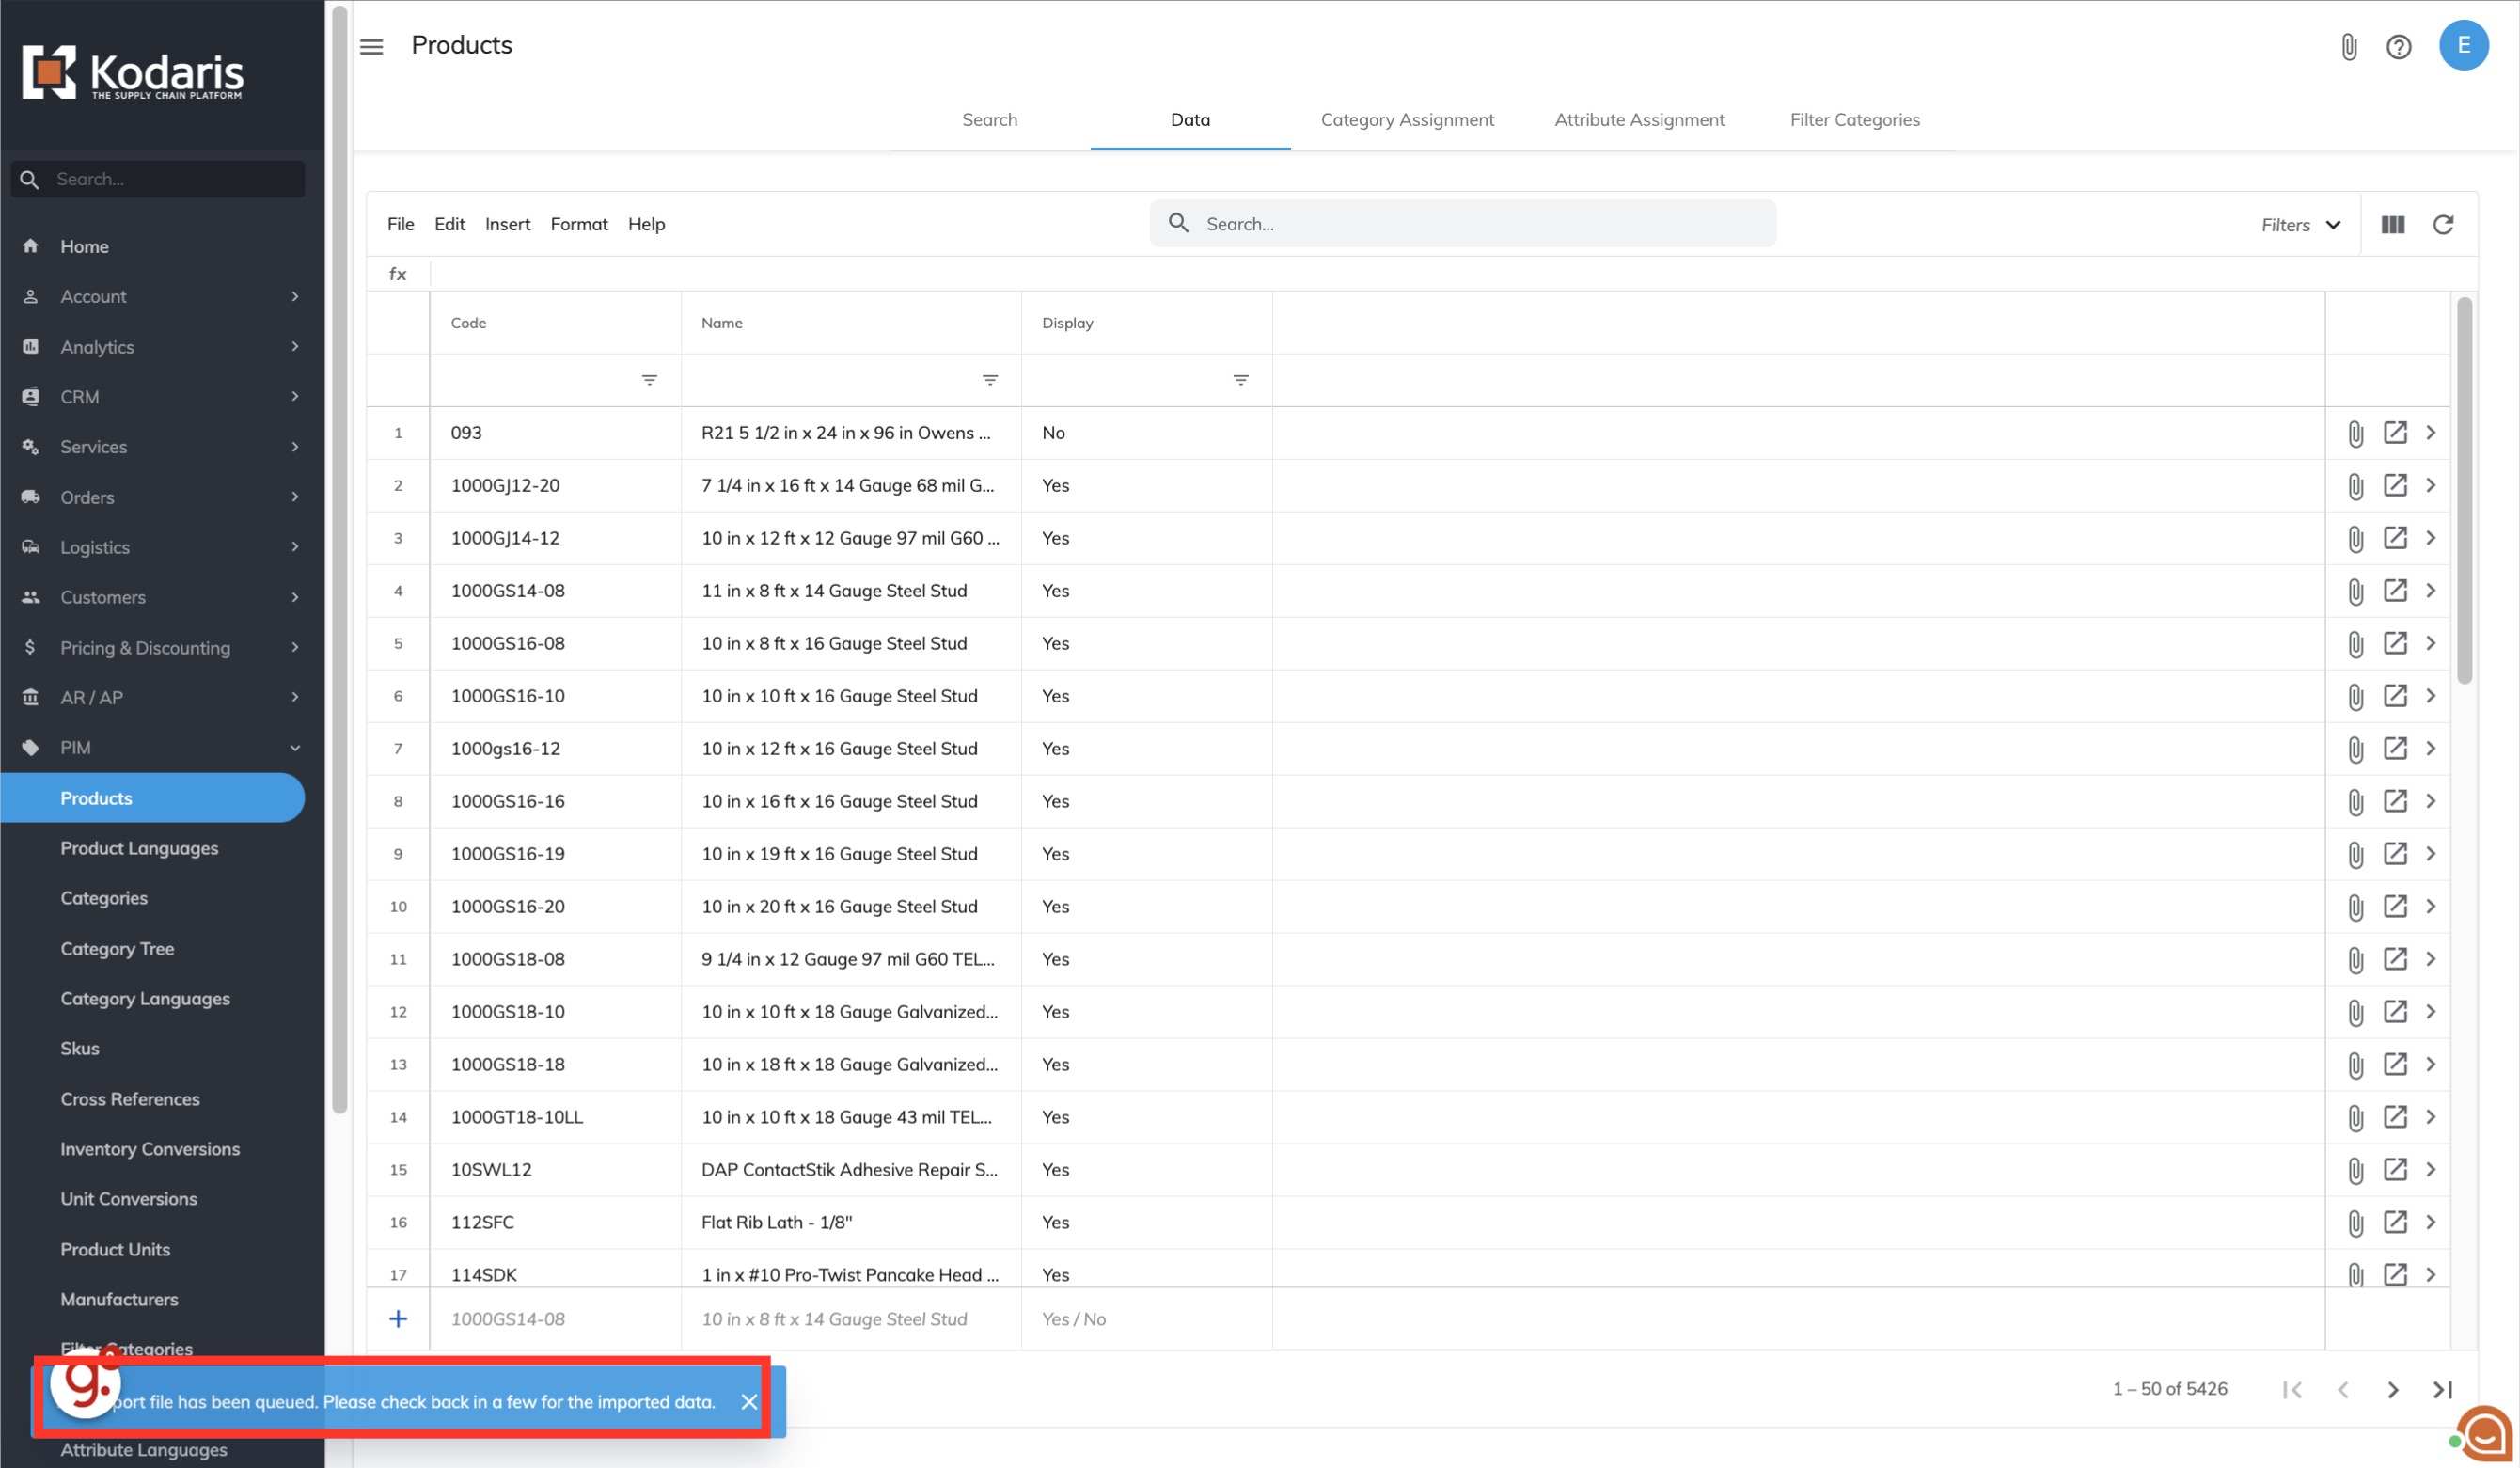
Once you click "Default Product Mapping Update Only", you will be prompted to choose and upload a file from your computer. Choose the .CSV file you would like to import. Please be sure that you select the correct file, as there are no rollbacks for imports. An import message will appear letting you know that the import file is in process and to check back in a few minutes for the imported data. If you are importing large amounts of data, it may take a short amount of time to complete. The import will continue to run in the background.
Once the import is complete, you will receive an email with the report of your import.
