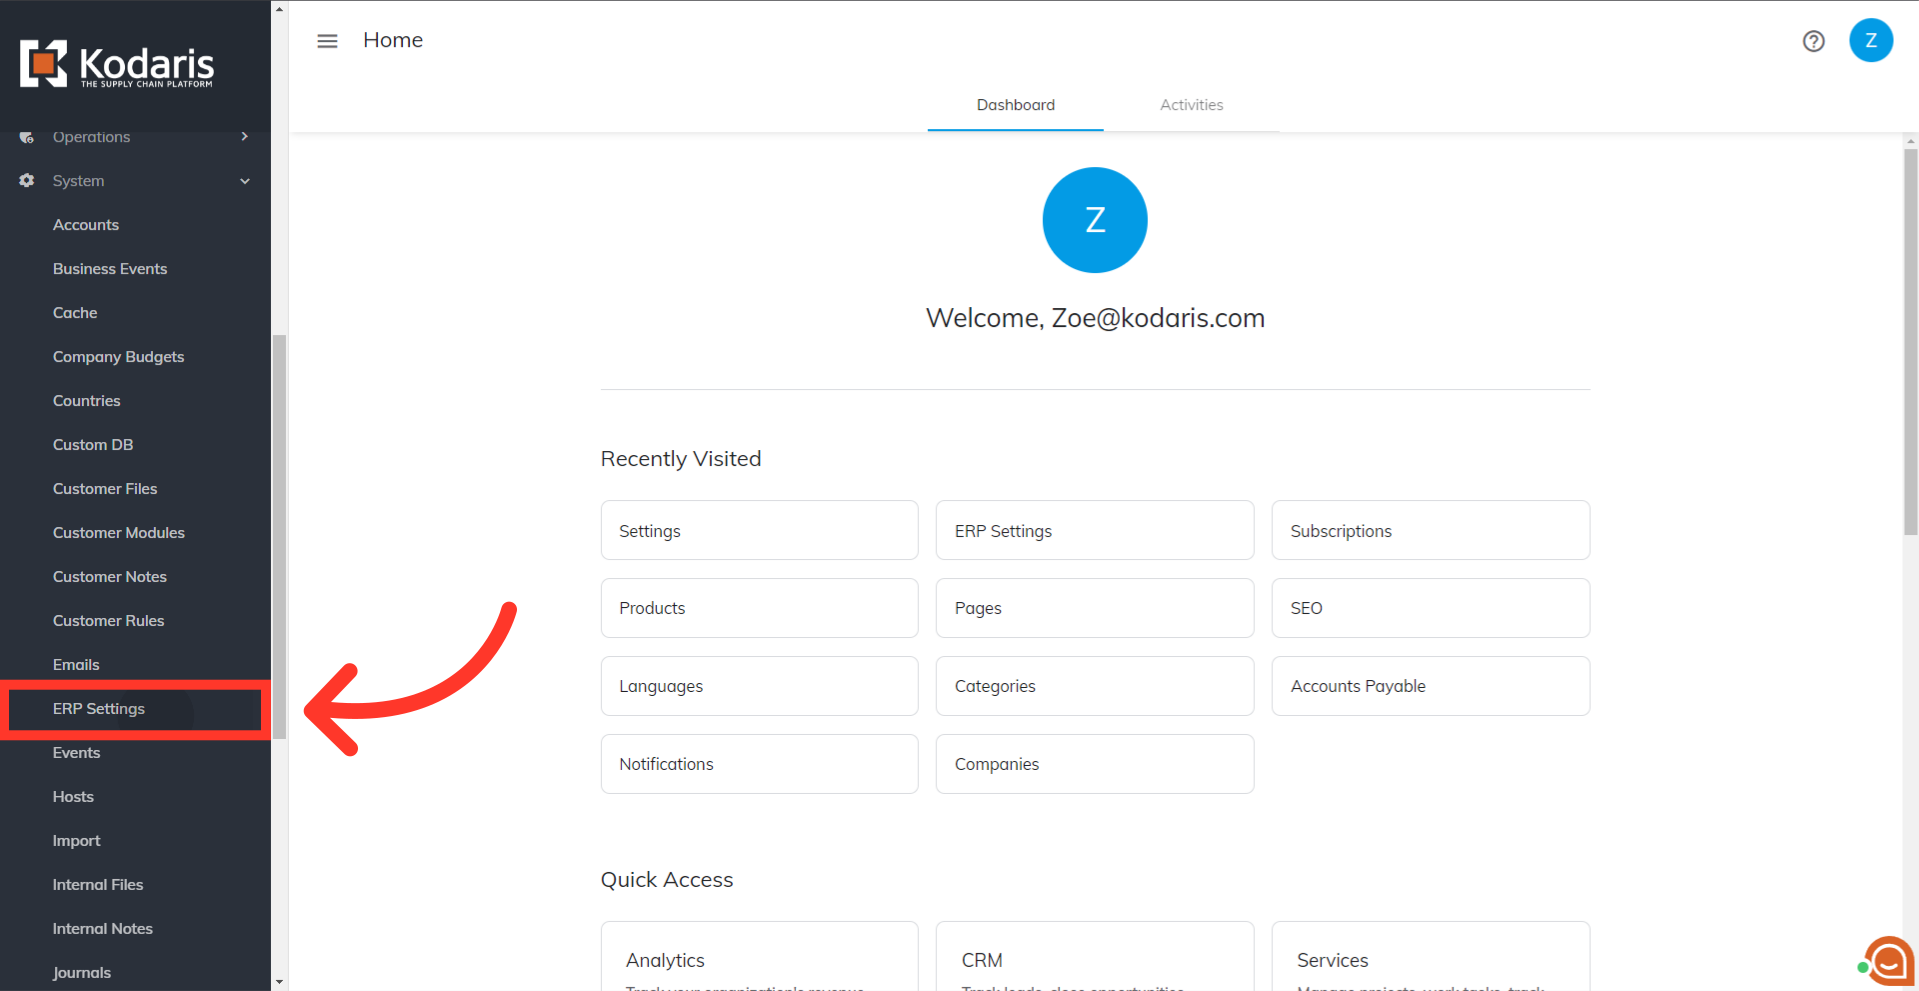
To set up ACH credentials, navigate to the "System" section in the Operations Portal.

Click "Settings". To access and edit settings, you will need to be set up either as an “administrator” or a “superuser”, or have the following roles: “settingEdit” and “settingView”.

Type in "nachaID" to search for the setting.

Then, click on the more details icon to go to the setting's details screen.

Enter the NACHA ID provided by ACH.com in the "Value" field.

Then, click the "Save" button to save the updated information.

There is one more setting that needs to be checked. Navigate back to "Settings".

Search for the "ACHTOKEN" setting.

Your ACH API Token should be showing in the "Medium Value" column.

One other part of the configuration needs to be completed by going to "ERP Settings." In order to access and update from this screen, you will need to be set up either as an administrator or a superuser, or have the following roles: " erpSettingEdit " and "erpSettingView".
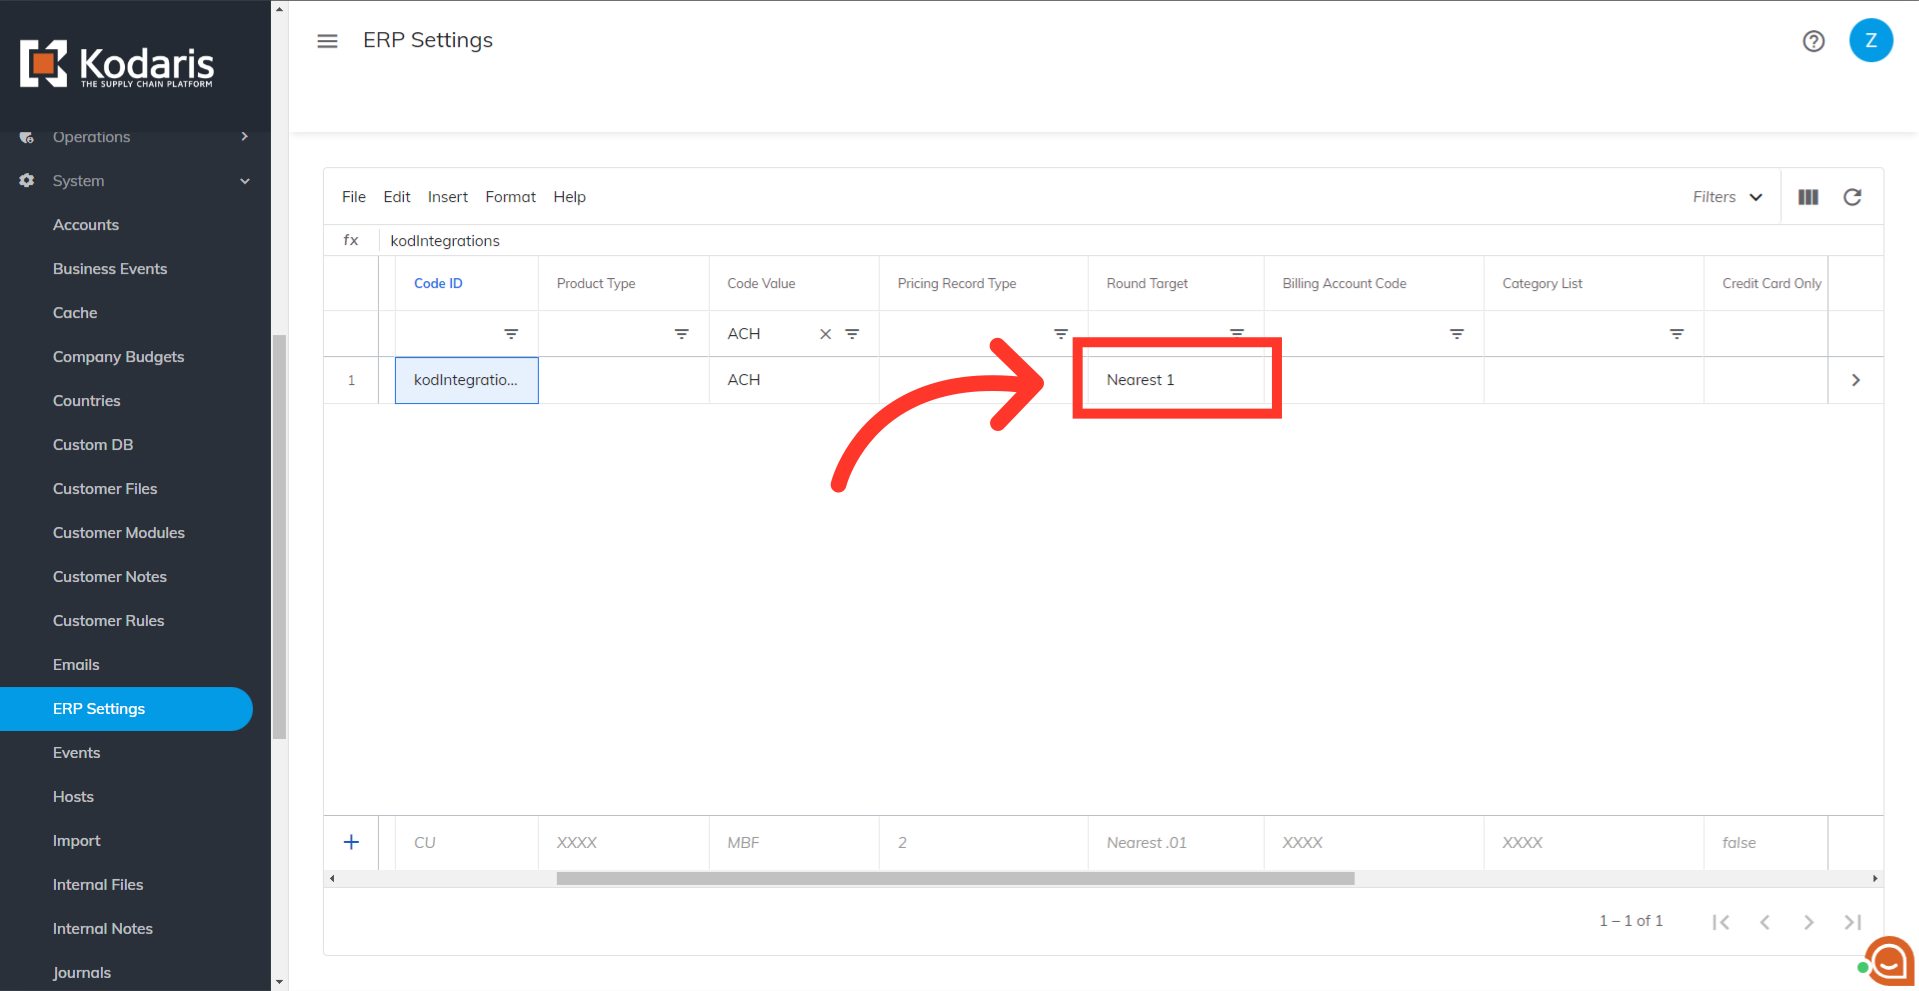
Now, you need to filter on "ACH" in the "Code Value" column.

Next, you need to set the "Round Target" field value to "Nearest 1". This will turn on the integration. Double click the field to select "Nearest 1" from the dropdown options.
Click "Show/Hide Columns" icon to view other available columns.

Scroll down to locate and select "User 1" and "User 2" so both are added in the grid.

"User 1" is the field where you will set the type of ACH account that you have. This is dependent on what you have set up with ACH.com. Currently there are three types of accounts you can choose from: WEB, PPD, or CCD.

Lastly, make sure that the generated ACH Token from the ach token setting is populated in the "User 2" field.
