To create "Payment Type" filters, navigate to "Accounts Receivable" under the AR/AP section in the Operations Portal. In order to access this area, you will need to be set up as an administrator, a superuser, or have paymentEdit and paymentView, or accountant permissions.

Click the "Show/Hide Columns" icon.

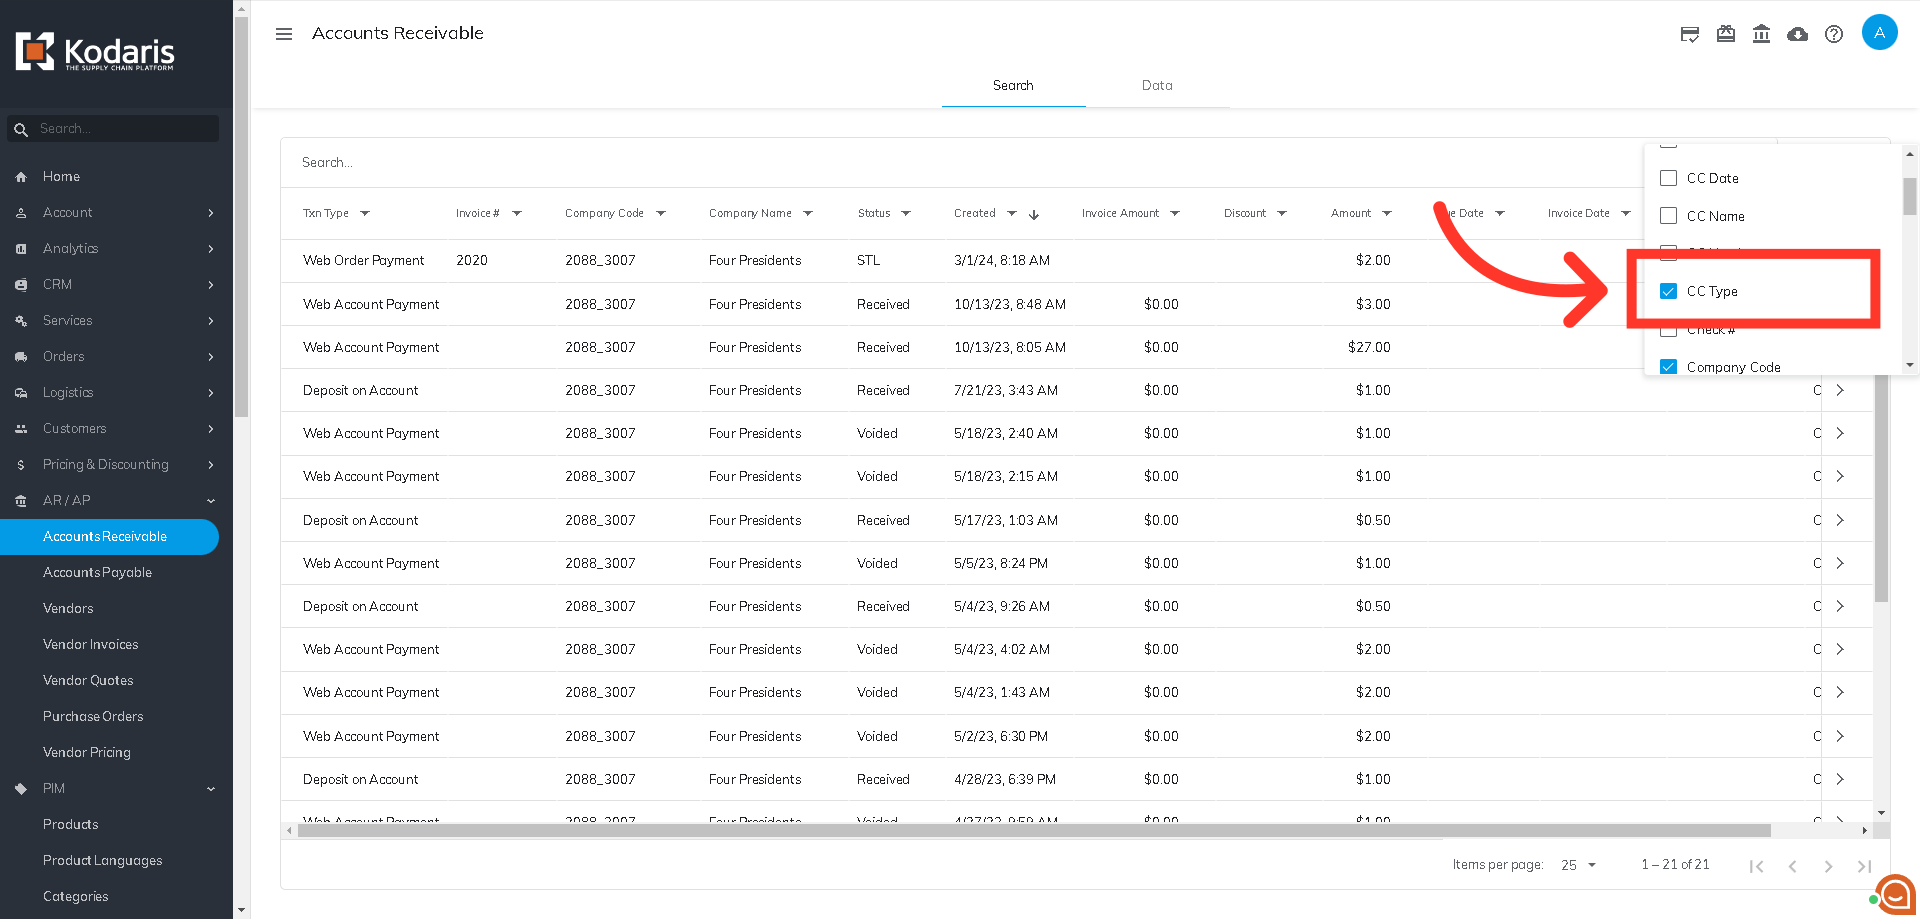
Then, select "CC Type" to add to your grid view.
Click the "CC Type" dropdown to see all the payment types.

Now, you can create your "AMEX" filter by selecting it from the options, which will display all American Express payments on the screen.

Once you have selected AMEX from the dropdown, you can create a sticky filter by clicking on the "Filters" dropdown.

Click "Save as" to create your new filter.

Enter the desired filter title in the "Title" field.

Then, select your preferred access restriction. Sticky filters can be set to "Private" so only you can access them, or "Public" if you would like other team members to use them.

You can also set the sticky filter to be the default view, by clicking the "Default" checkbox.

Click on the "Add" button to create your sticky filter.

This is one example of creating a "Payment Type" filter, and you are able to create filters for any needed payment types. Once they are set up, they can be used to quickly view the needed payment information on your screen.
