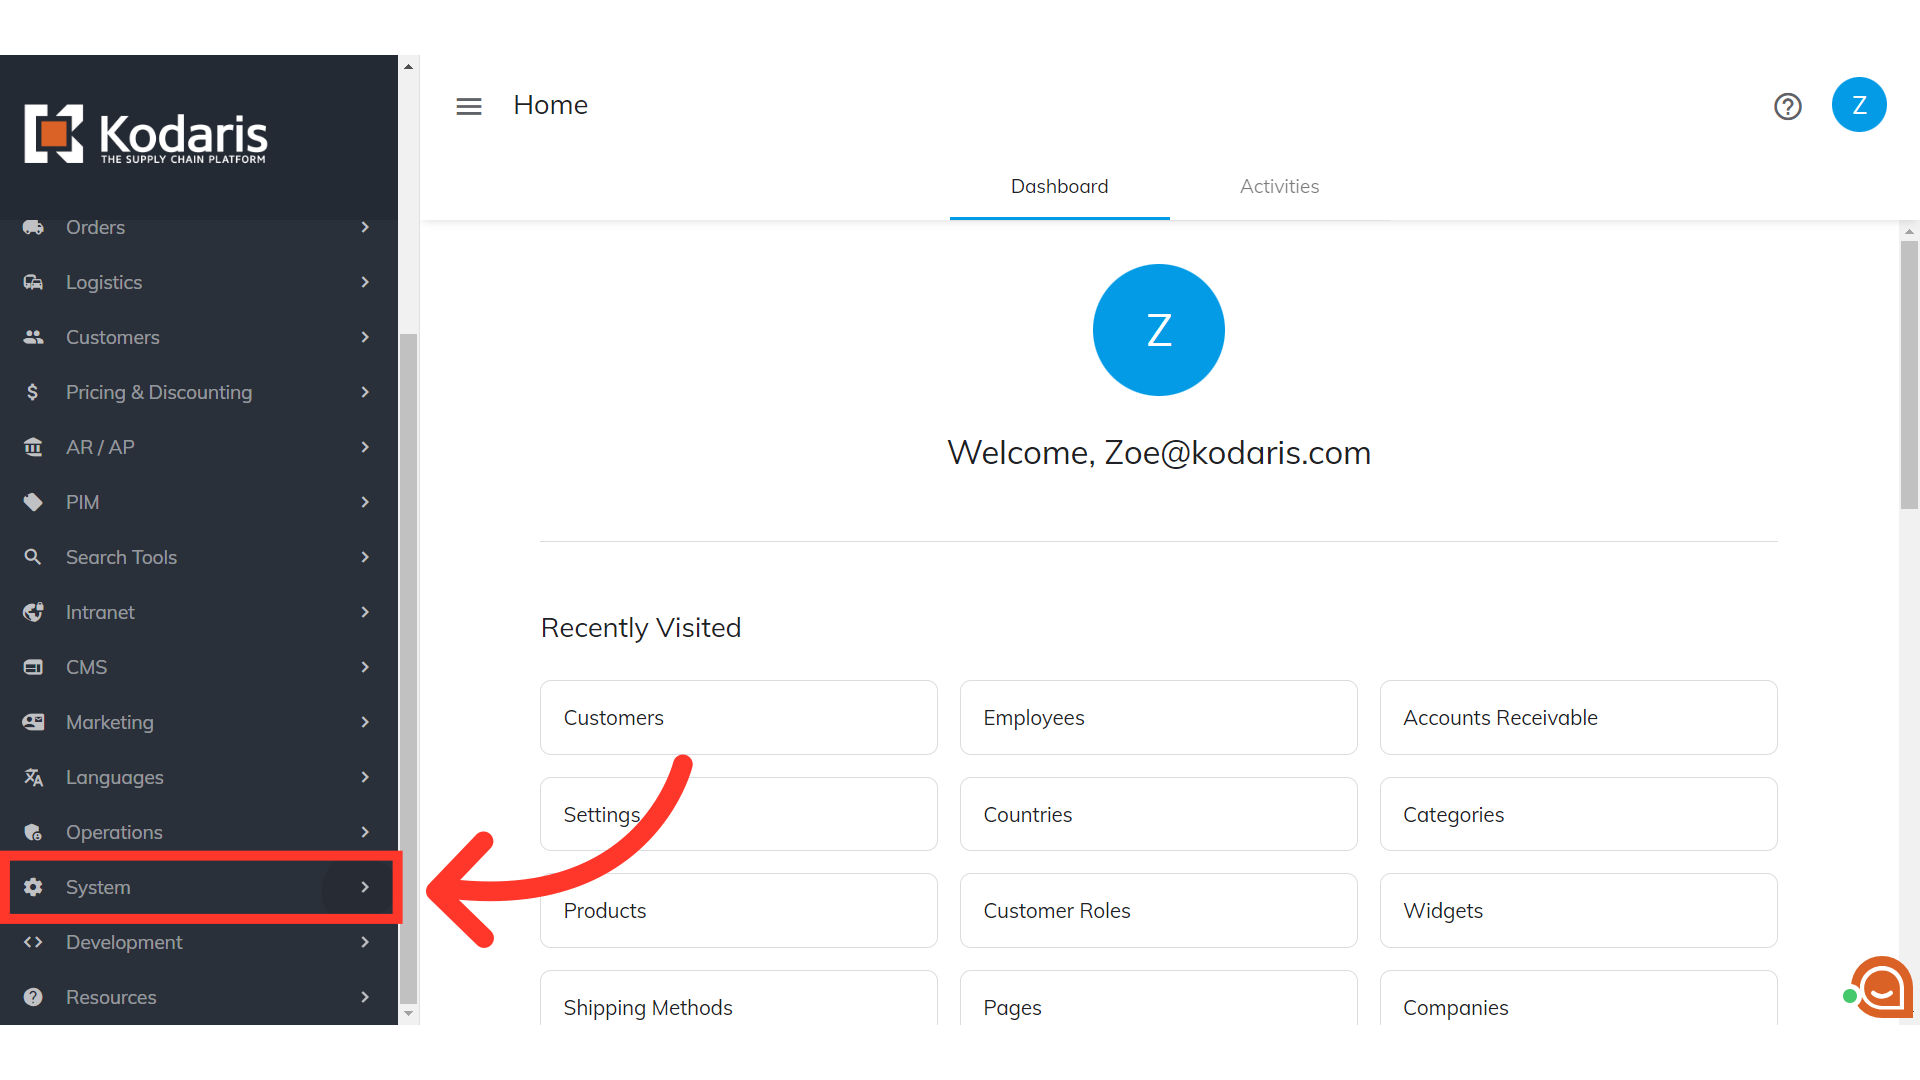
When a customer has many failed login attempts, they will receive a "Login failed" message on the login screen. You can now configure your settings so that after they receive the failed message, they’ll get an email letting them know that the system detected many failed login attempts and, as a result, their account has been locked. Within that same email, they have the option to easily reset their password. To further customize this experience, you can set the required number of failed login attempts before the email is sent, as well as the number of minutes a customer would be locked out of their account. To set these settings up, first, navigate to the "System" section in the Operations Portal.
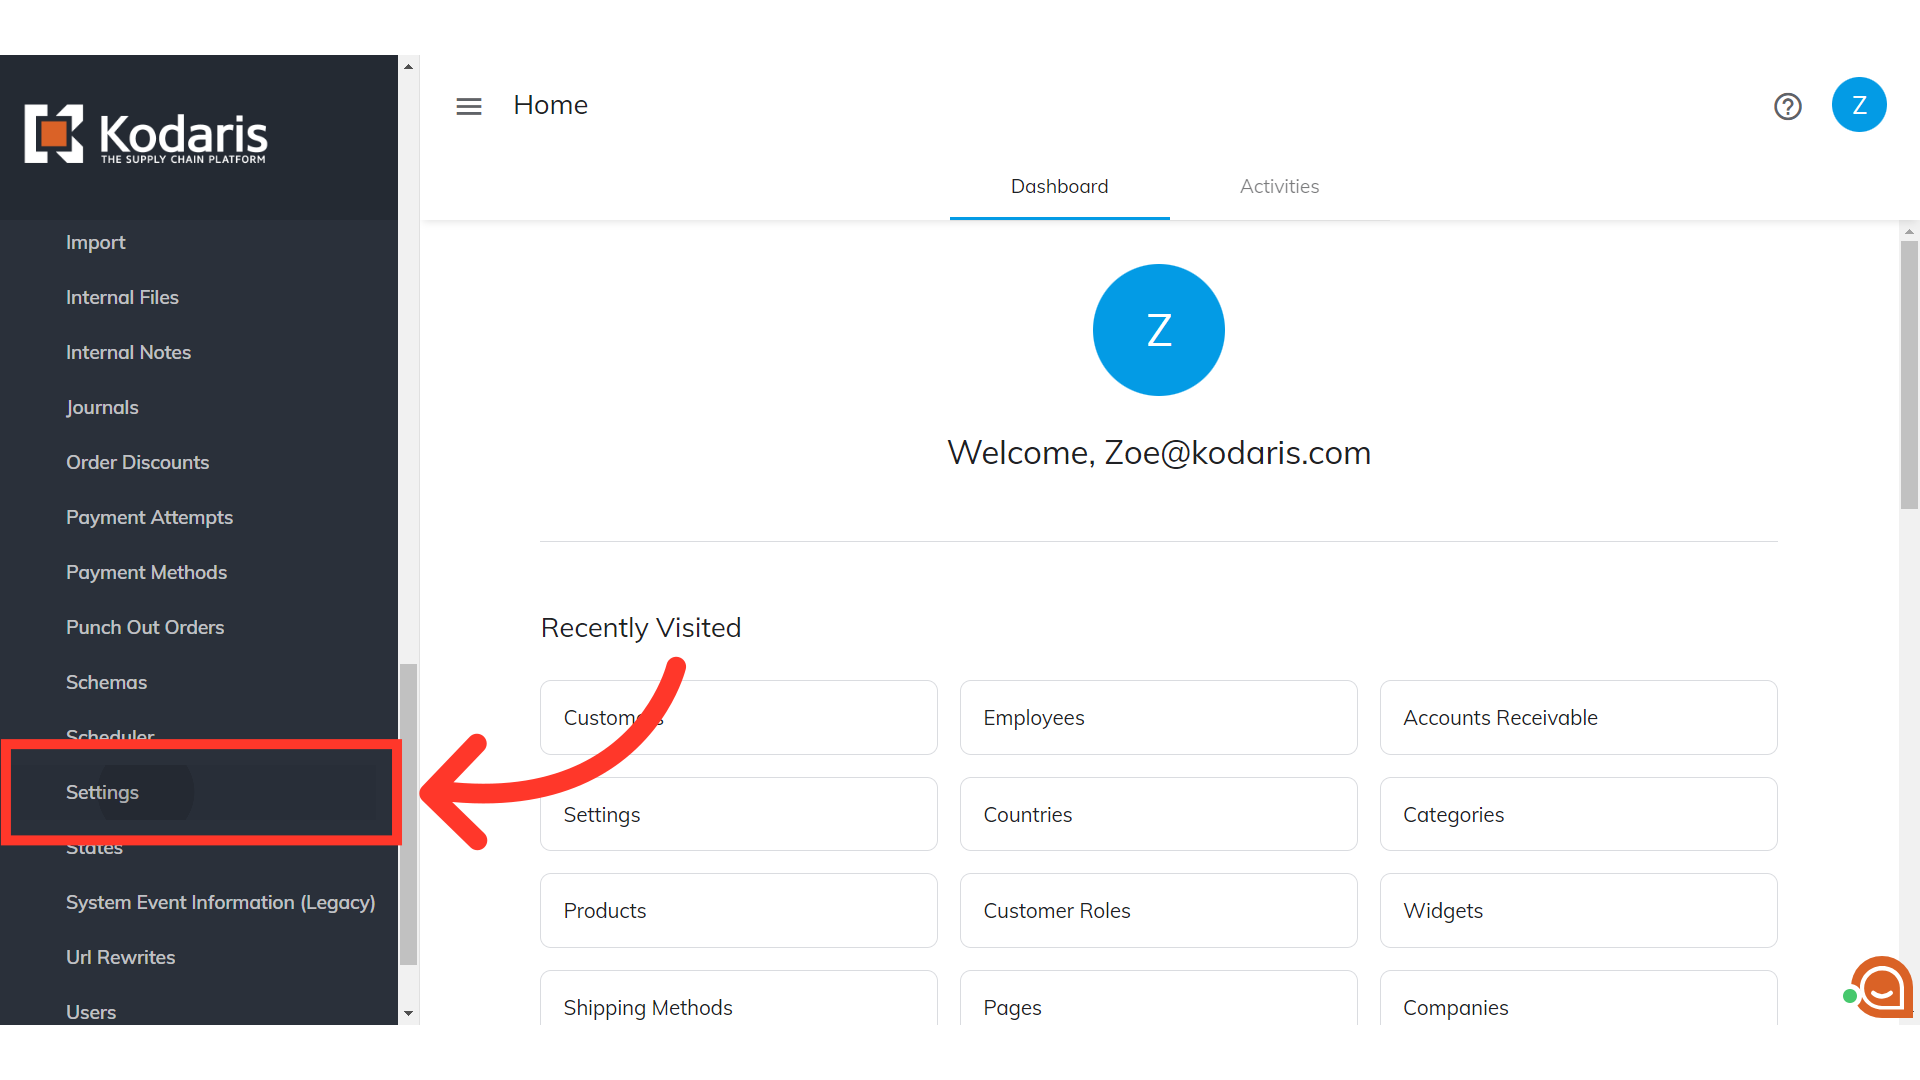
Then, click "Settings". In order to access and edit settings, you will need to be set up either as an "administrator" or a "superuser", or have the following roles: "settingEdit" and "settingView".
Enter "customerAlertWhenAccountIsLockedOut' in the "Search..." field.

Click its more details icon.

Enter "1" in the value field. This will enable the email automation to send when an account is locked.
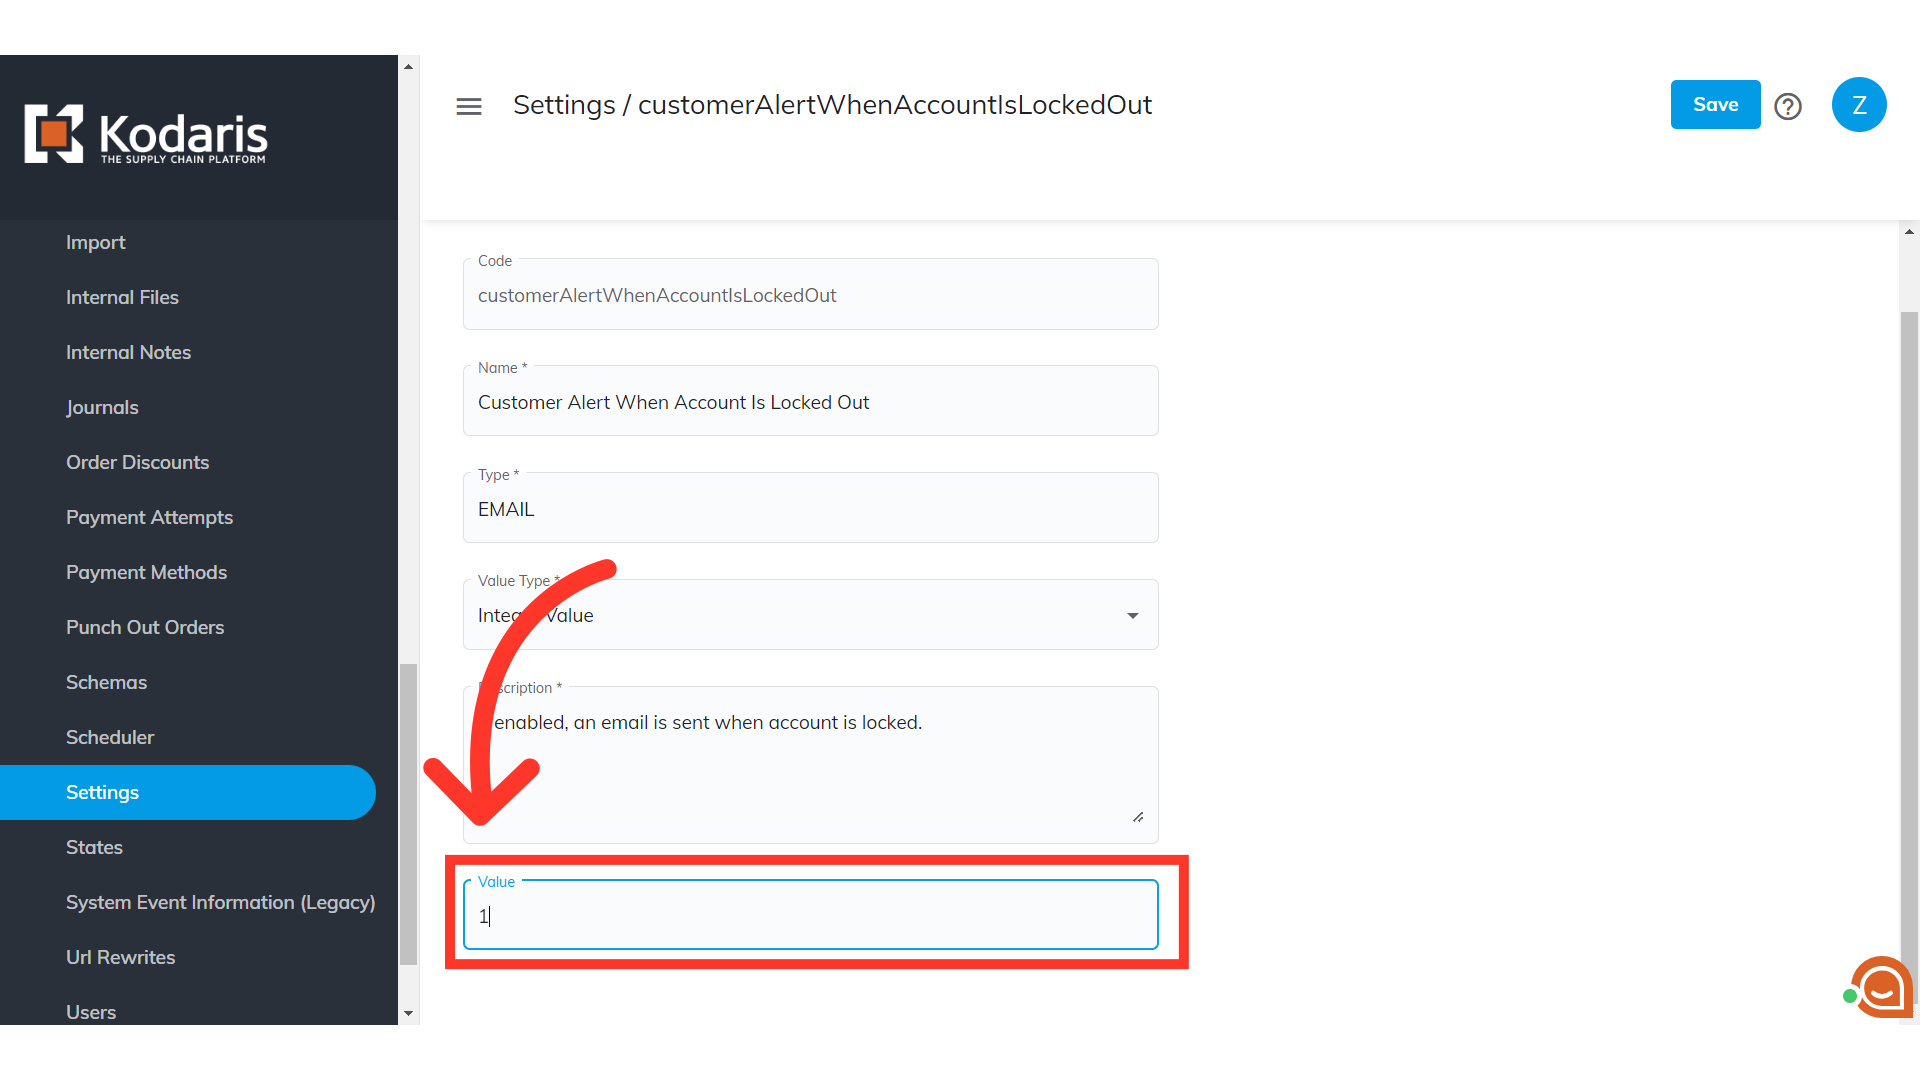
Click the "Save" button to apply the changes made to the setting.

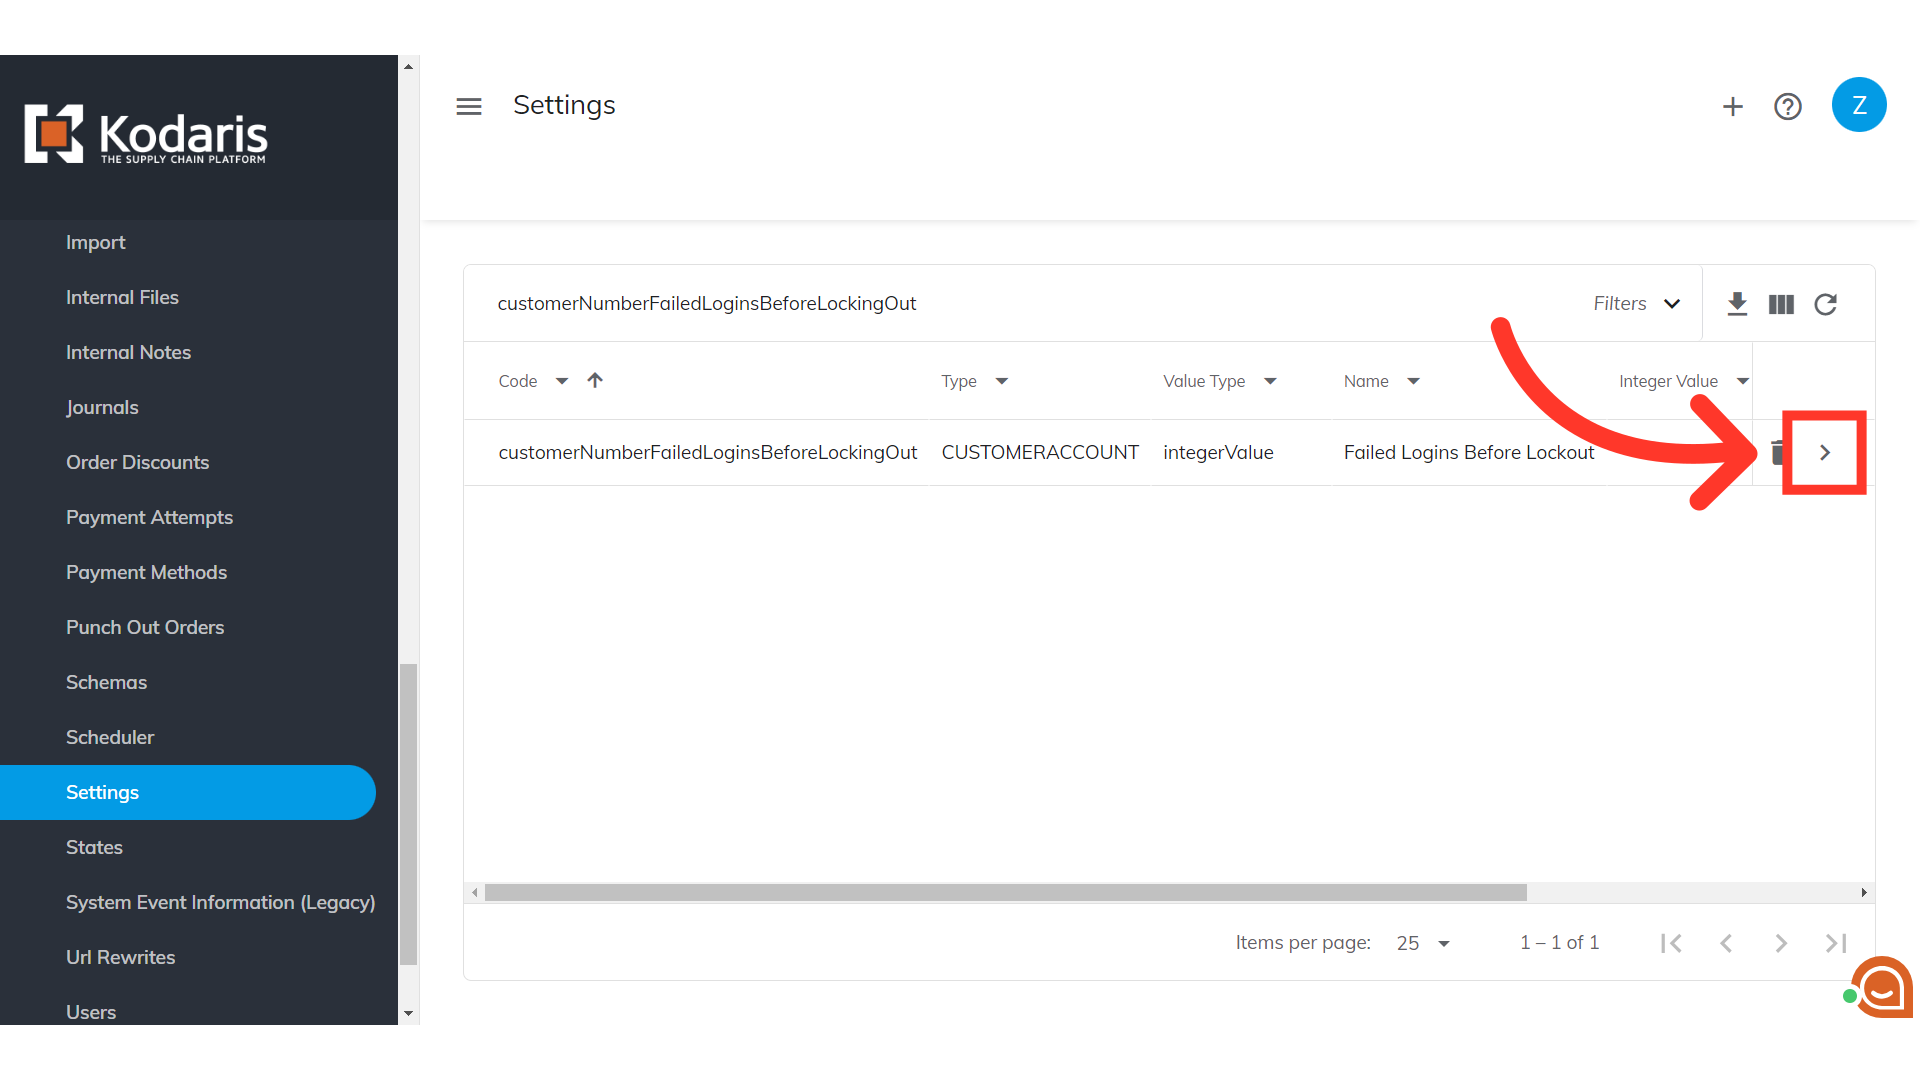
Go back to the settings screen and search for the setting "customerNumberFailedLoginsBeforeLockingOut".
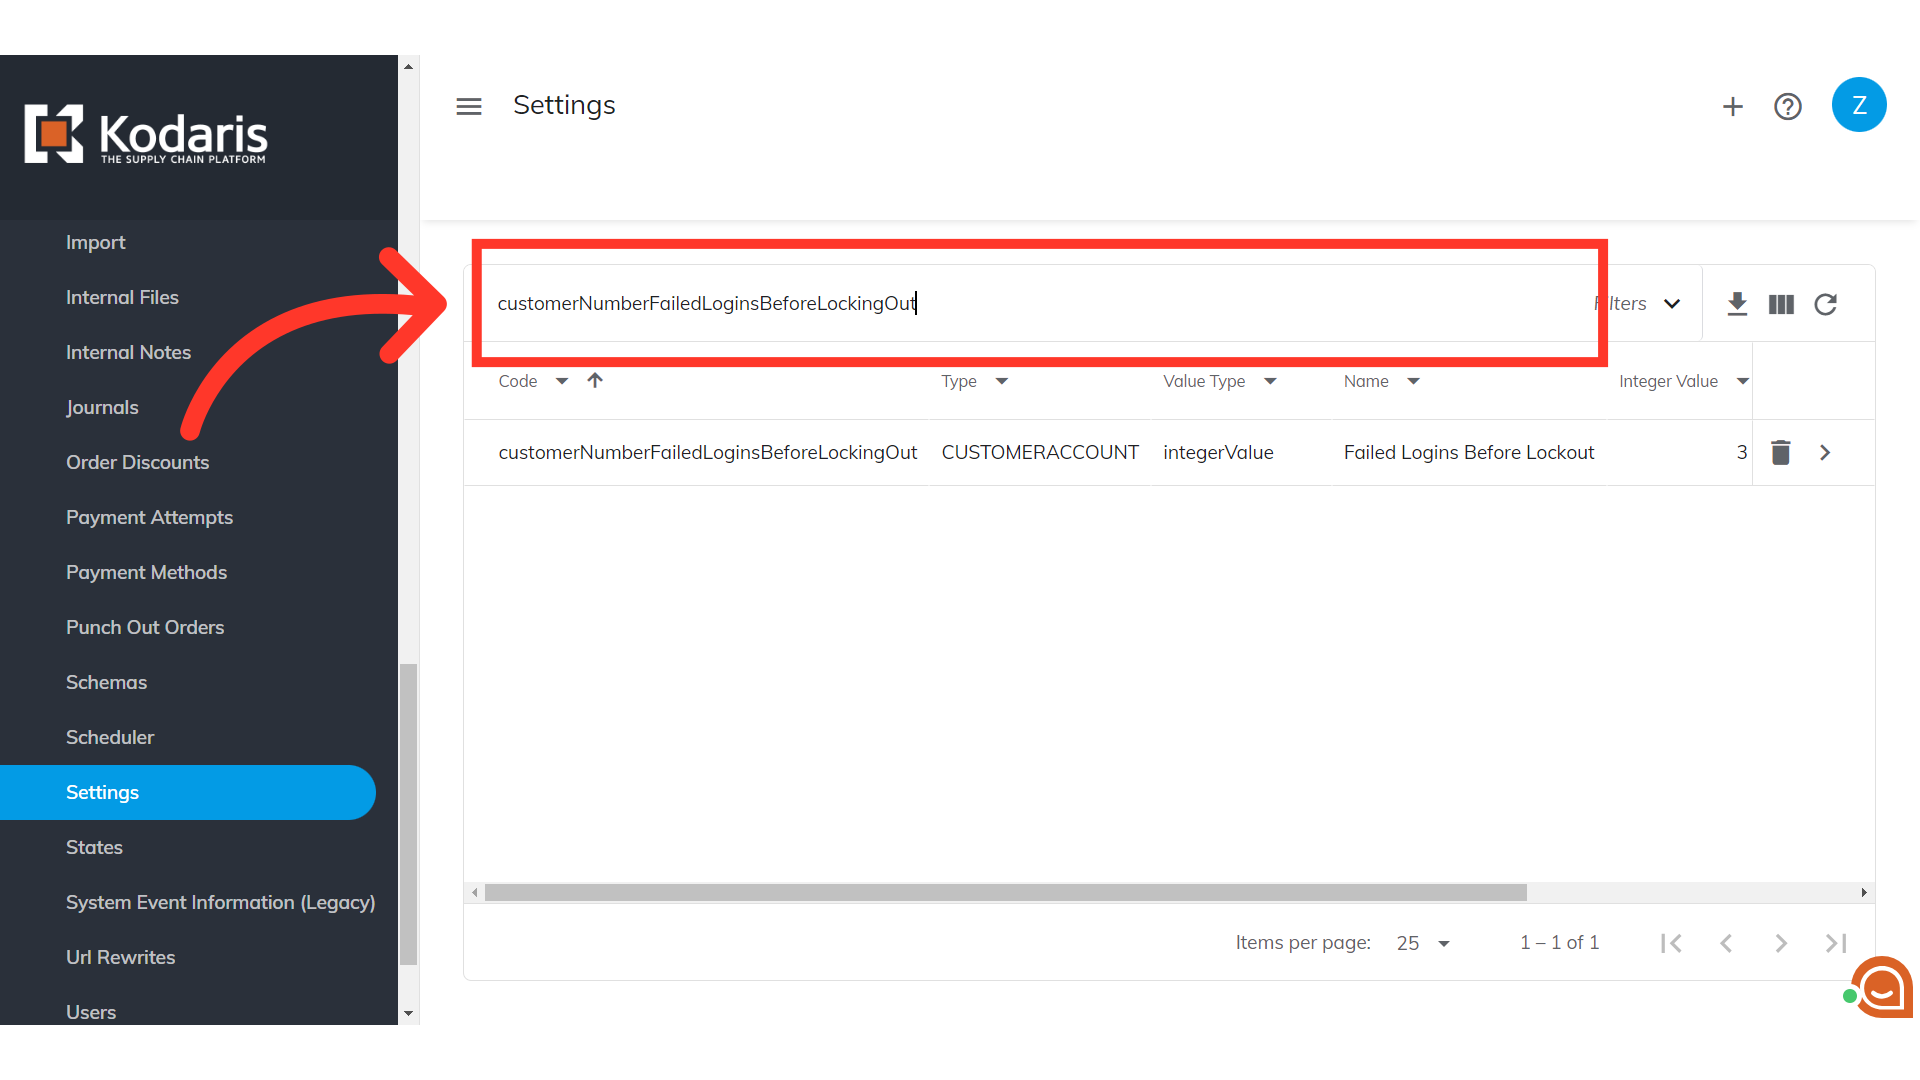
Click its more details icon.
Set the desired number of failed logins in the "Value" field. This is the number of times a customer (or hacker) can try to log in with the incorrect information before having their account locked out of the system. If you wish to turn off the lockout, set the number to zero.

Click the "Save" button to apply the changes made to the setting.

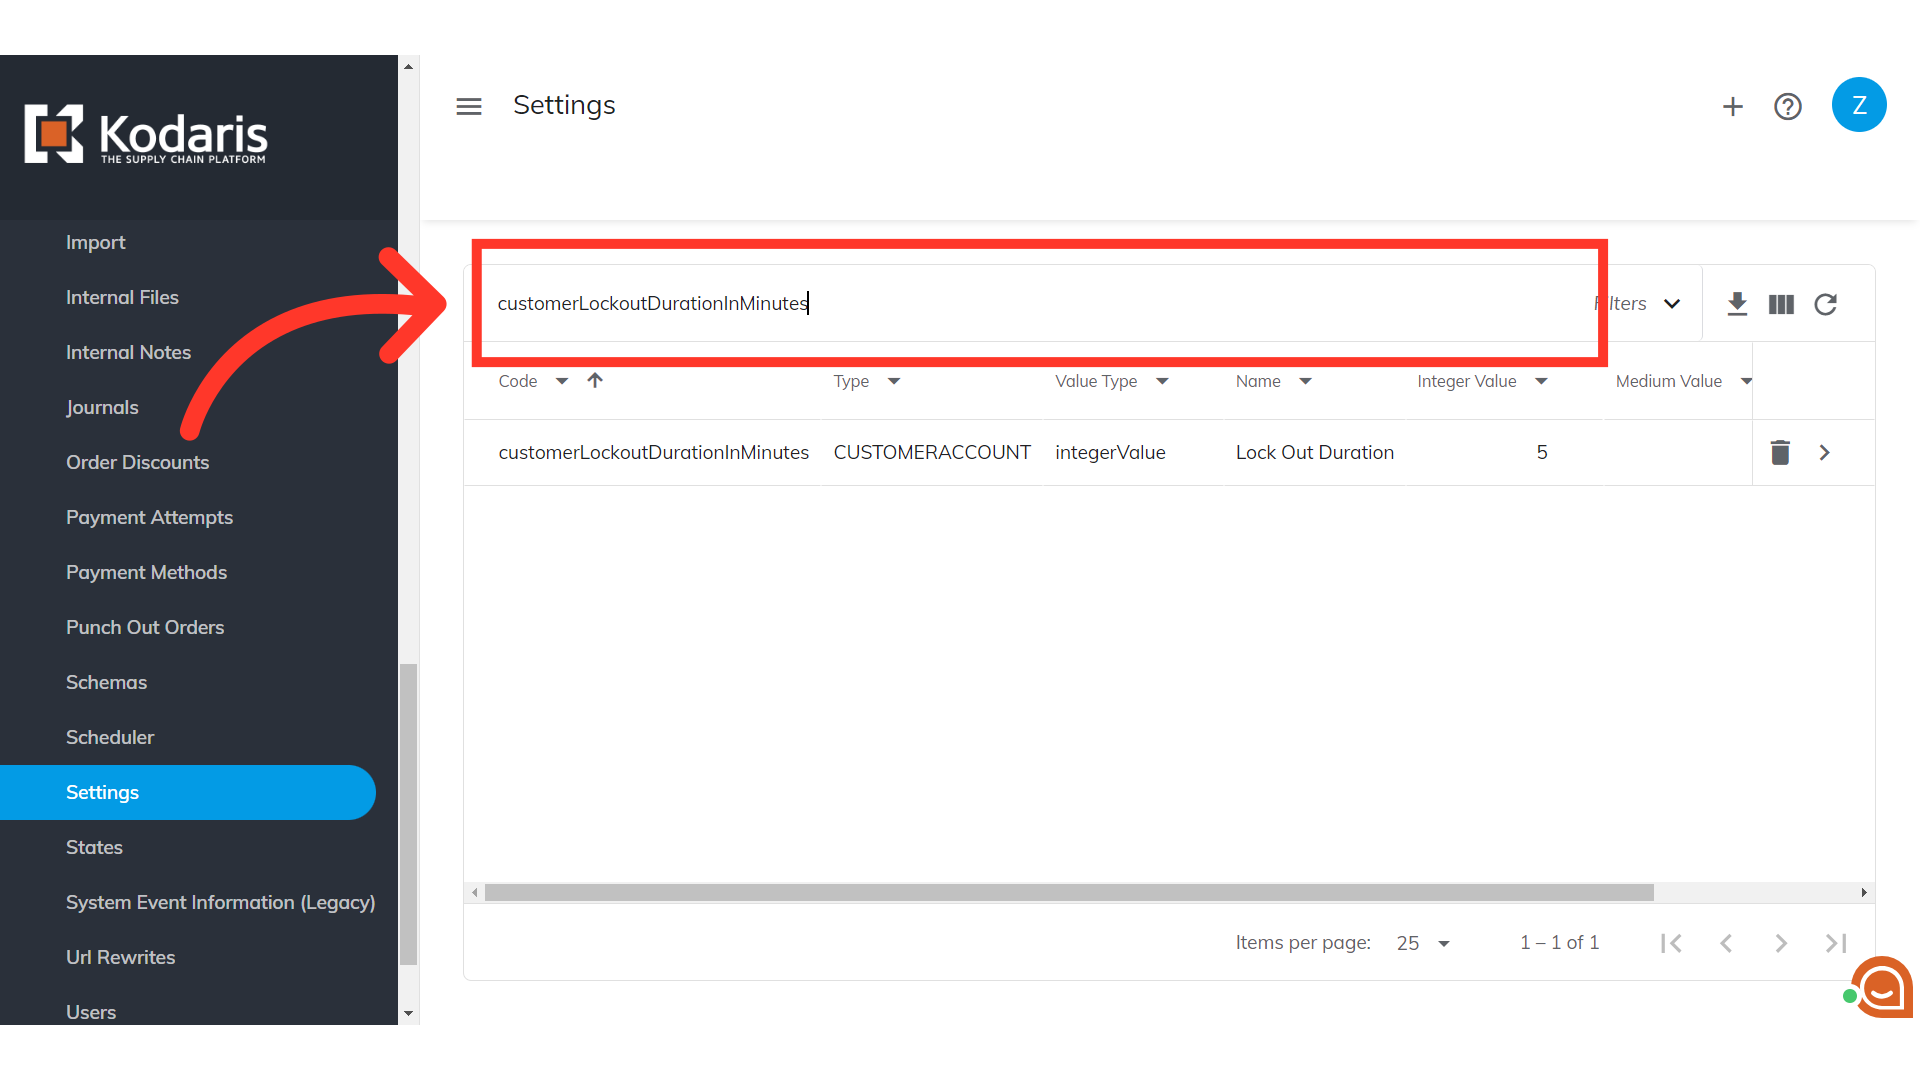
Go back again to the "Settings" screen. This will be the last setting that you need to set up. Search for the setting "customerLockoutDurationInMinutes".
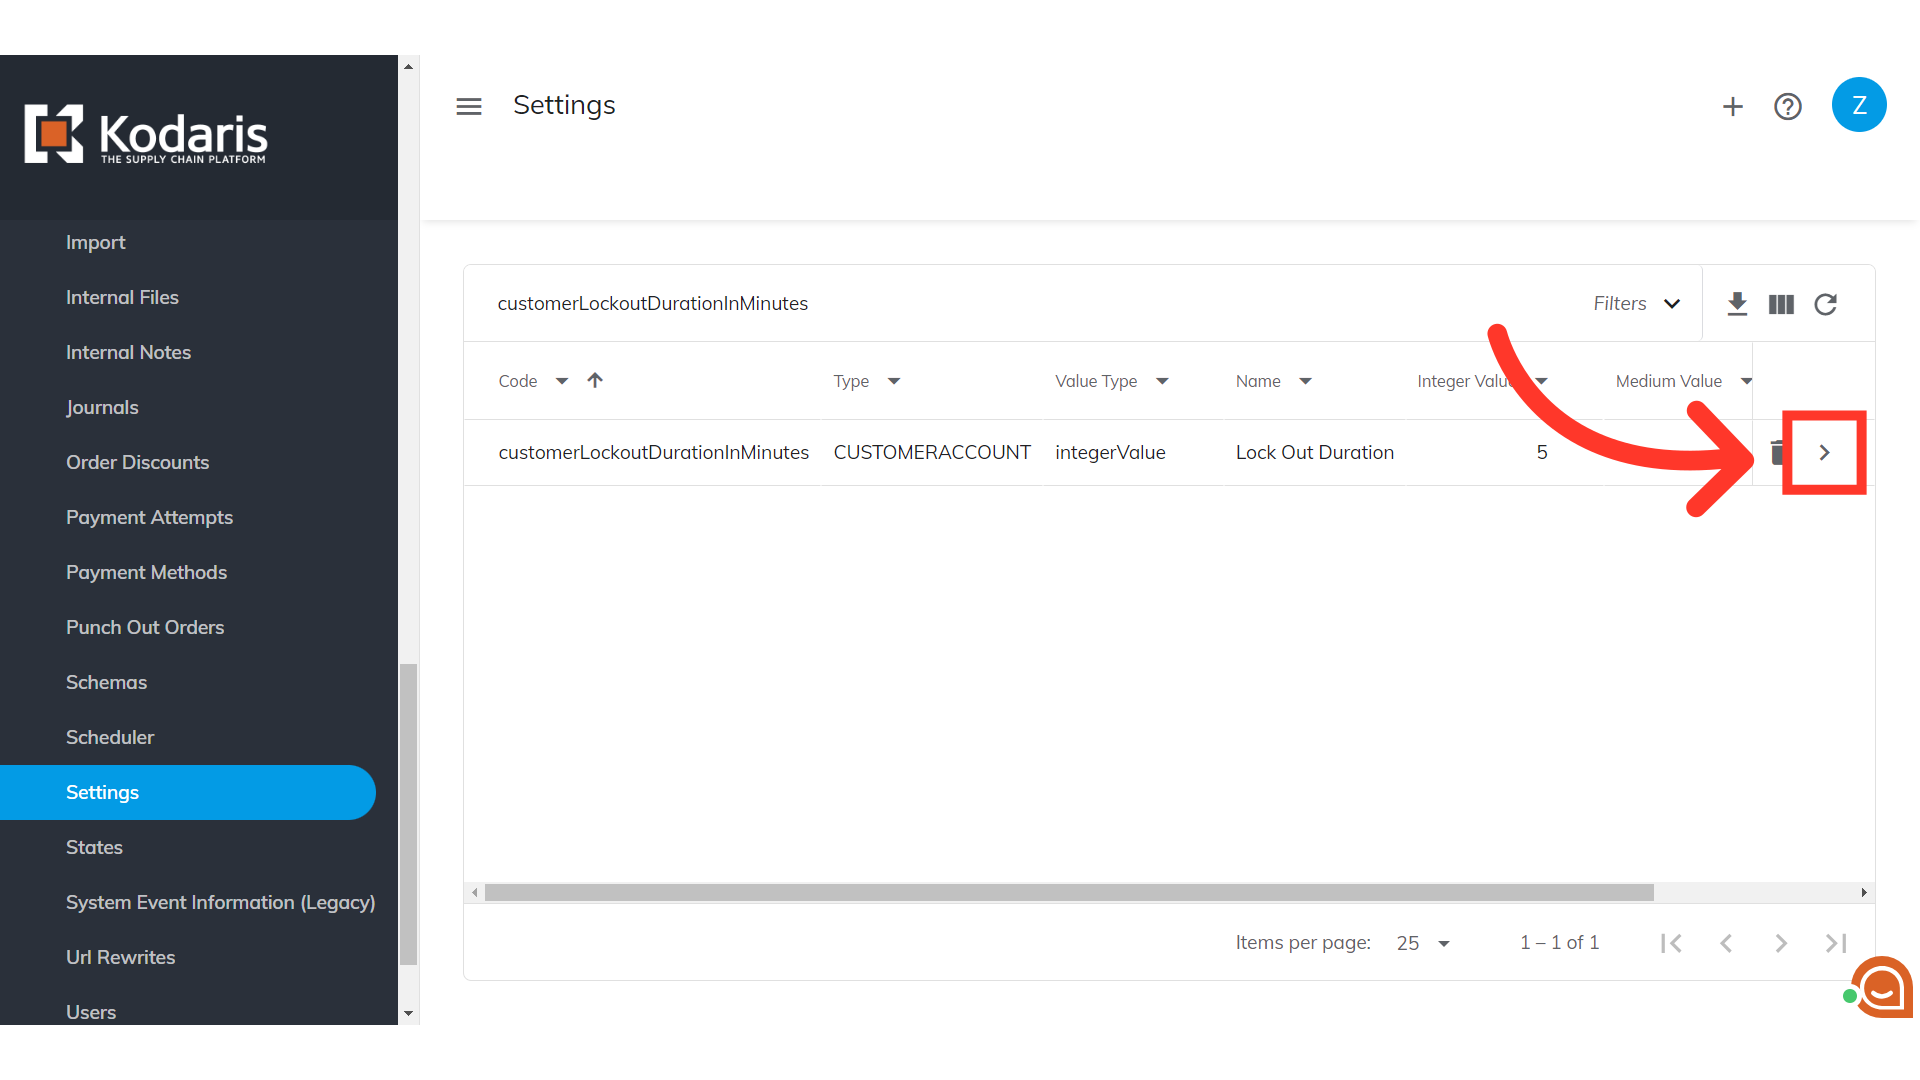
Click its more details icon.
Enter the value for lockout duration. This is the time in minutes that a customer account will be locked out after reaching the max number of failed login attempts and triggering the lockout.
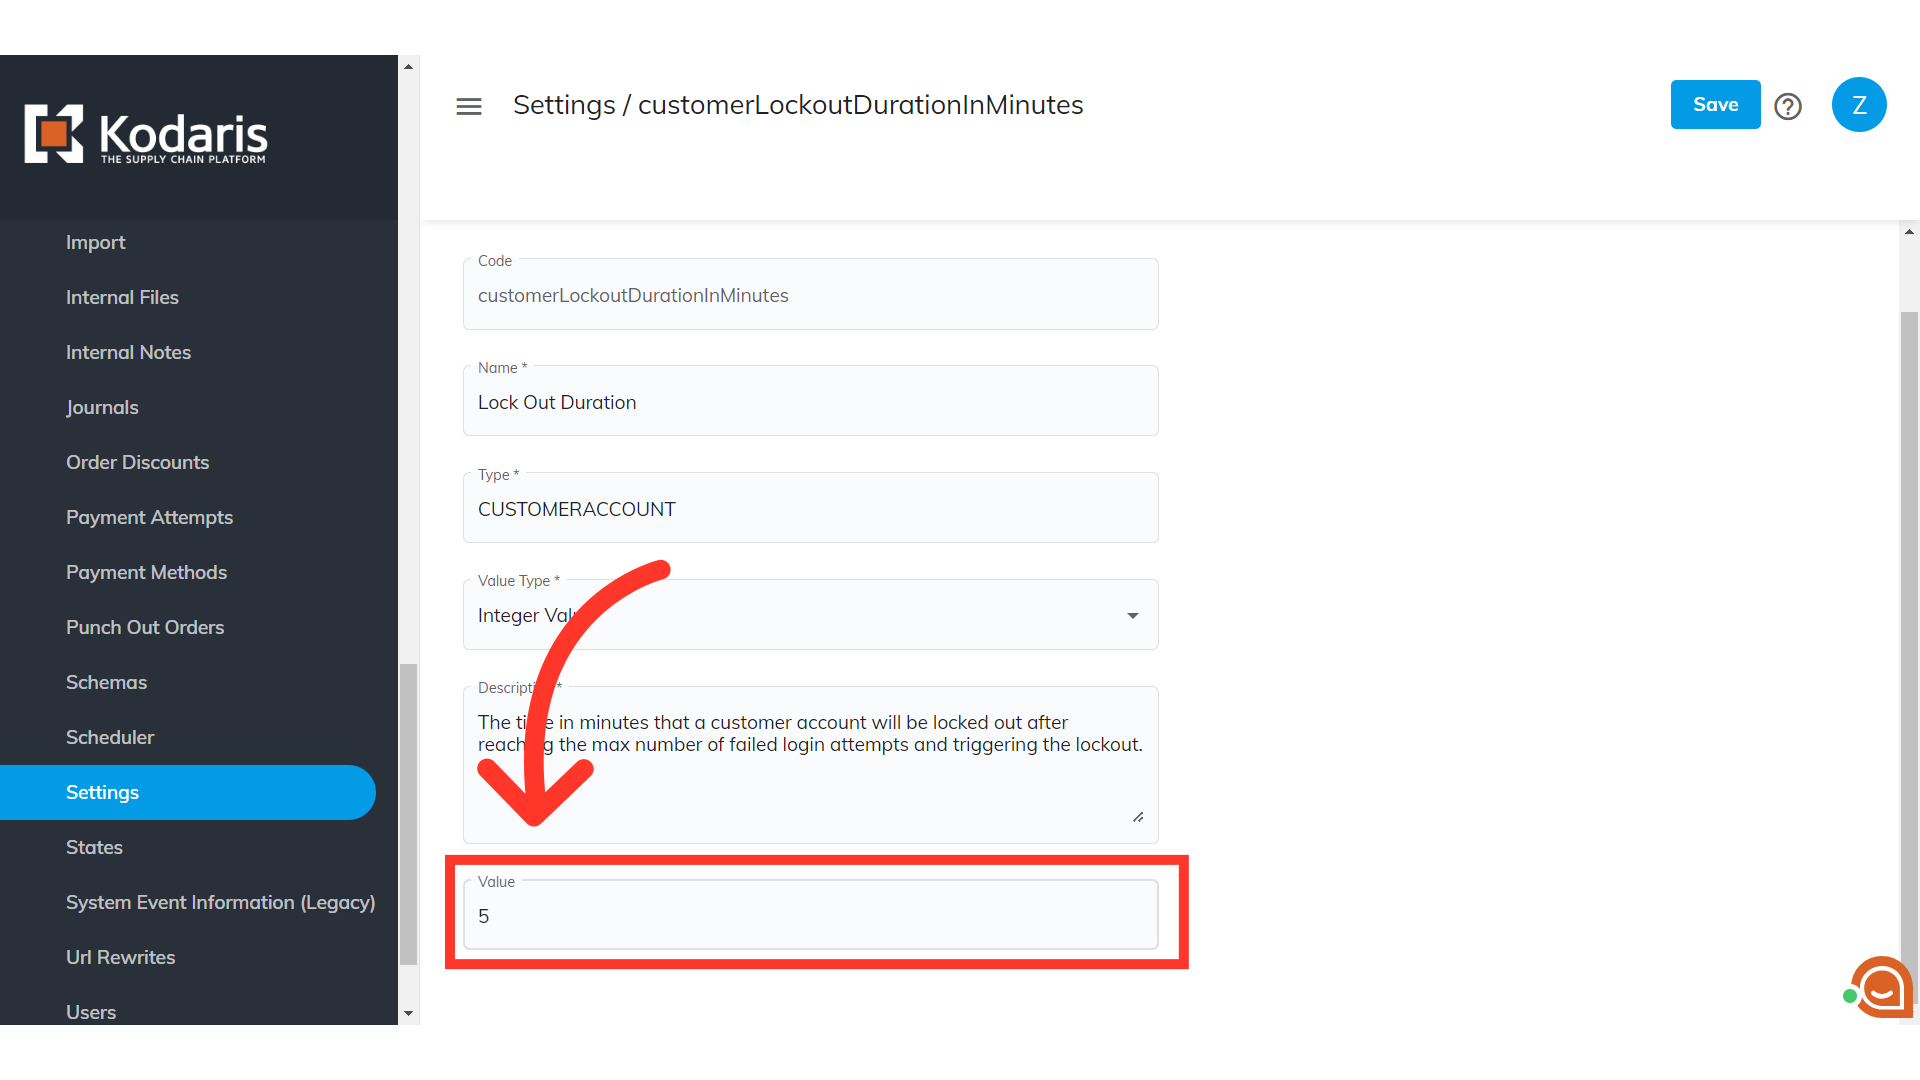
Click the "Save" button to apply the changes made to the setting.
