Navigate to "Accounts Receivable" in the AR/AP section.

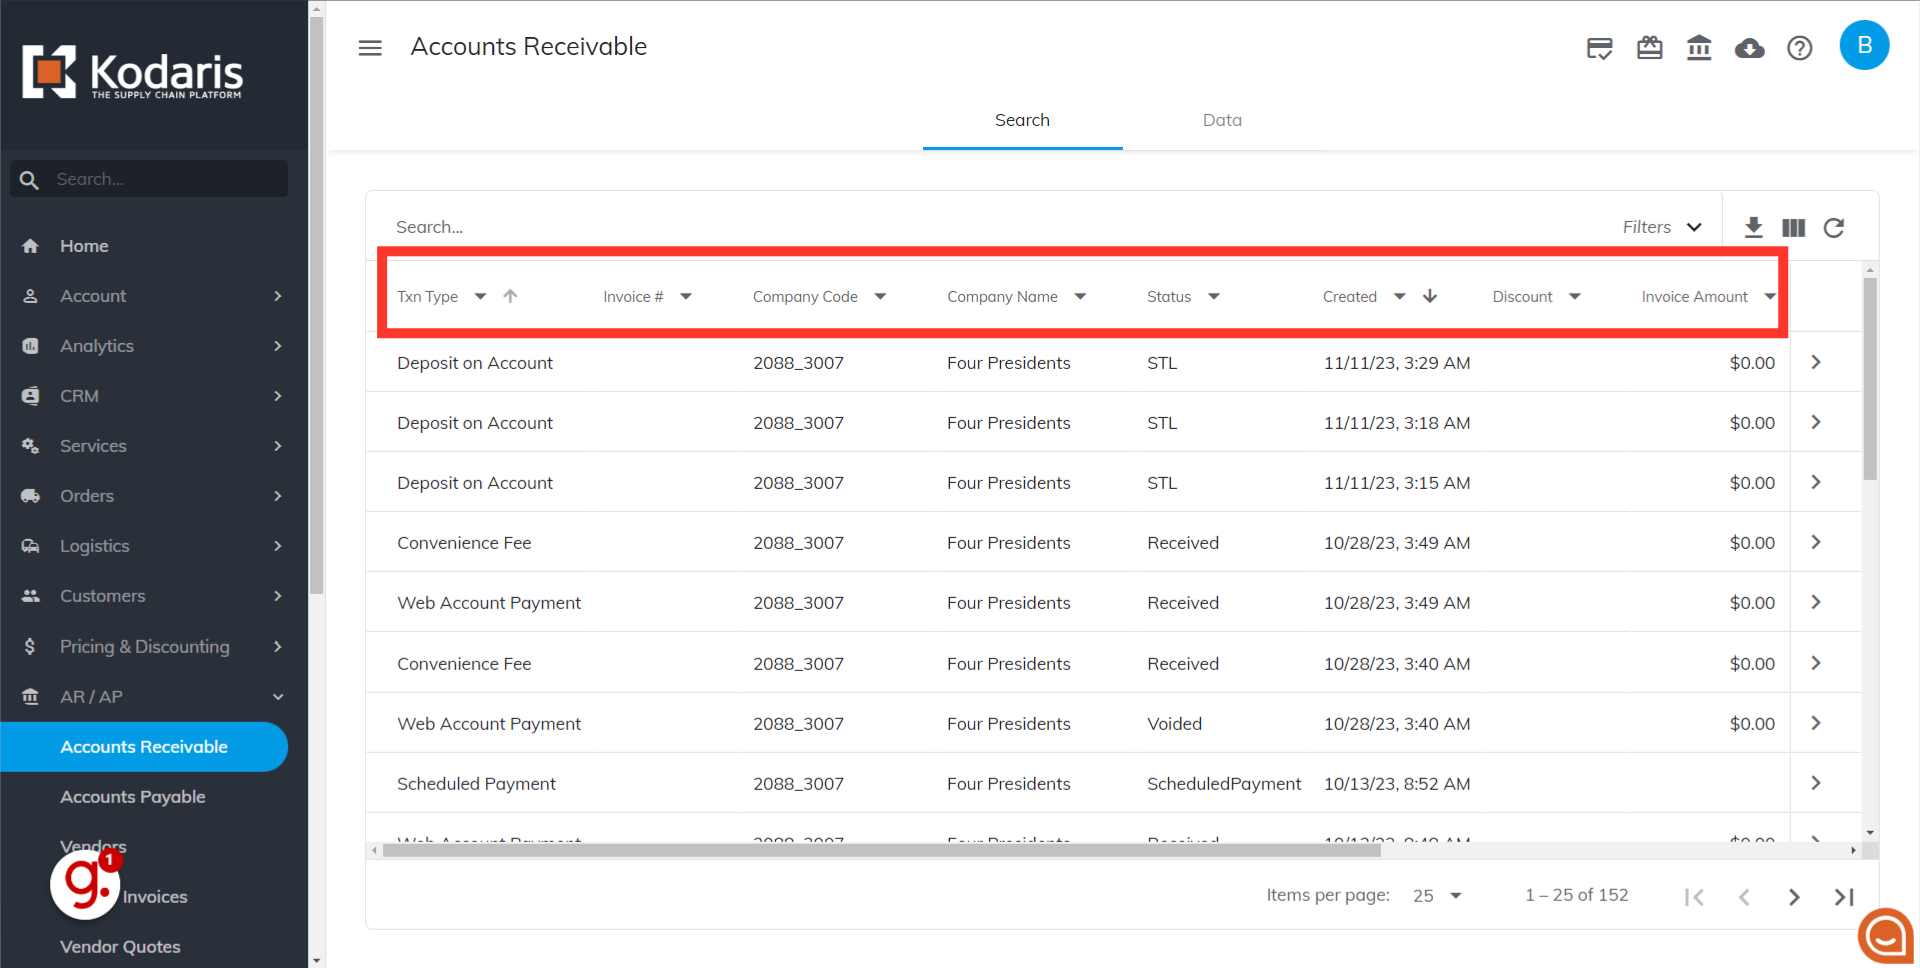
The Accounts Receivable screen will show all of your payment records both from the system and the web.

Information such as Transaction Type, Invoice Number, Status, Created, Invoice Amount, Due Date, and Invoice Date are shown by default.
To locate transactions processed through the payment portal, look for the "Txn Type" column.
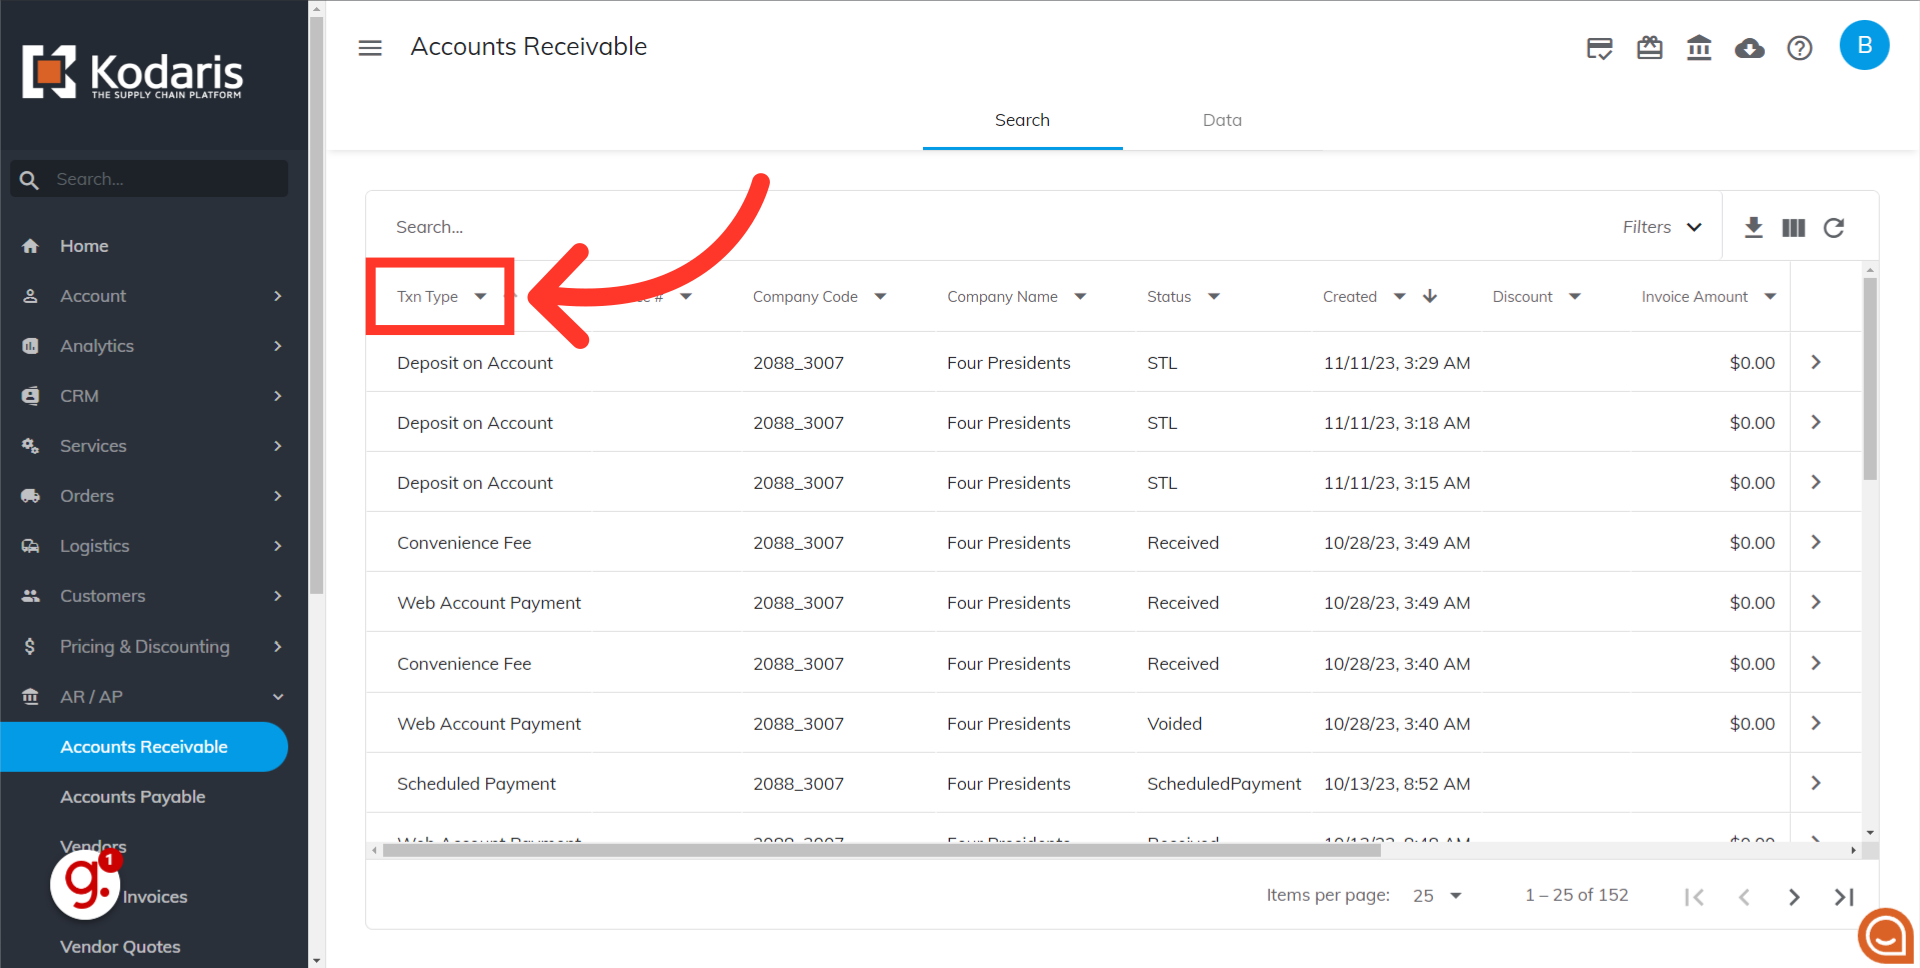
To view Customer Account Payments made in the customer portal, select the "Web Account Payment" option from the dropdown.

The screen will now show you the transactions processed through the customer portal.

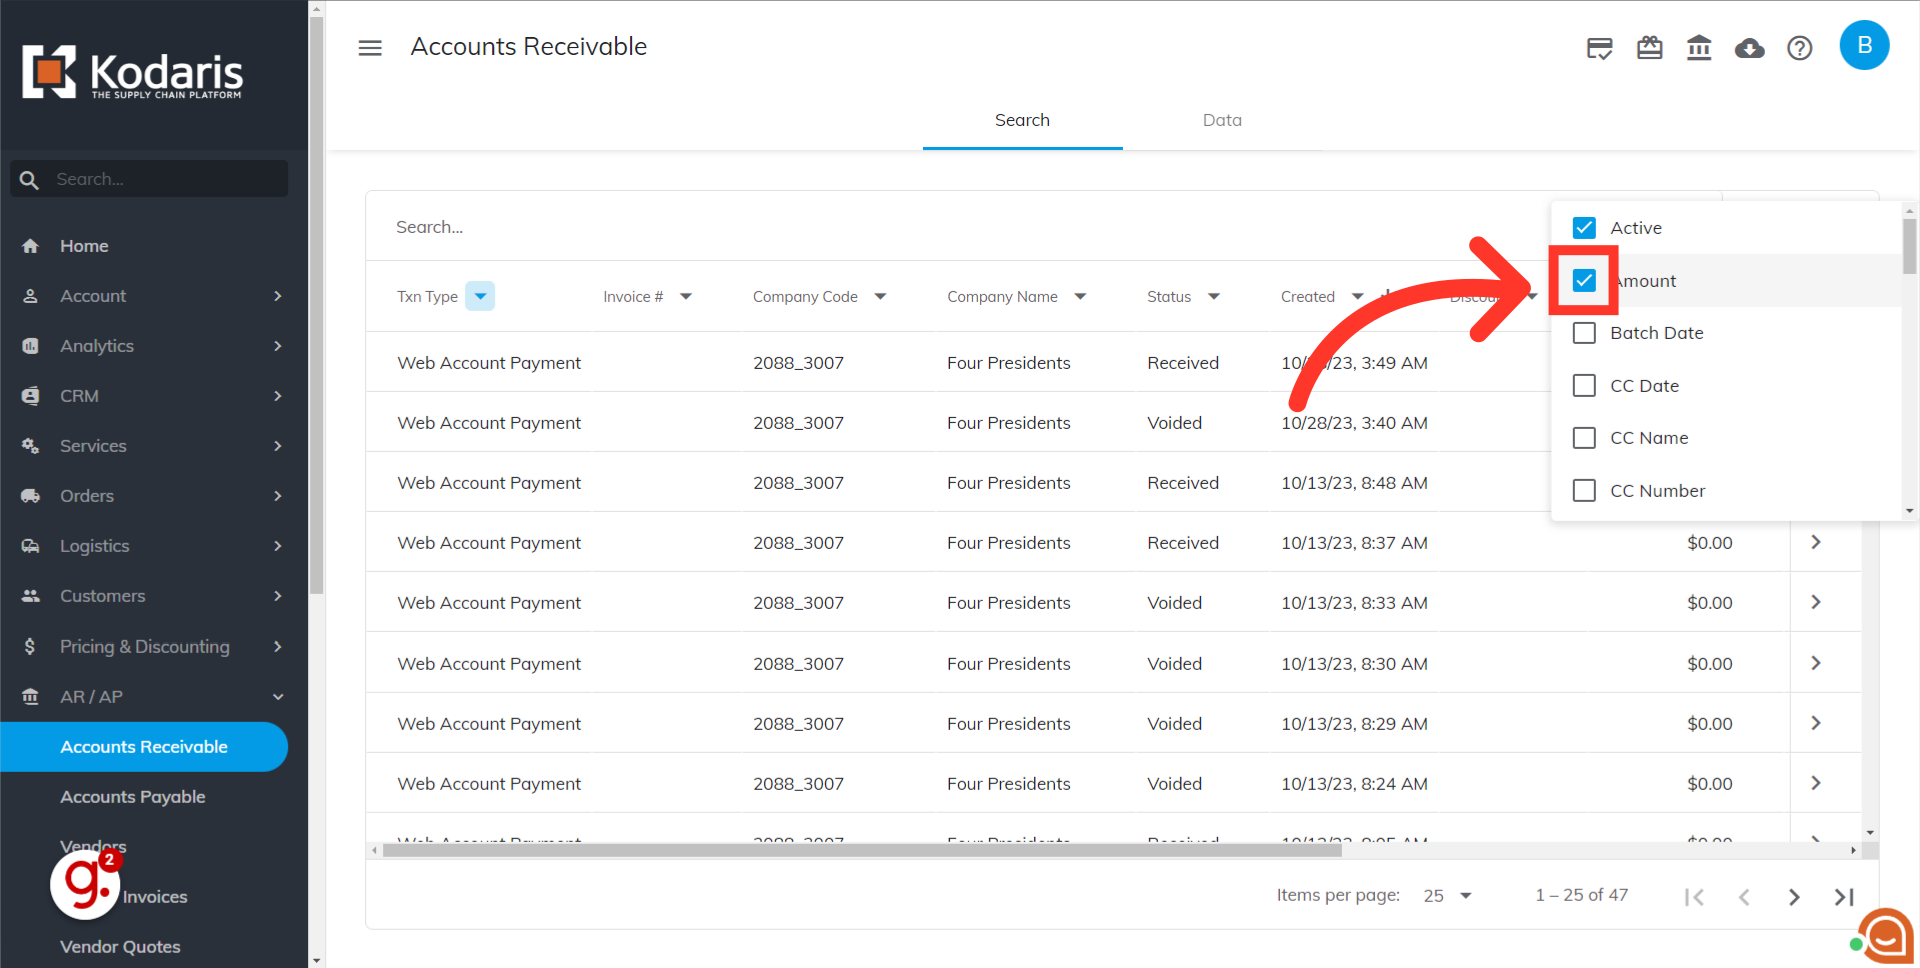
If you would like to view additional information on this screen, simply add the desired columns by clicking on the "Show/Hide Columns" icon.

Select the box of the columns you would like displayed.

Untick the box if you want to hide a column.
If you analyze different data on a regular basis, you can save a "sticky filter". By using this feature, you will avoid the need to reapply filters repeatedly. You can quickly switch between different views without losing your preferred filter settings, saving you time and effort.
