You may want to email invoices to customers that need customization, such as additional email addresses or extra documentation. To do so, navigate to the "Orders" section in the Operations Portal.

Then, click "Orders".

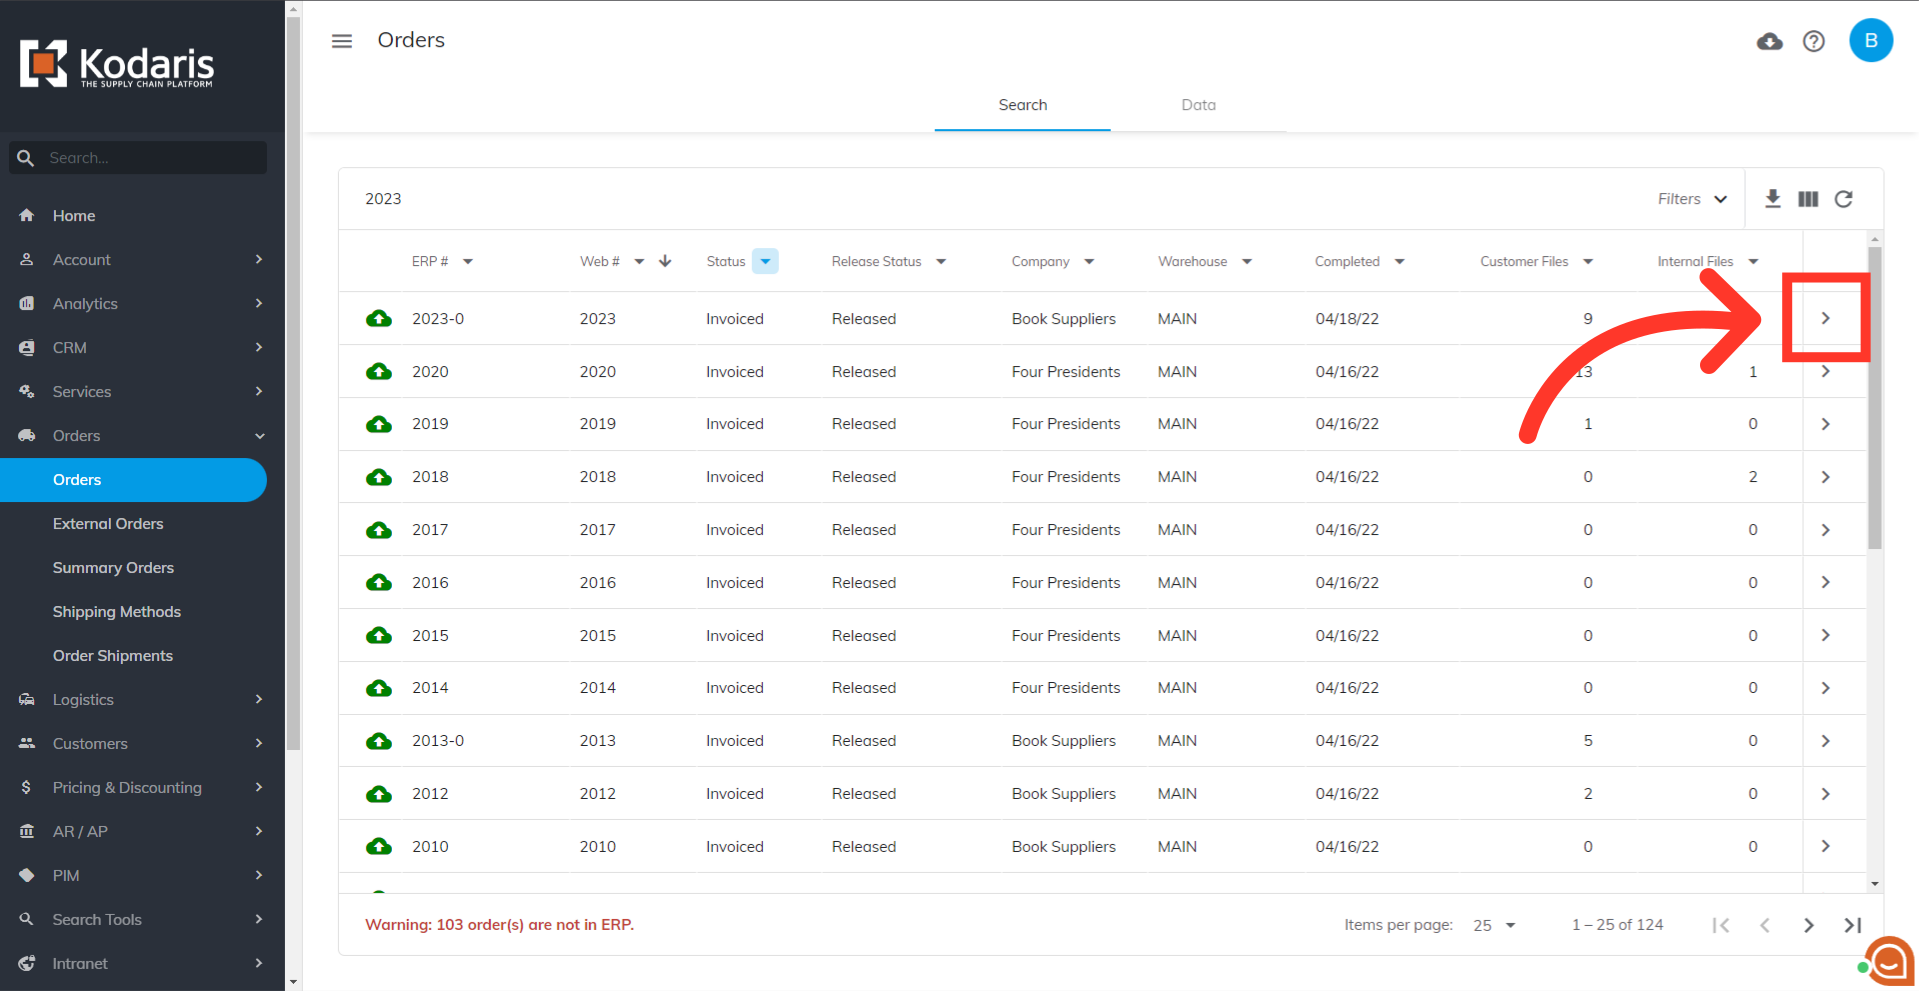
Search for the order by typing in the ERP number or Web number in the "Search..." field.

Filter down result by "Invoiced" Status.

Locate the order and click on the more details icon.
Click the "Email Order" icon.

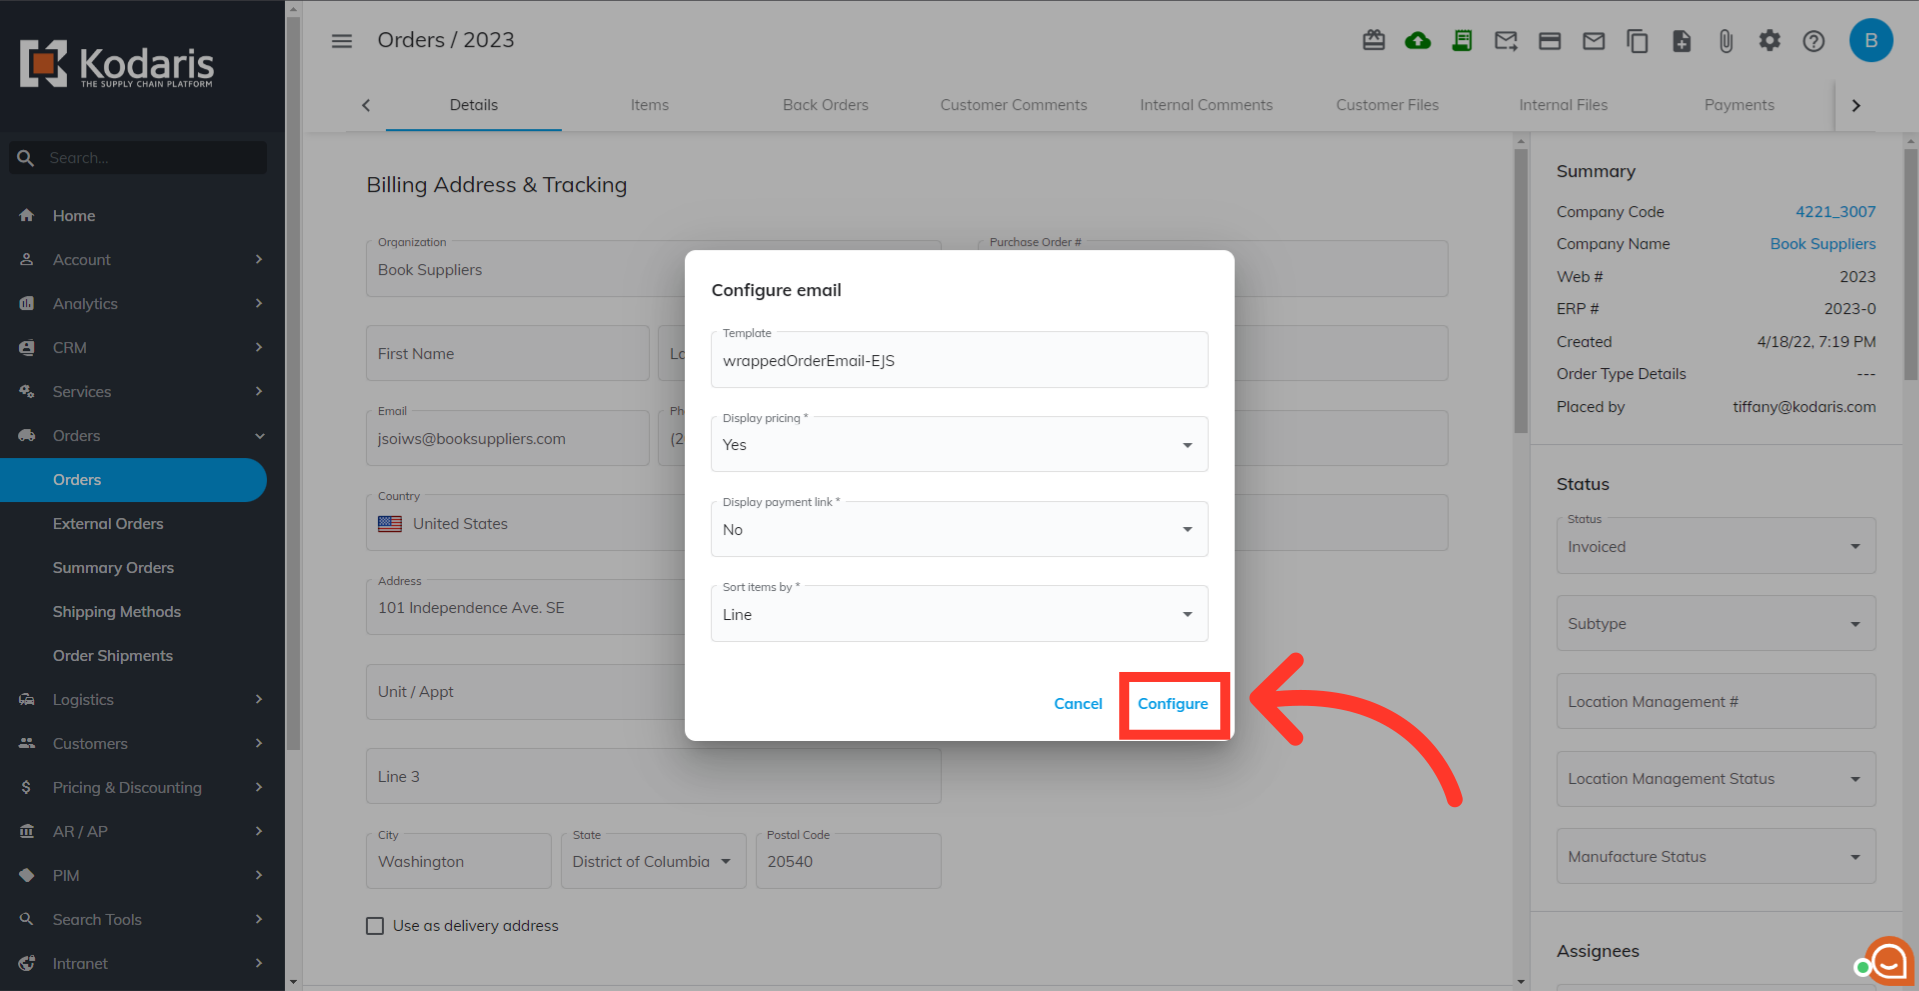
"Configure email" dialog box should appear. This is the default configuration for sending invoices by email. Click "Configure".
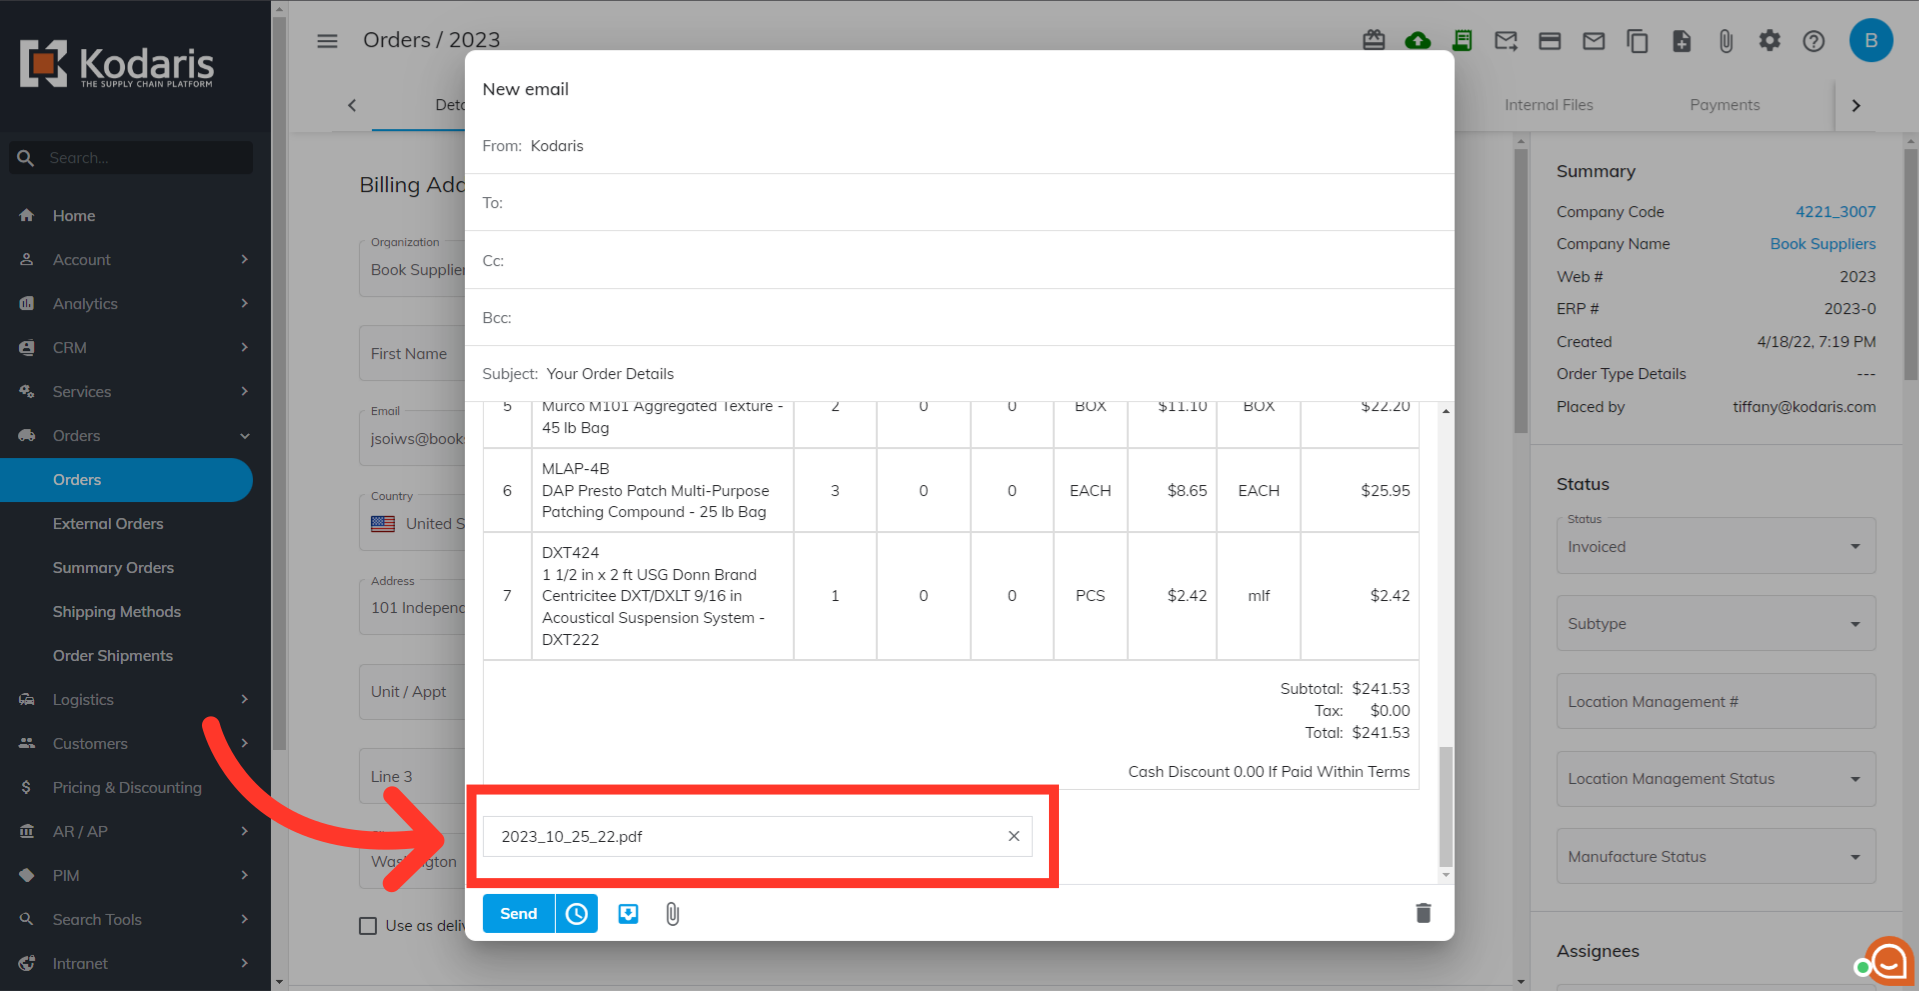
"New email" window will appear.

You can also attach any generated invoices to the email. Initiate the attachment process by clicking the "Attach File" icon.

Select a file to attach from the list. Remember that only files under "Customer Files" tab are available for attachment. You can also select multiple files by pressing and holding the "Ctrl" or "Cmd" key while you click on the files.

You should be able to see the attached file at the bottom of the email.
Complete the attachment process by clicking "Attach".

Enter the customer's email address in the email address field. If needed, you have the option to include other people in the CC and BCC fields.

You can also personalize the Subject and Body of the email if needed.

Click the "Send" button to immediately send the email.

If you've decided not to send the email, discard the email by clicking on the trash icon.
