You can issue a charge to a credit card or a bank account using the "Issue a Charge" feature in the Operations Portal. Note: Issuing a charge using this process does not tie the charge to a specific company record. To start, navigate to the "Accounts Receivable" section.
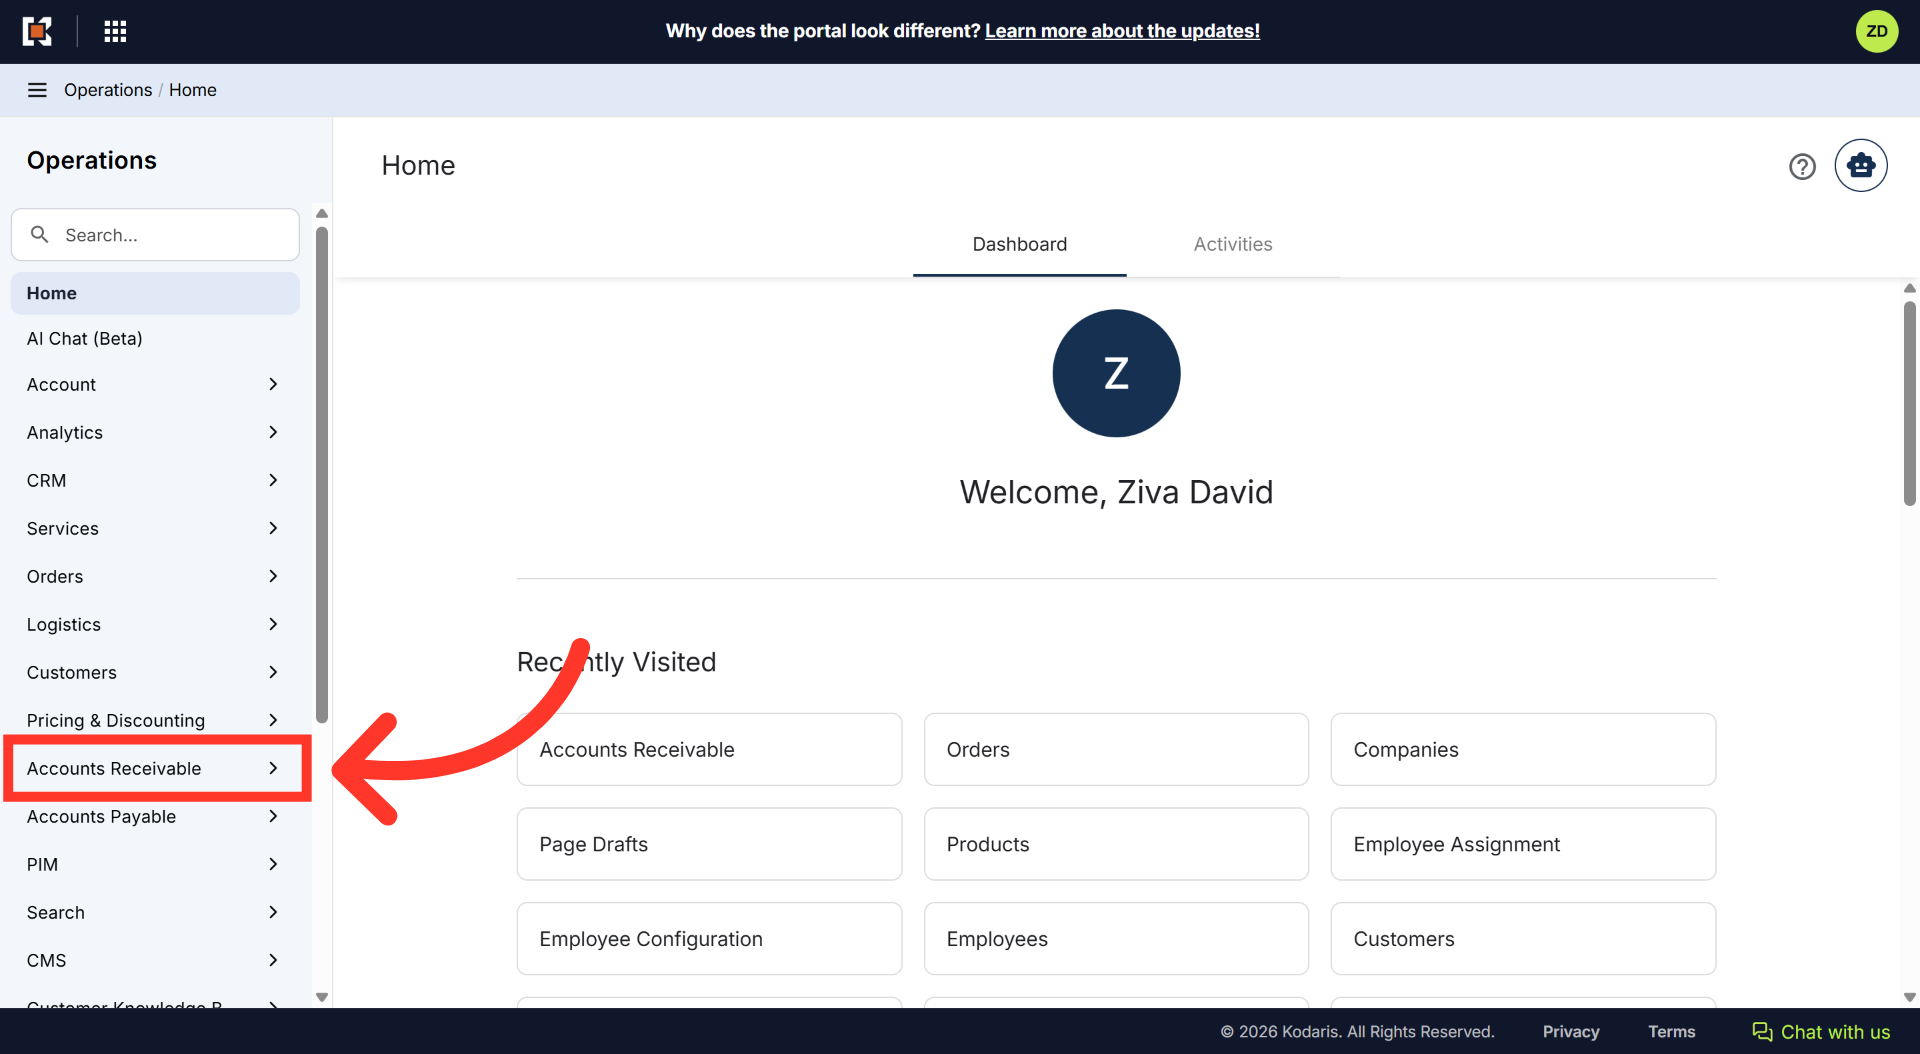
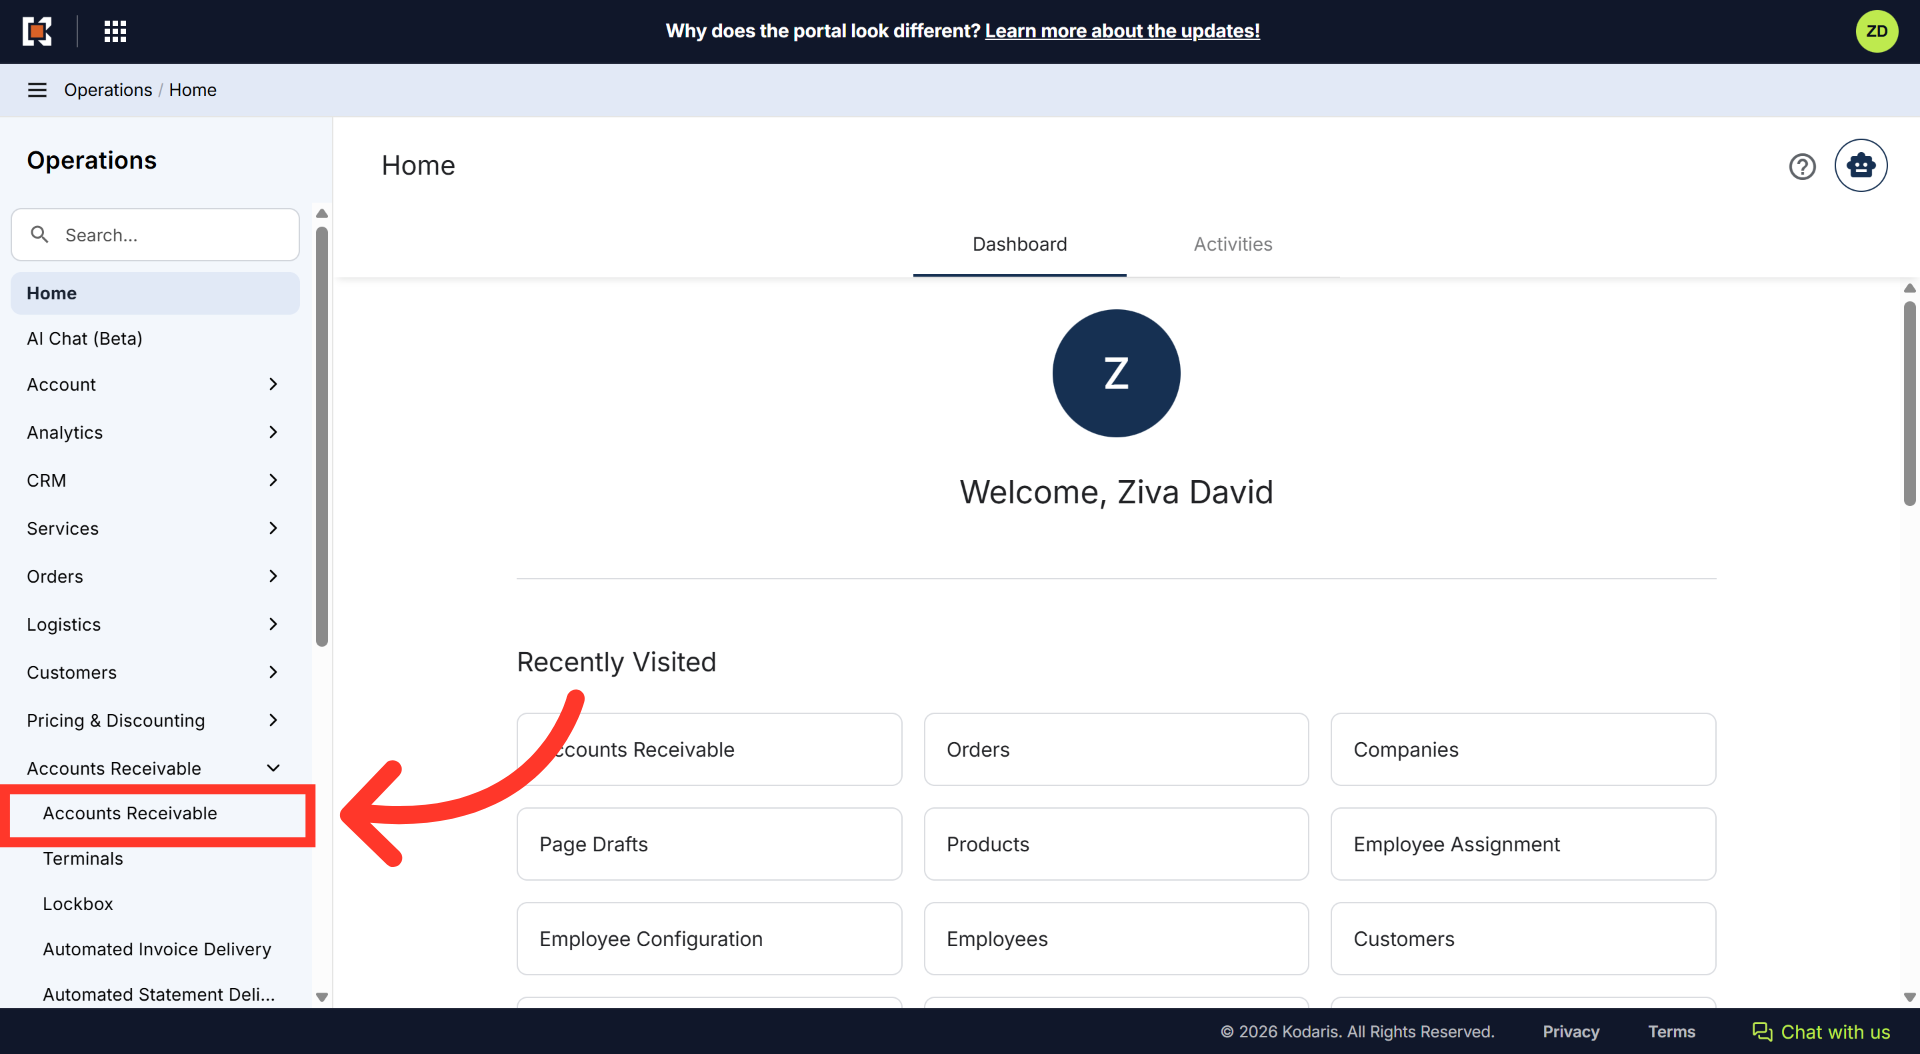
Then, click "Accounts Receivable". In order to access and update "Accounts Receivable" you will need to be set up either as an "administrator" or a "superuser", or "accountant" or have the following roles: "paymentEdit".
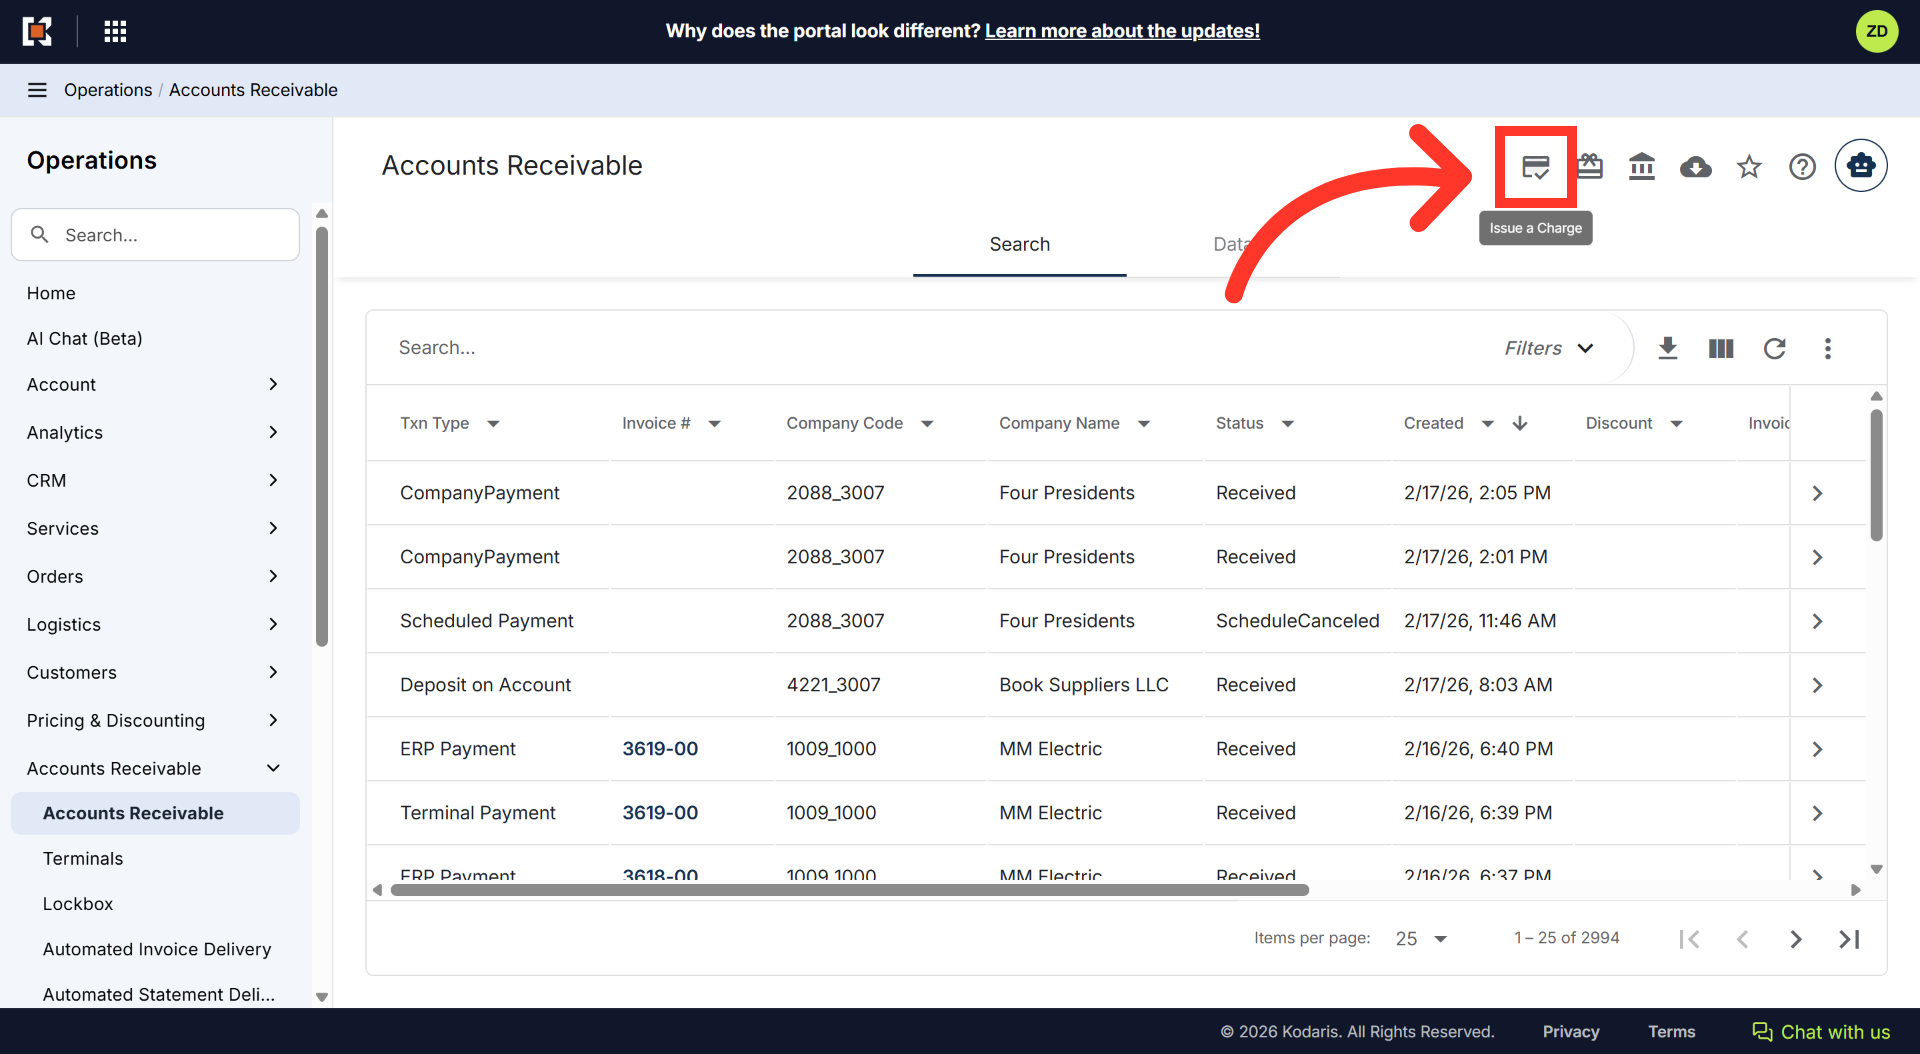
Next, click the "Issue a Charge" icon located at the top of the page. This feature allows you to make a general charge to a credit card or bank account.
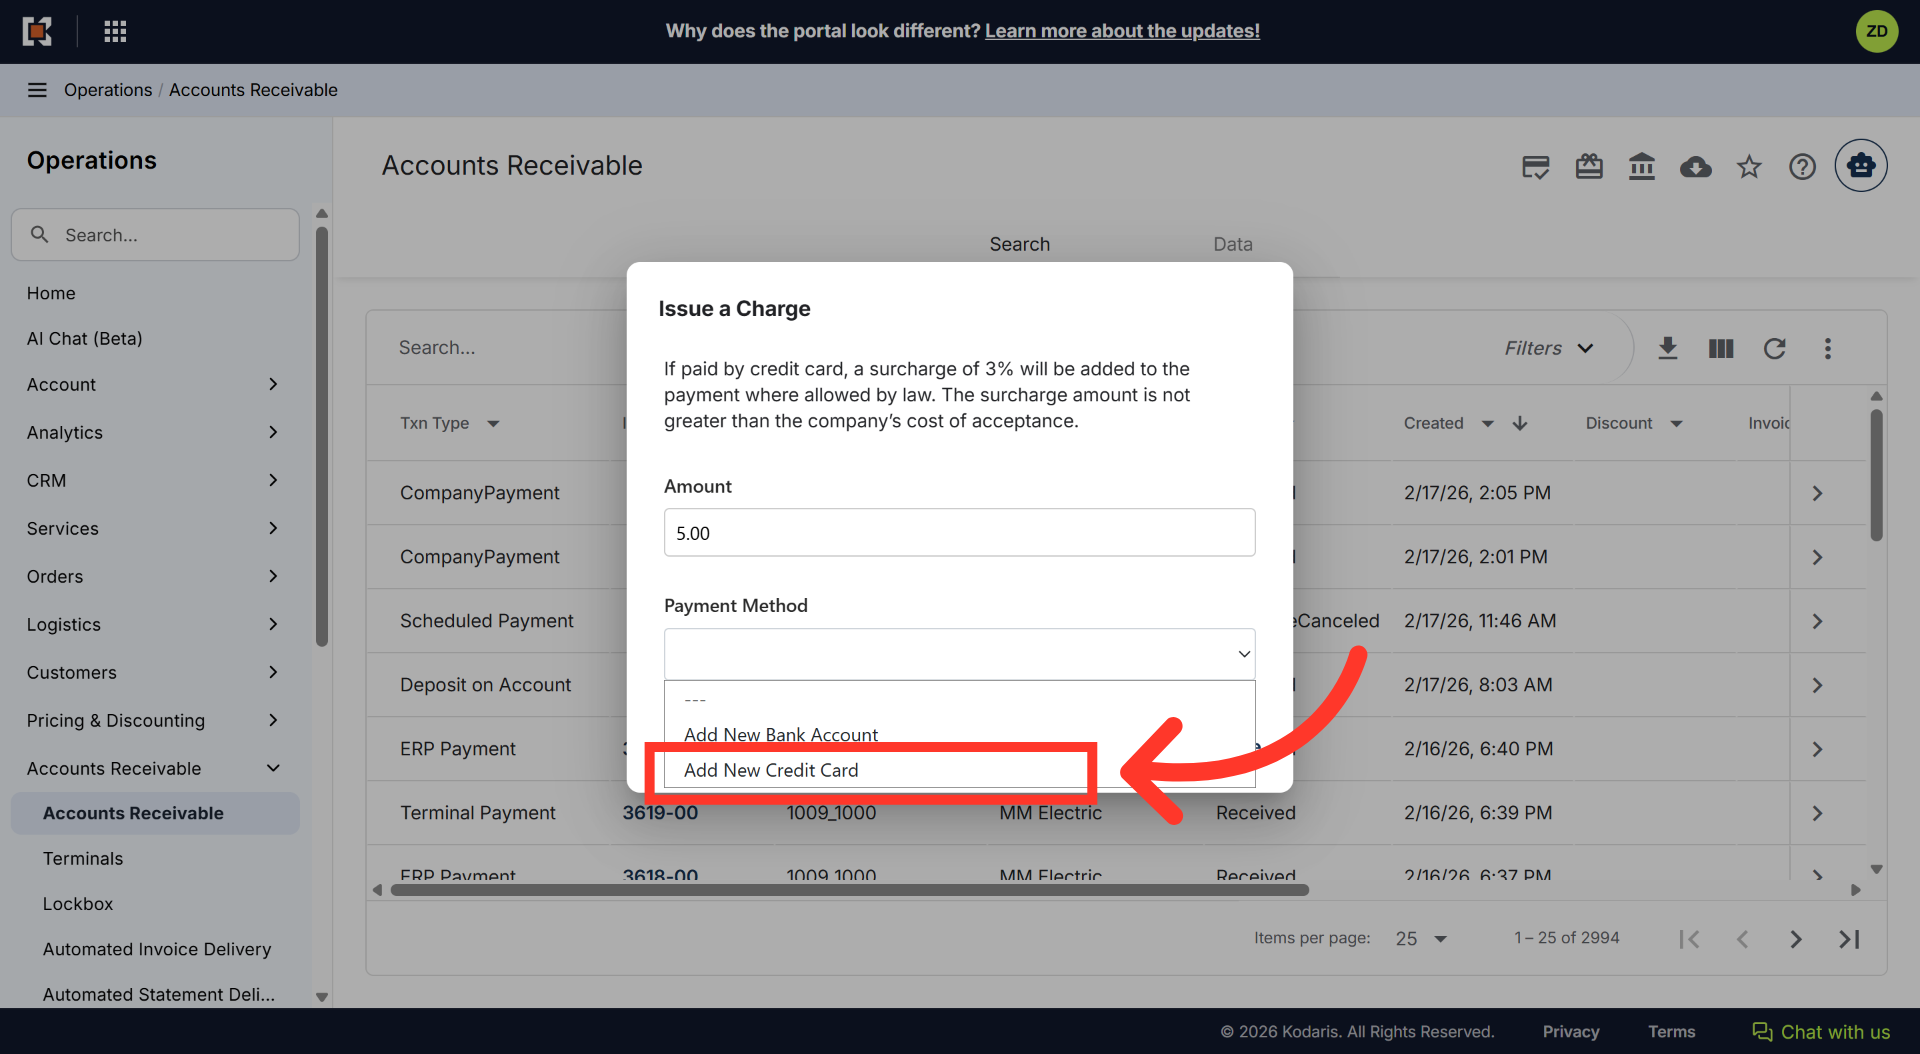
An "Issue a Charge" dialog box appears. Enter the amount of the charge in the "Amount" field.

In the Payment Method dropdown menu, you can choose between two options. You can choose to "Add New Bank Account" or "Add New Credit Card". For this example, we will choose "Add New Credit Card". If you would like to issue a charge to a bank account, you would select and update the bank account
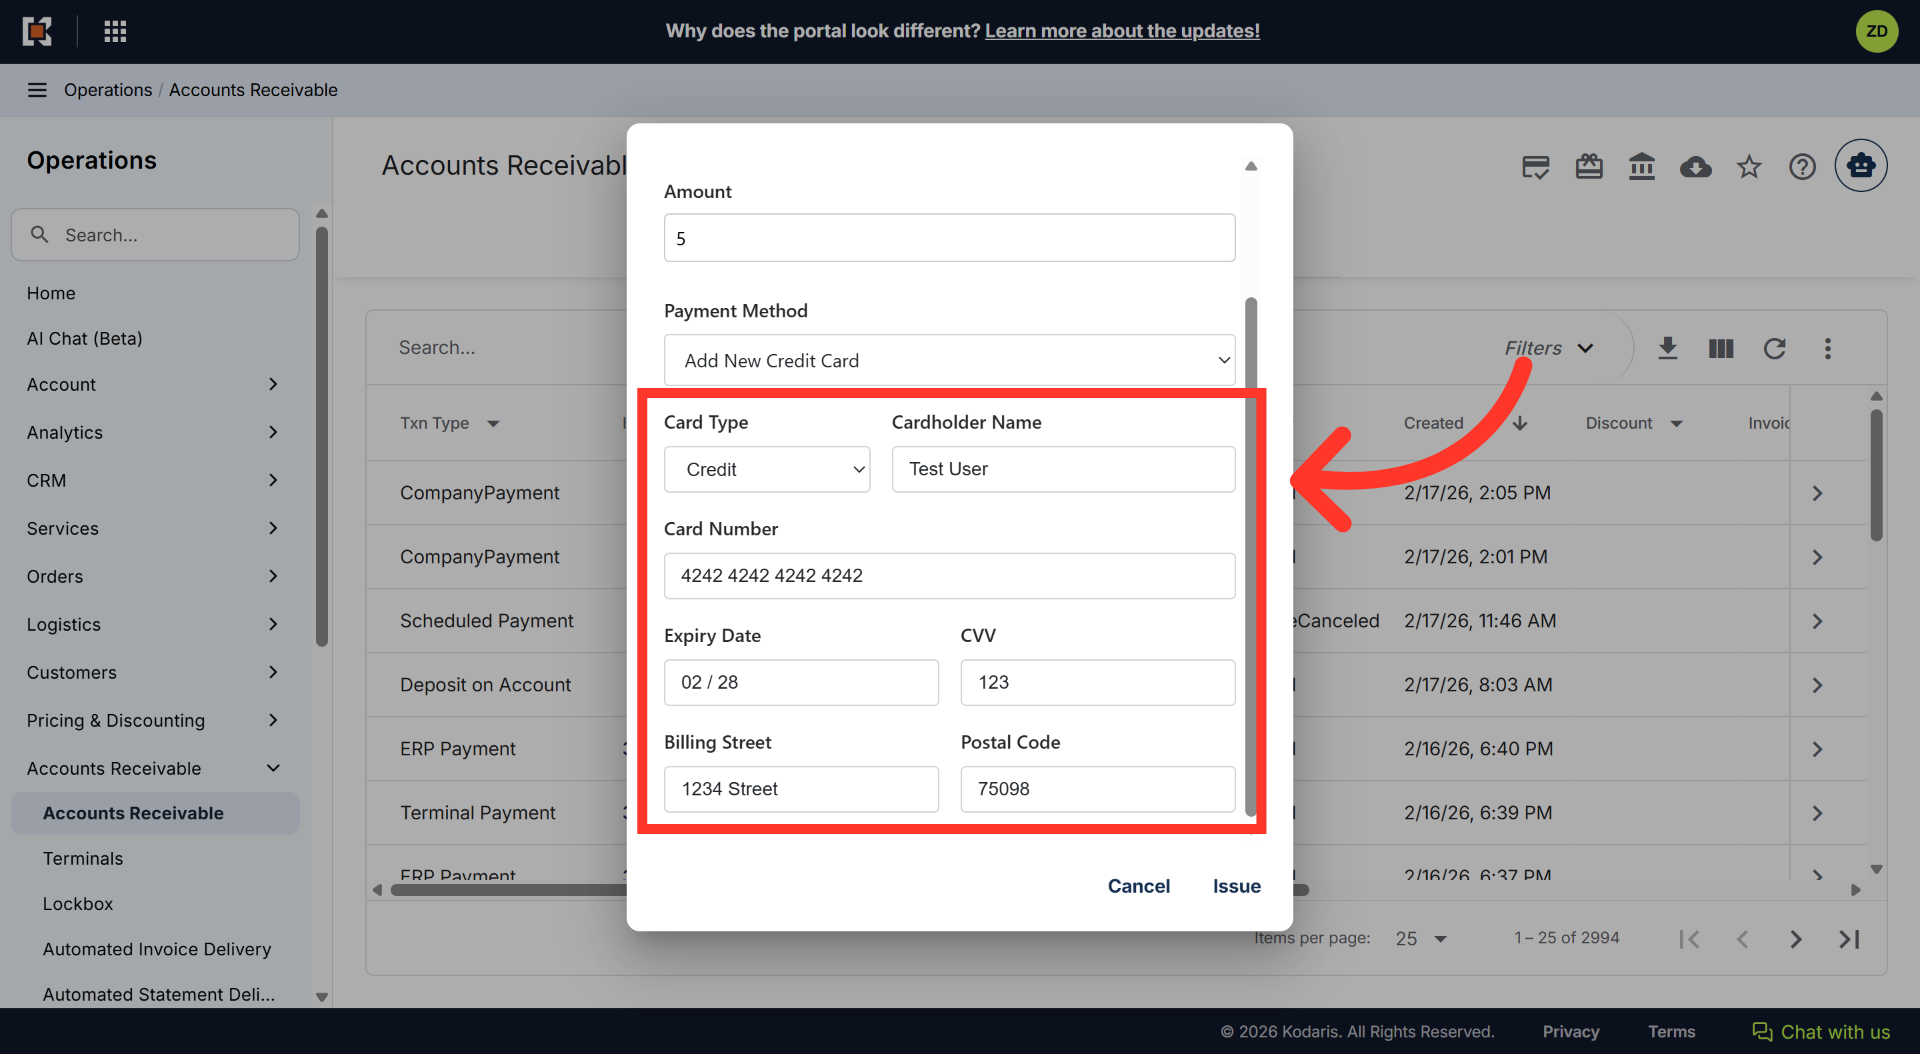
In the dialog box, enter the credit card information such as credit card details, cardholder name and address.
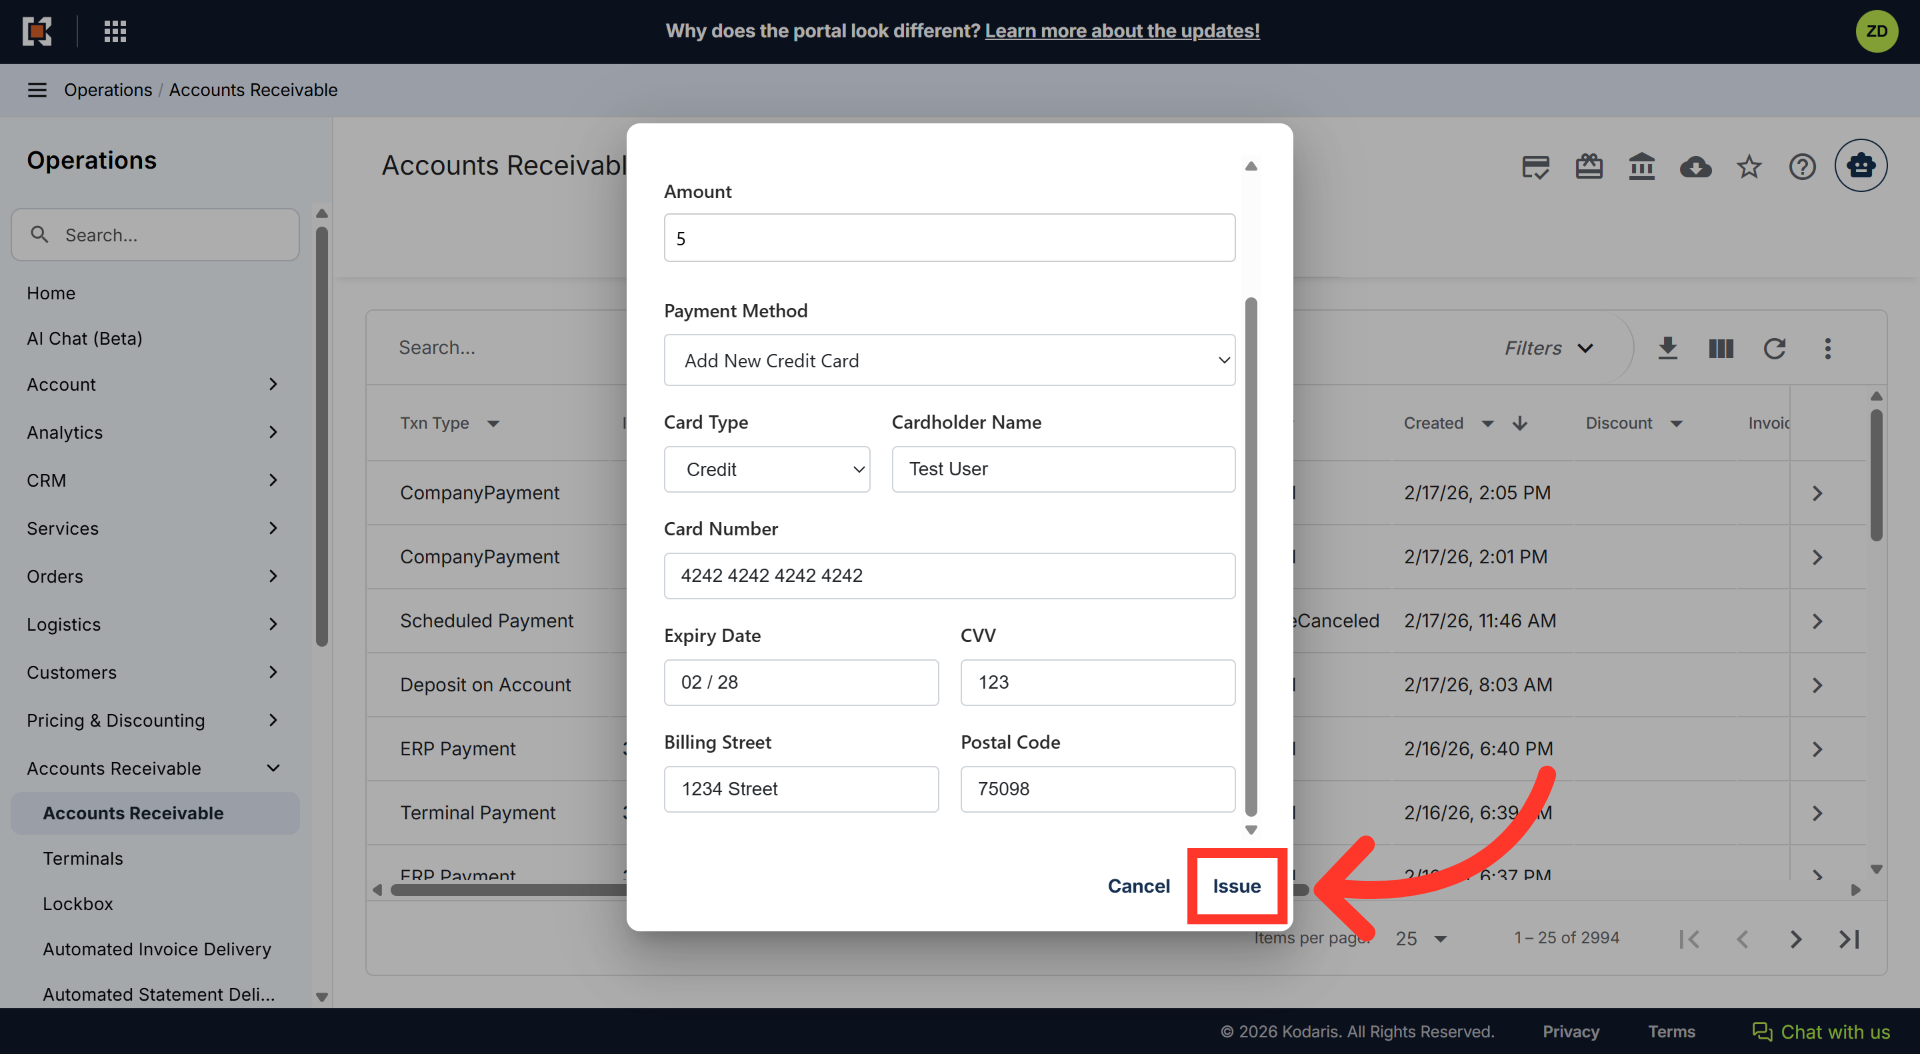
Once done, click "Issue" to process the charge to the selected payment method.
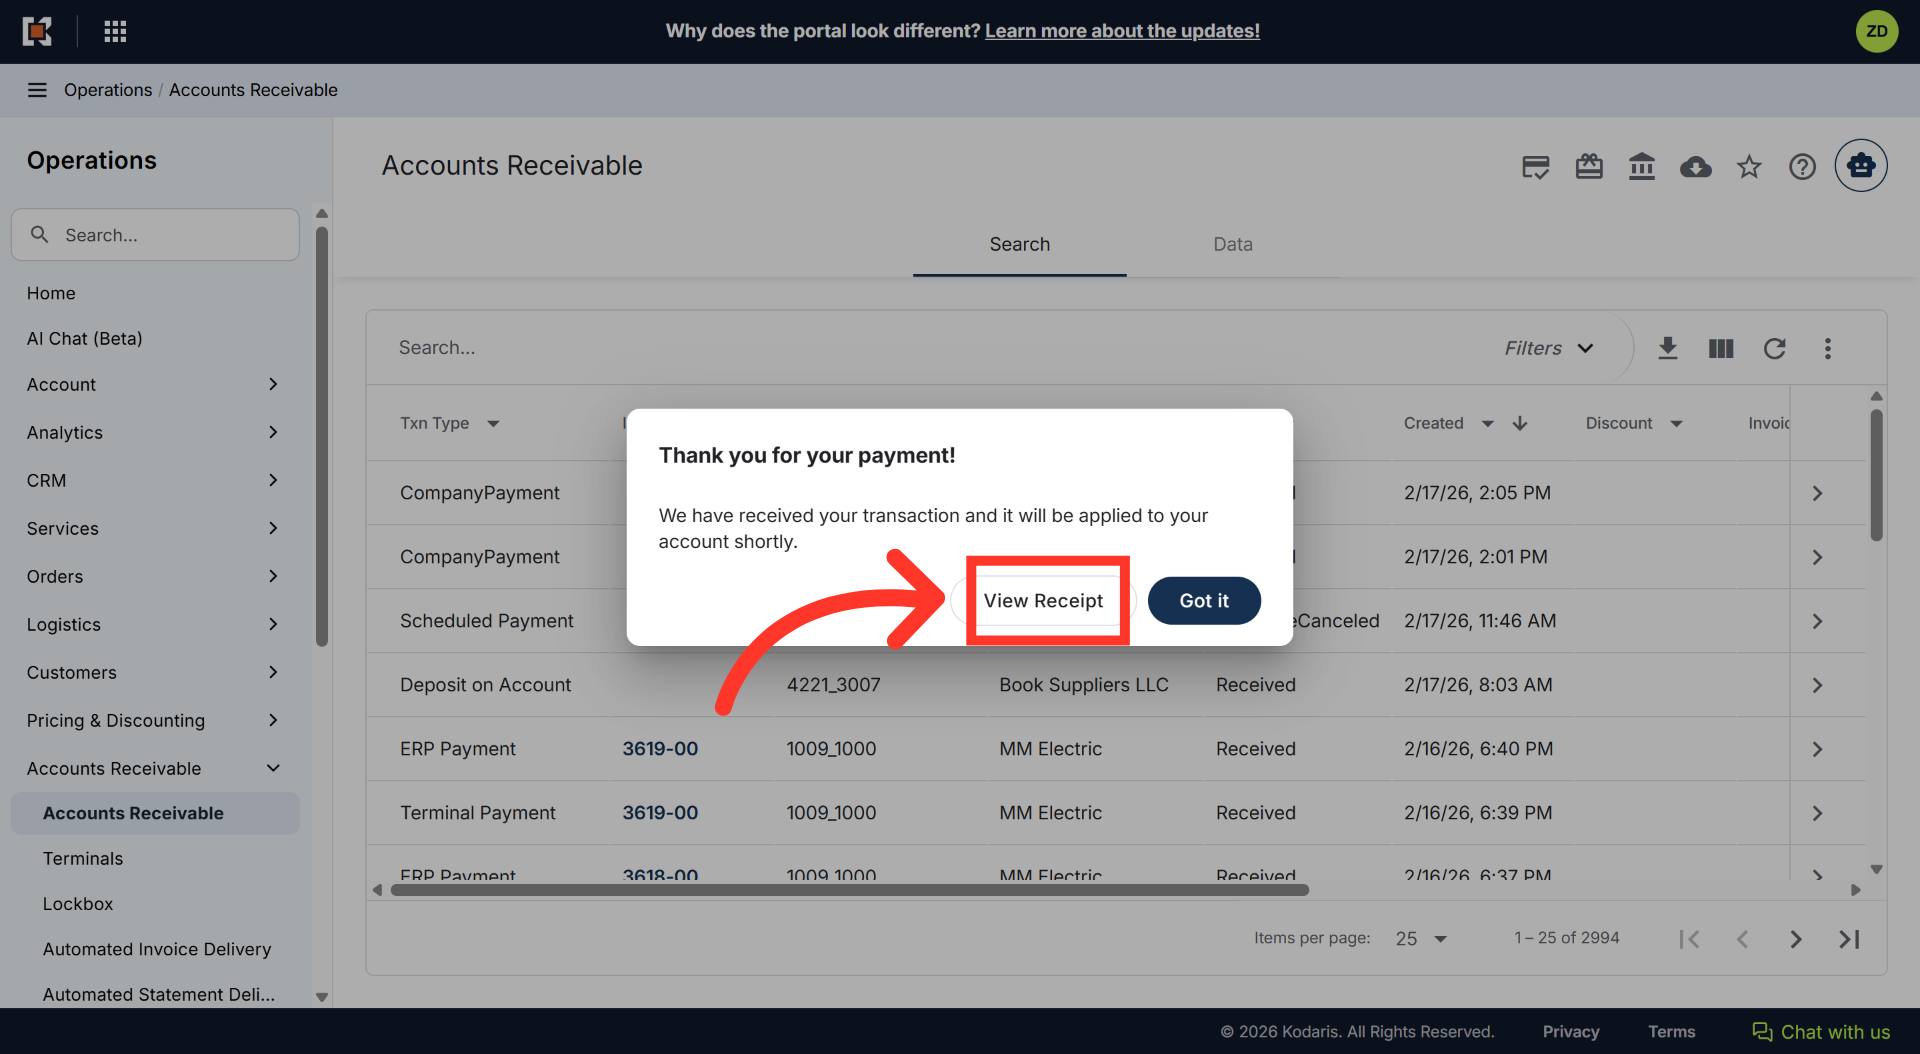
Once payment has been made you will receive a confirmation message and you can click "Got it" to confirm and dismiss the message. You can also choose to view and print the receipt by clicking "View Receipt".
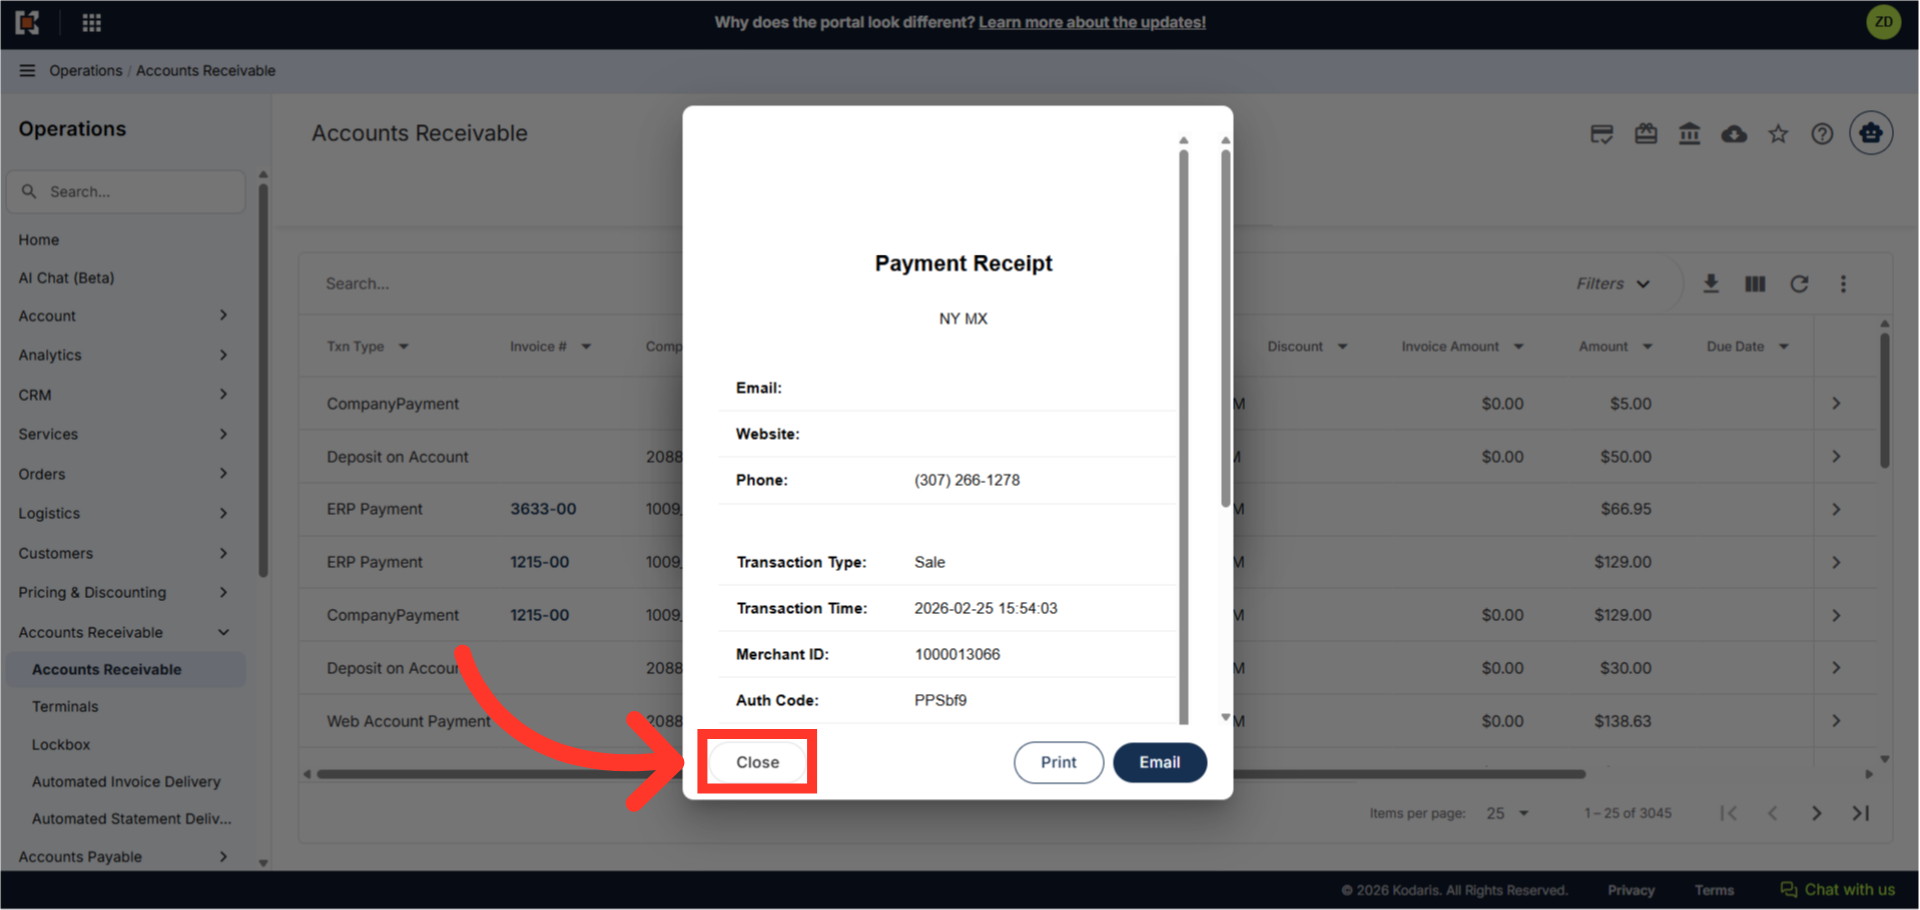
The receipt preview screen allows you to view receipt details and print or email a copy of the receipt.
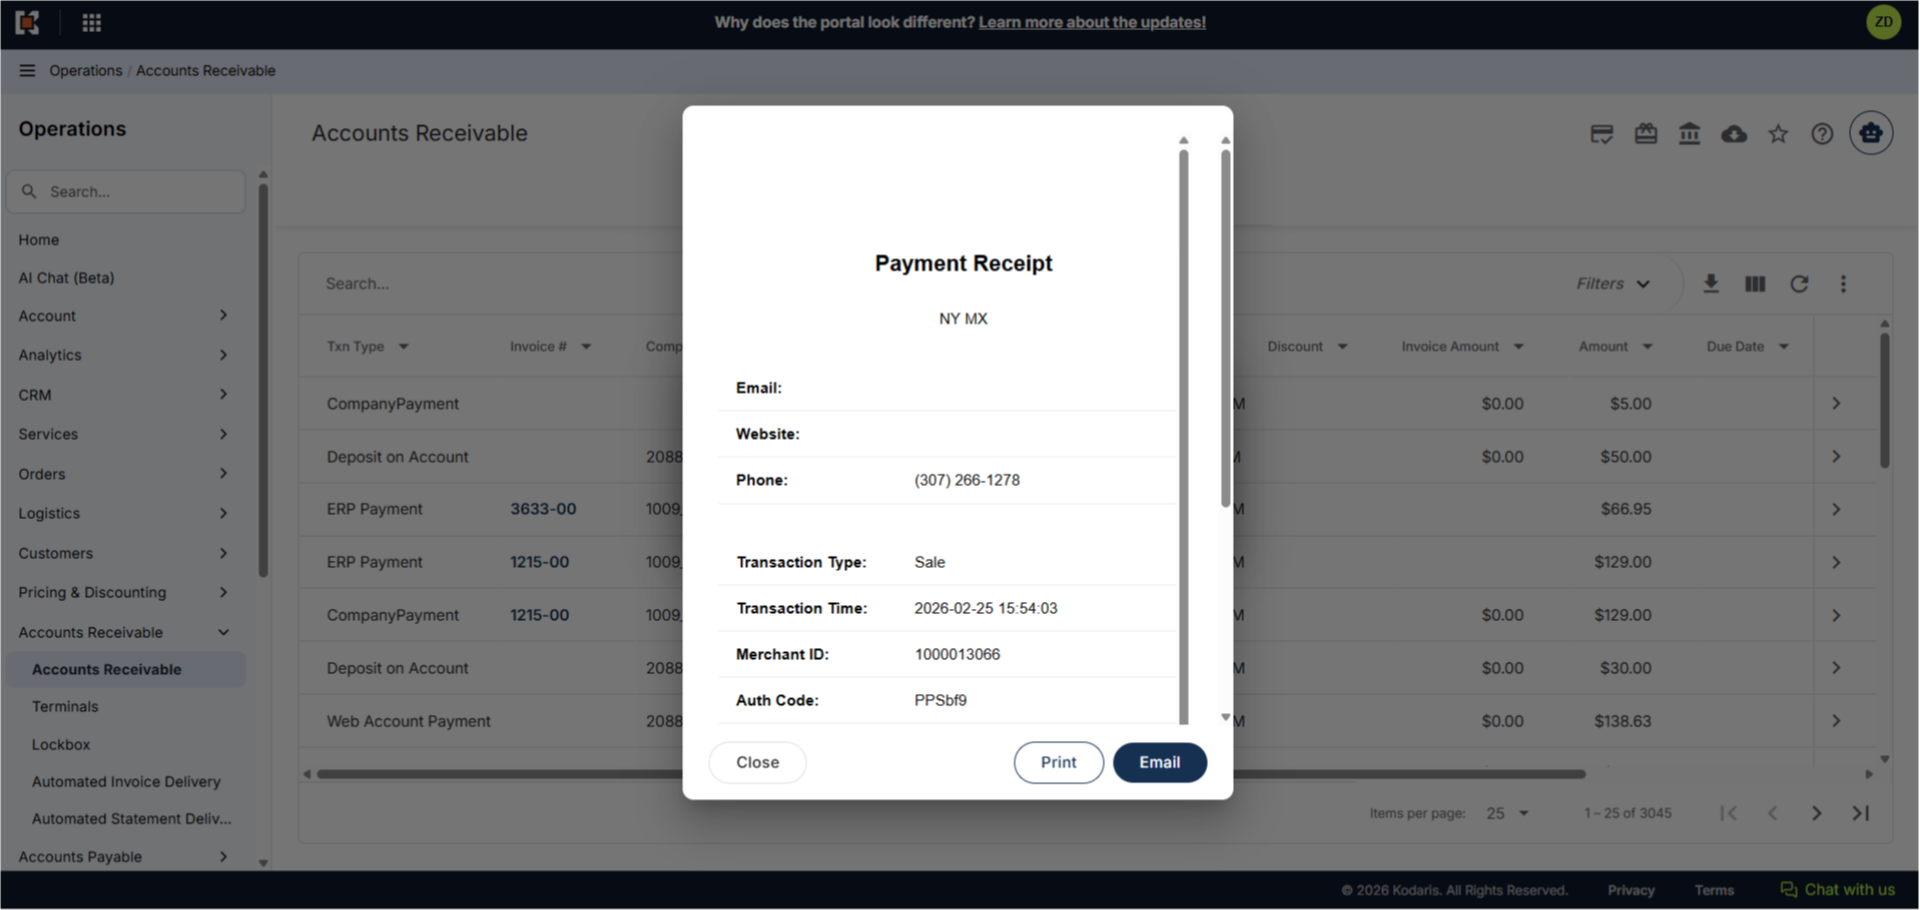
Click the "Close" button to close the screen and return to the Accounts Receivable screen.