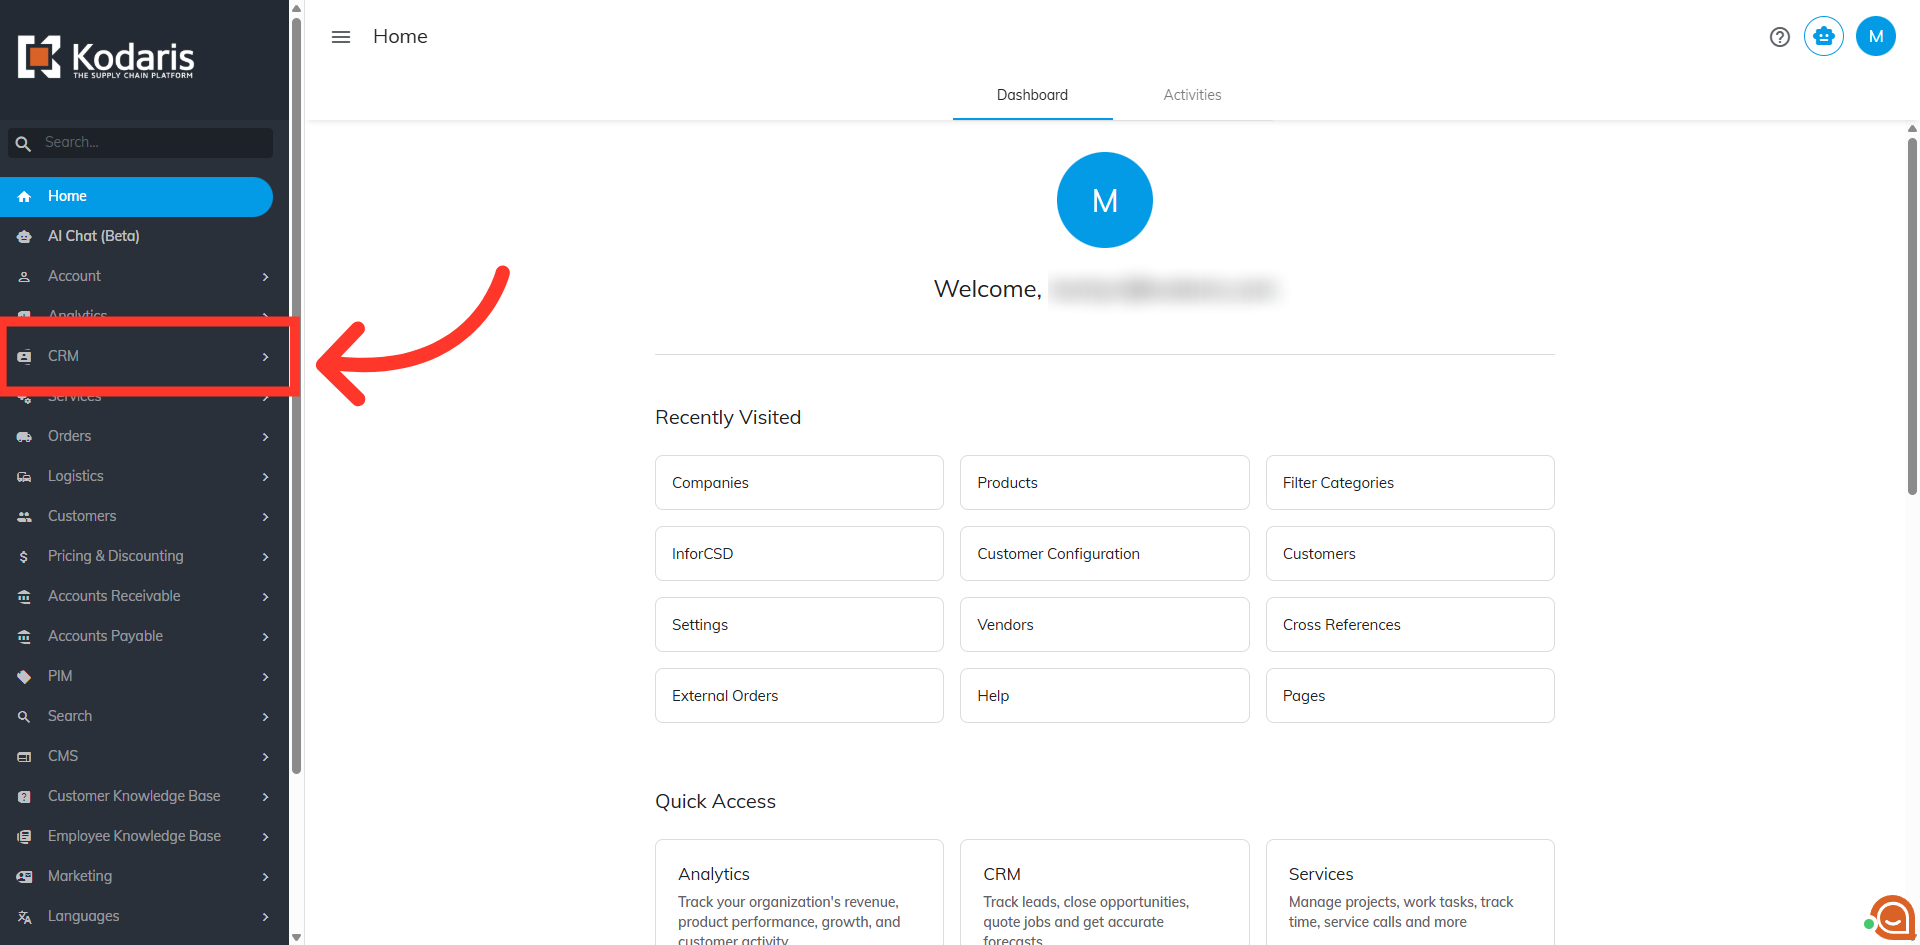
In this help documentation we will learn how to assign sales territories to companies by import. Before importing data, it is helpful to first run an export in order to obtain the correct header row for your import. To do this, navigate to the "CRM" section in the Operations Portal.
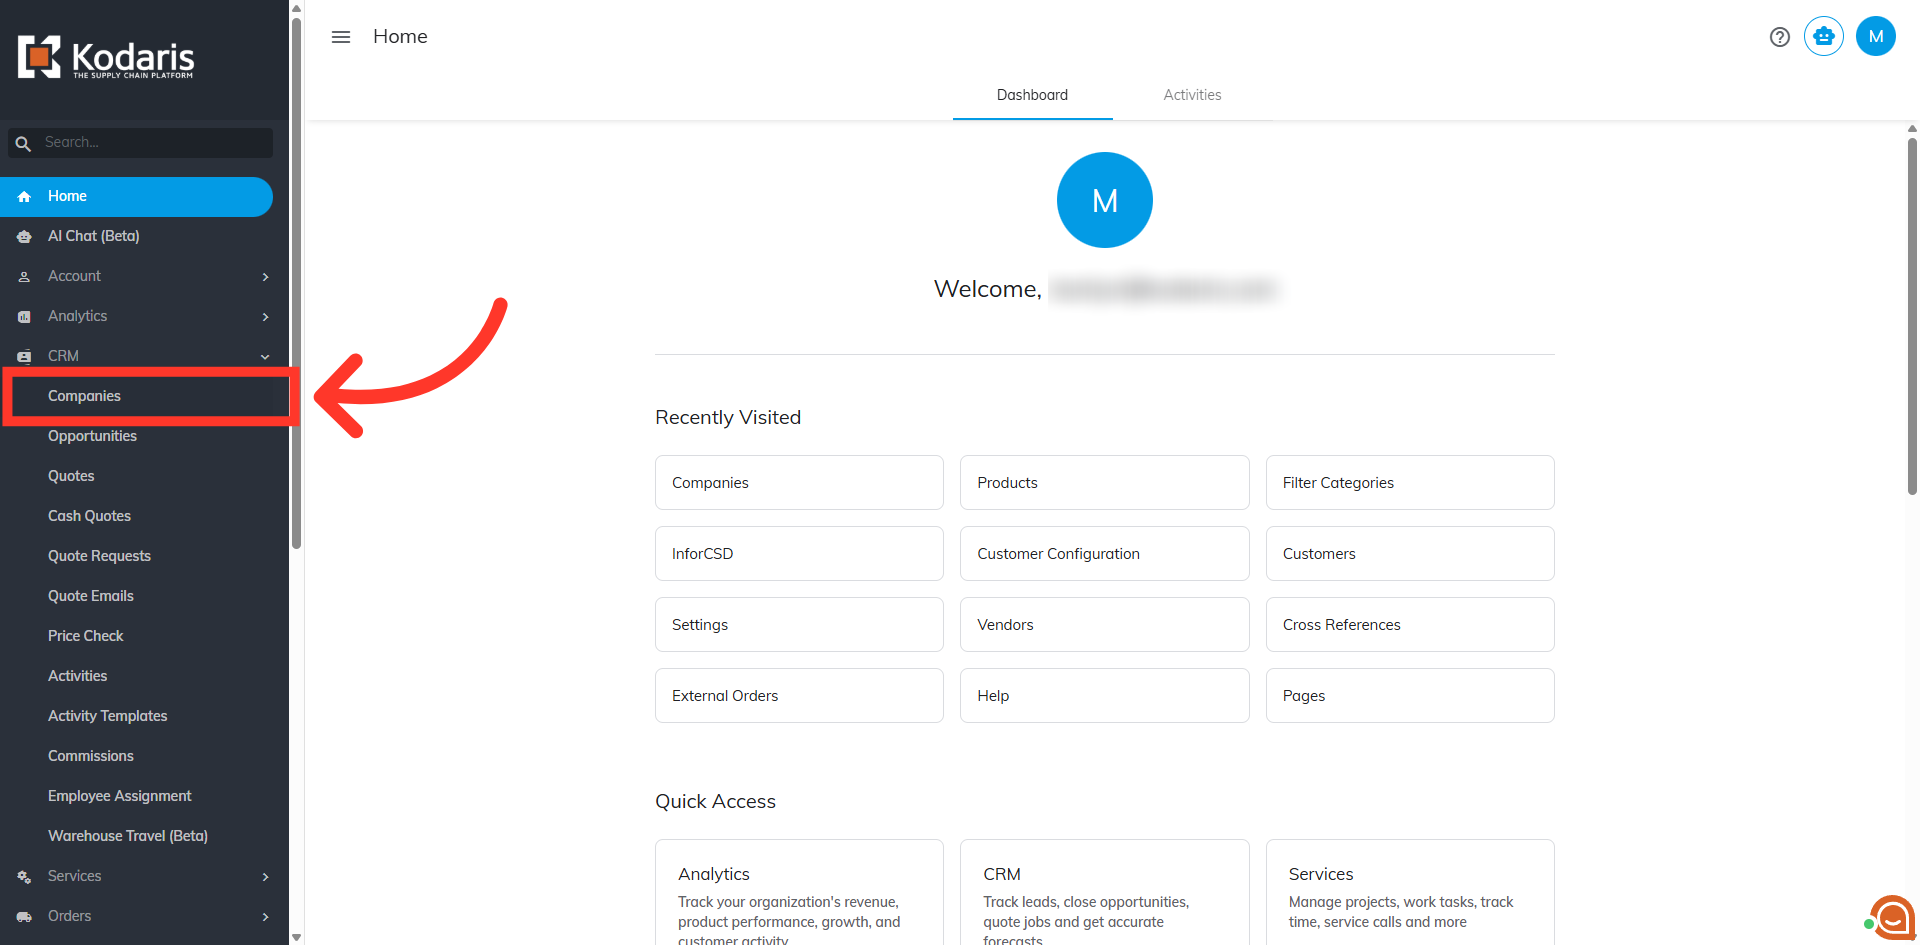
Then, click "Companies". In order to access "Companies" you will need to be set up either as an "administrator" or a "superuser", or have the appropriate roles: "companyView and companyEdit", or "crmCompanyView and crmCompanyEdit". Just a reminder, "crmCompanyView and crmCompanyEdit" access only allows employees to view companies that are assigned to them.
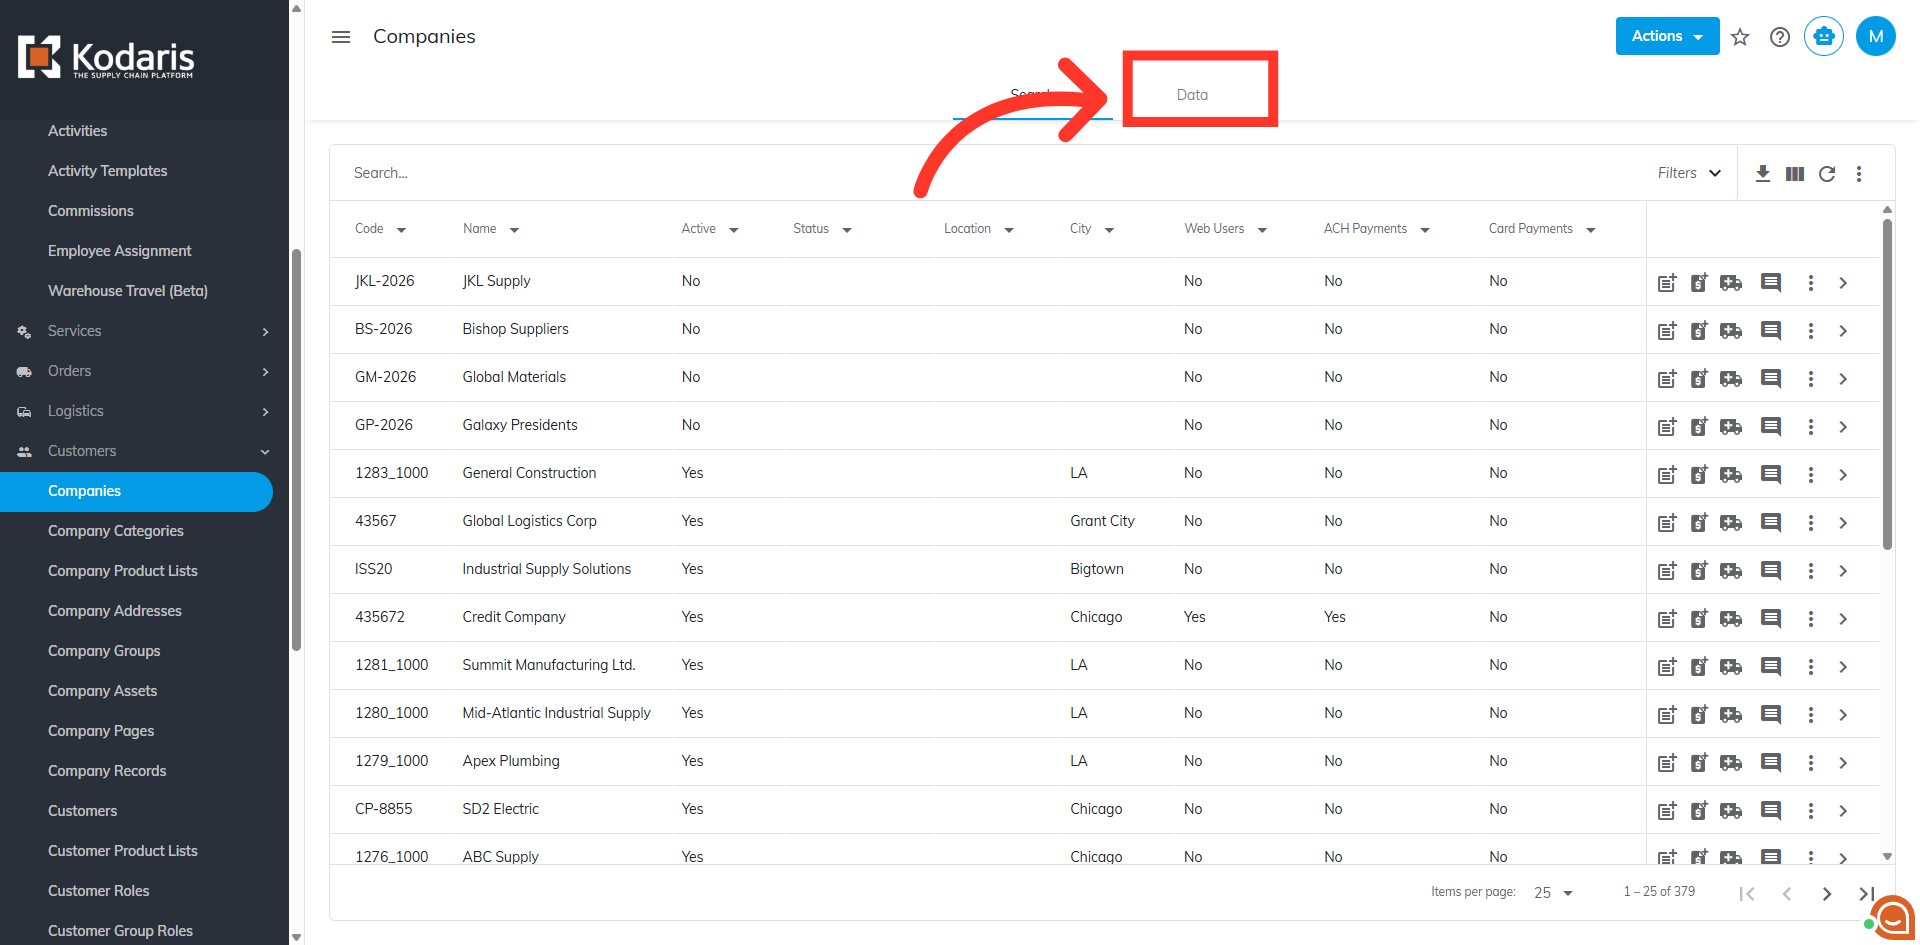
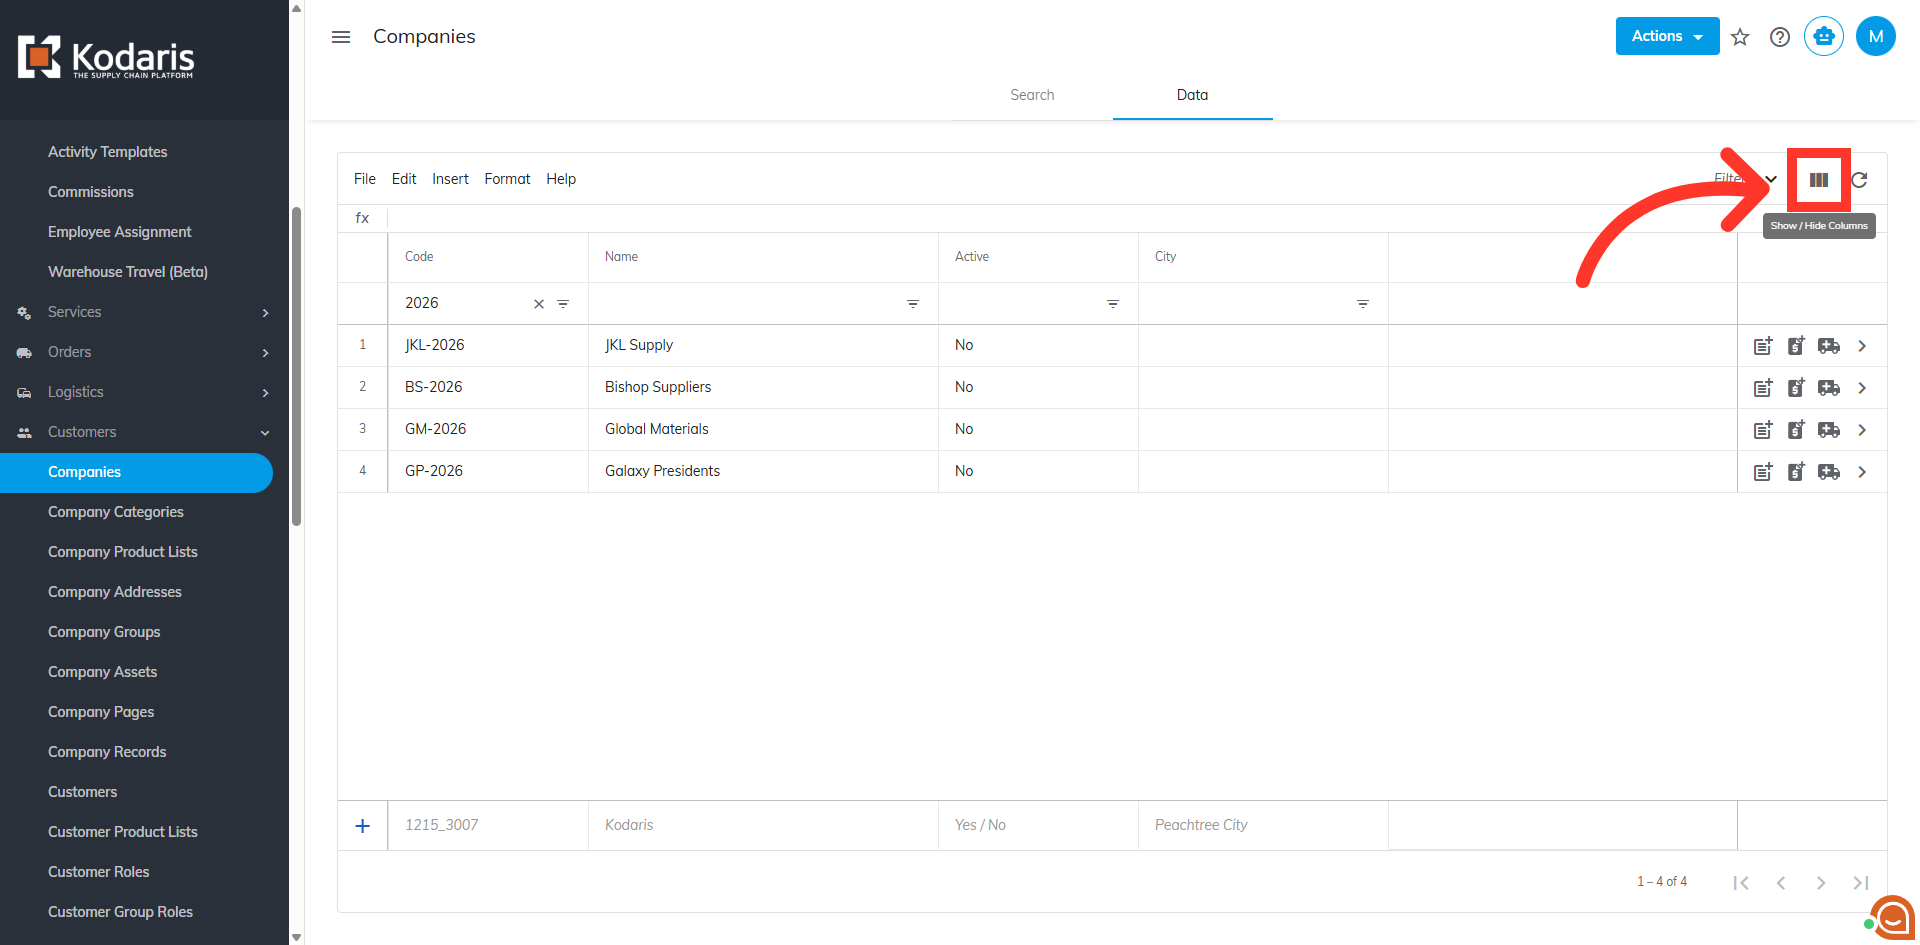
Now, click the "Data" tab.
Click on the "Show/Hide Columns" icon to customize the data columns displayed on the screen.
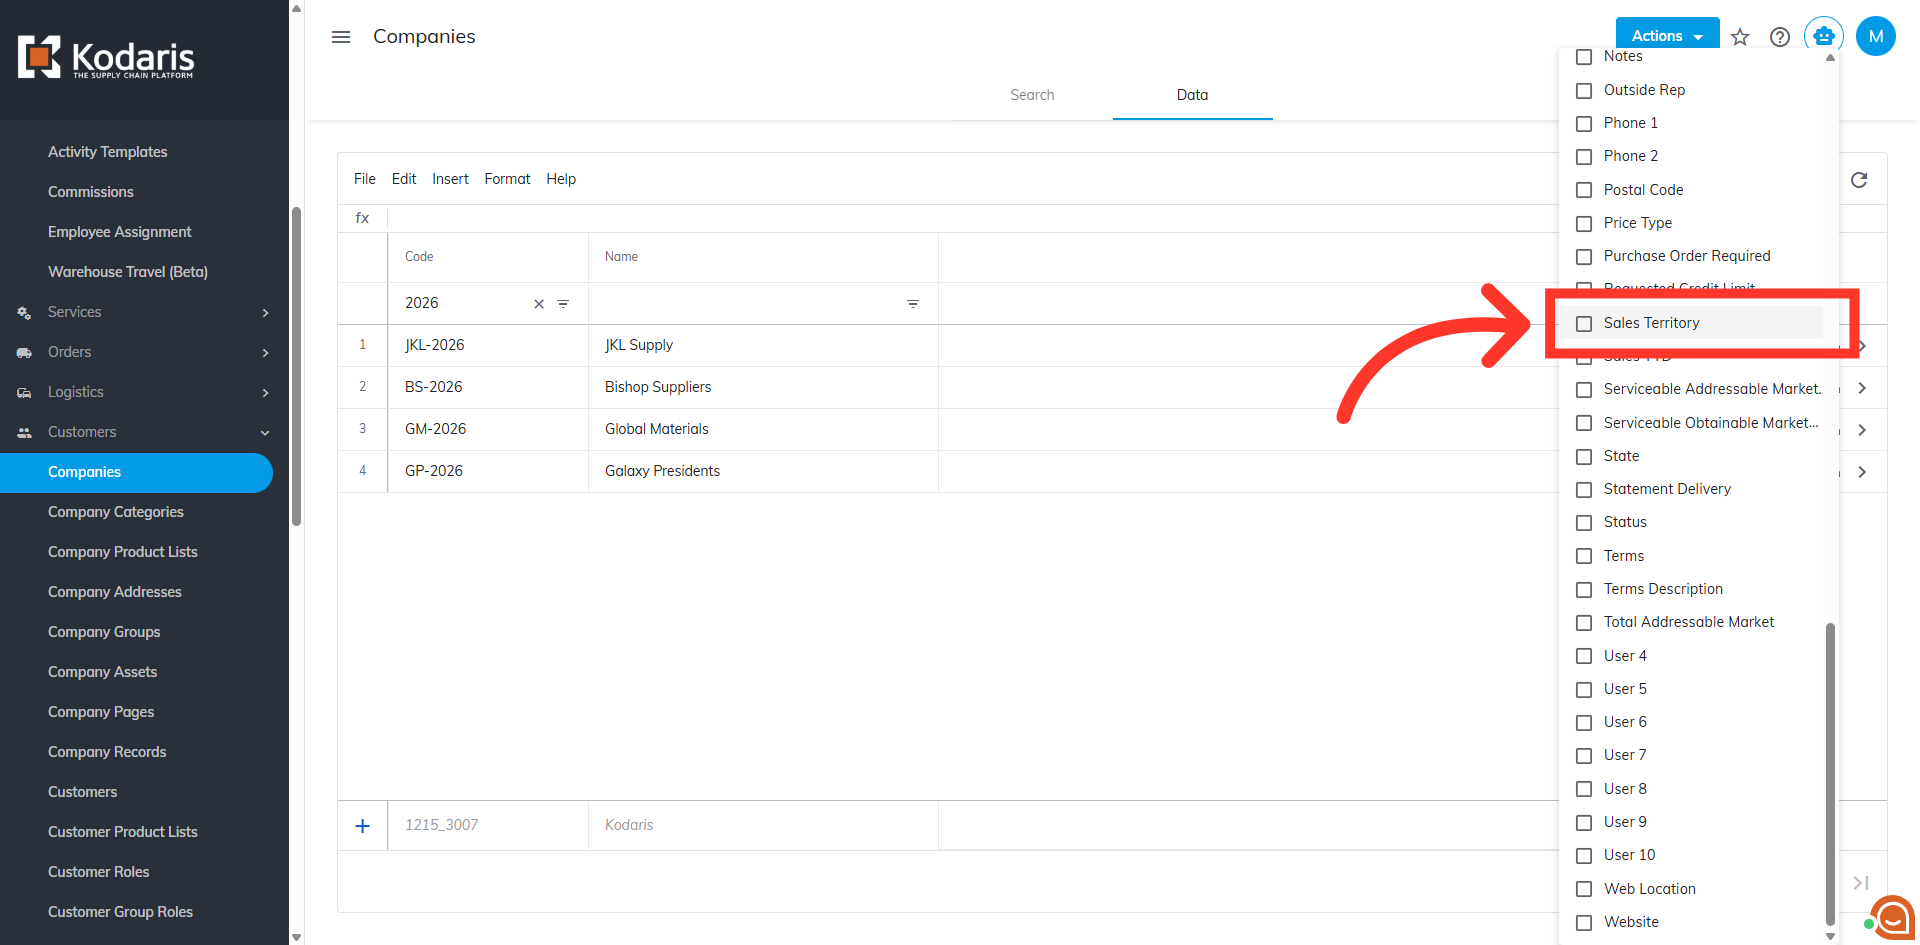
In order to assign territories by import, you will need to add the required "Code" and "Sales Territory" columns. For this export example, we will select the columns: "Code","Sales Territory", and "Name". "Name" is not required, but can be a helpful reference when preparing your spreadsheet. If you would like to remove any columns from this screen before exporting, unselect any columns to remove.
Once you have the data ready to export, click "File".

Then, select the "Export" option. This export will have the needed header row and will also include any data that was exported from the system.

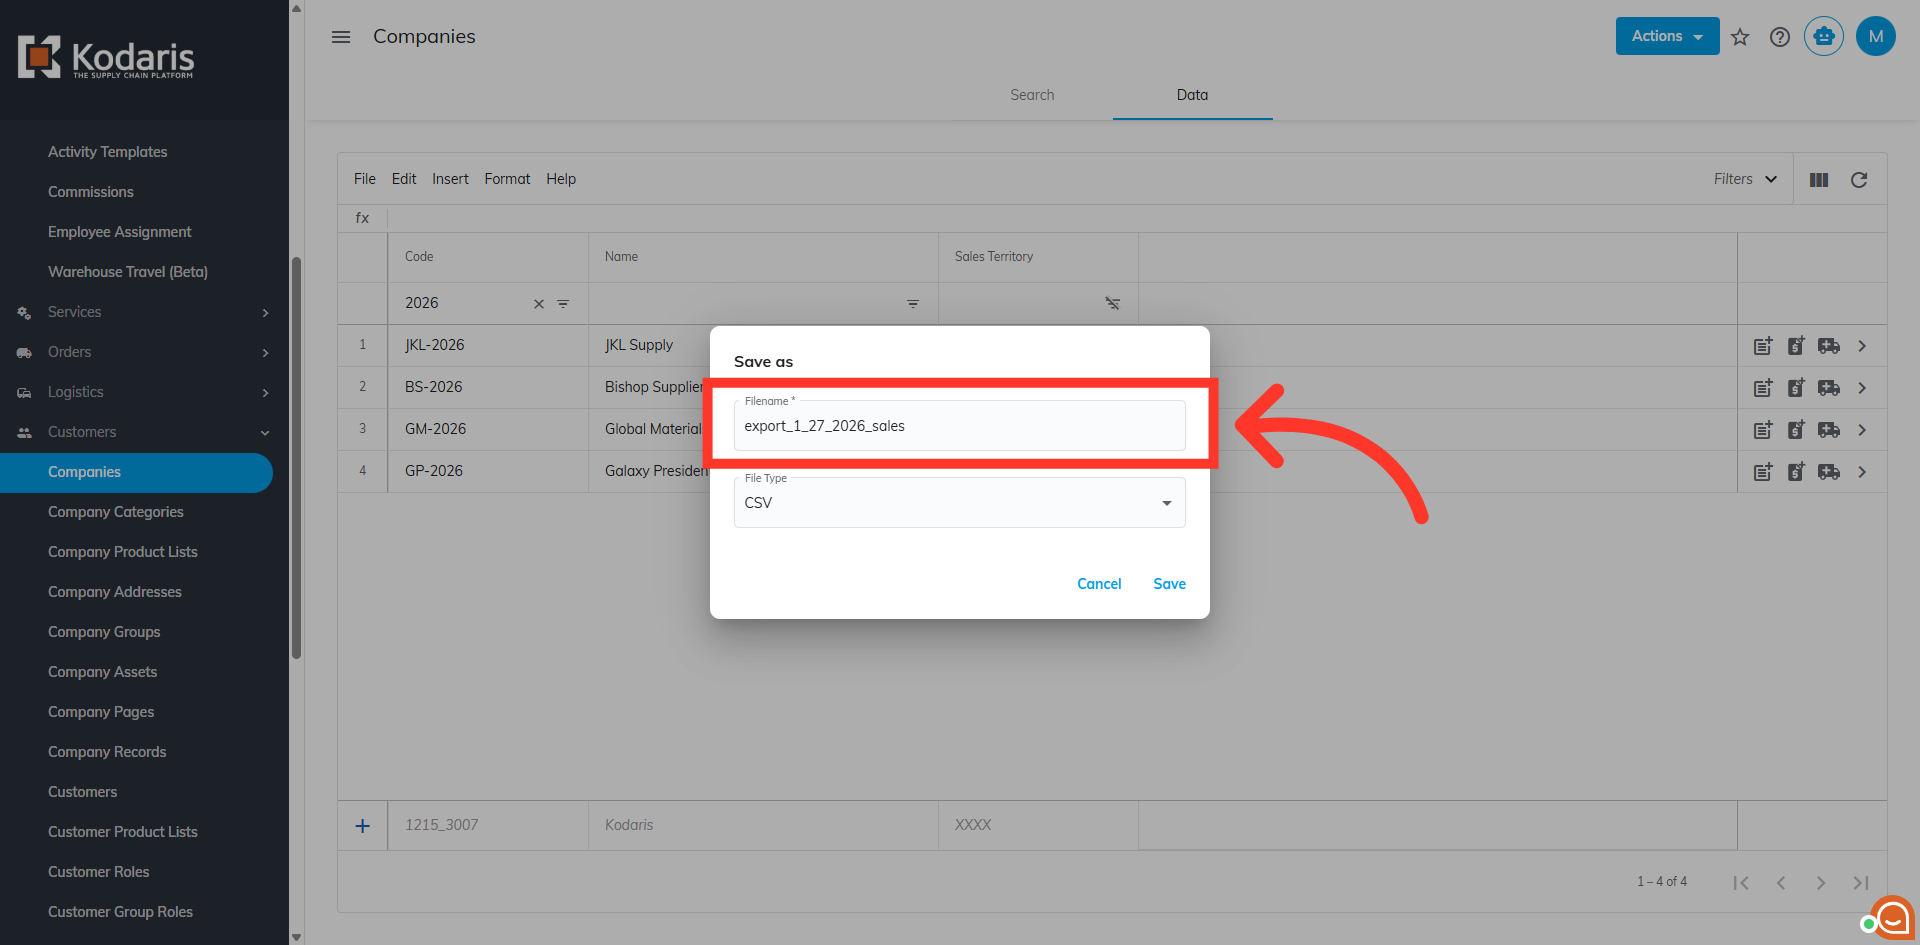
You can choose to name your export by clicking into the field and typing to update the name.
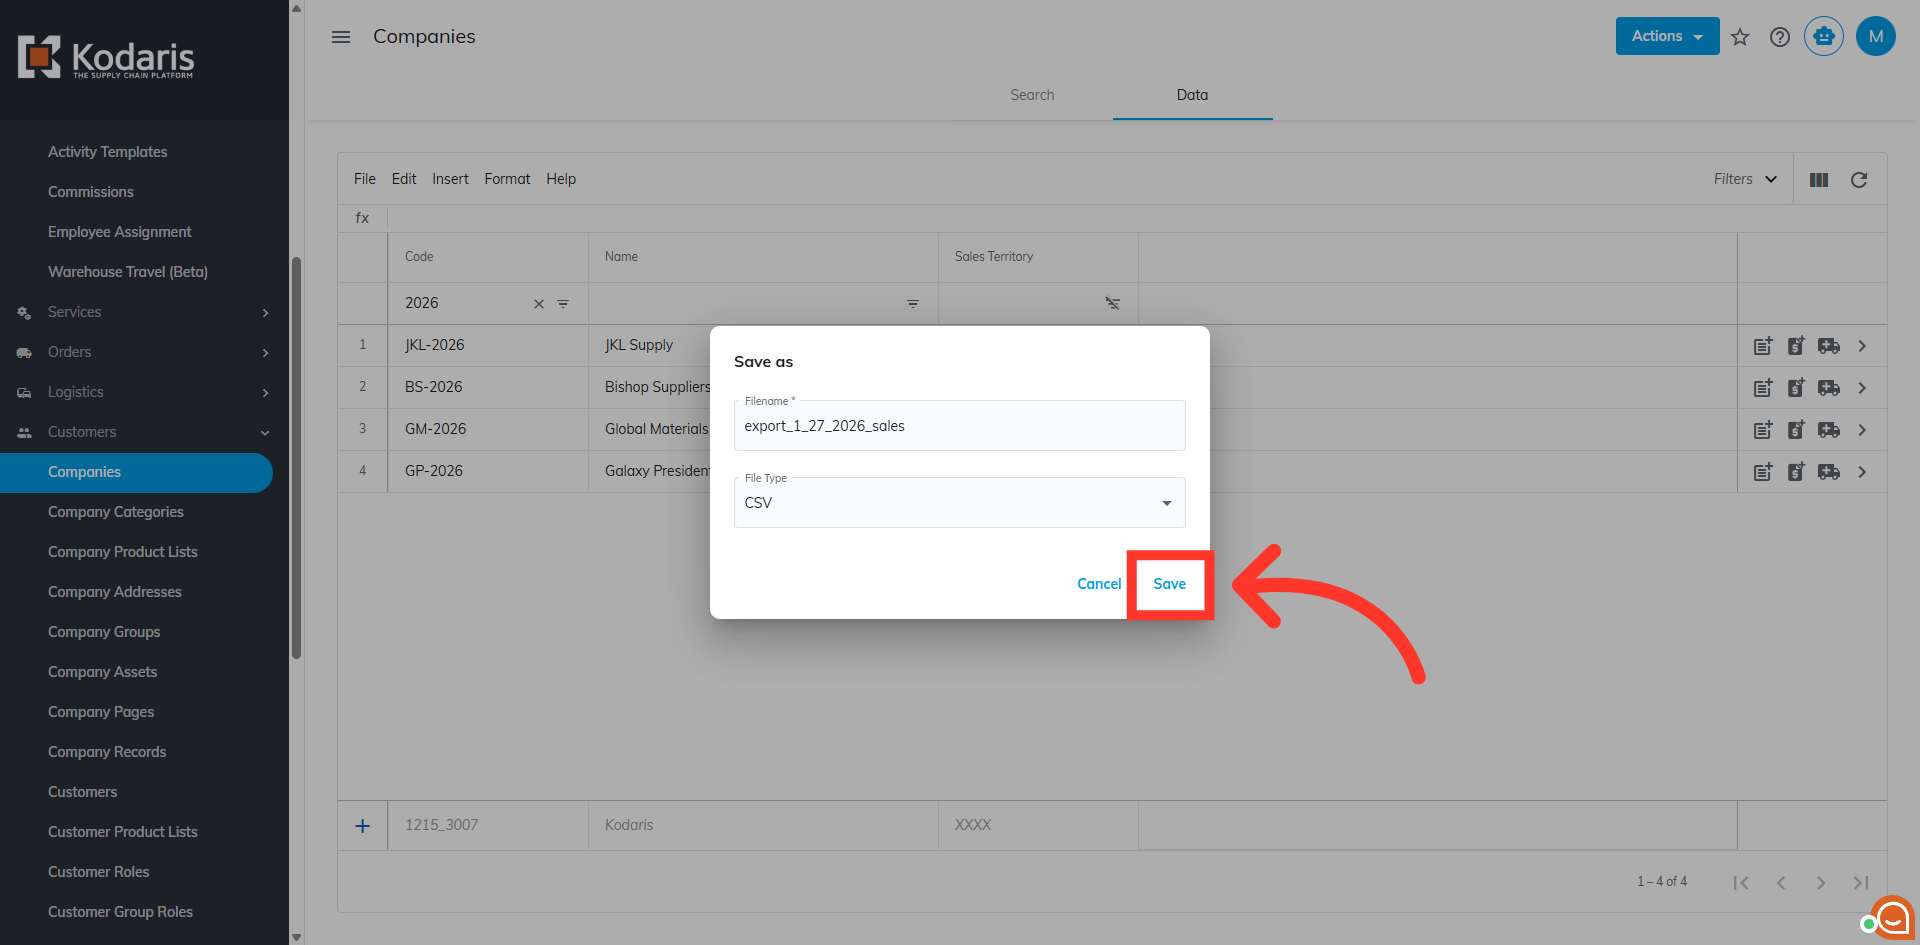
Then, click "Save" to save the file to your computer.
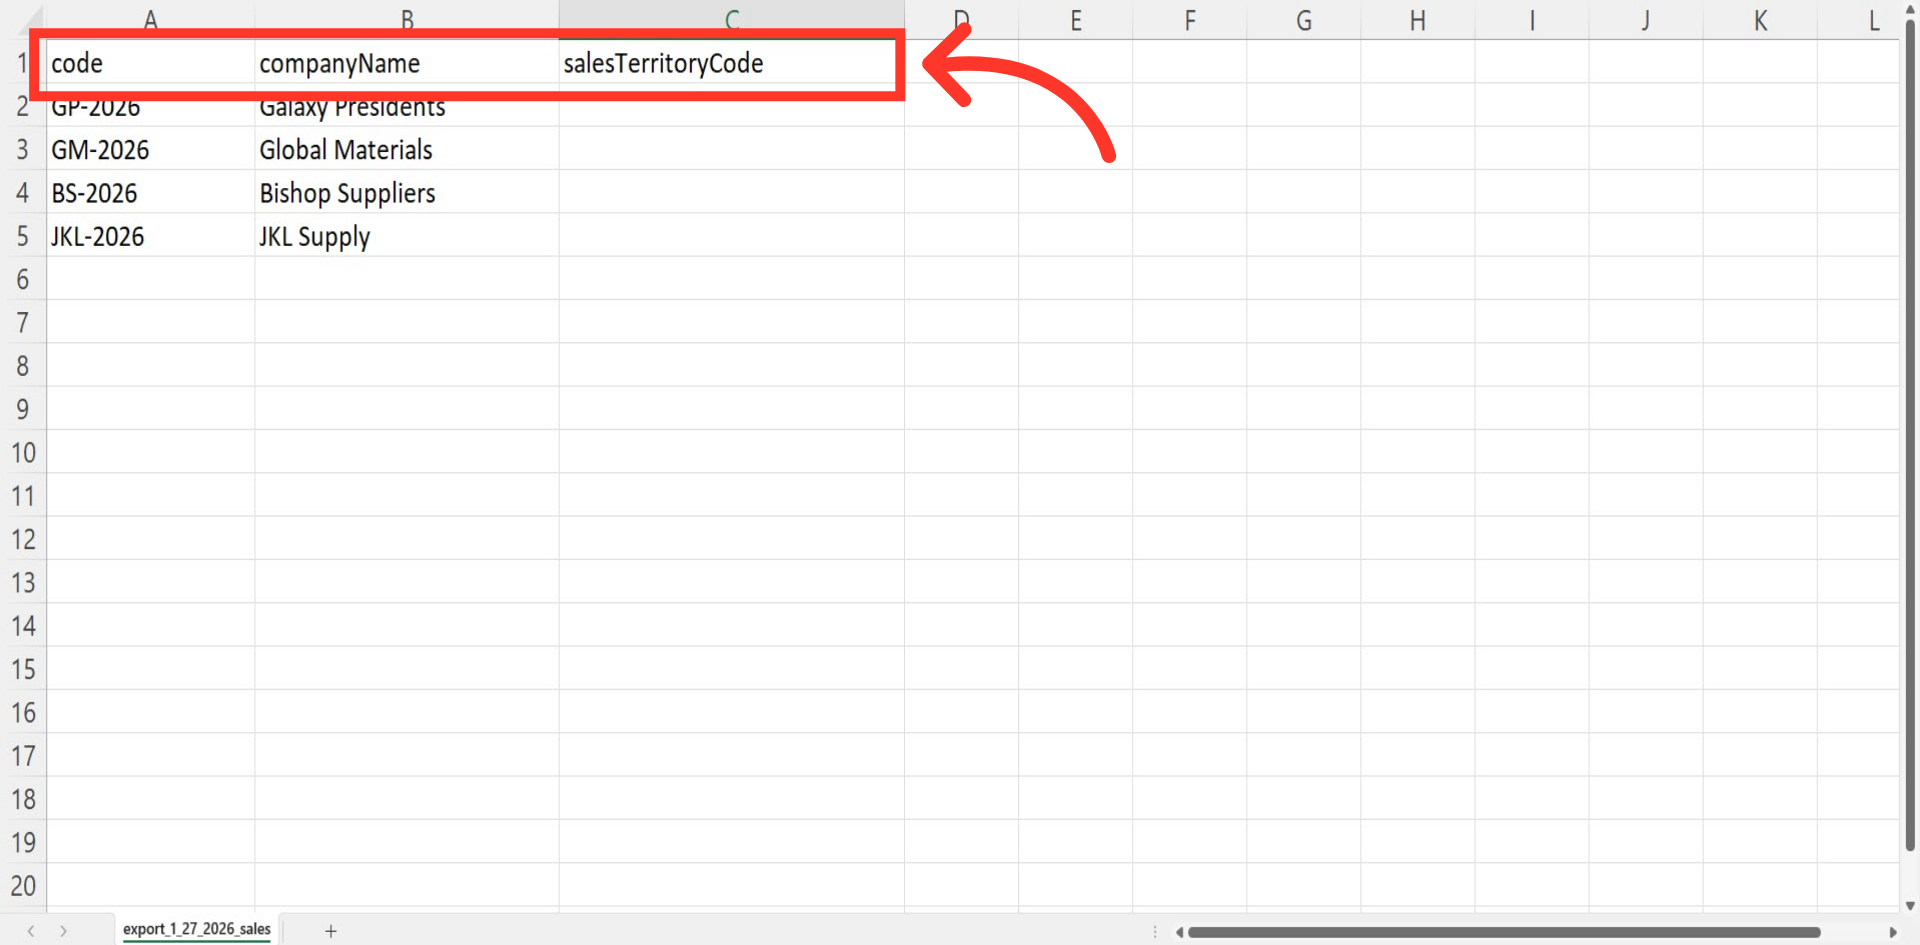
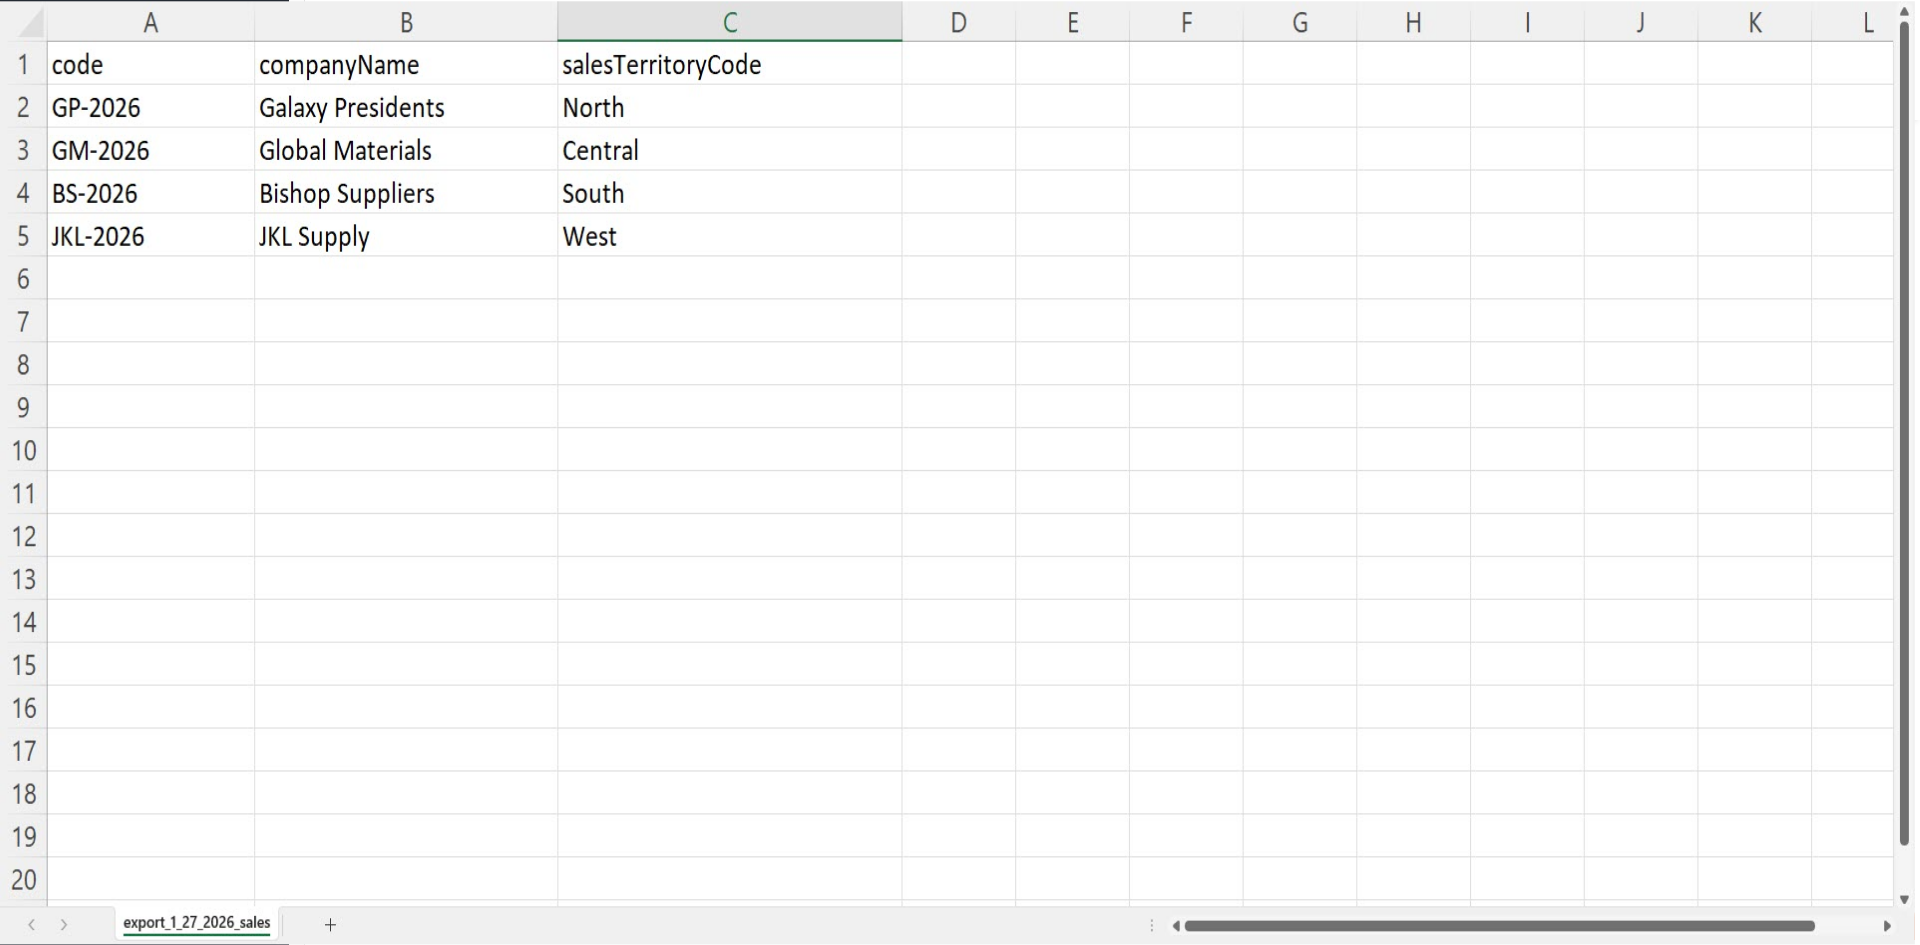
In this sample export, you can see the header row that is needed for importing data, as well as the exported data from the "Data" tab.
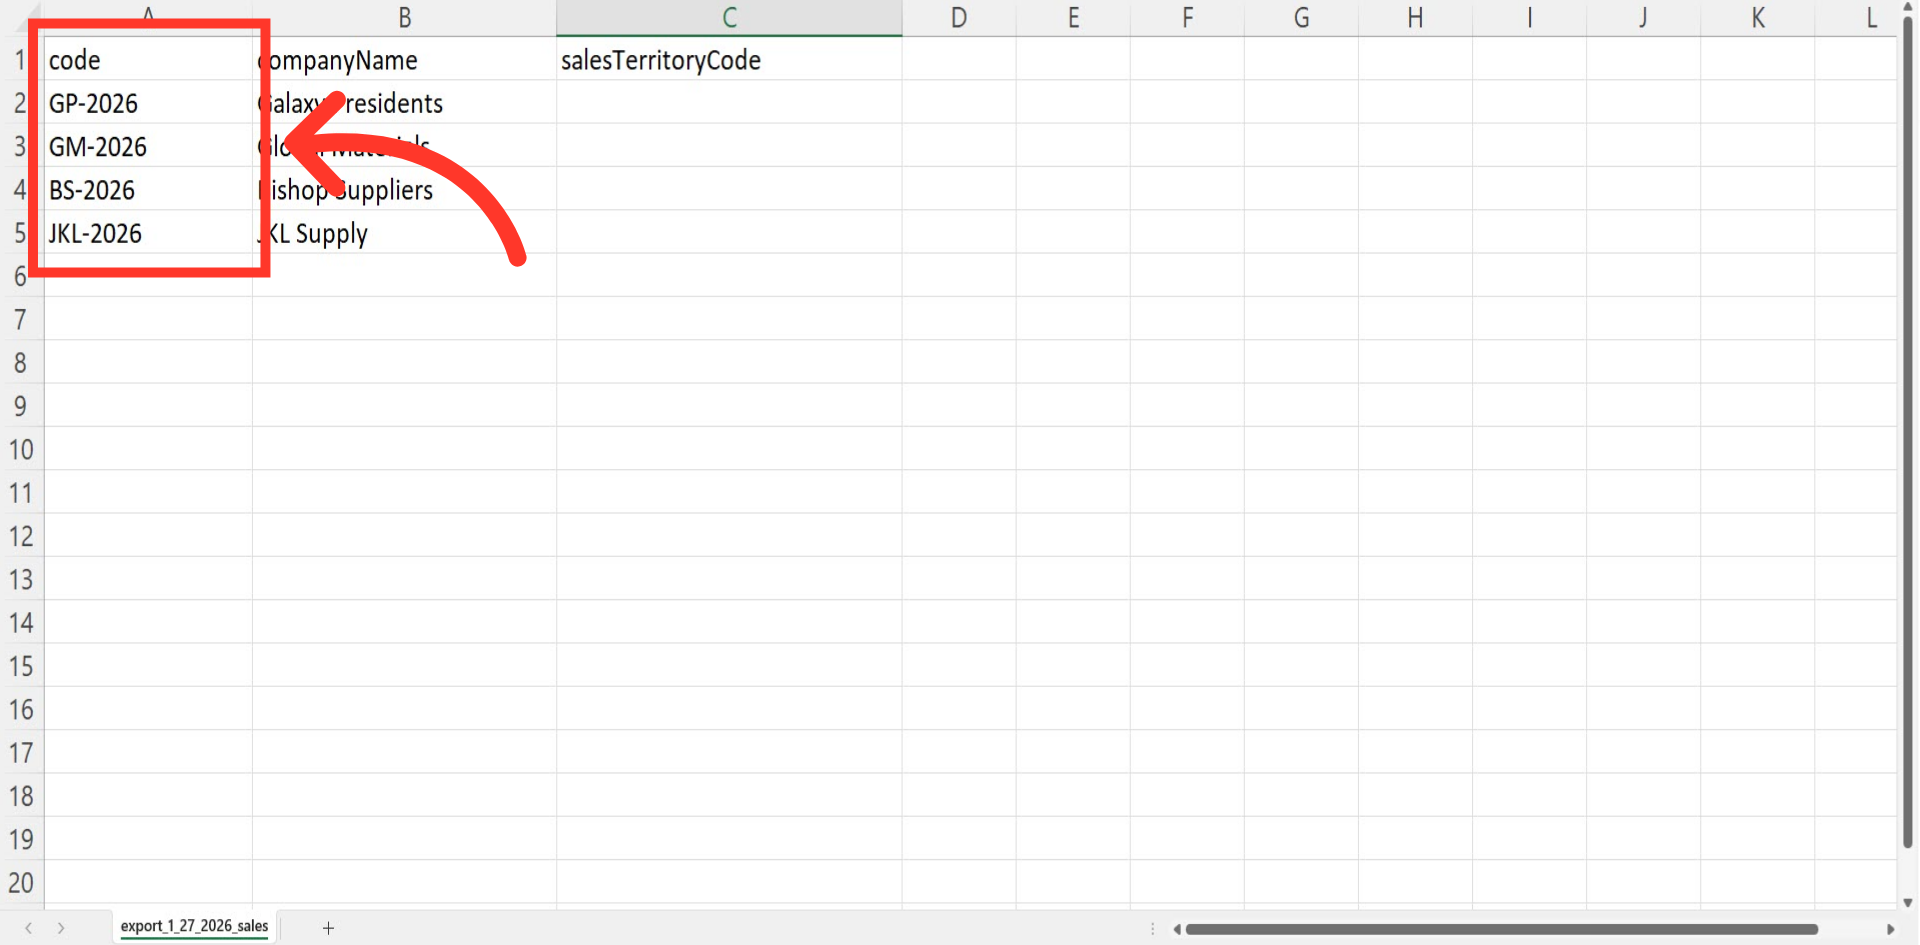
The "code" column contains the company code. This field is required when importing as it is an identifying factor when matching information.
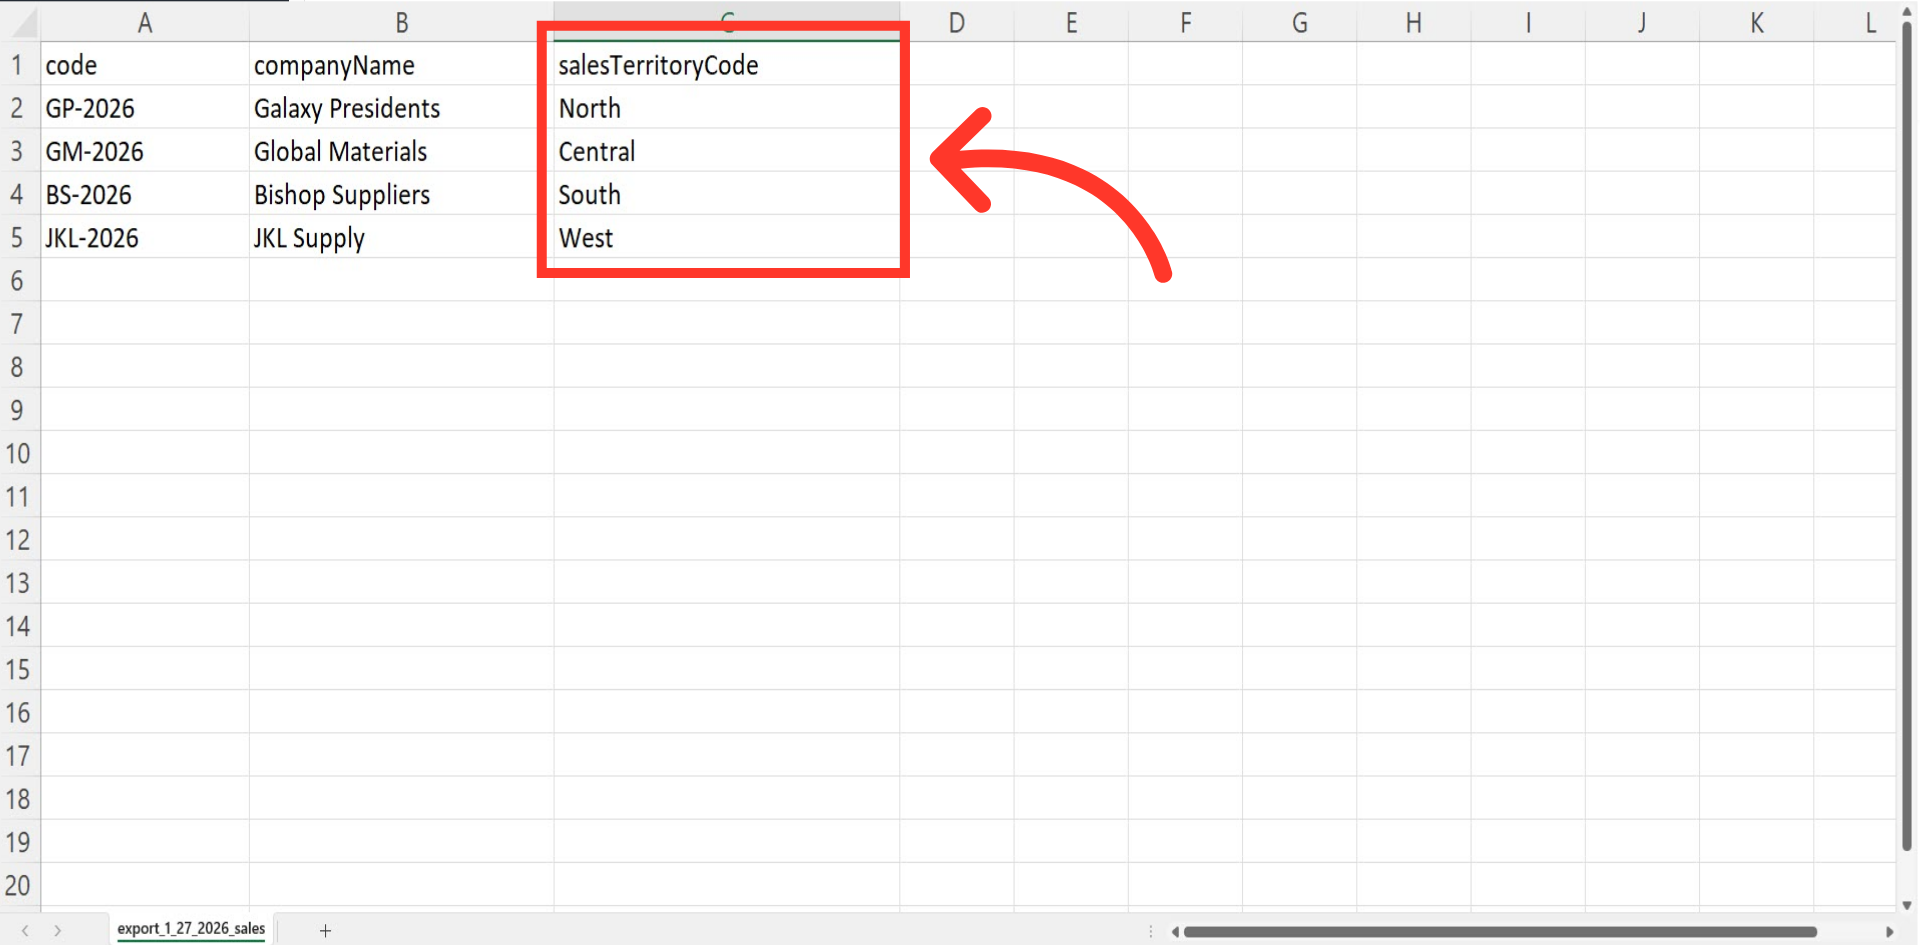
The "salesTerritoryCode" refers to the territory code that indicates which sales territory the company belongs to. Enter the necessary values for this column.
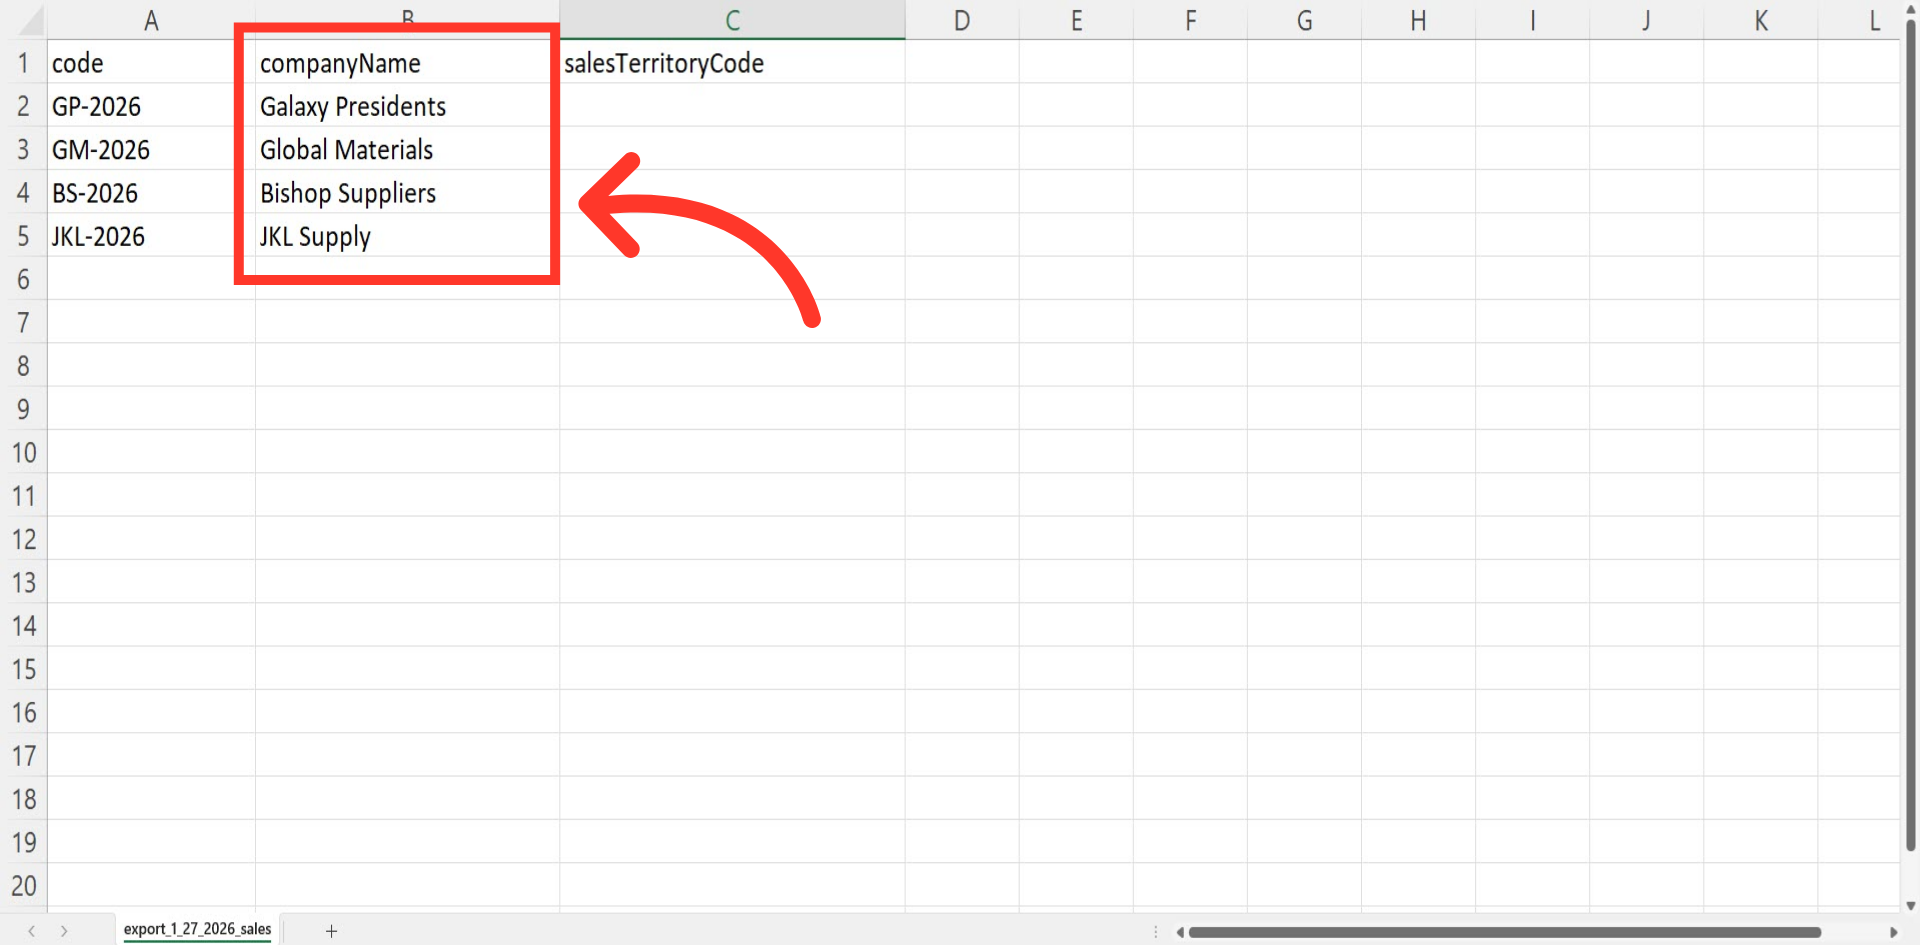
The "companyName" column contains the name of the company - while not required for importing, it can be a helpful reference when updating data. Once your spreadsheet is ready for import, this column should be removed before importing.
Once you have entered the data that you would like to update, save your spreadsheet as a CSV file, which is spreadsheet-compatible, and your file is ready to import. Be sure the spreadsheet you are using only contains the data that you would like to update by import. Note: If you remove data from a cell in the spreadsheet, the data imported into the system will be blank for that field.
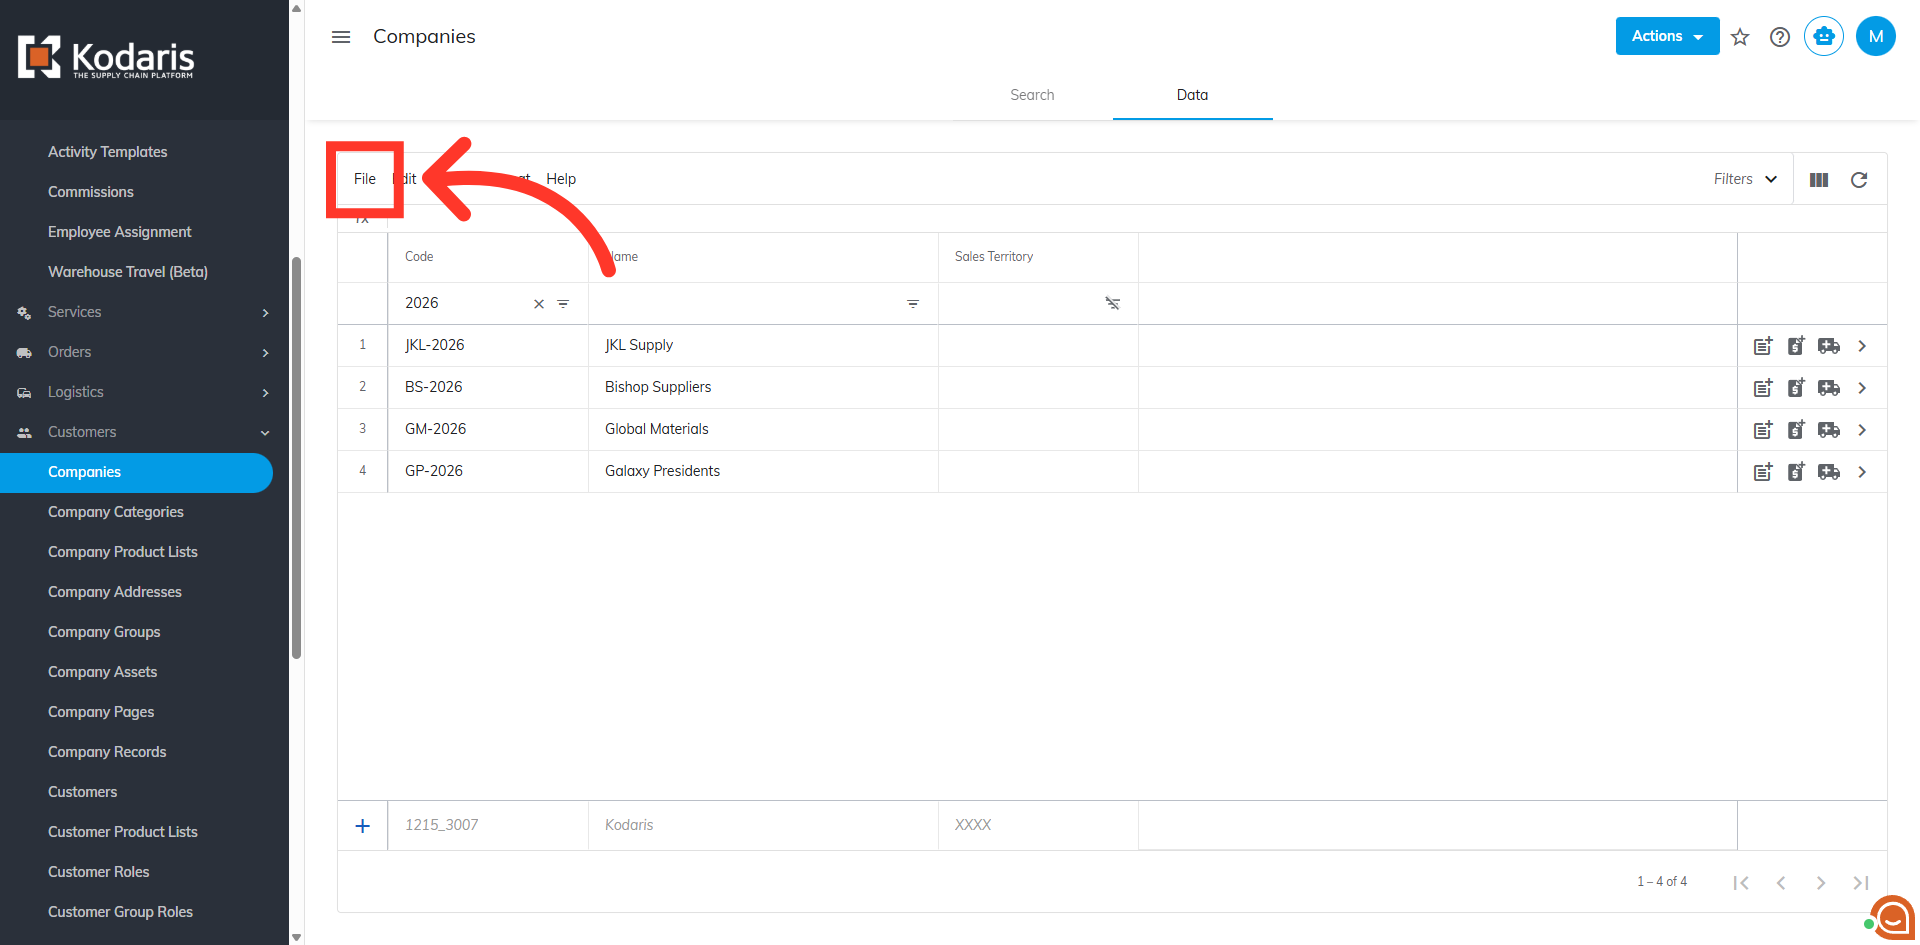
To import the data, click "File".
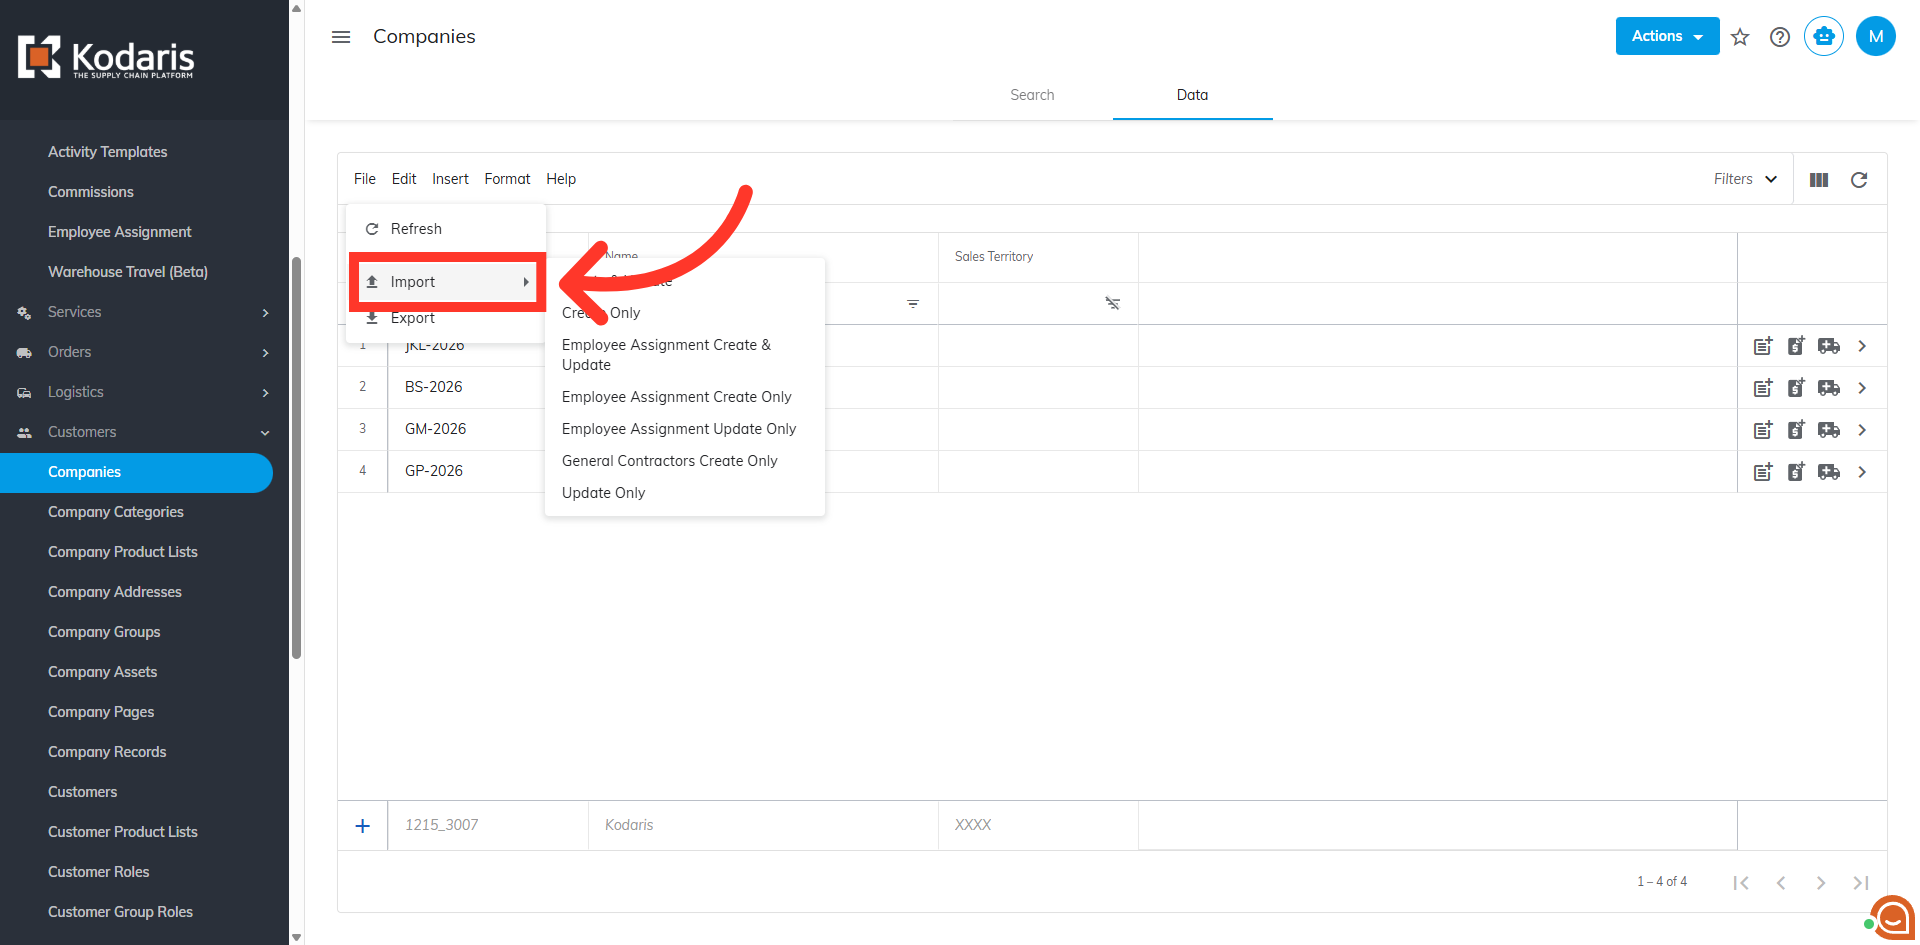
Click "Import". In order to import data, you will need to be set up as an “administrator” or “superuser” or have the role of: "importEdit".
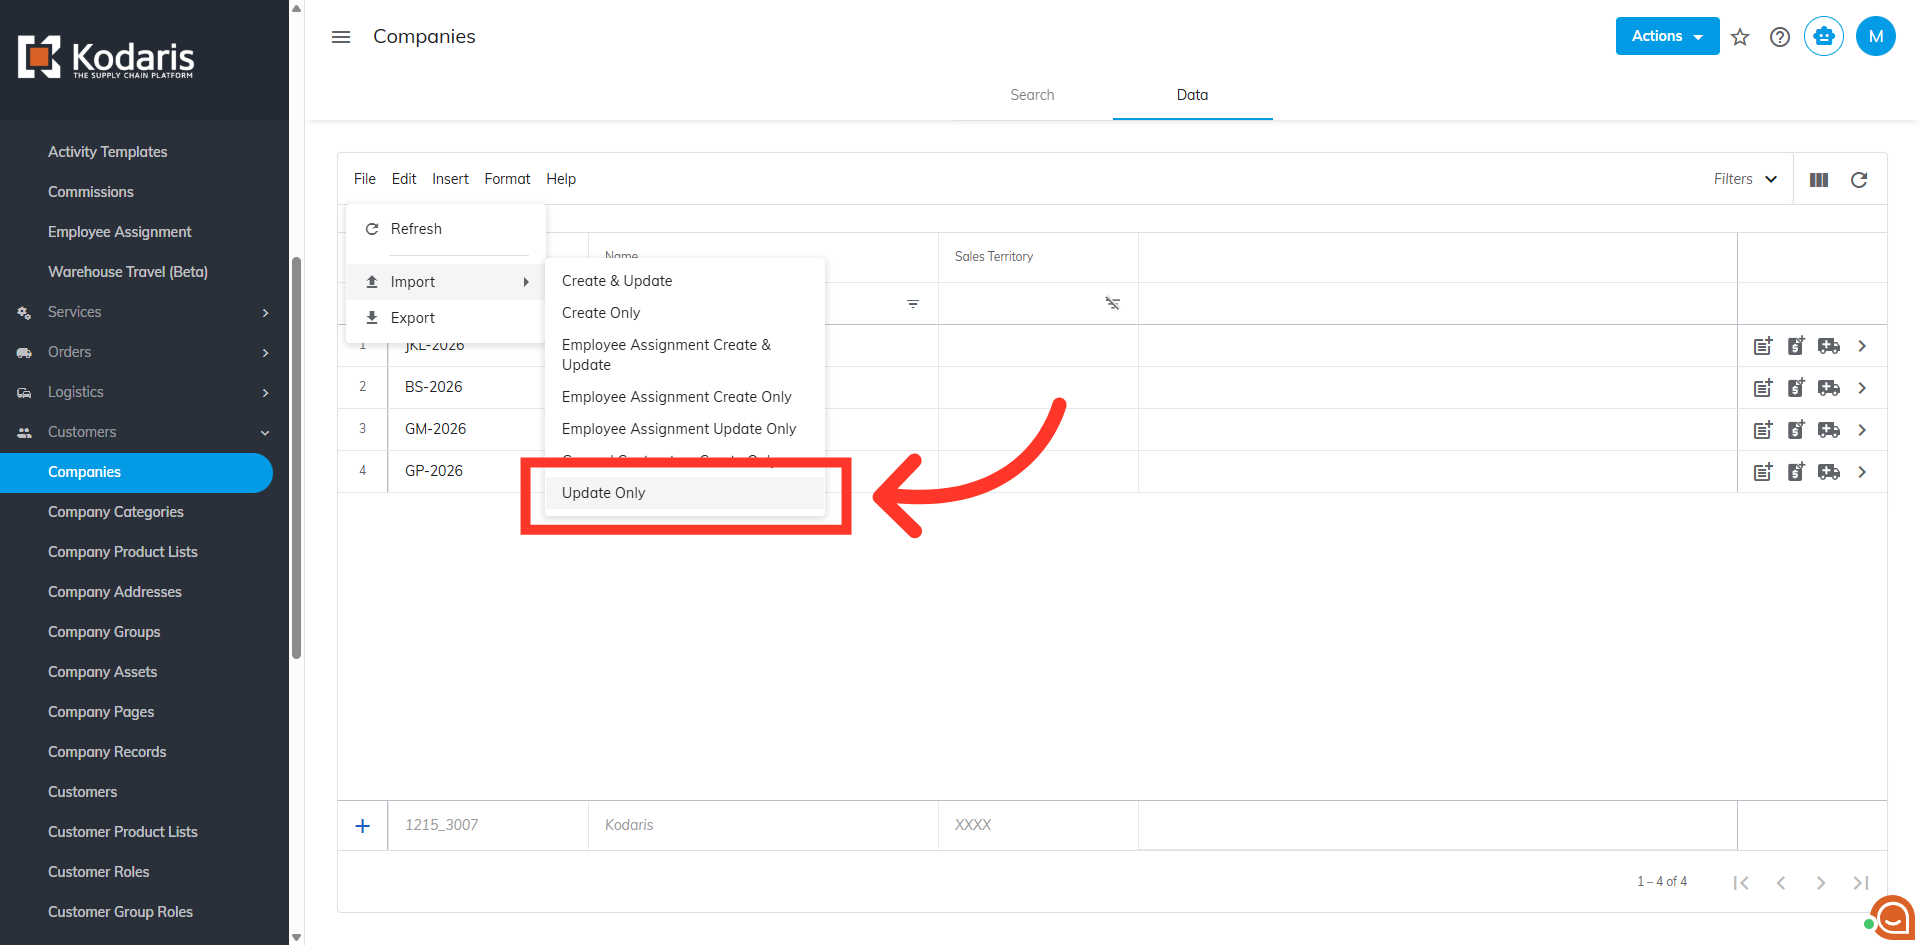
Since we only want to update existing company information with this import, we will want to choose the "Update Only" option.
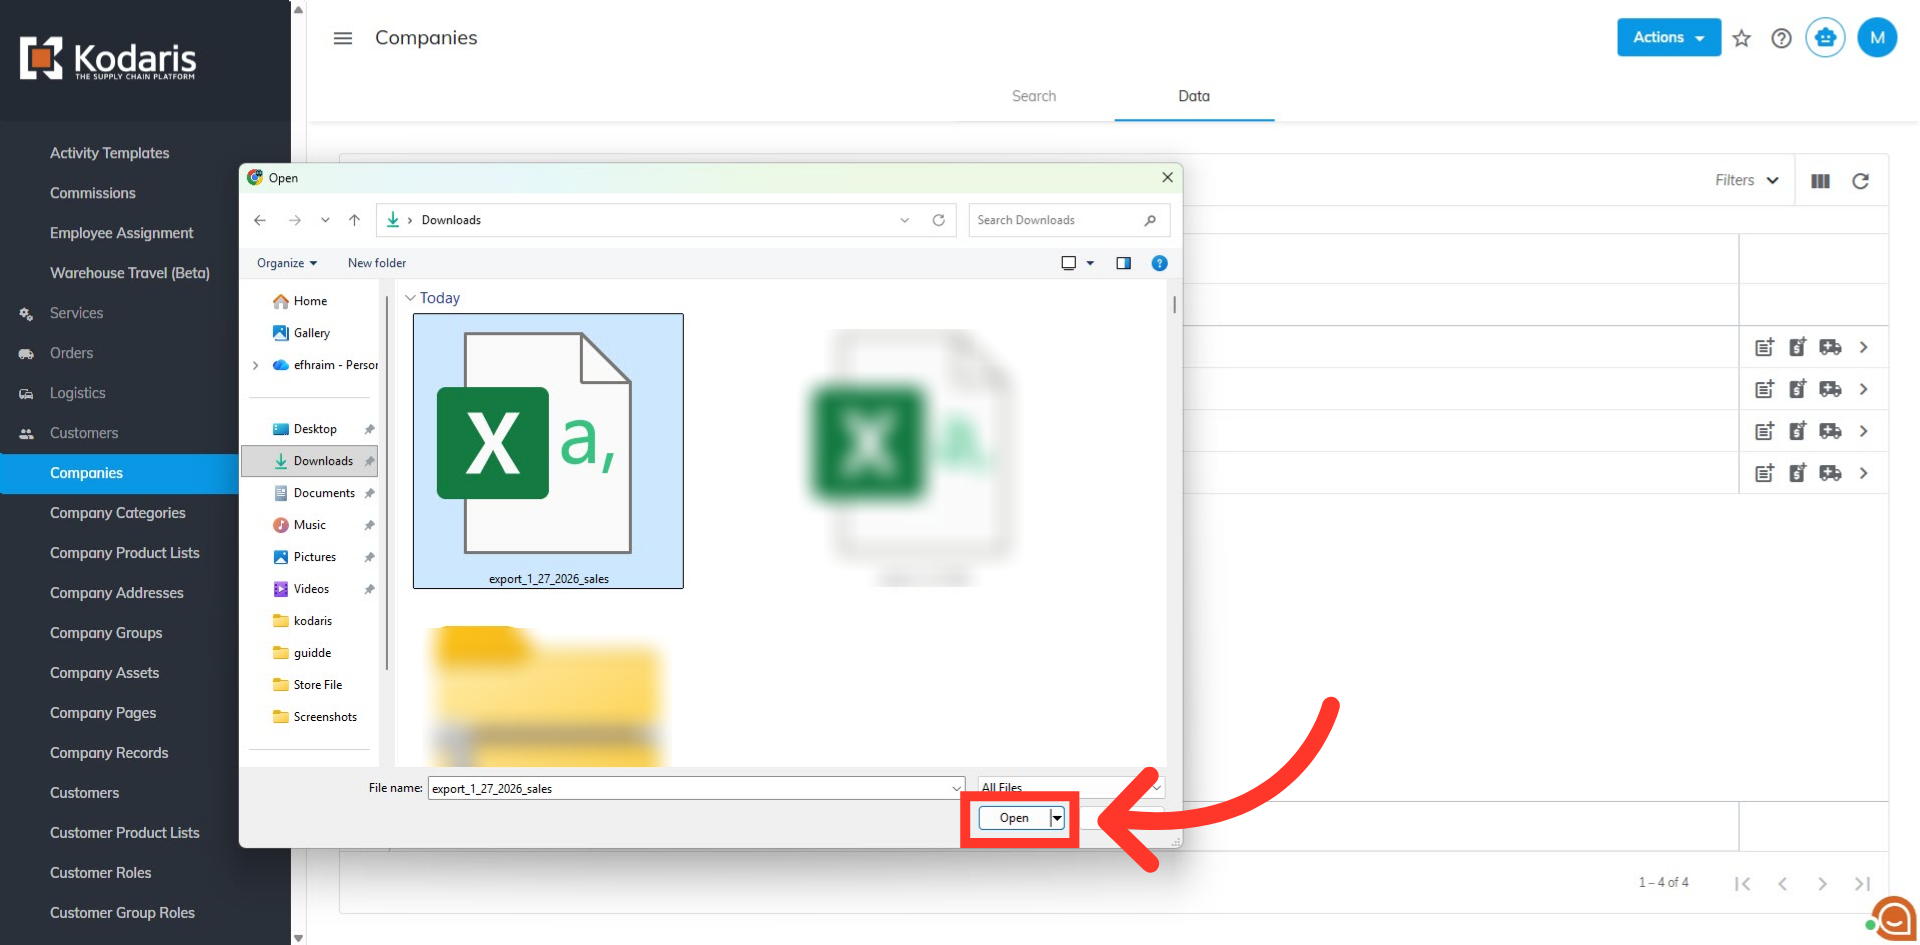
Choose the saved .CSV file and click "Open" to import. Please be sure that you select the correct file, as there are no rollbacks for imports. If you are importing a large amount of data, it may take a short amount of time to complete. The import will continue to run in the background.
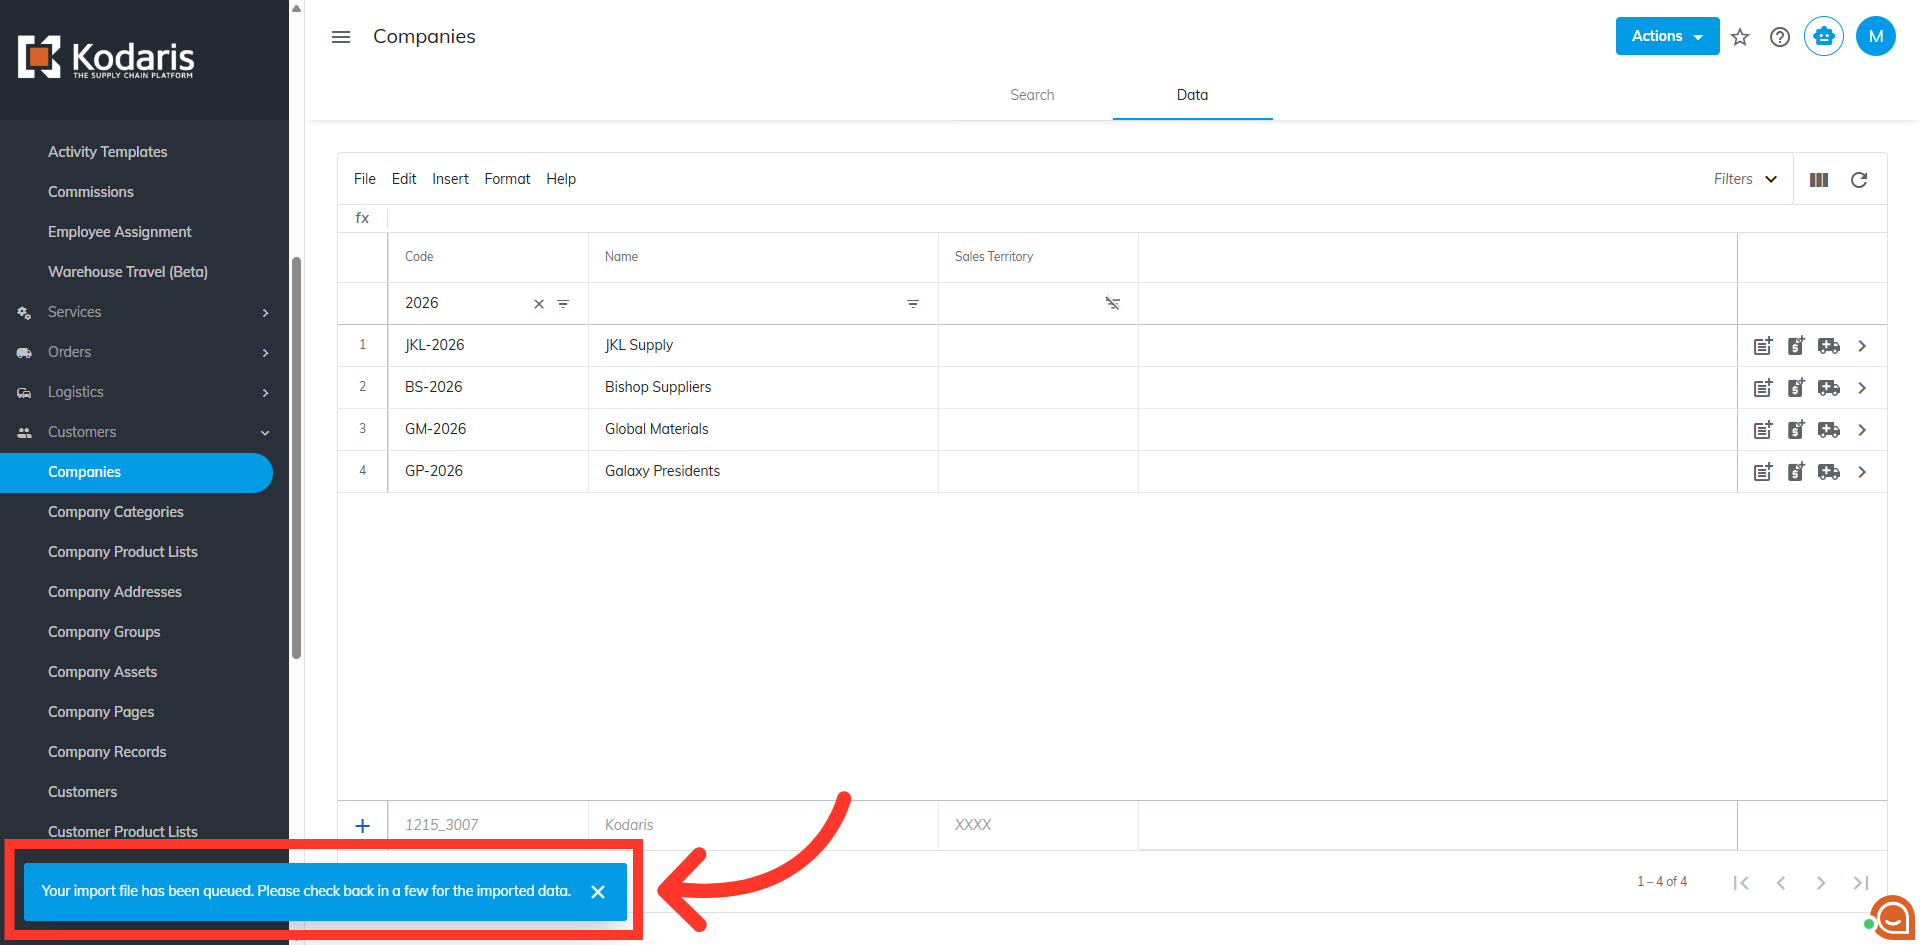
A notification noting that your import will be queued will show on your screen.
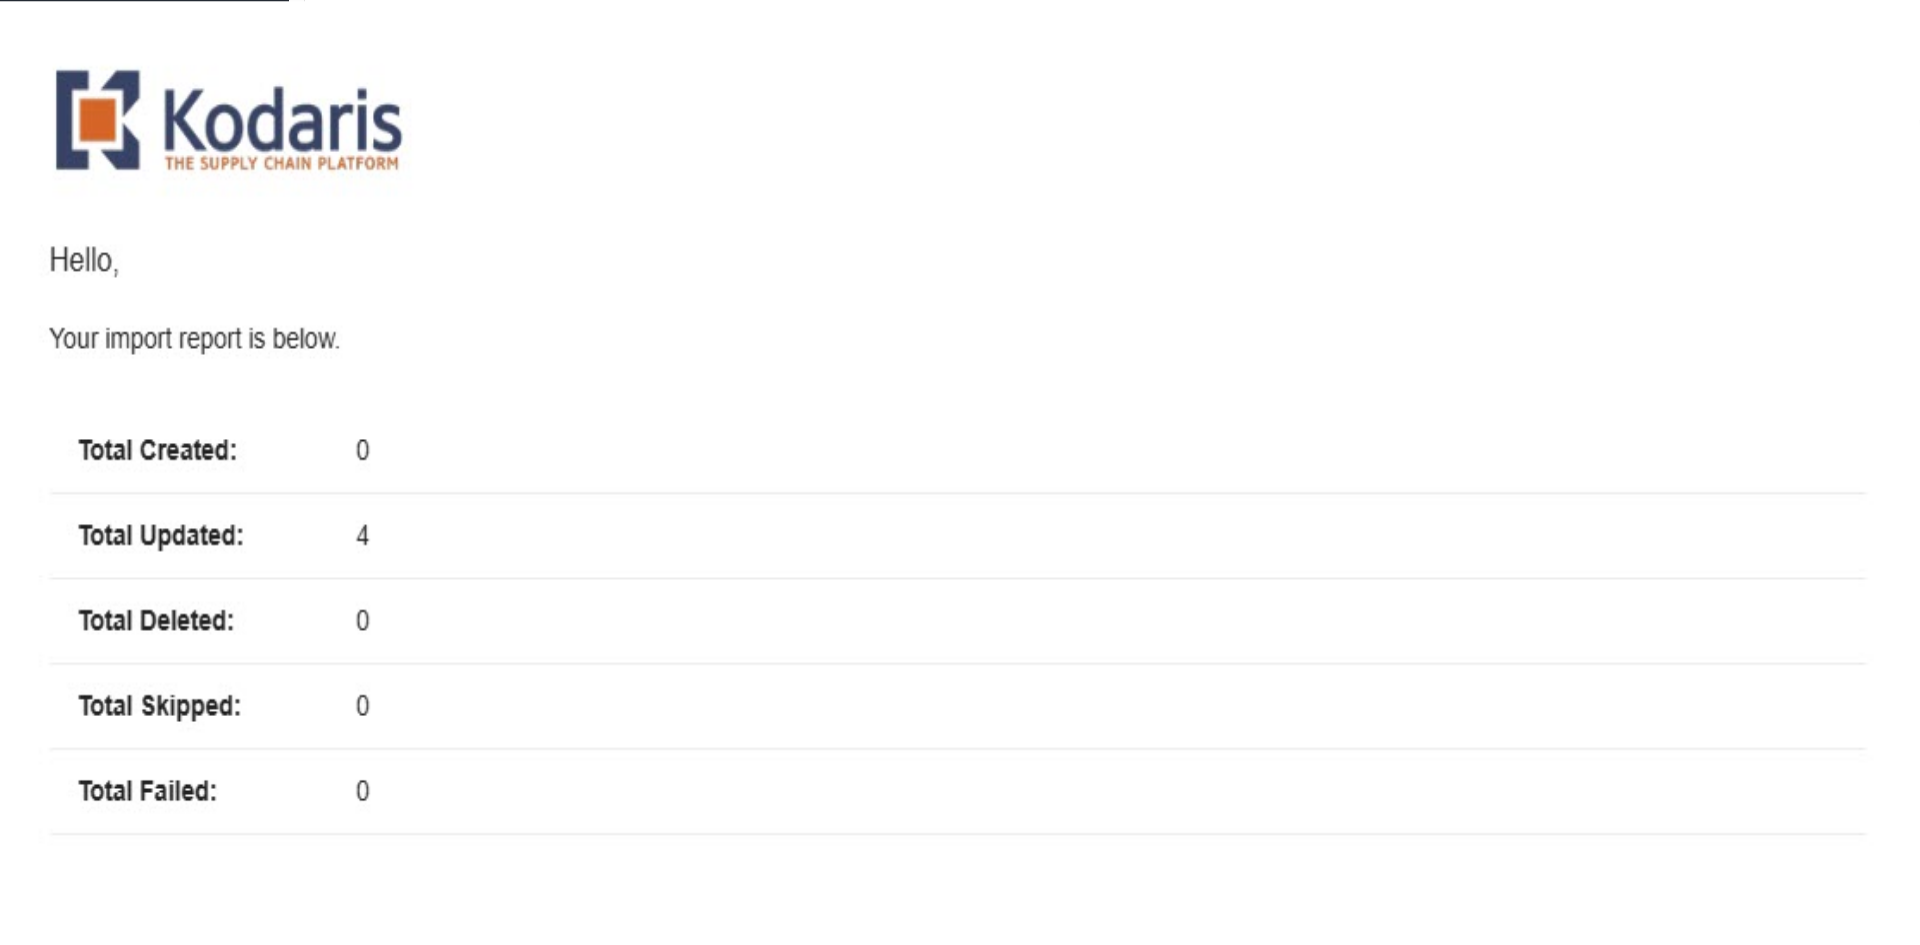
An email report is generated after a successful import.
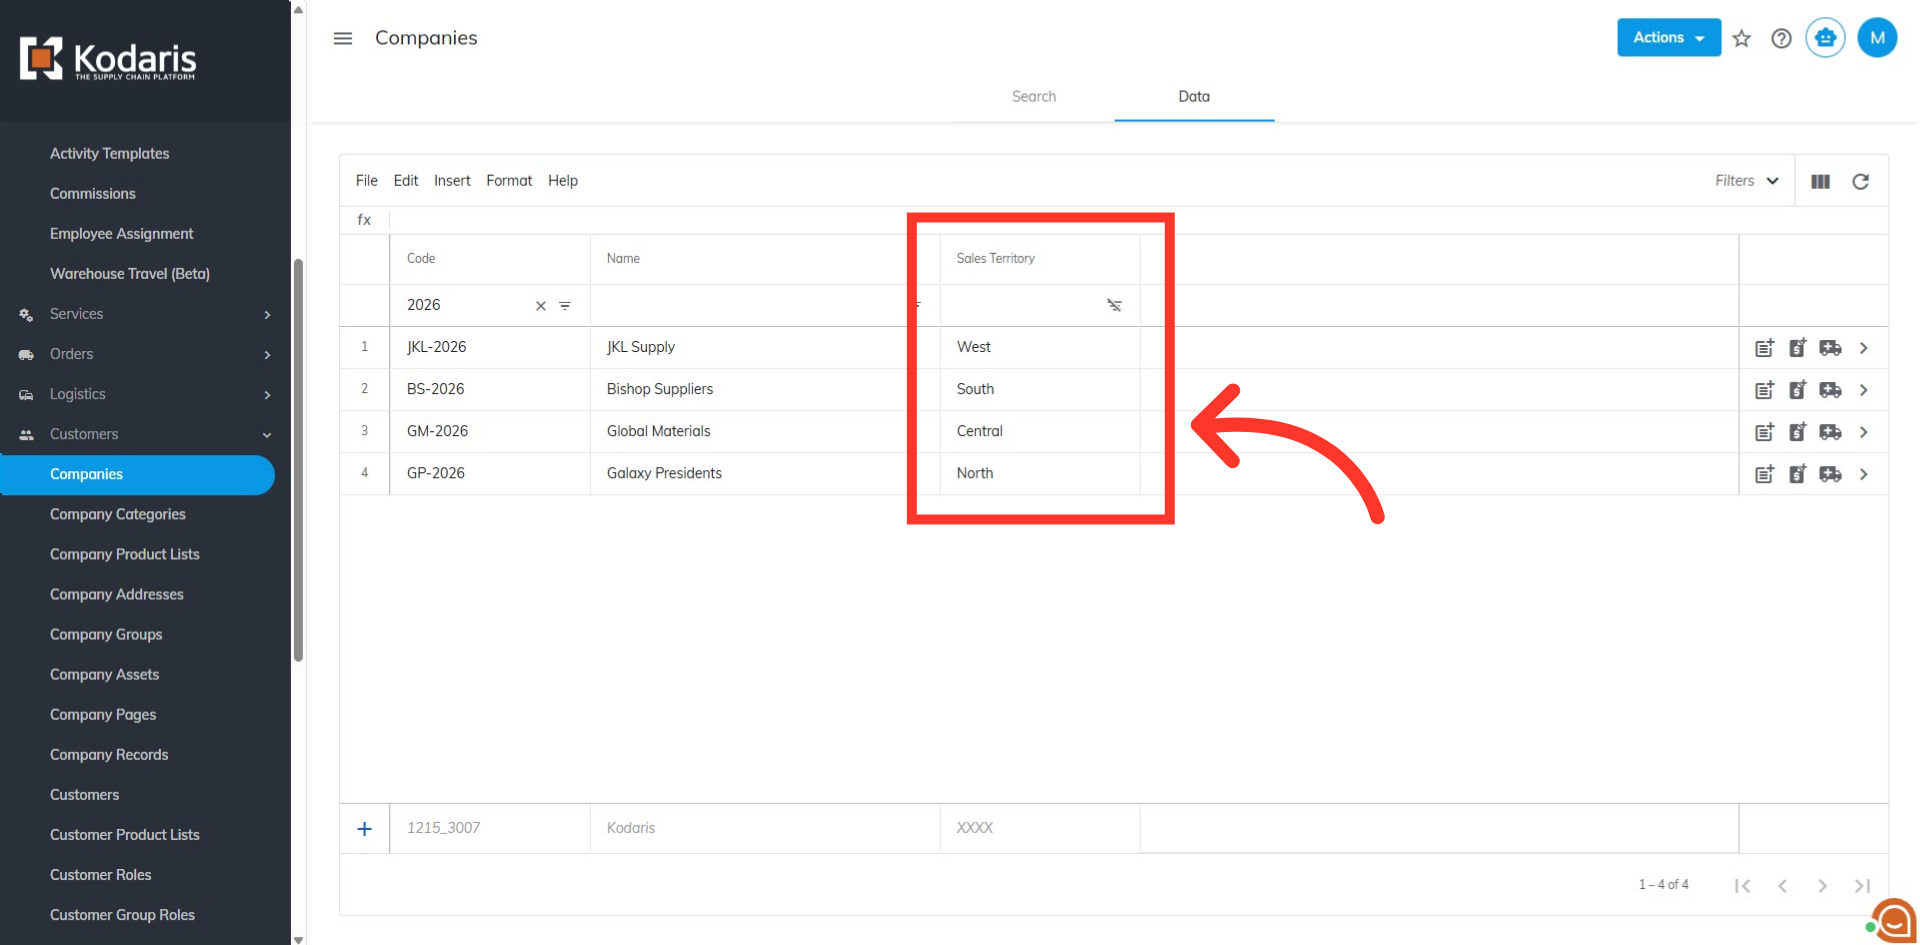
You can also verify the Sales Territory assignment by checking for the updates in the "Companies" "Data" grid.