To view data and filter down on specific customers in the operations portal under "CRM", navigate to the "CRM" section.
Select "Companies." This screen displays all your customers, including those synced from your ERP and any created in Kodaris. In order to access "Companies" you will need to be set up either as an "administrator" or a "superuser", or have the appropriate roles: "companyView and companyEdit", or "crmCompanyView and crmCompanyEdit". Just a reminder, "crmCompanyView and crmCompanyEdit" access only allows employees to view companies that are assigned to them.
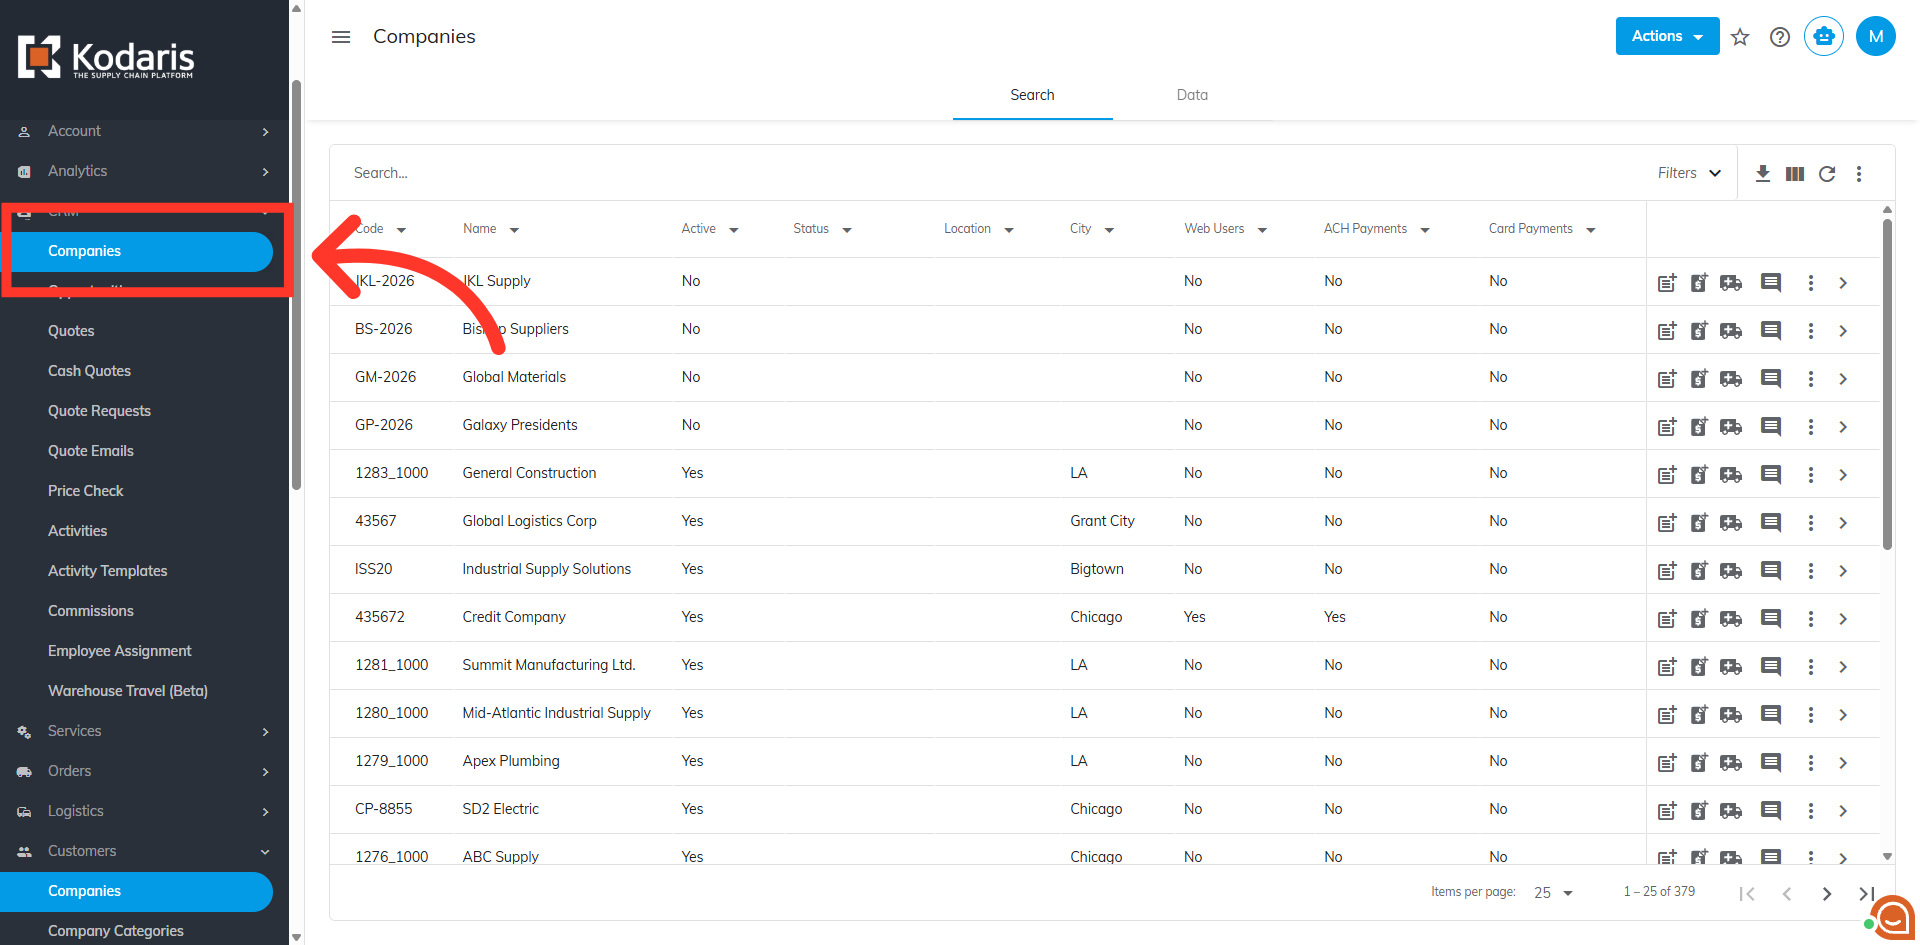
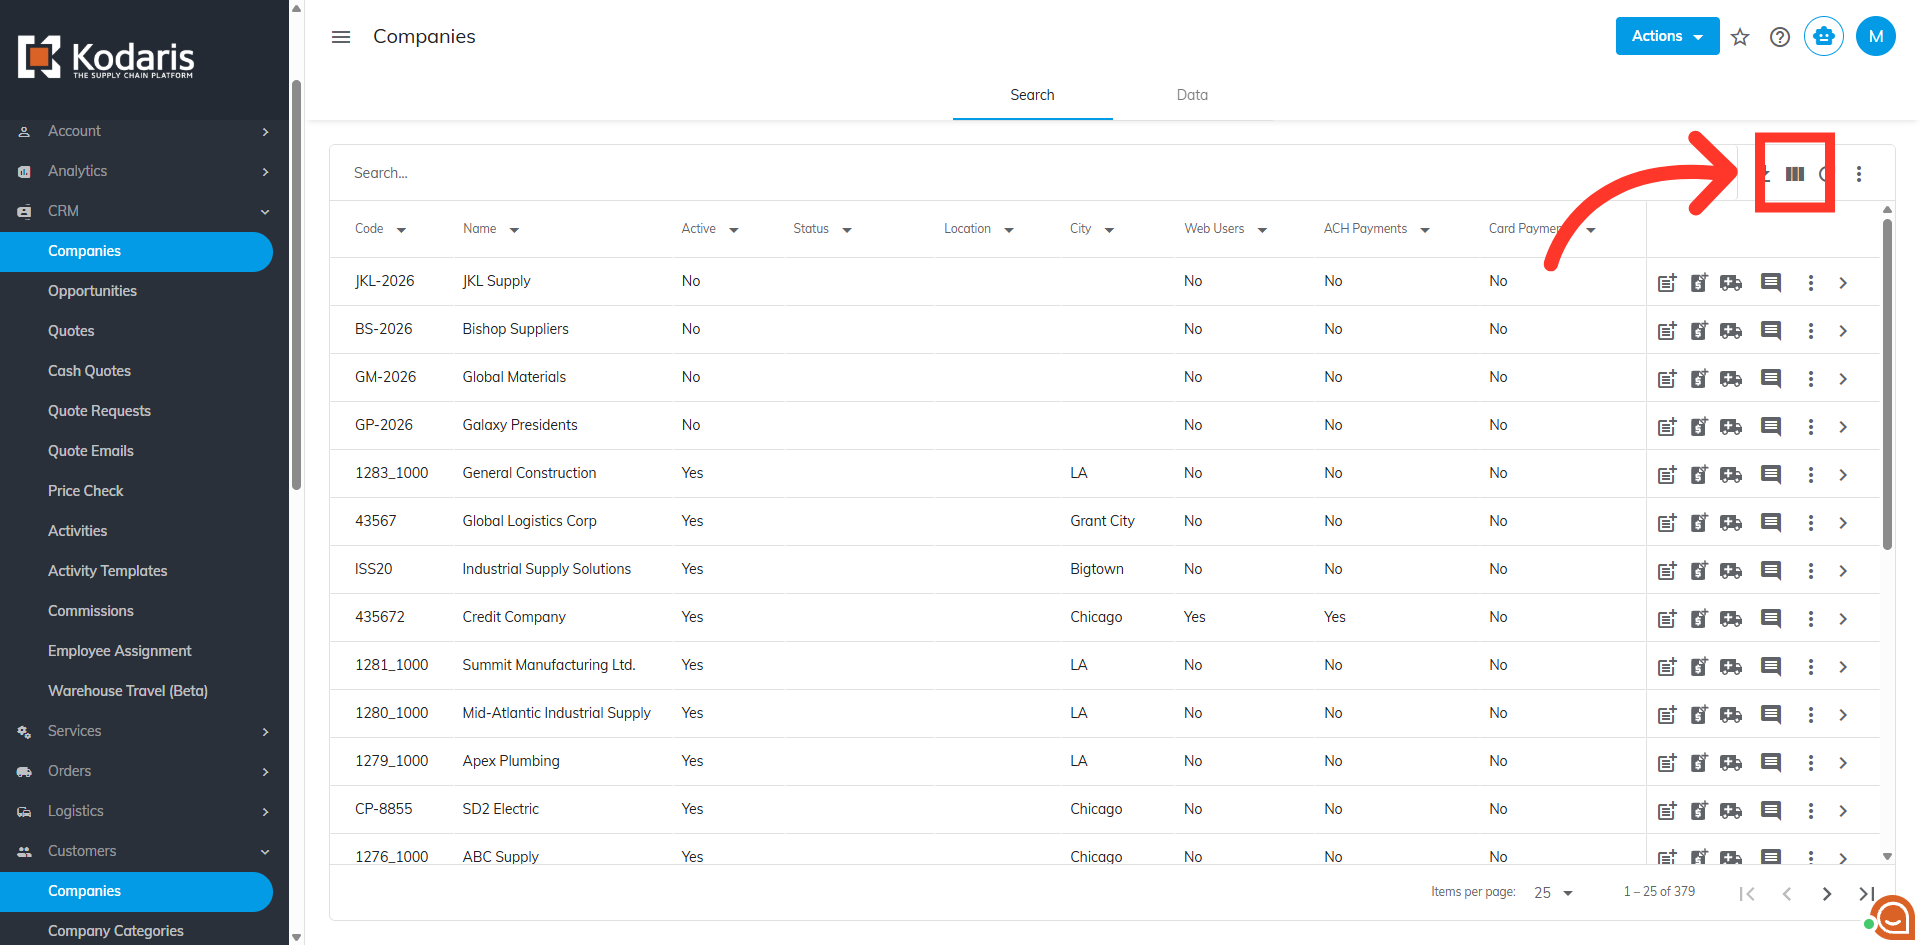
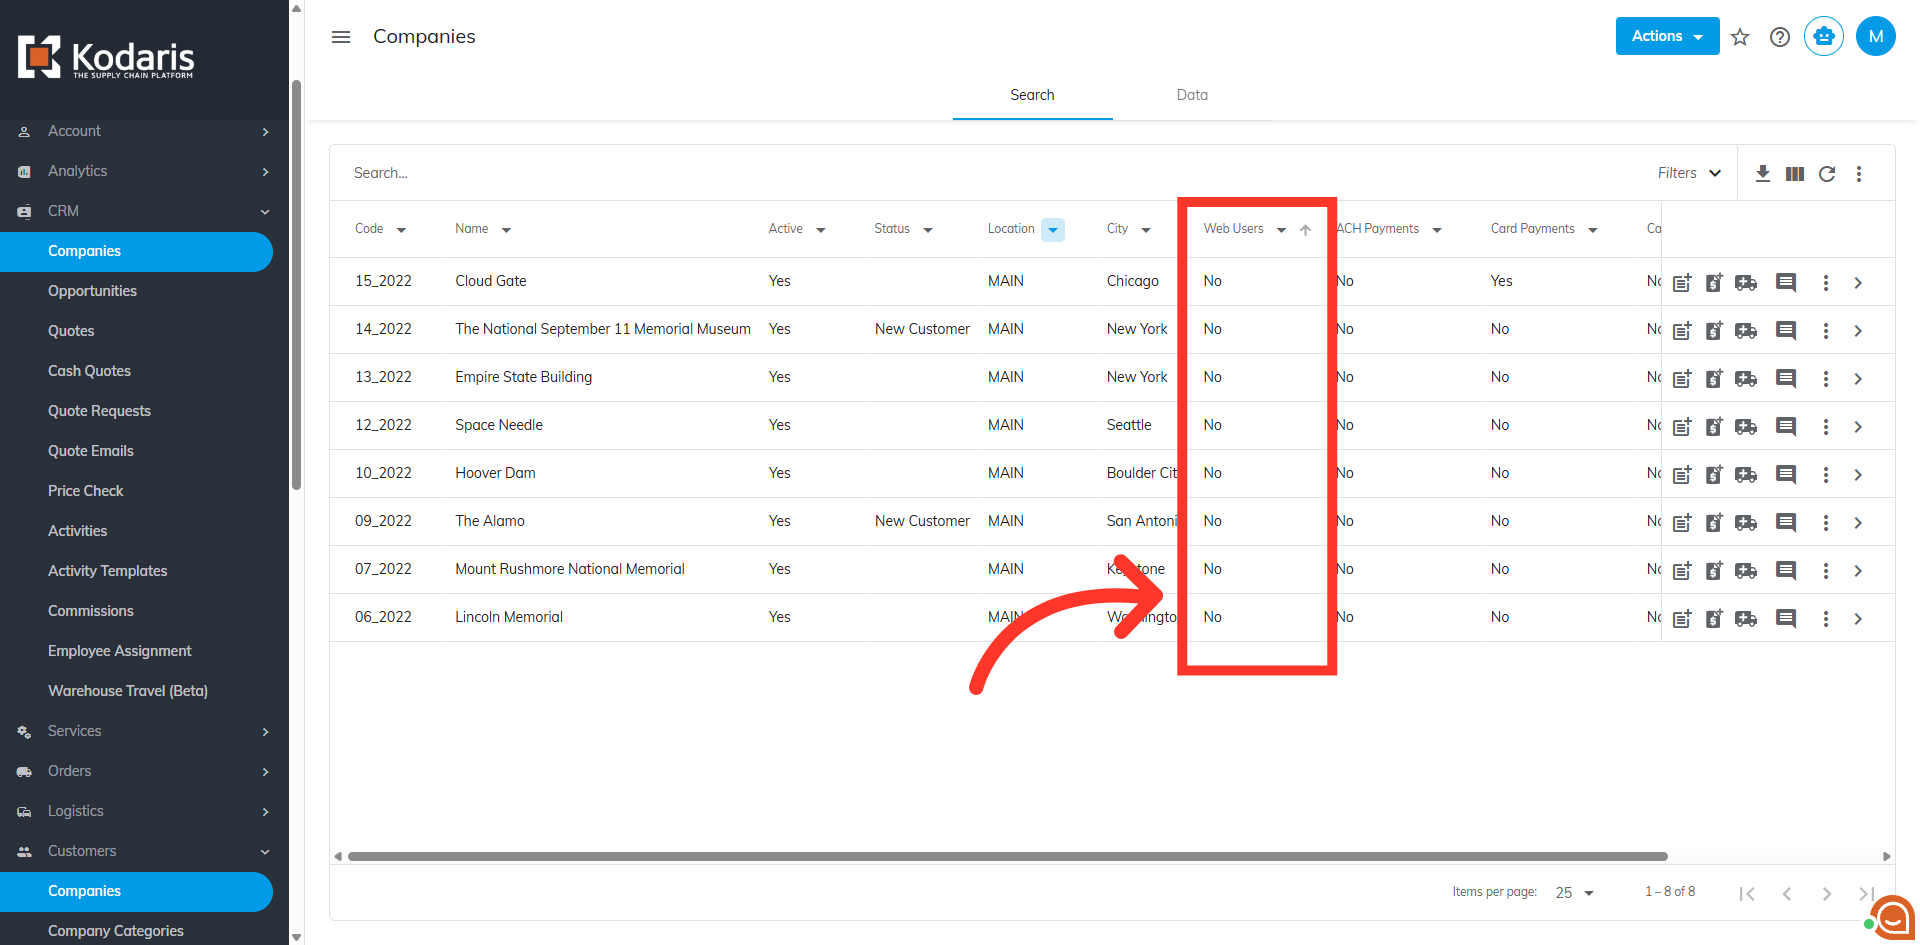
The "Search" tab displays your customer information, such as name, customer code, their status, and various other column data.
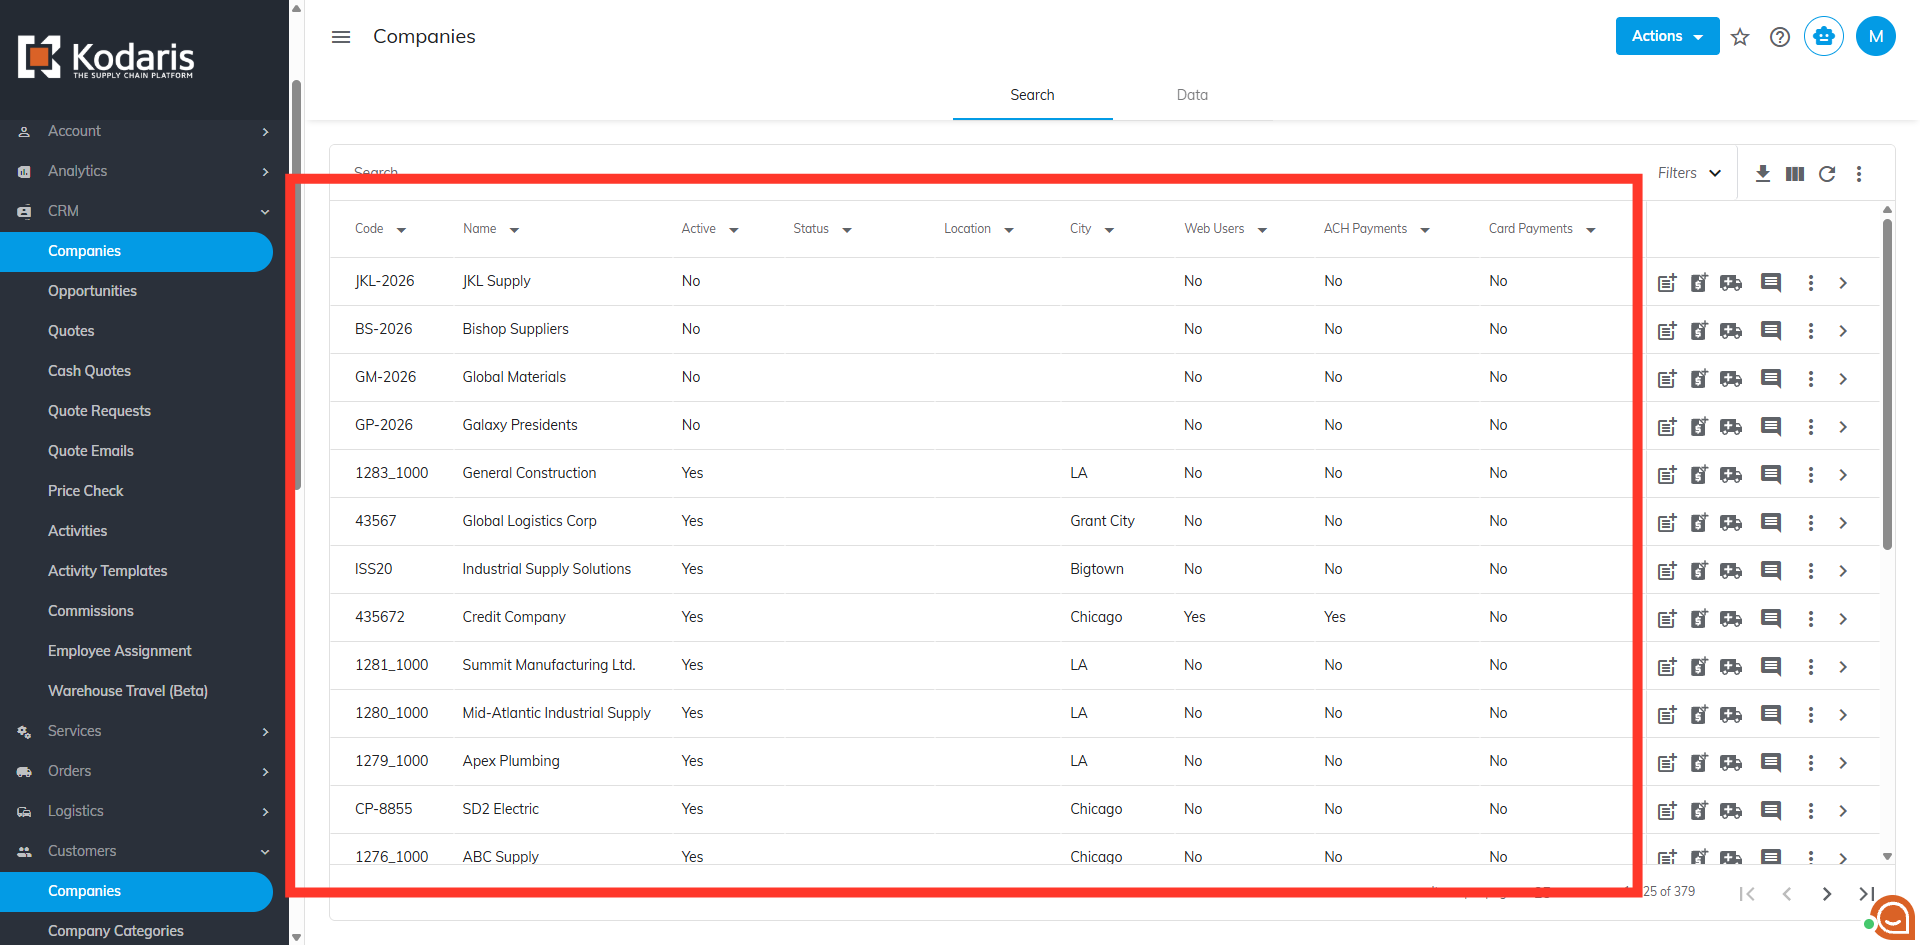
Additional columns can be added to your screen view. Click the "Show/Hide Columns" icon to customize which company data fields are visible in the grid.
You can view a comprehensive list of fields that can be added to your view on this screen. Many of these fields may include data synced from your ERP, as well as fields specific to Kodaris.
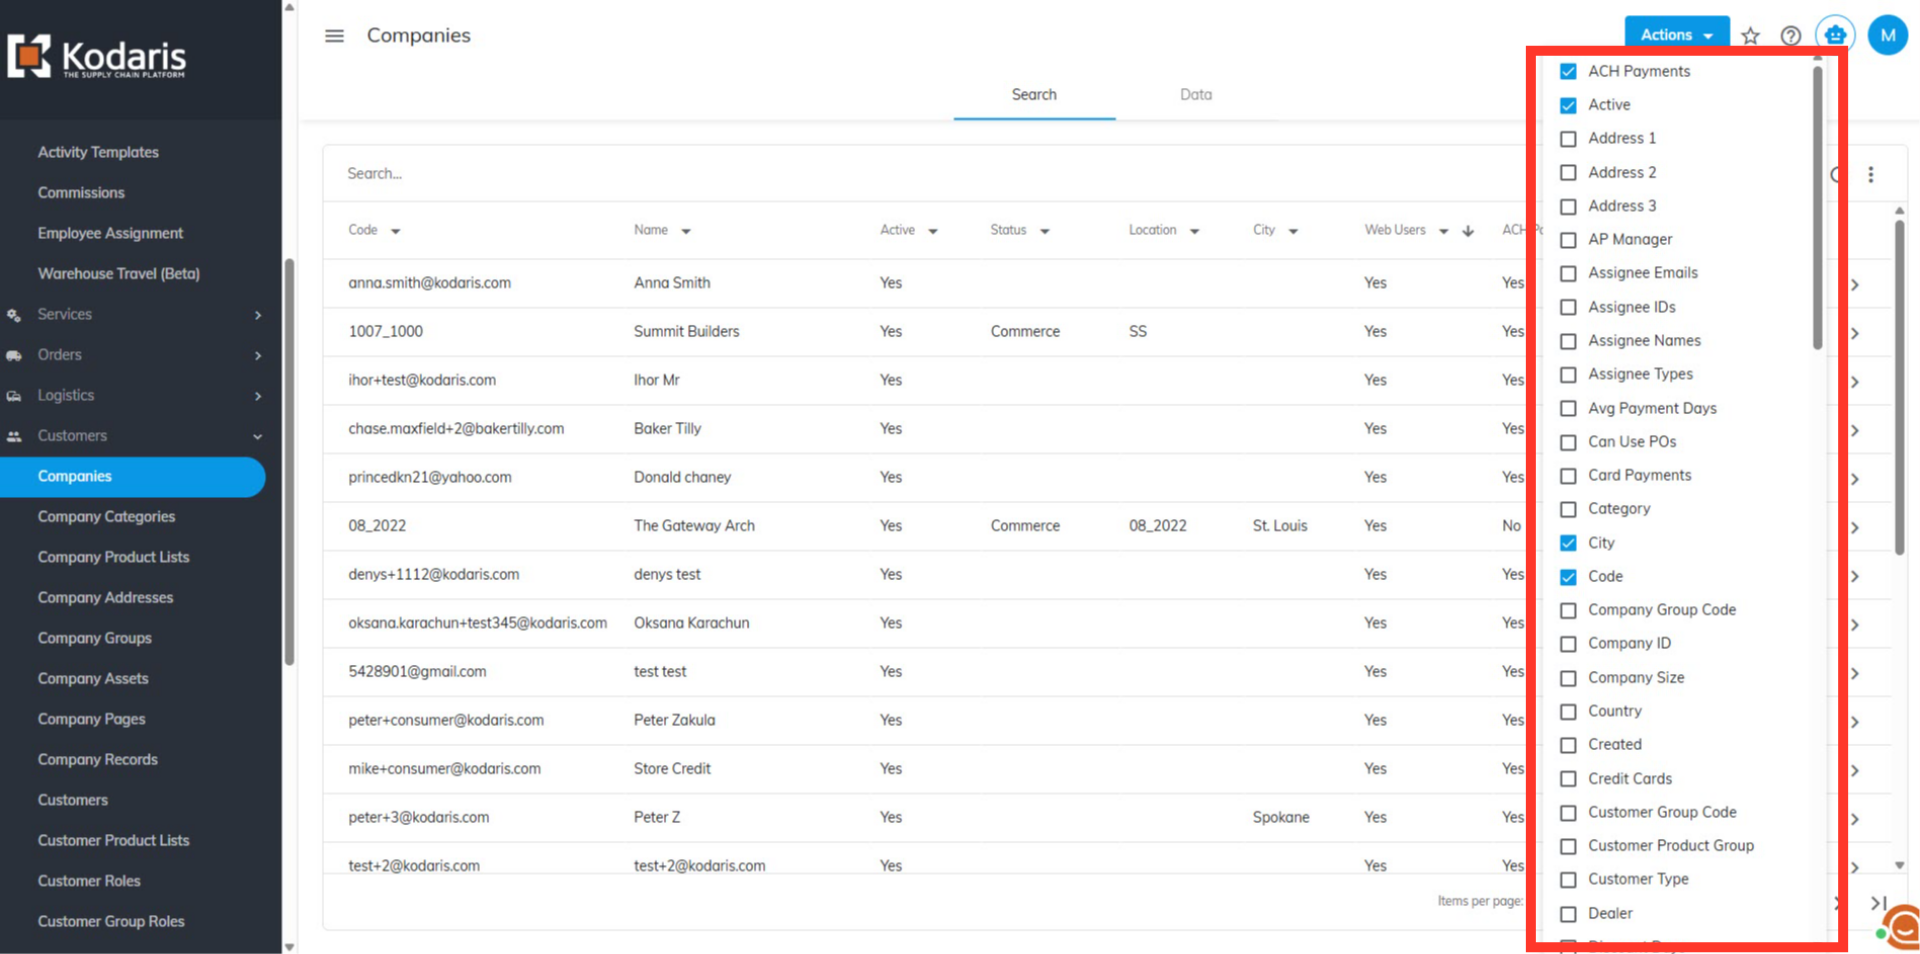
Click the box next to a field to include it in your view. Otherwise, simply uncheck the box to remove it.
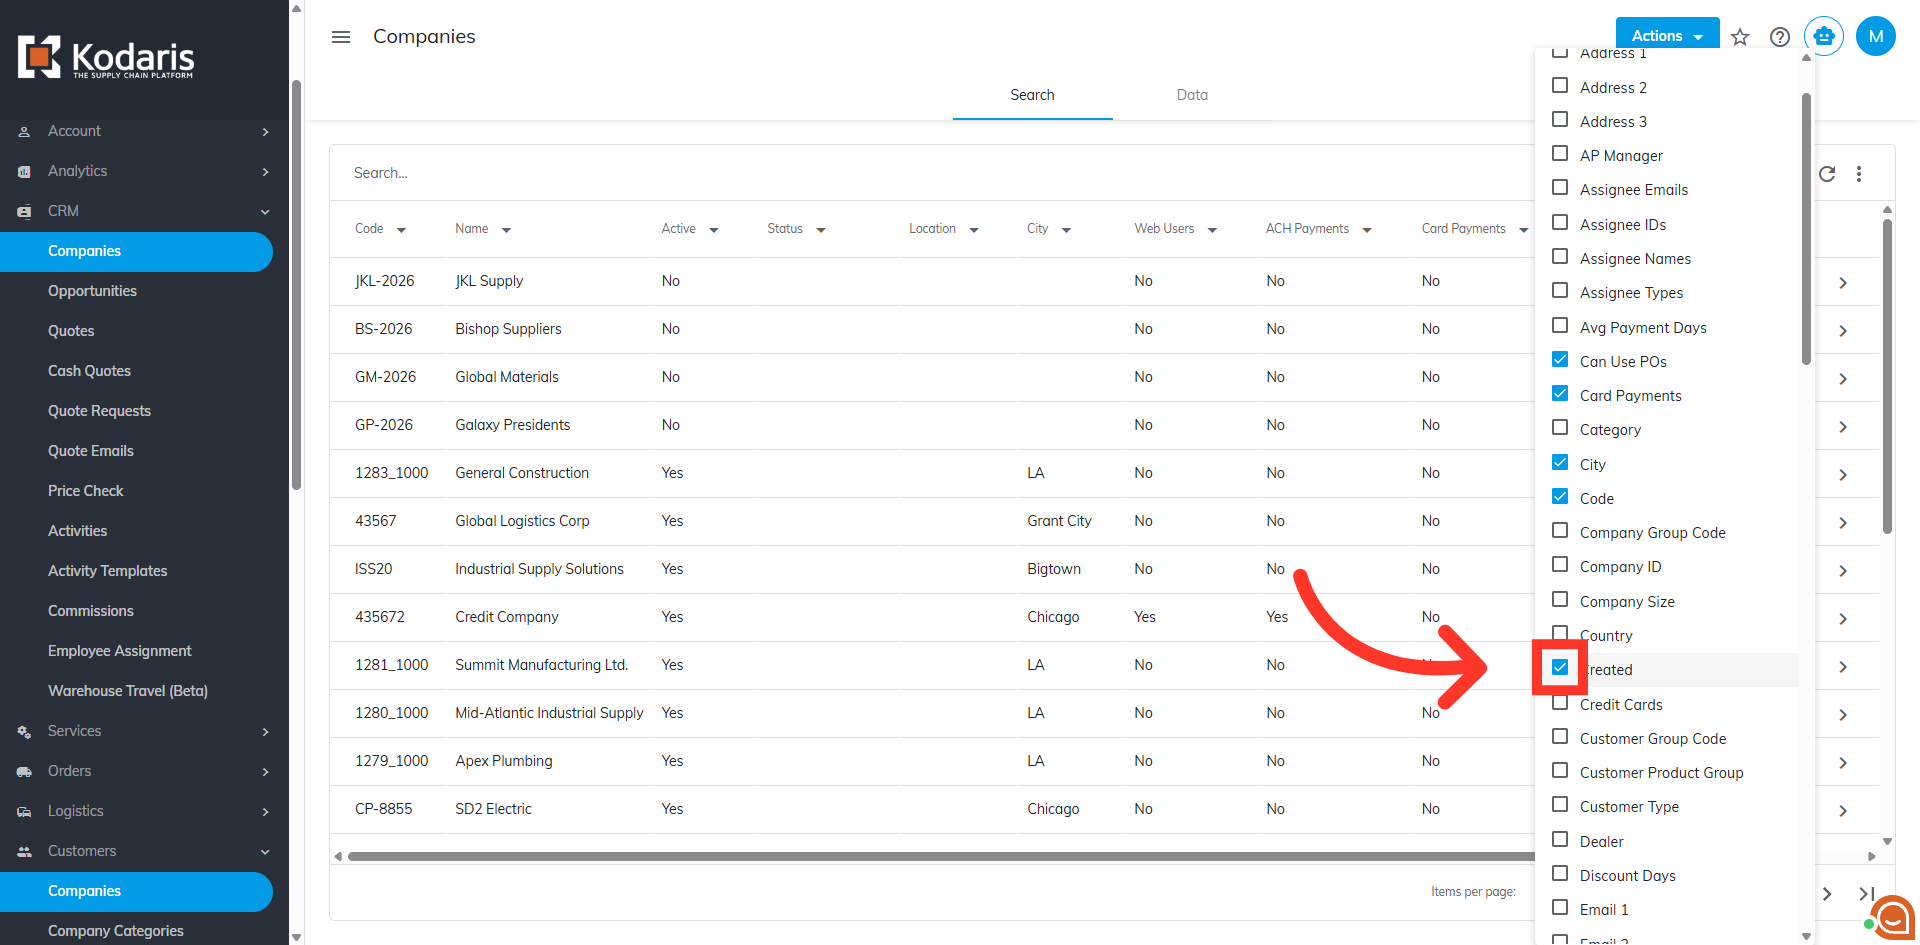
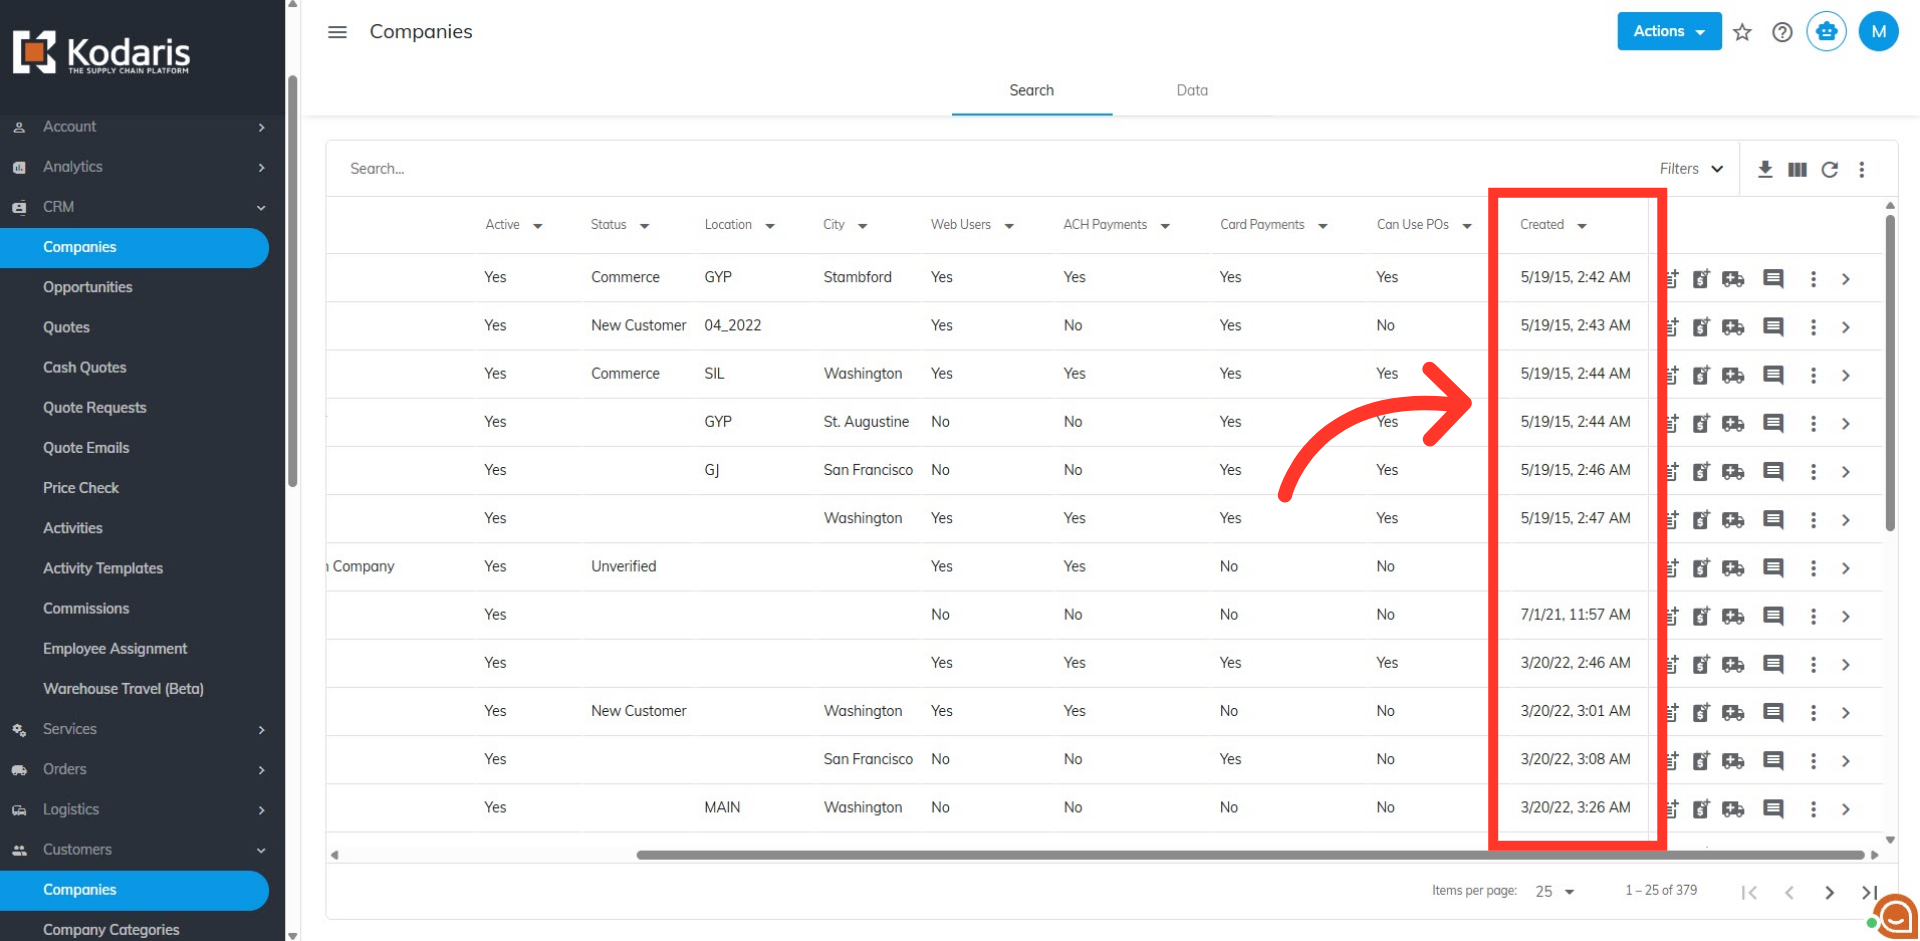
Click outside the list, and you can see that the selected column has been added to your view.
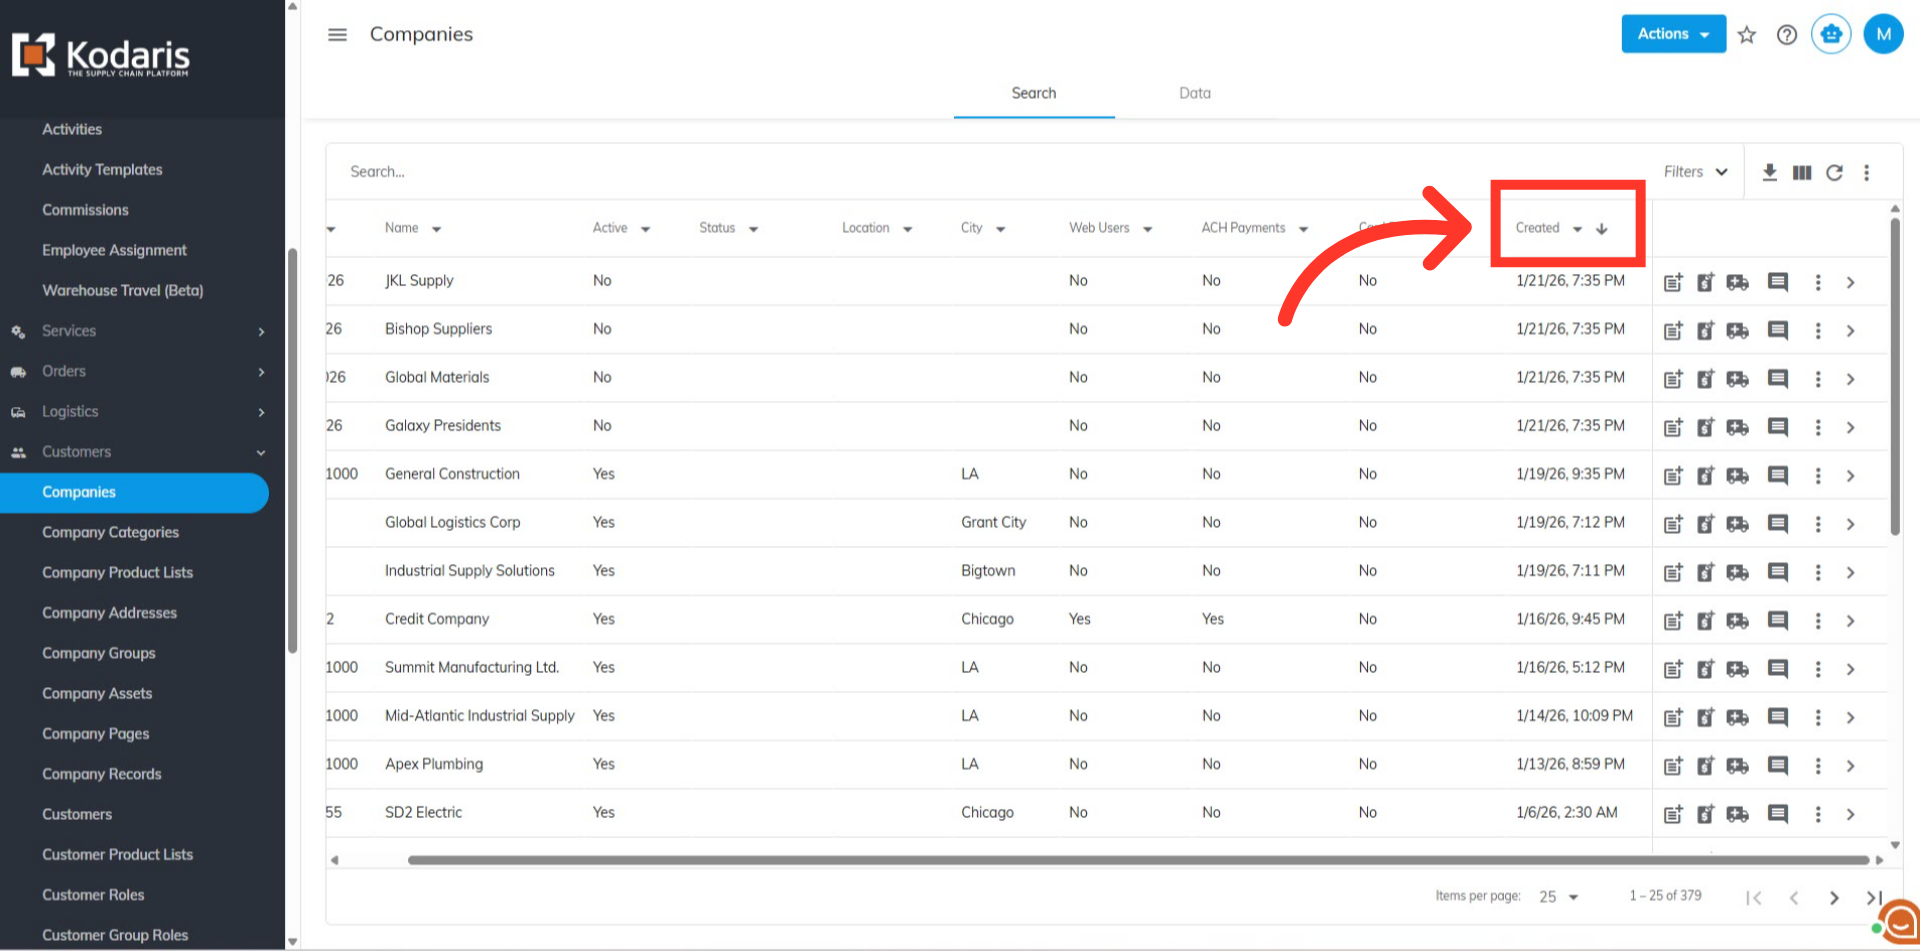
You also have the option to sort the data in each column. Hover the mouse over the column header to see the sorting arrow. Then, click the arrow to sort data by ascending or descending order.
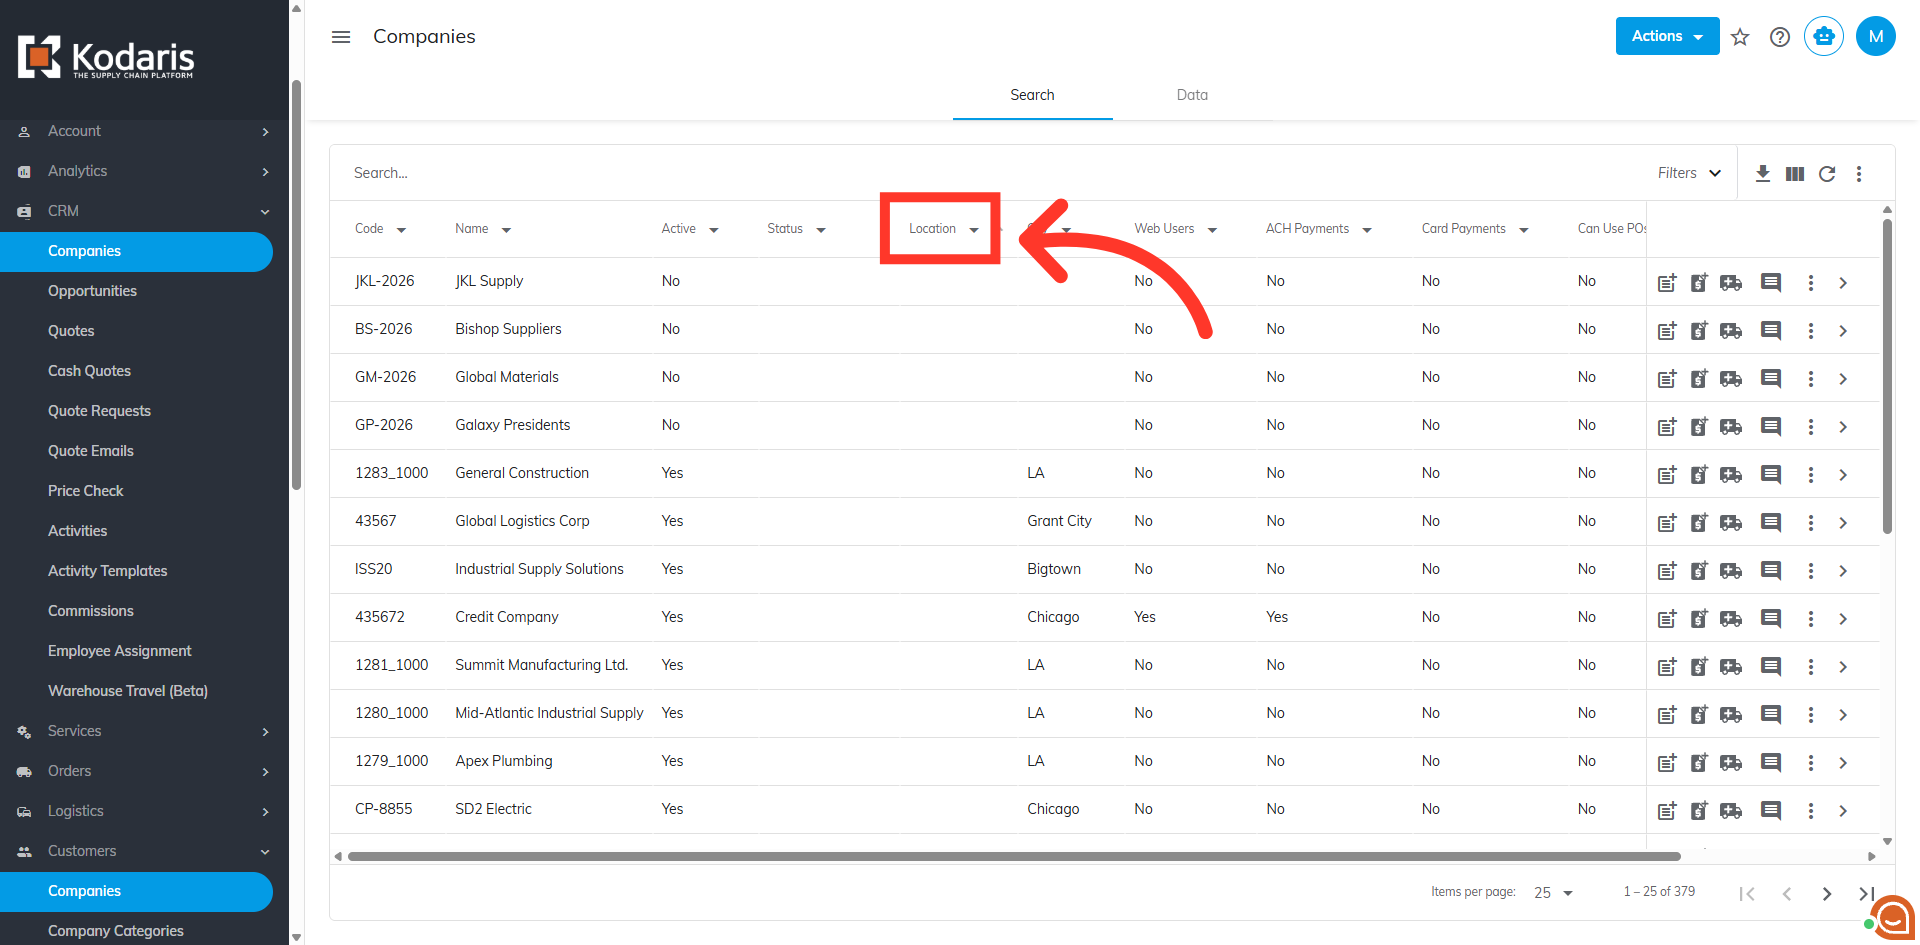
Click the dropdown in the column header to select and filter the data you want.
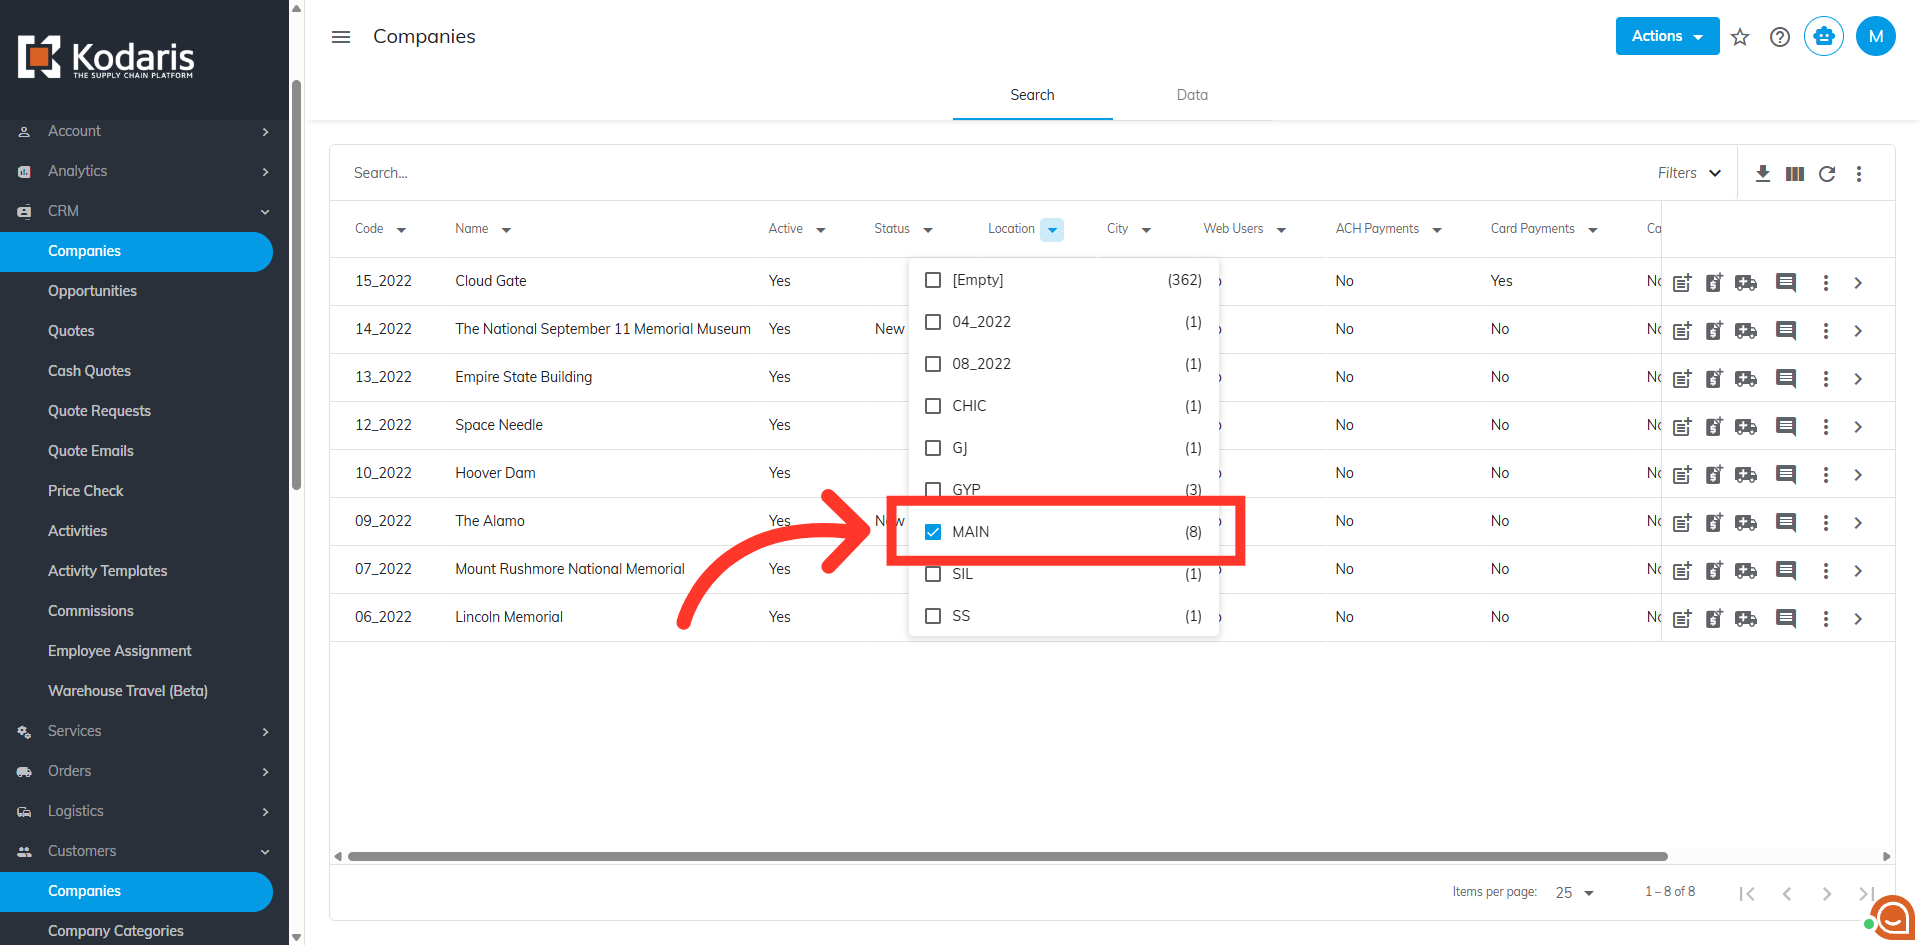
Click on the location you wish to view the customers associated with that specific area. In this example, we will select the "MAIN" warehouse.
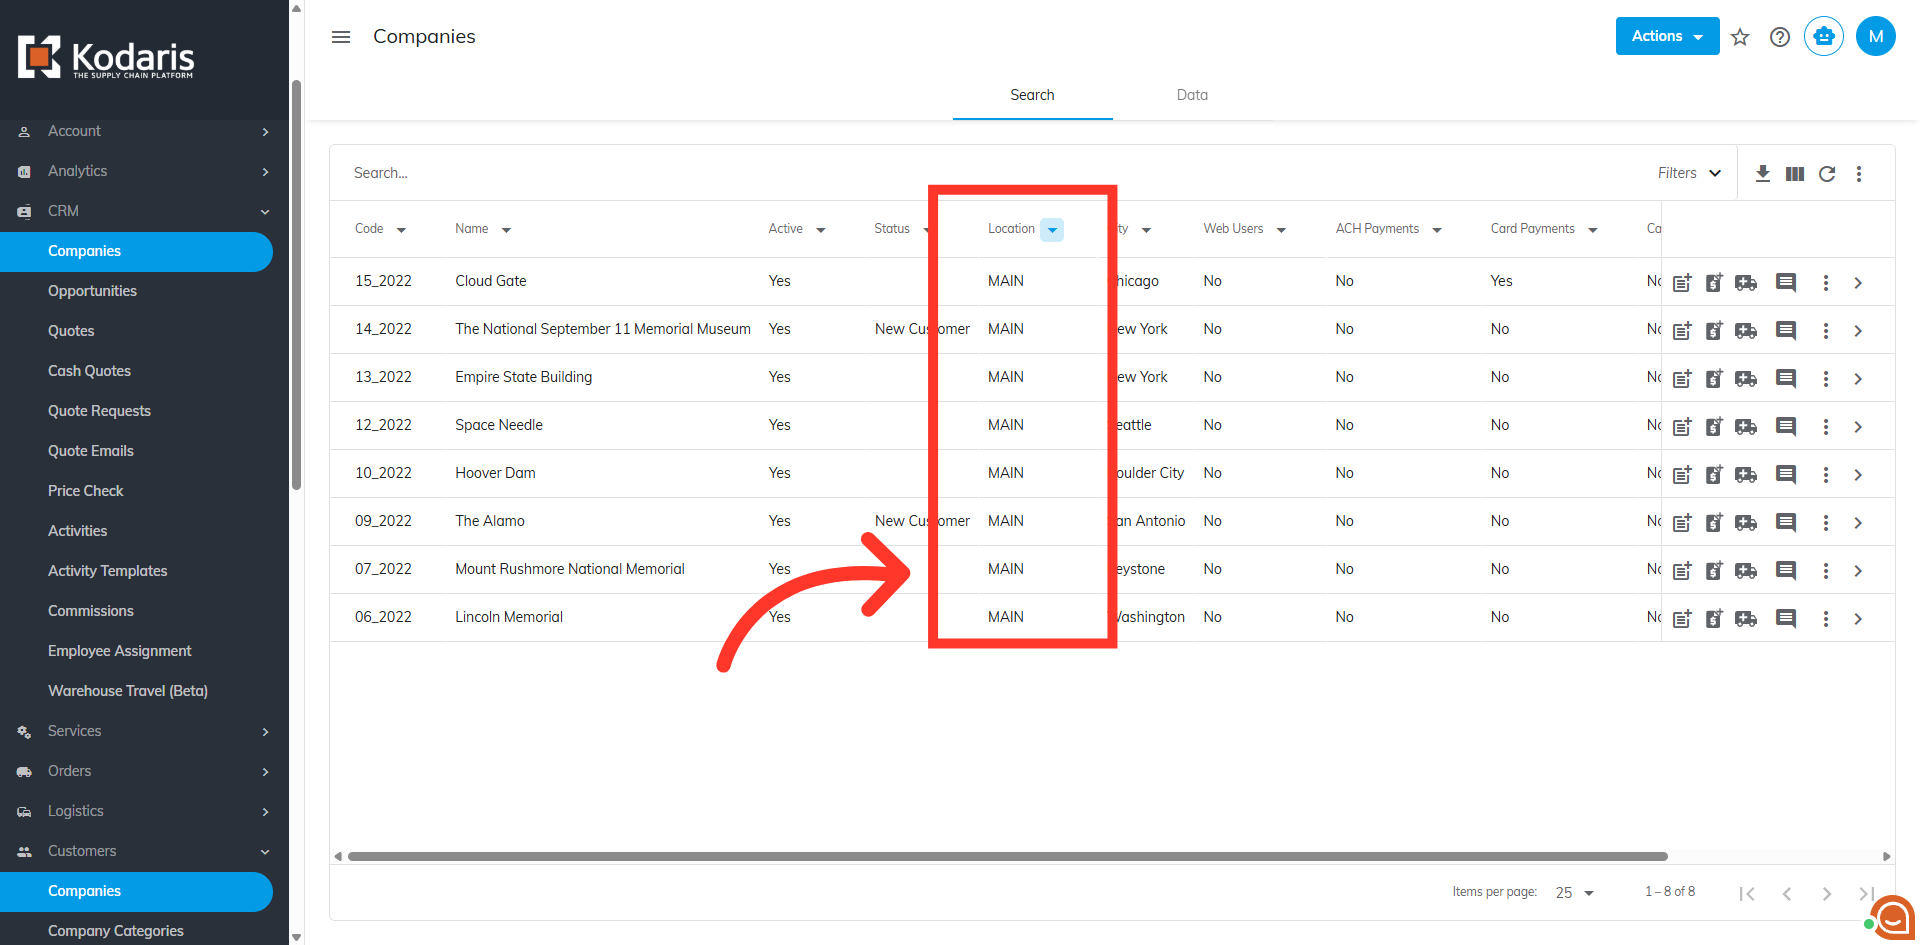
View customers with your selected location.
It is also possible to rearrange the layout of the columns by dragging the column header to where you want the column to be positioned.
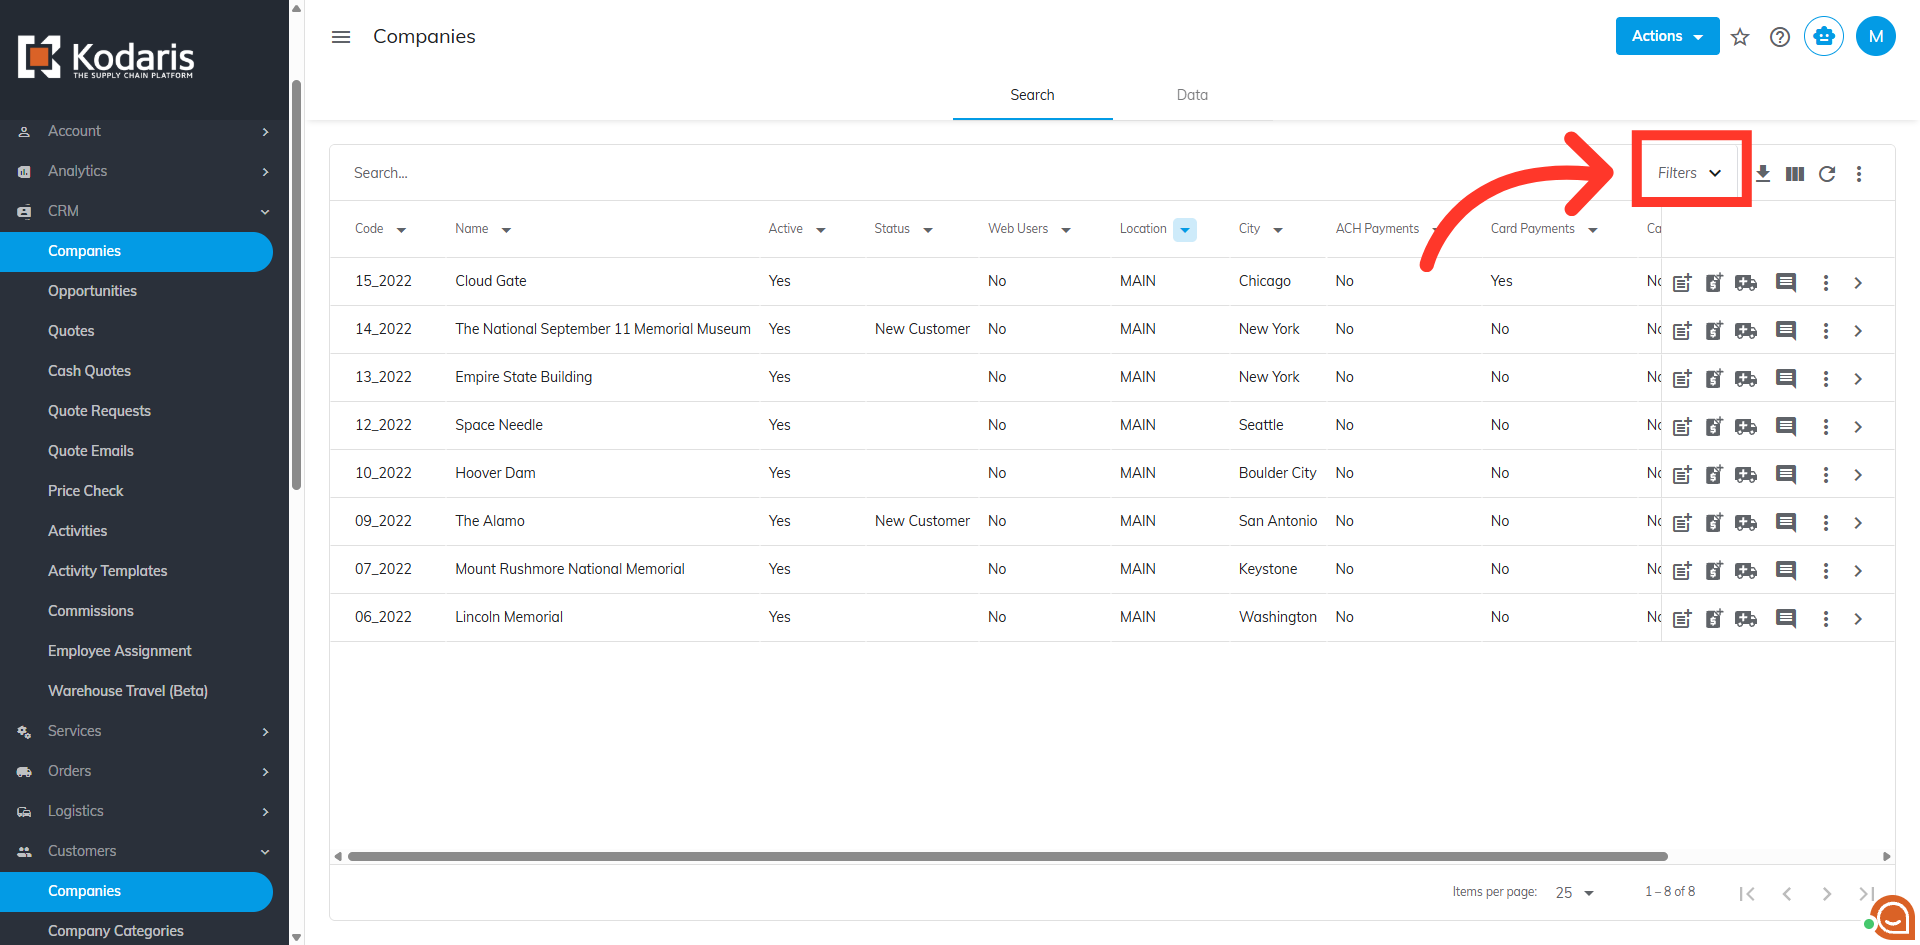
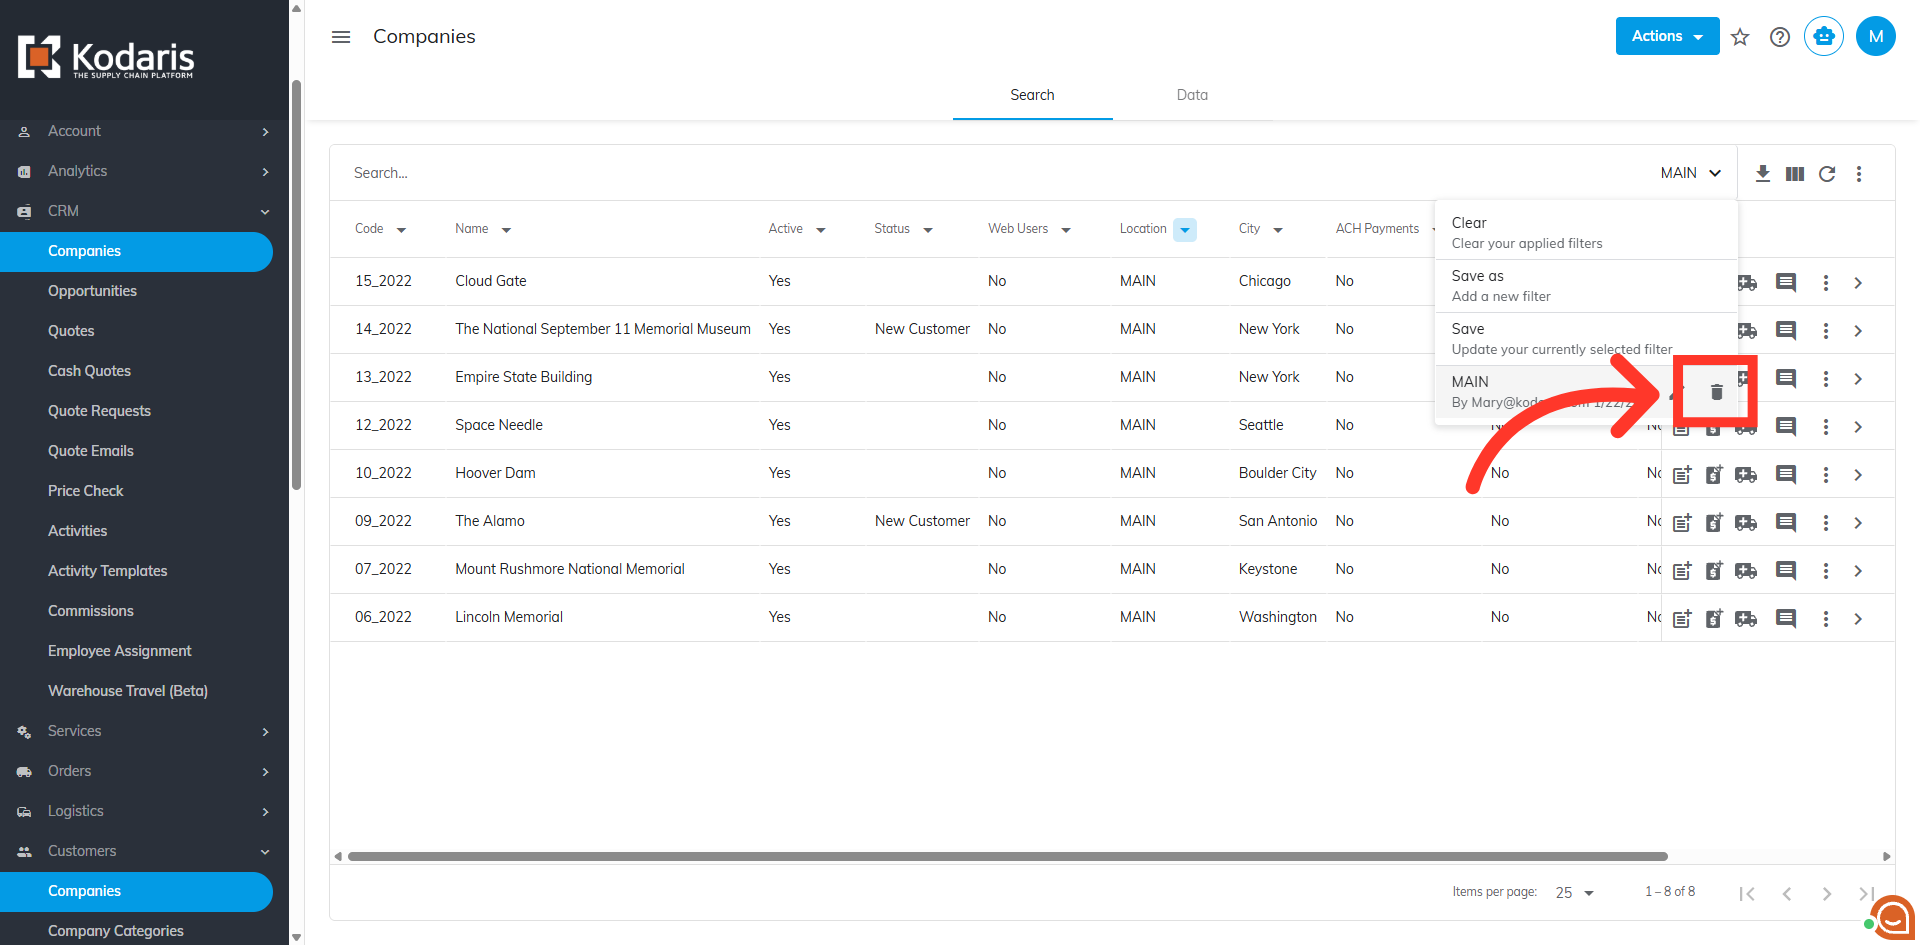
If you create a screen view that you want to save for future use, you can save the view by setting up a sticky filter. You can create as many sticky filters as you would like. To do this, click the "Filters" dropdown.
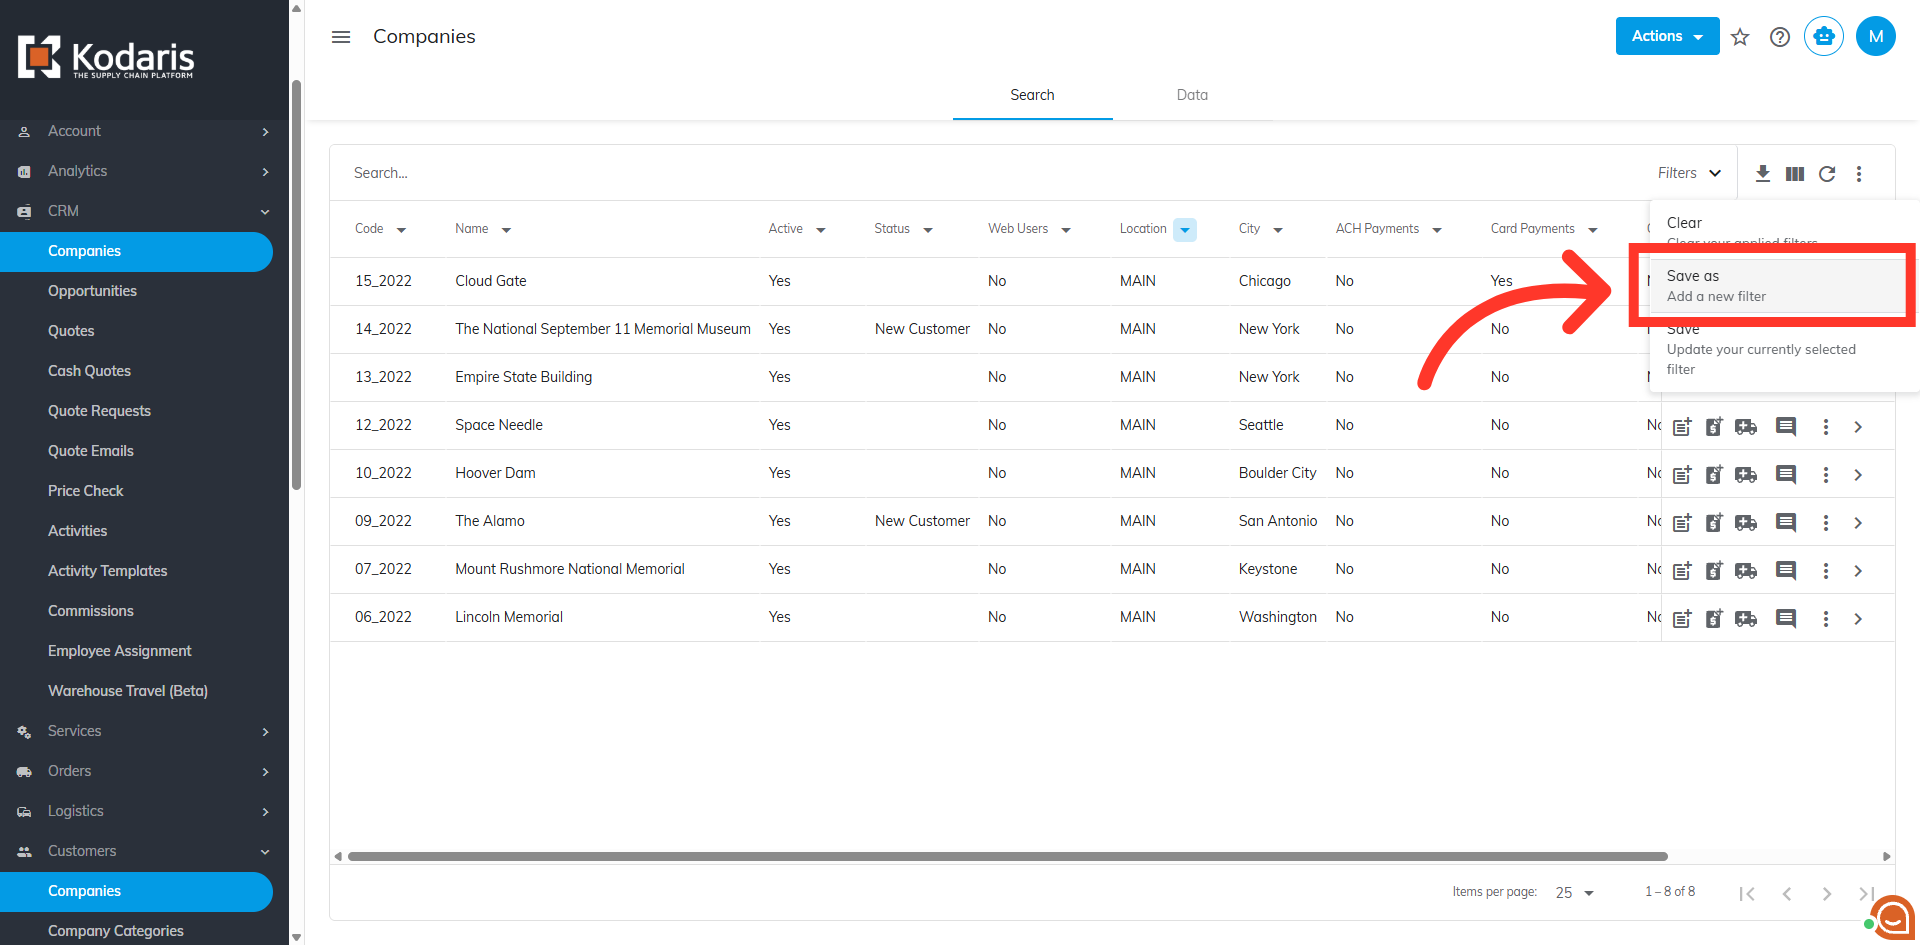
Then, click "Save as".
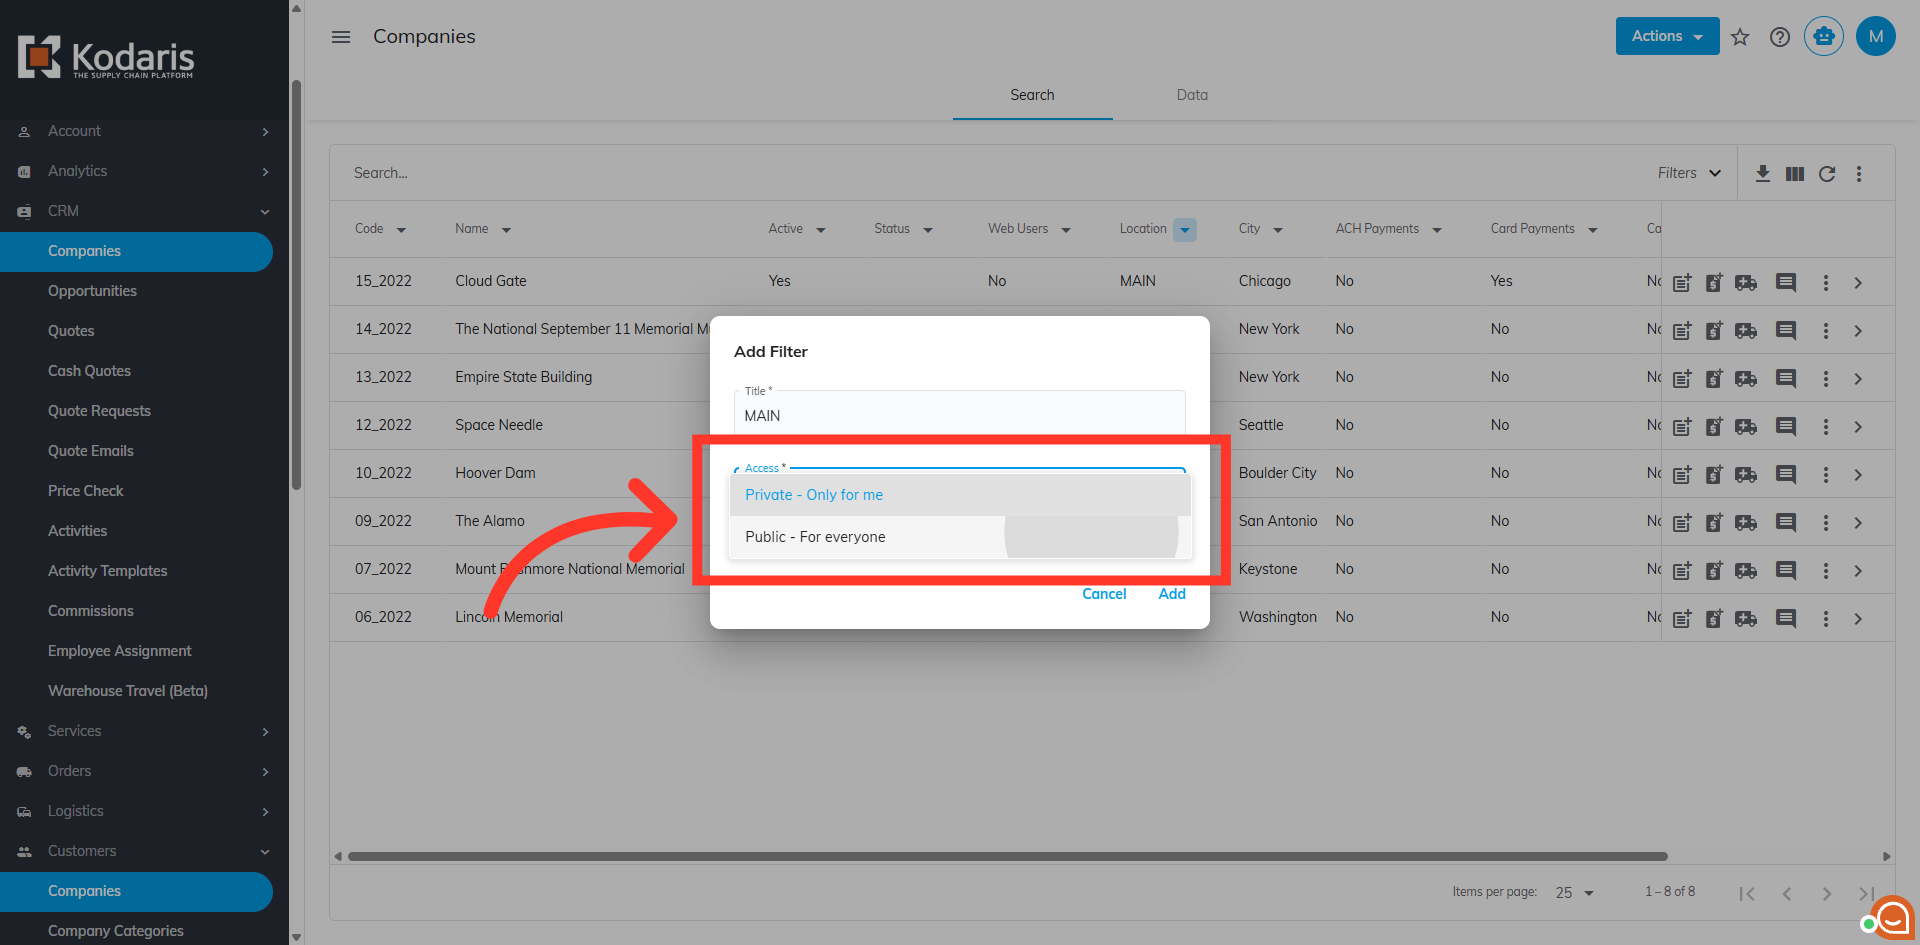
The "Add Filter" dialog box should appear. Now, you need to add a title to the sticky filter.
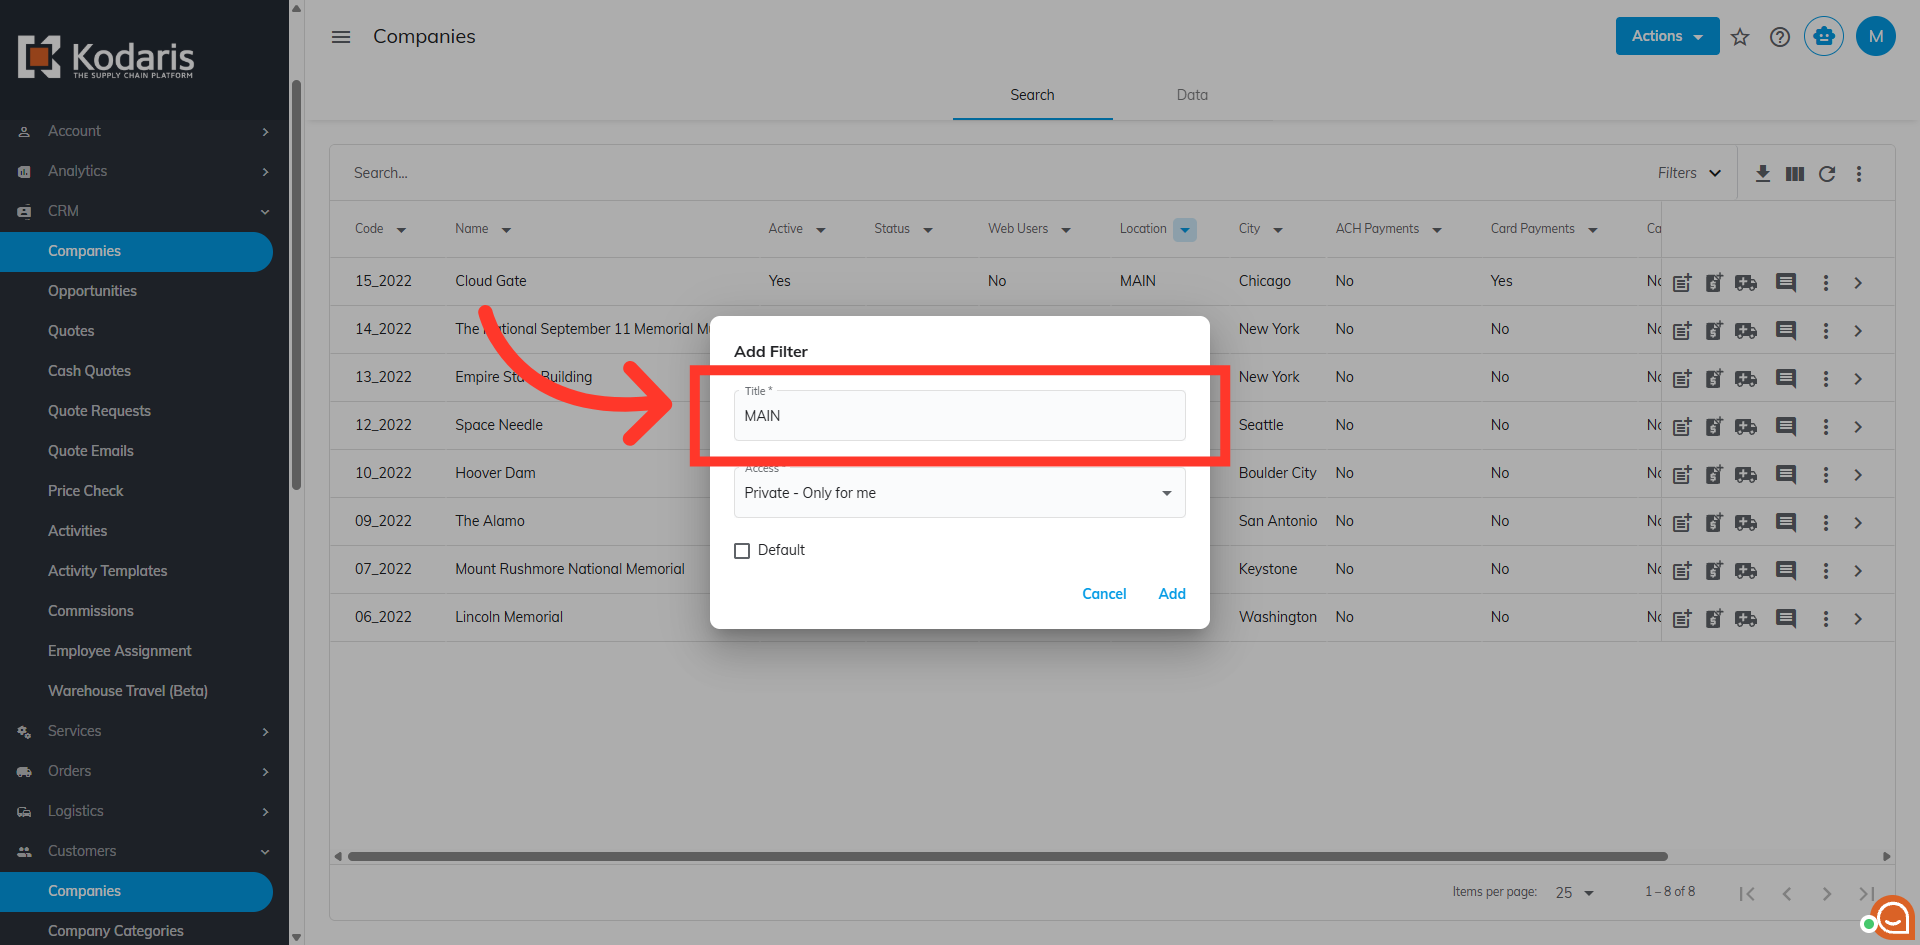
Next, you need to set the access restriction of the sticky filter. Select "Public" if you want the sticky filter to be shared with all users, or "Private" if you want it to be only available to you.
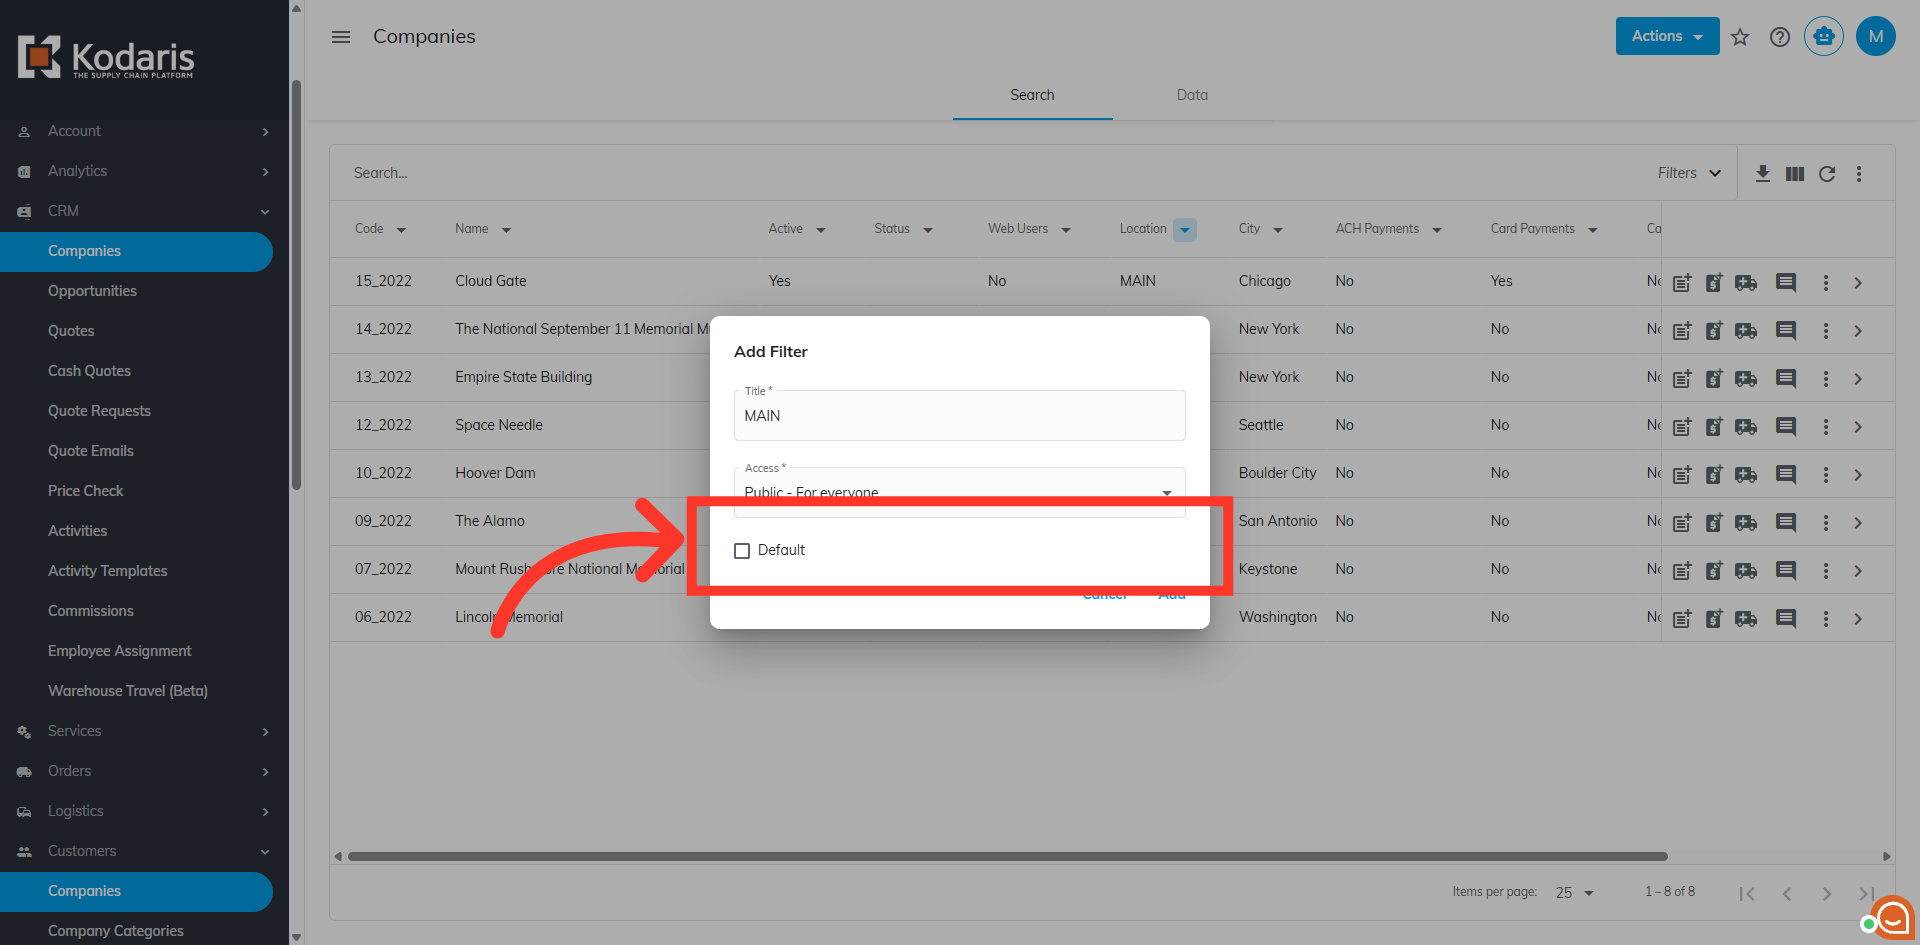
You can click the "Default" checkbox so that the filter will automatically appear in the "Companies" grid each time you log in.
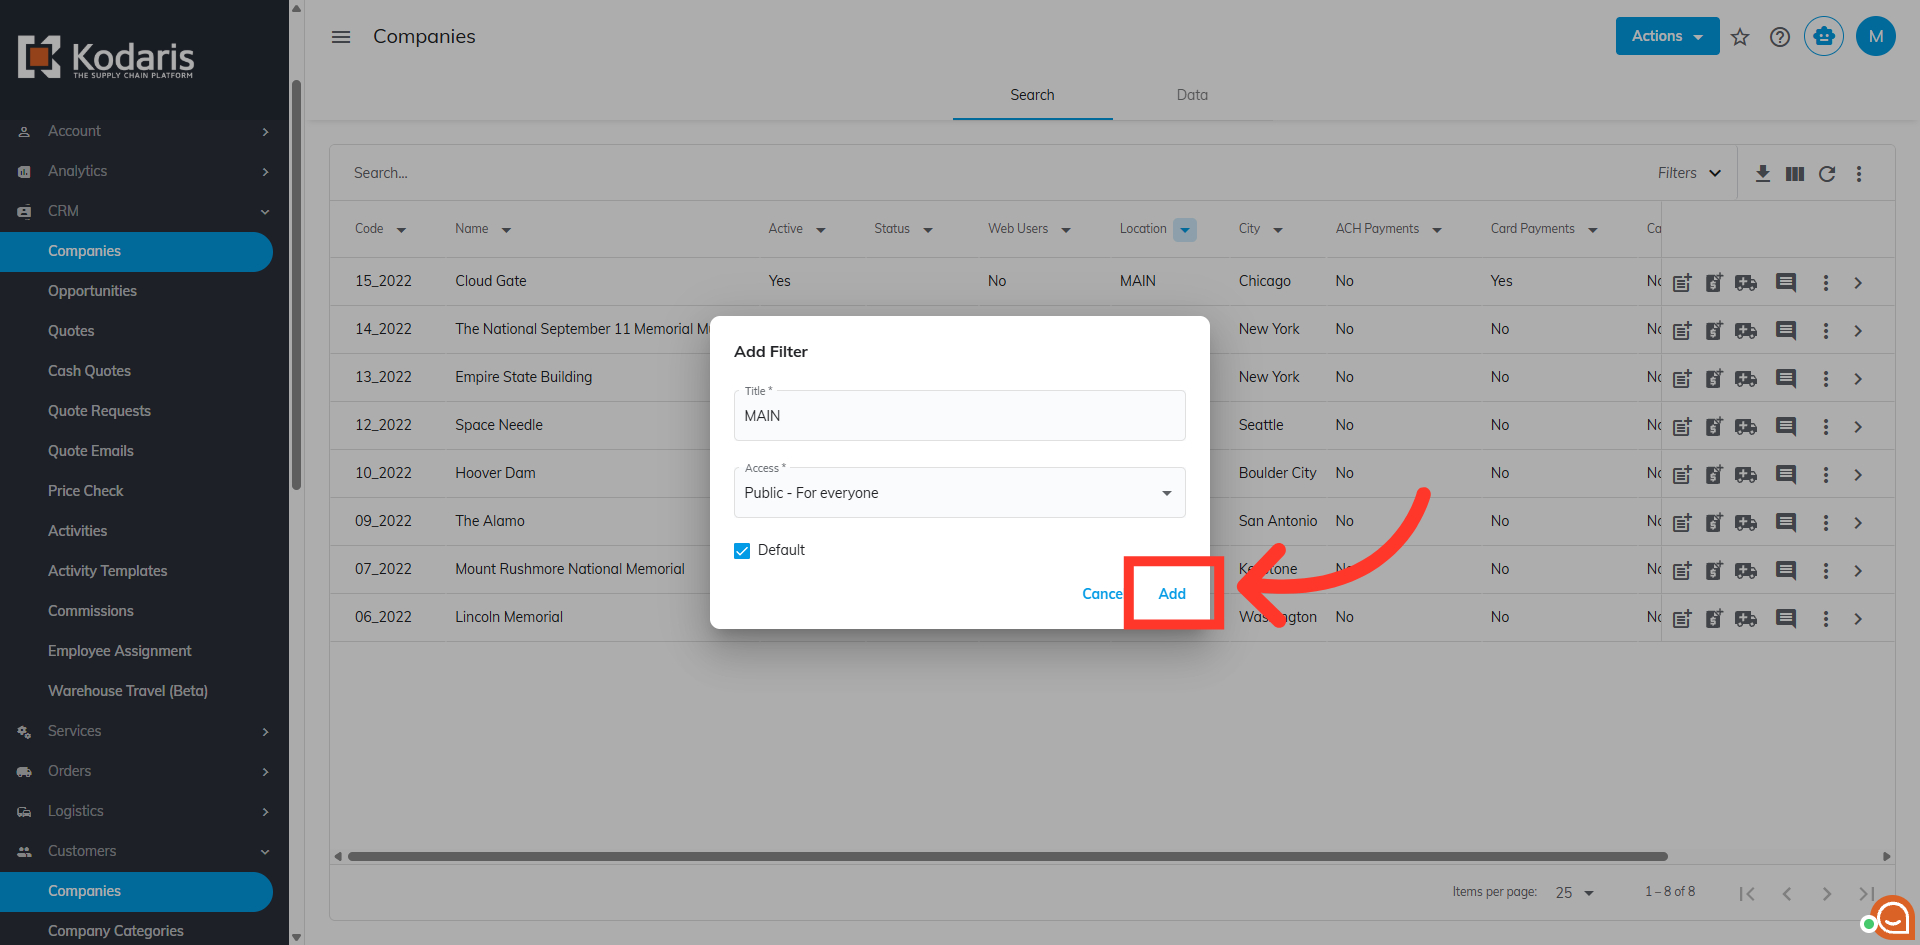
Then, click "Add" to save your sticky filter.
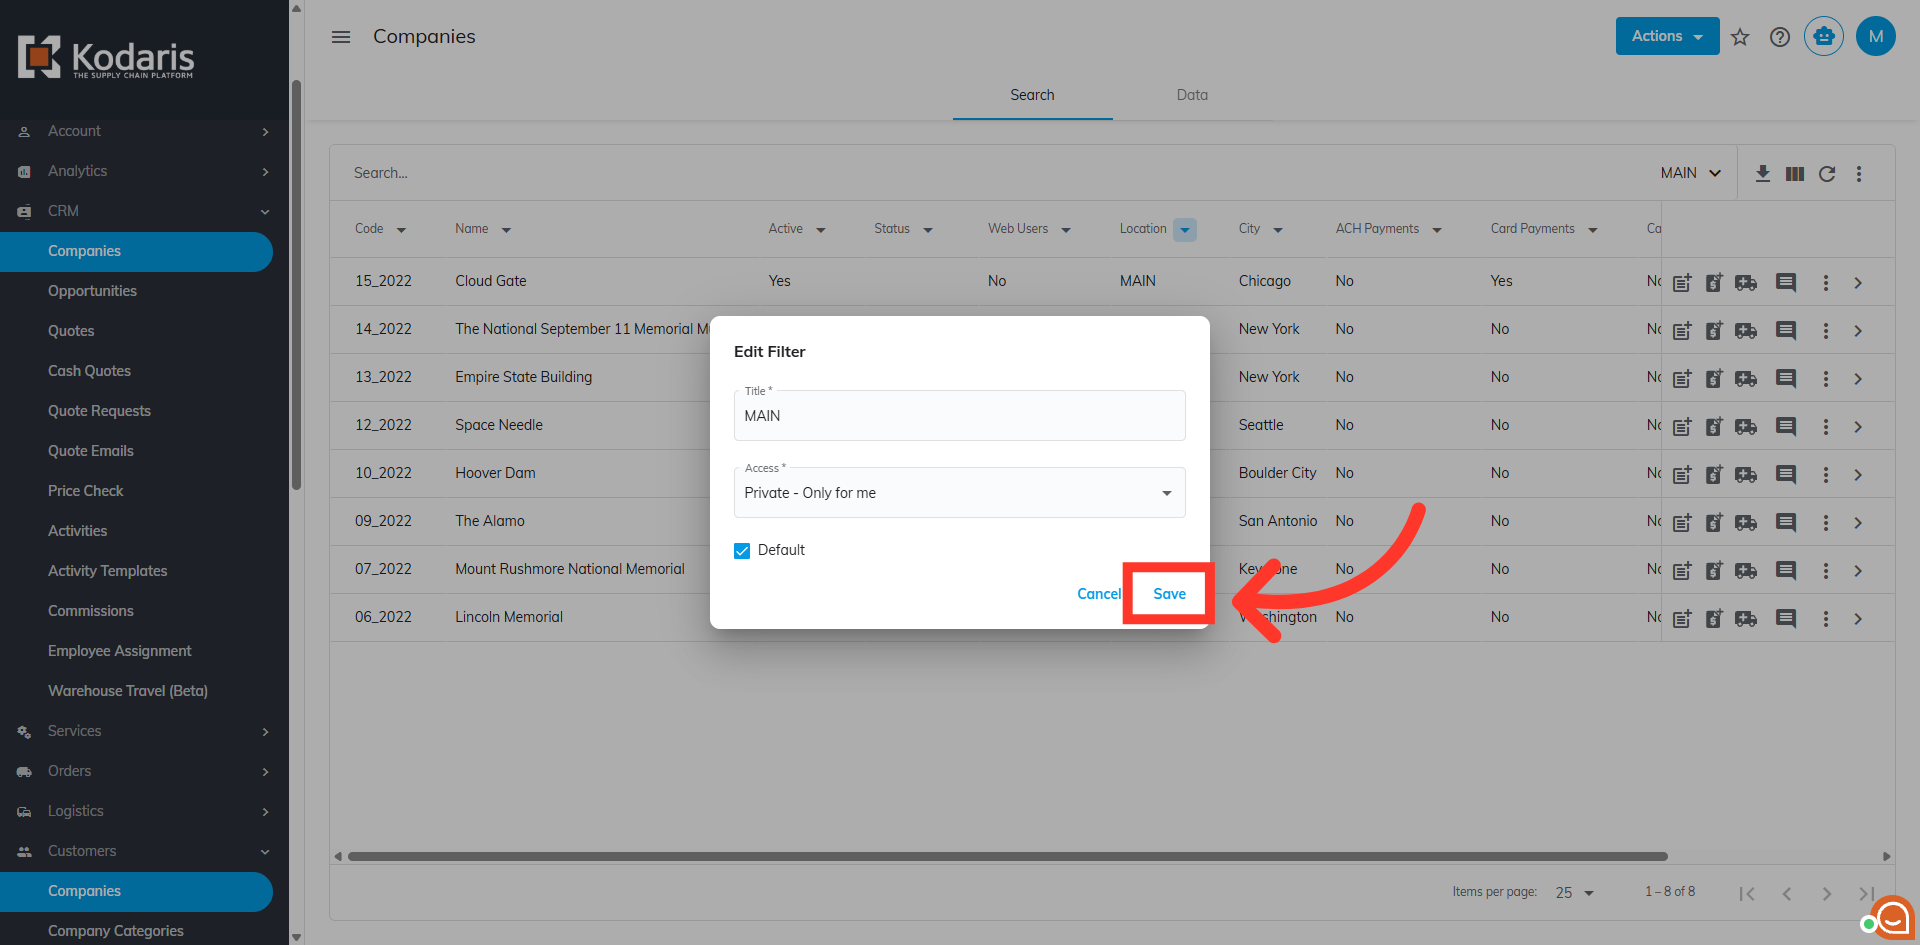
Go back to your sticky filters and click the pencil-like icon to edit it.

Edit as needed, then click "Save".
If you no longer need the filter you created, click on the trash can icon to permanently delete the sticky filter.
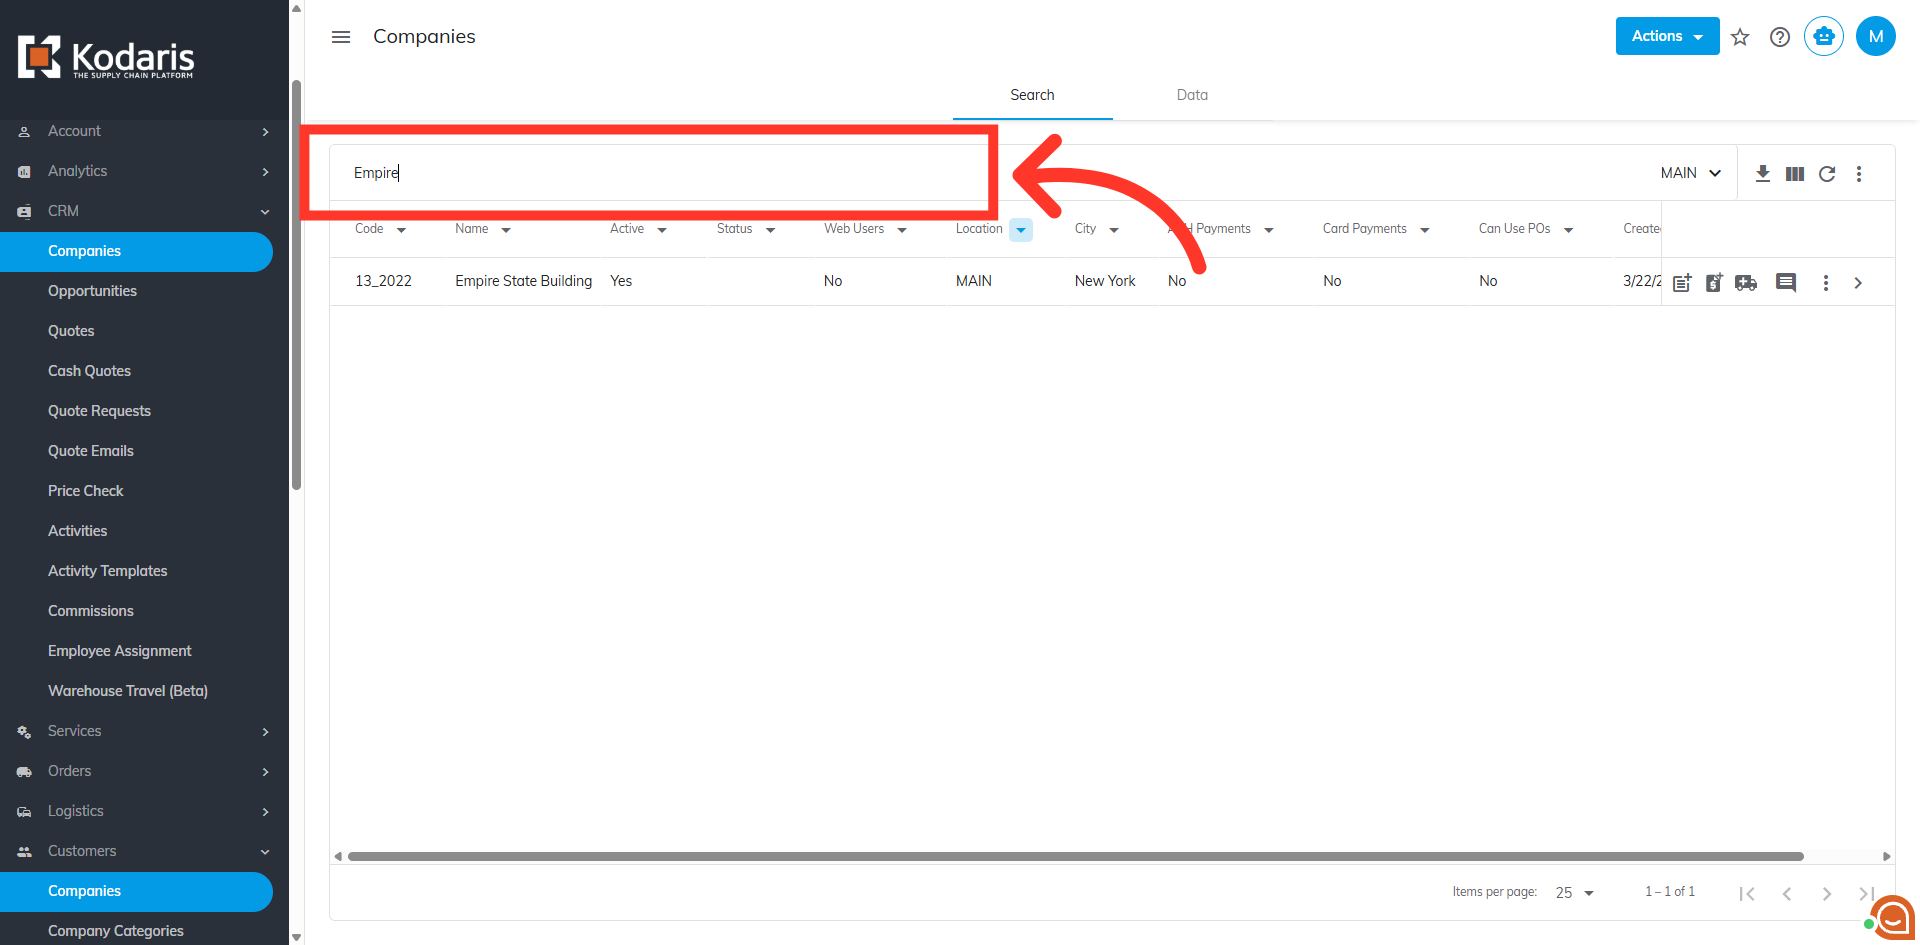
Type in a customer's name or code in the field to search.
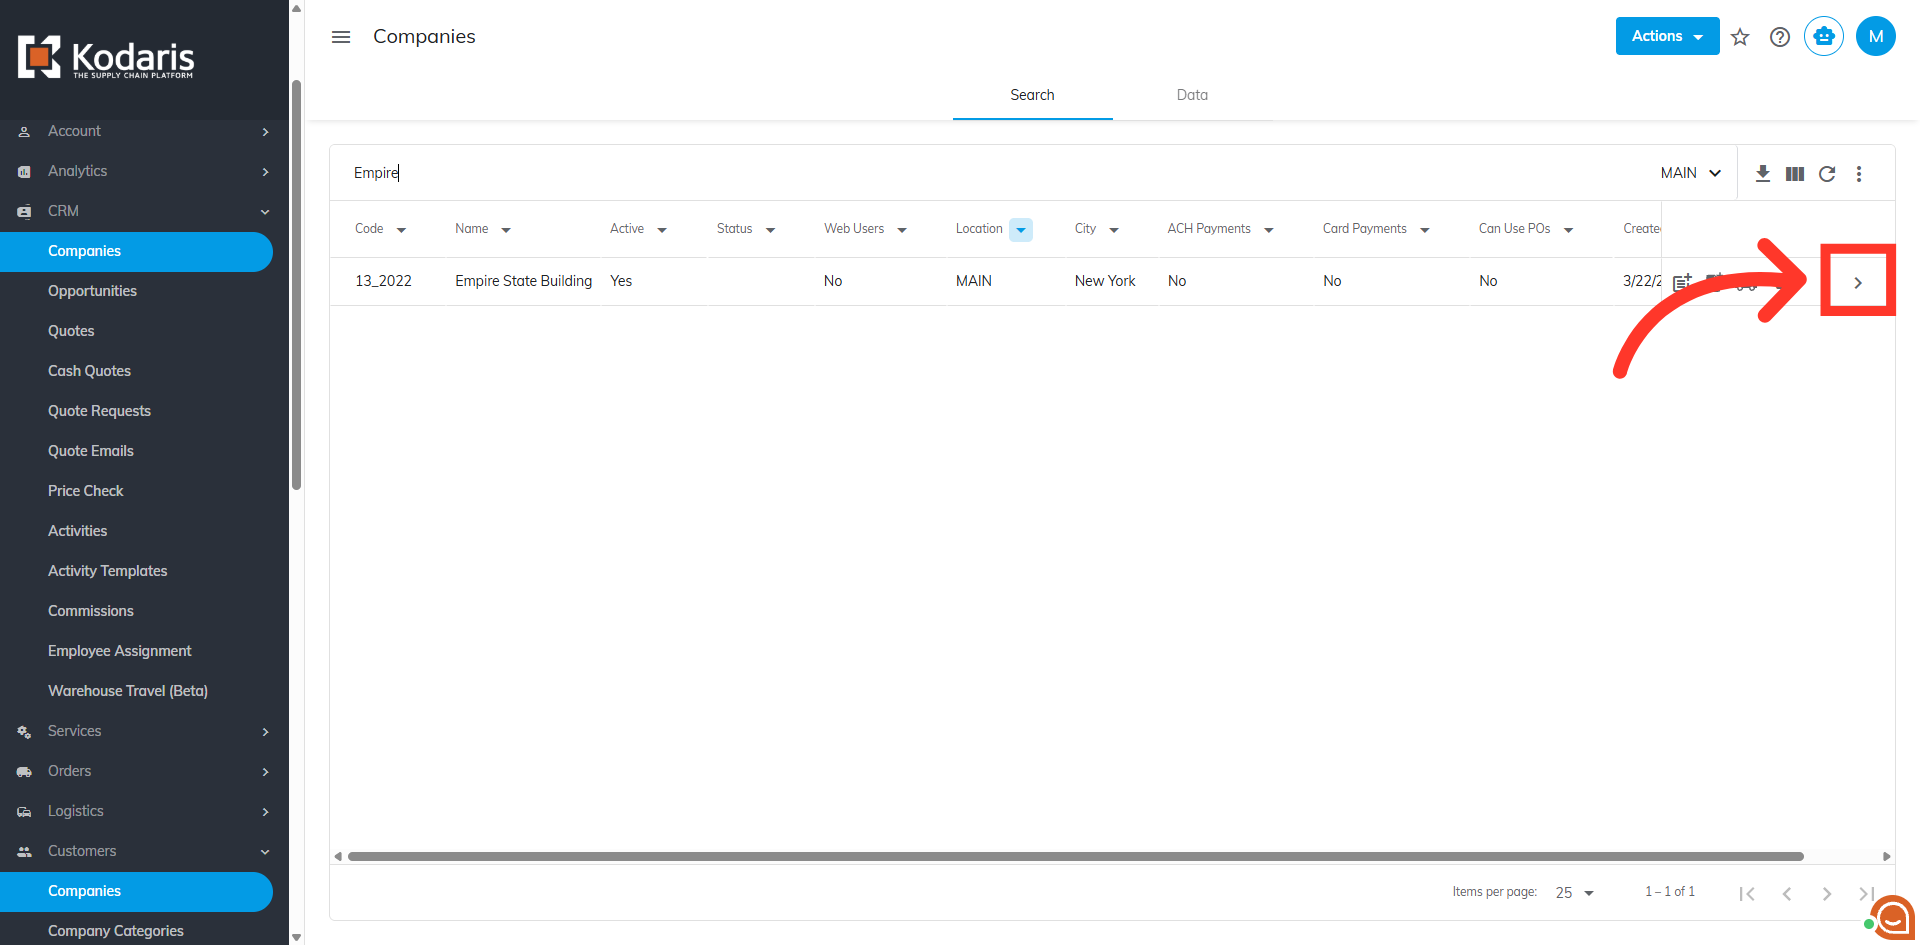
Access your customer's details by clicking on the more details icon.
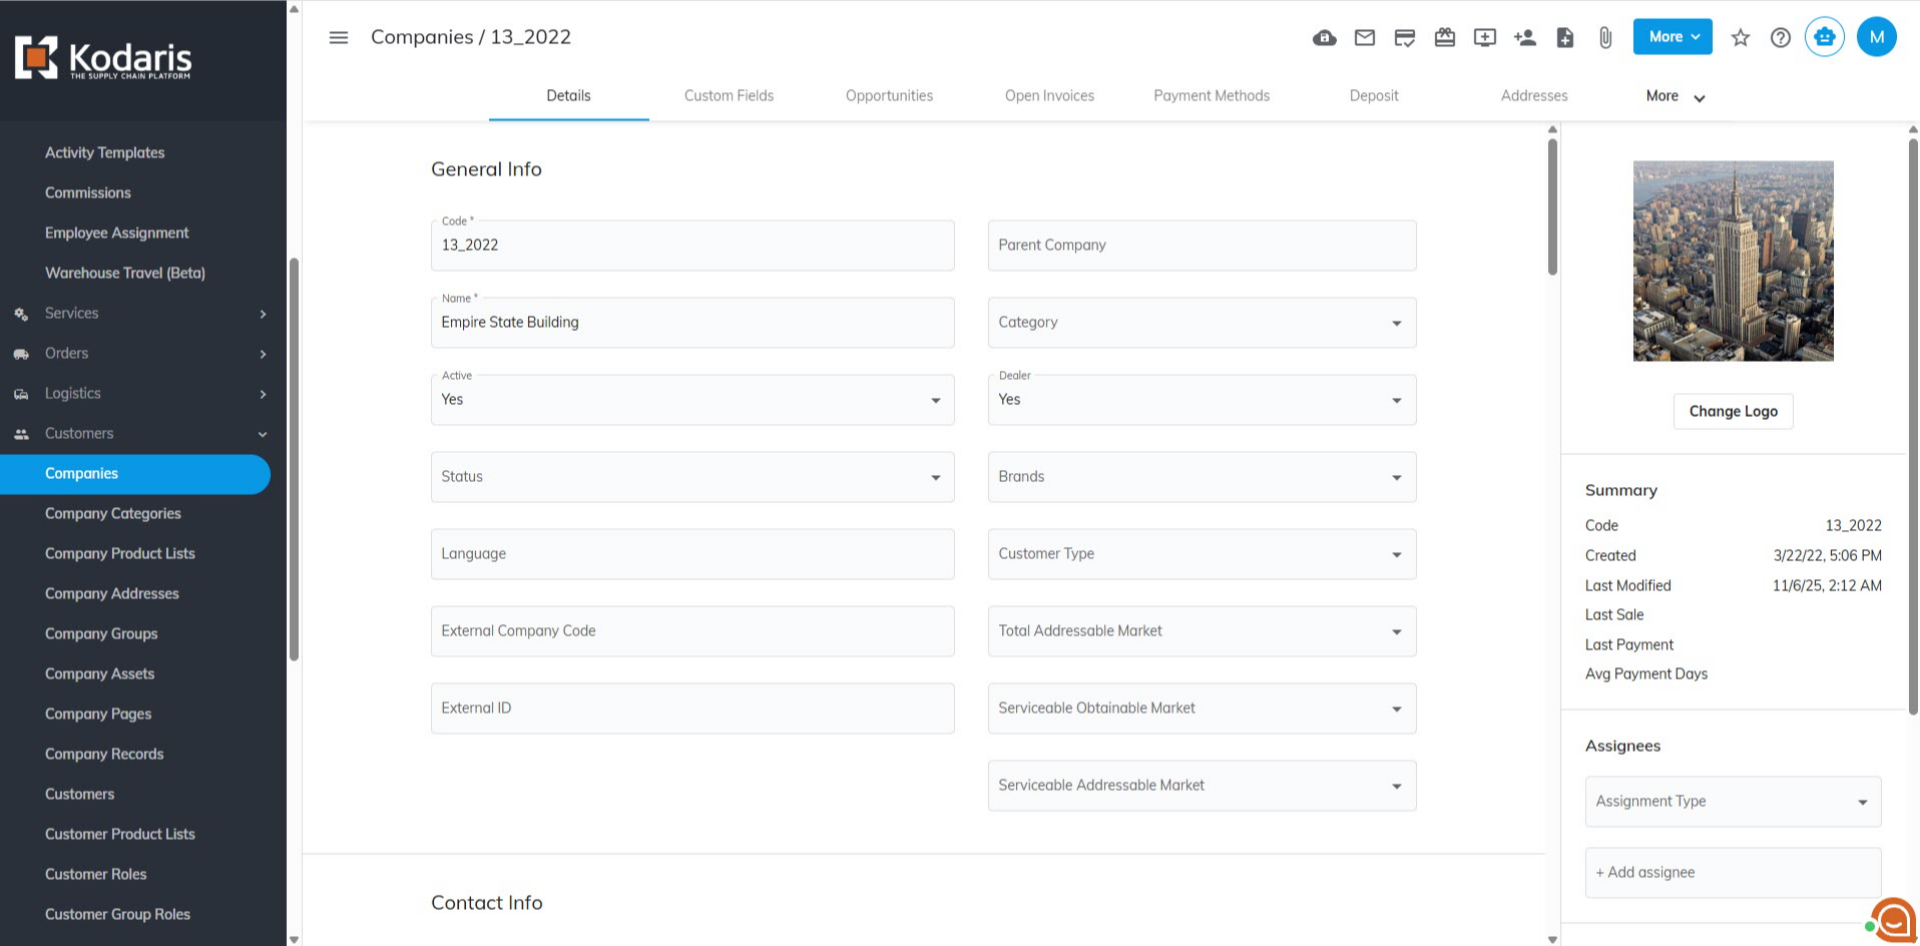
The customer's details screen allows you to view and edit company information, manage data, navigate between tabs, and utilize other features.
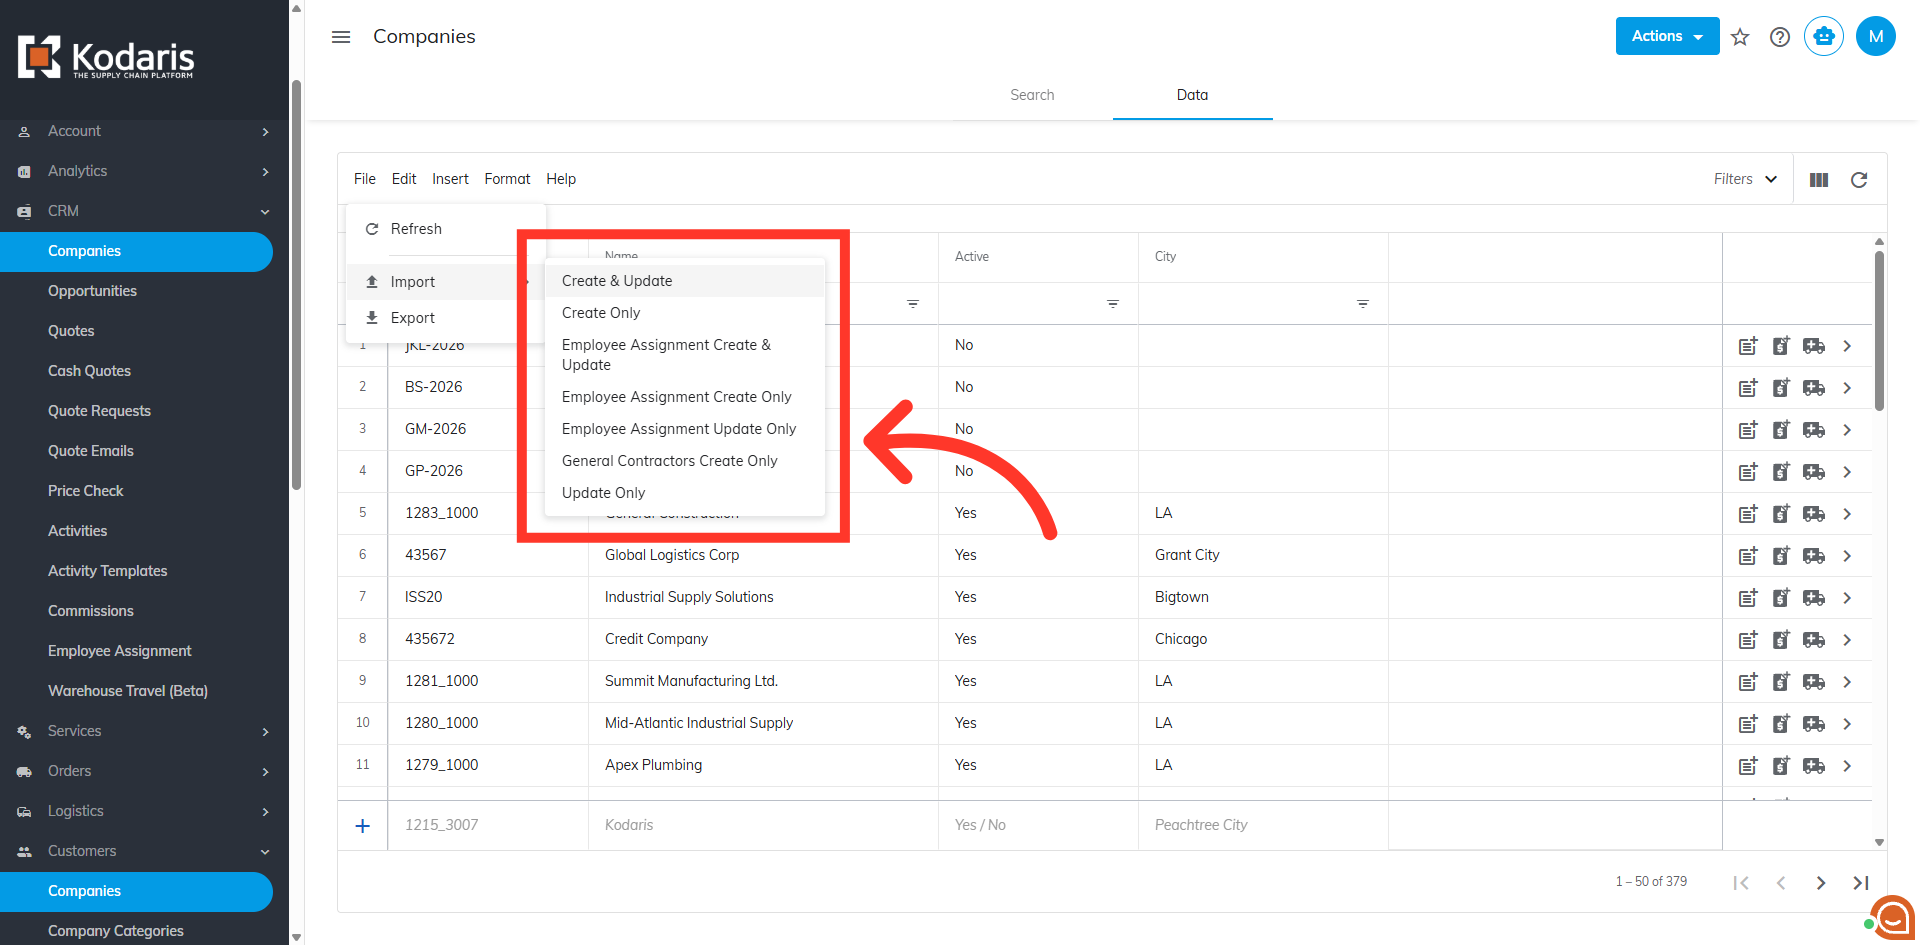
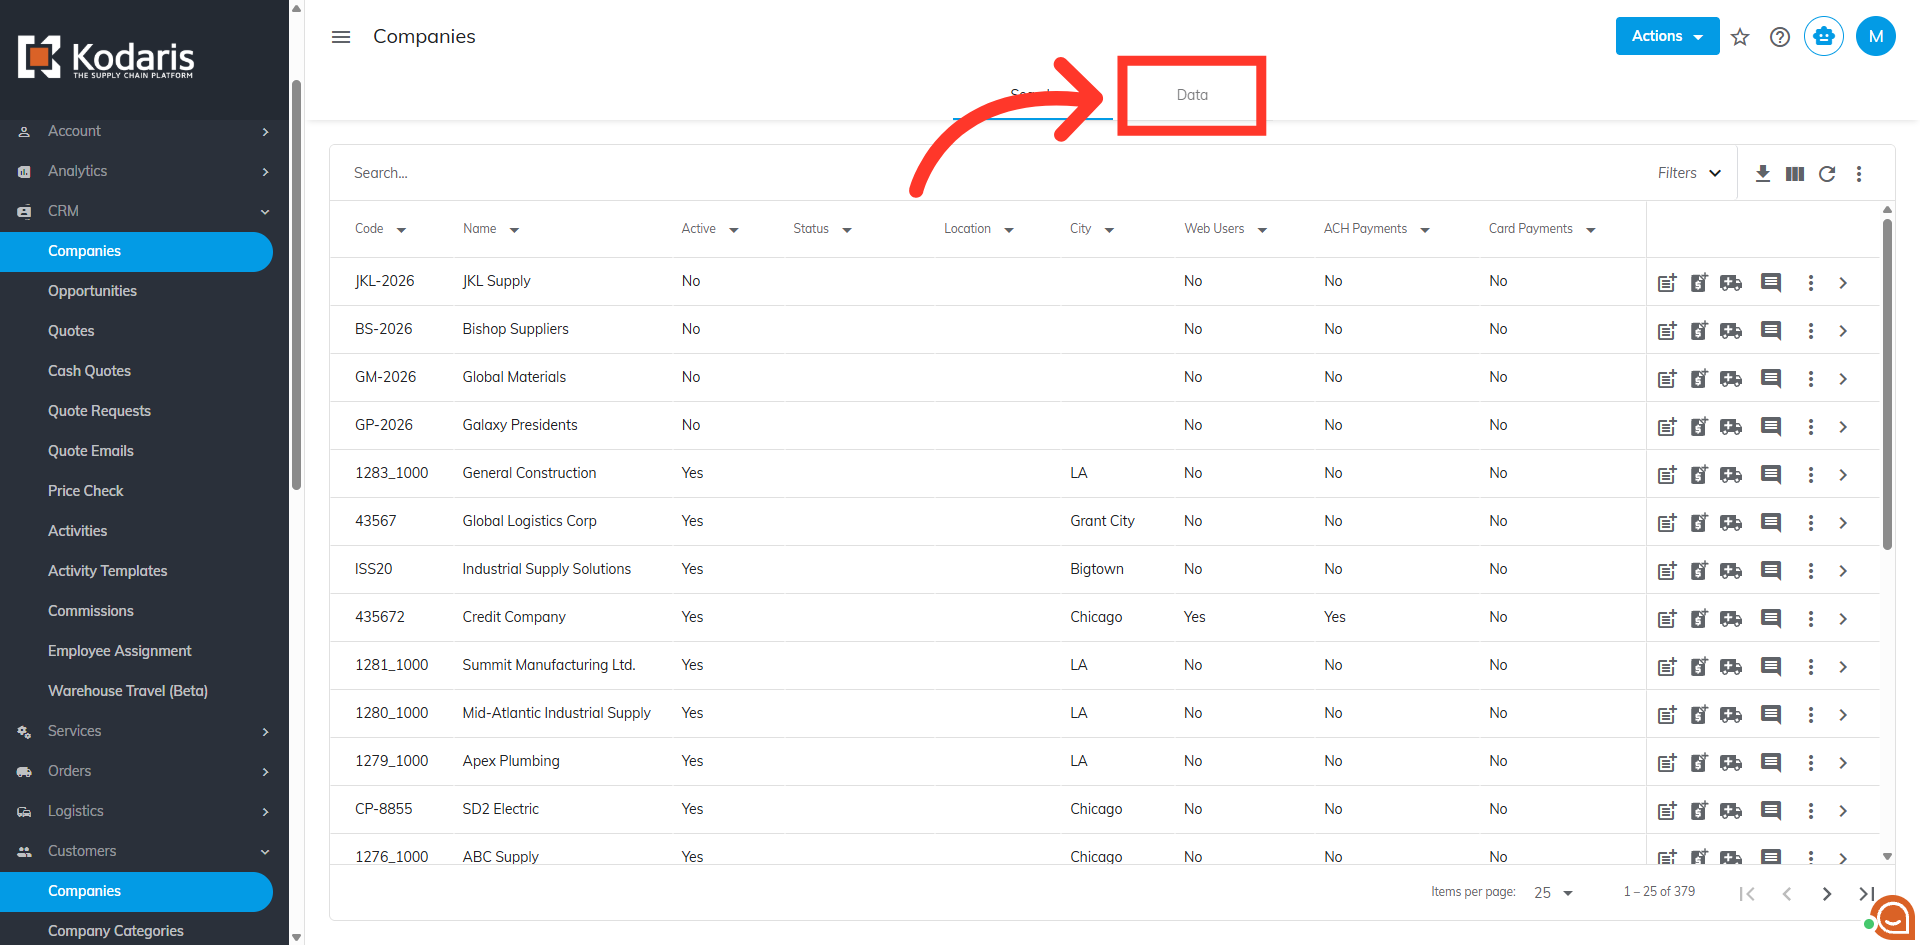
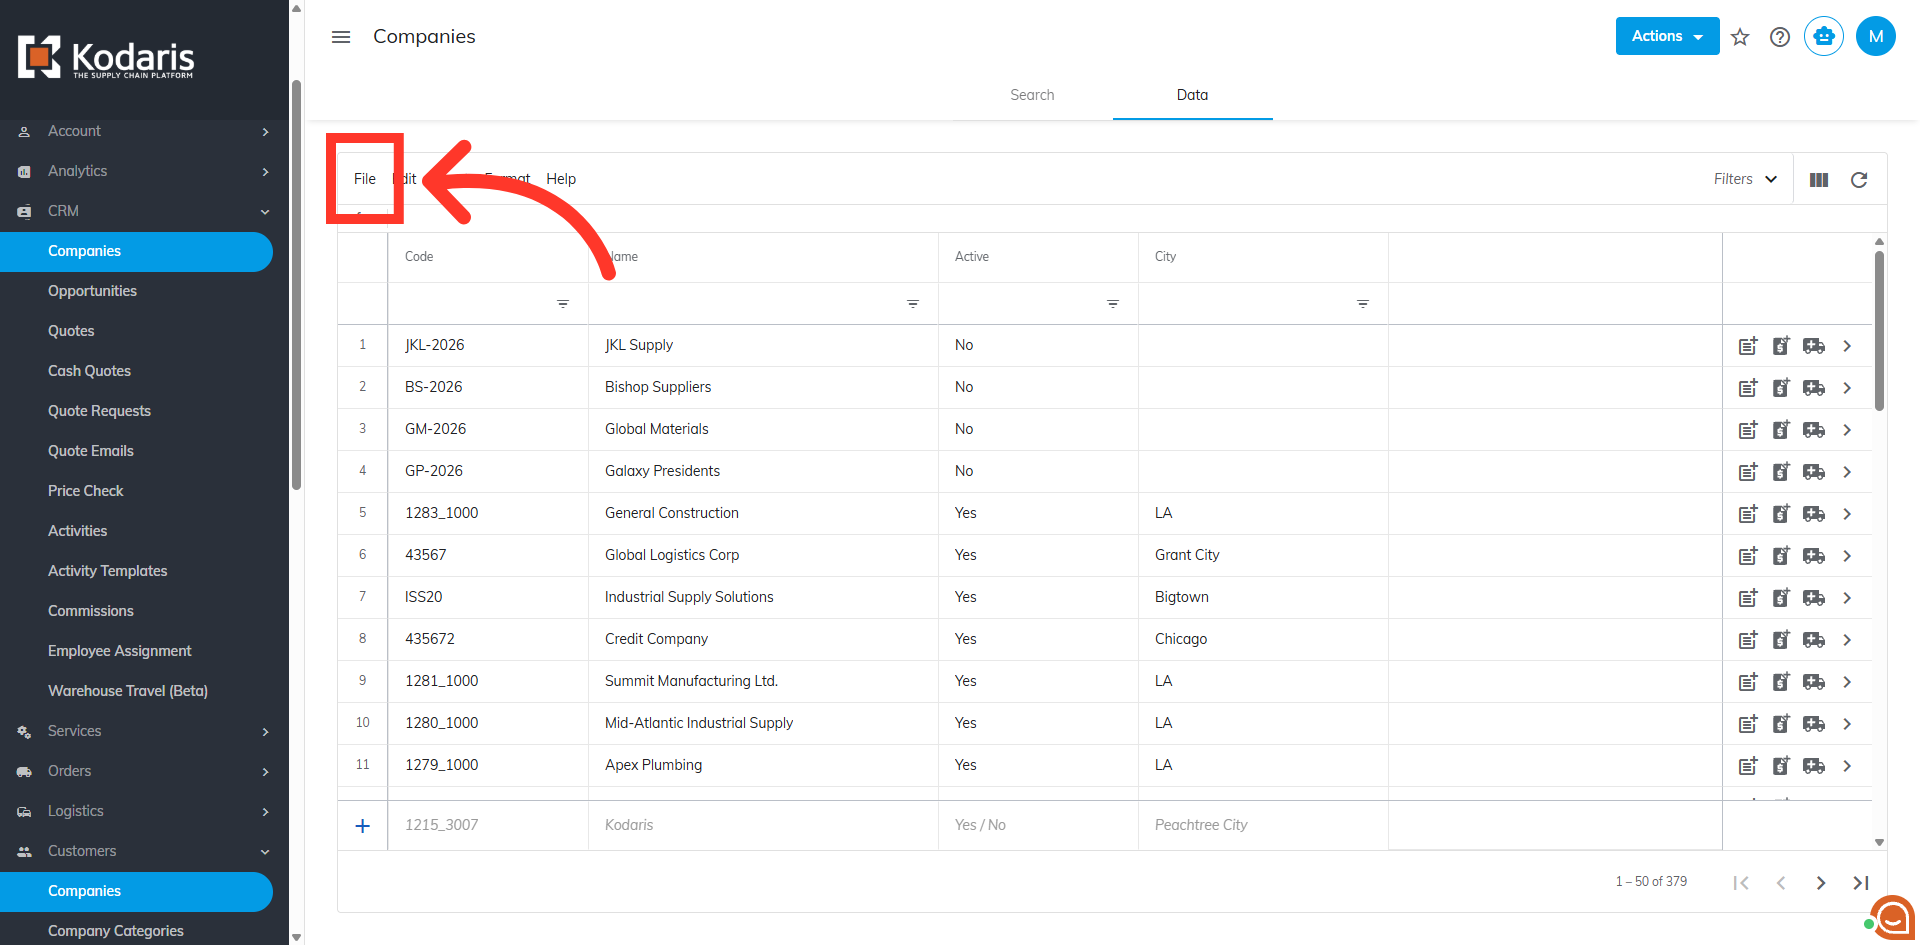
Access the "Data" tab. This provides the same information as the "Search" tab, but in a spreadsheet format, allowing you to make mass updates as needed.
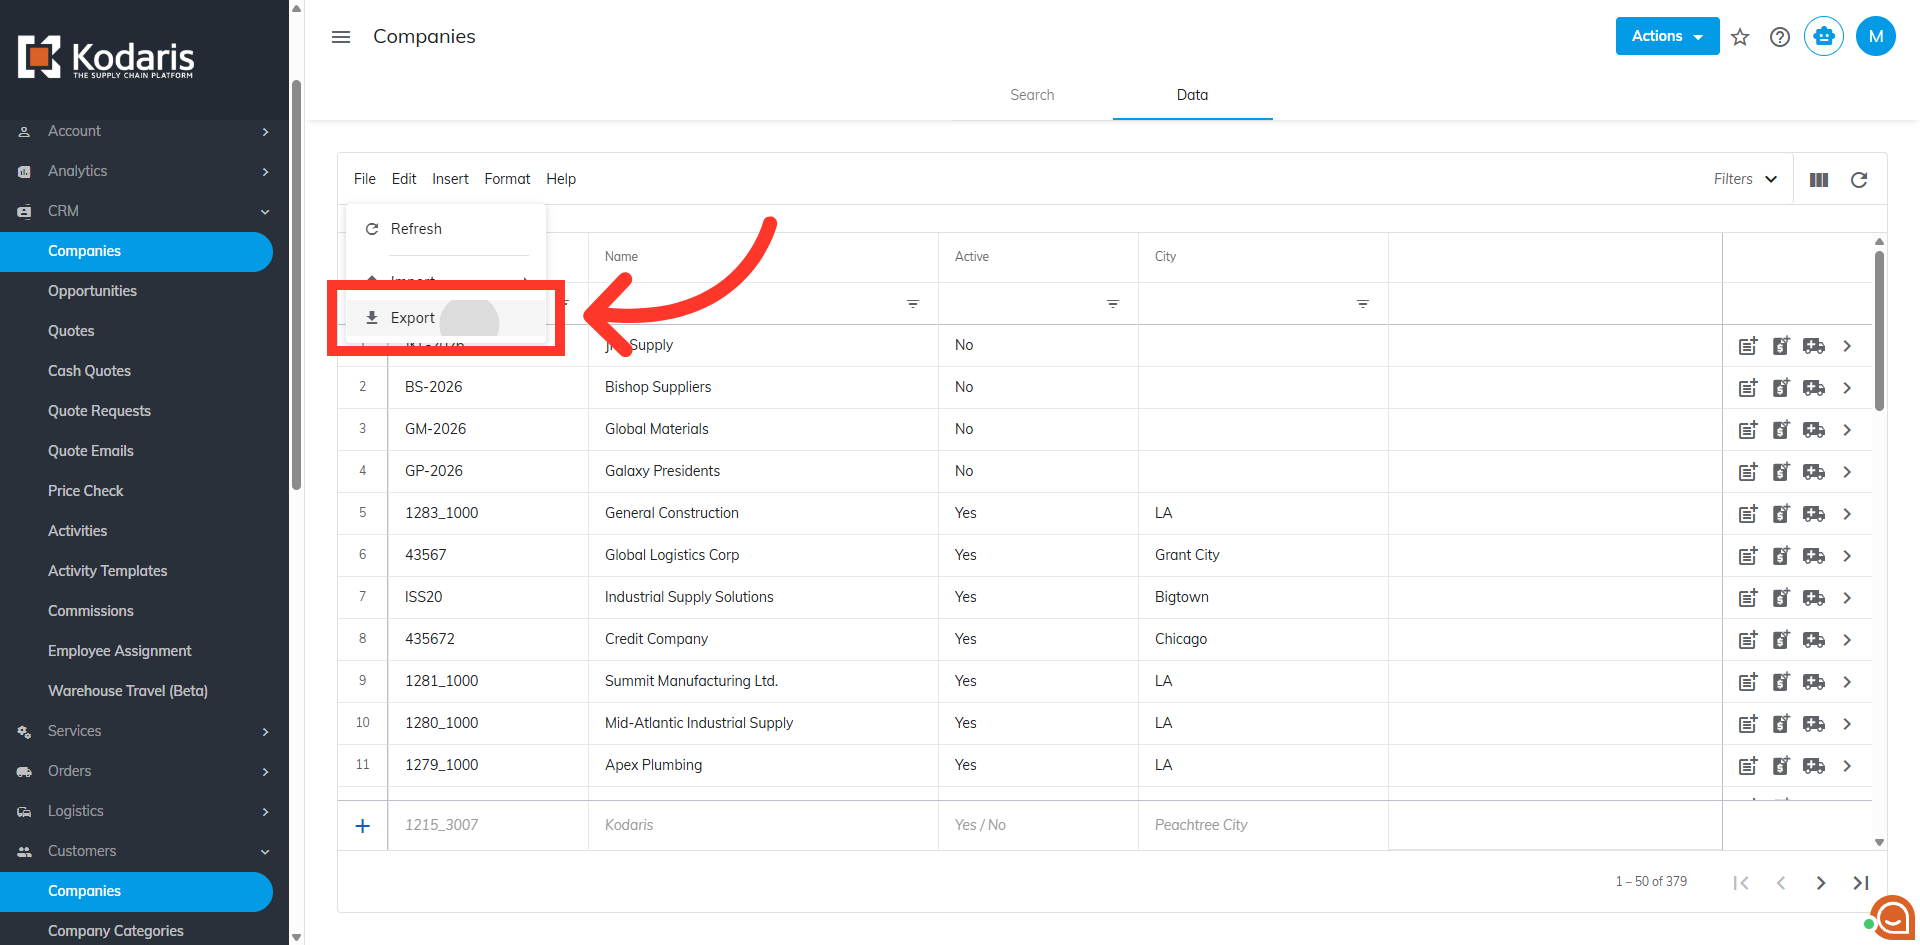
To utilize the "Import" and "Export" functionality, open the "File" menu.
Click "Export" to export company data and save a file to your device.
Click or hover over "Import" to see options for mass creating and updating data for you customers.
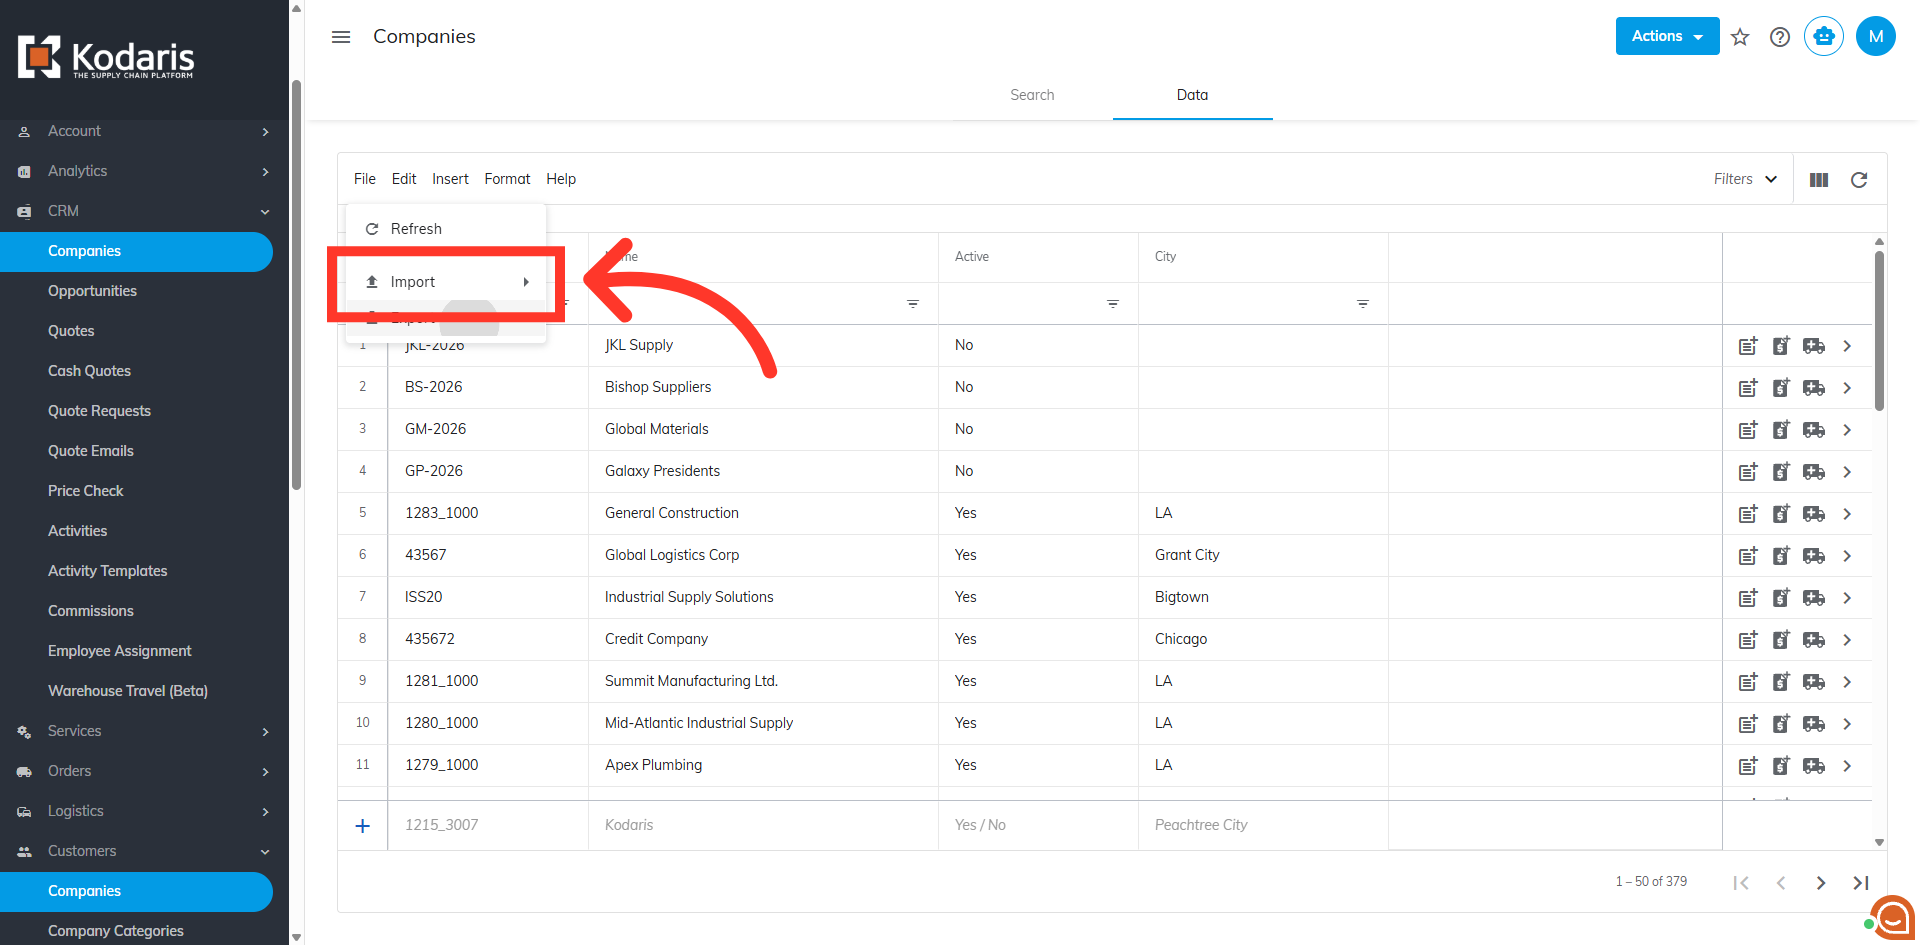
Select from the "Import" options on how you want to create and/or update data in the system.