Product Documentation
Product Documentation
Product Documentation
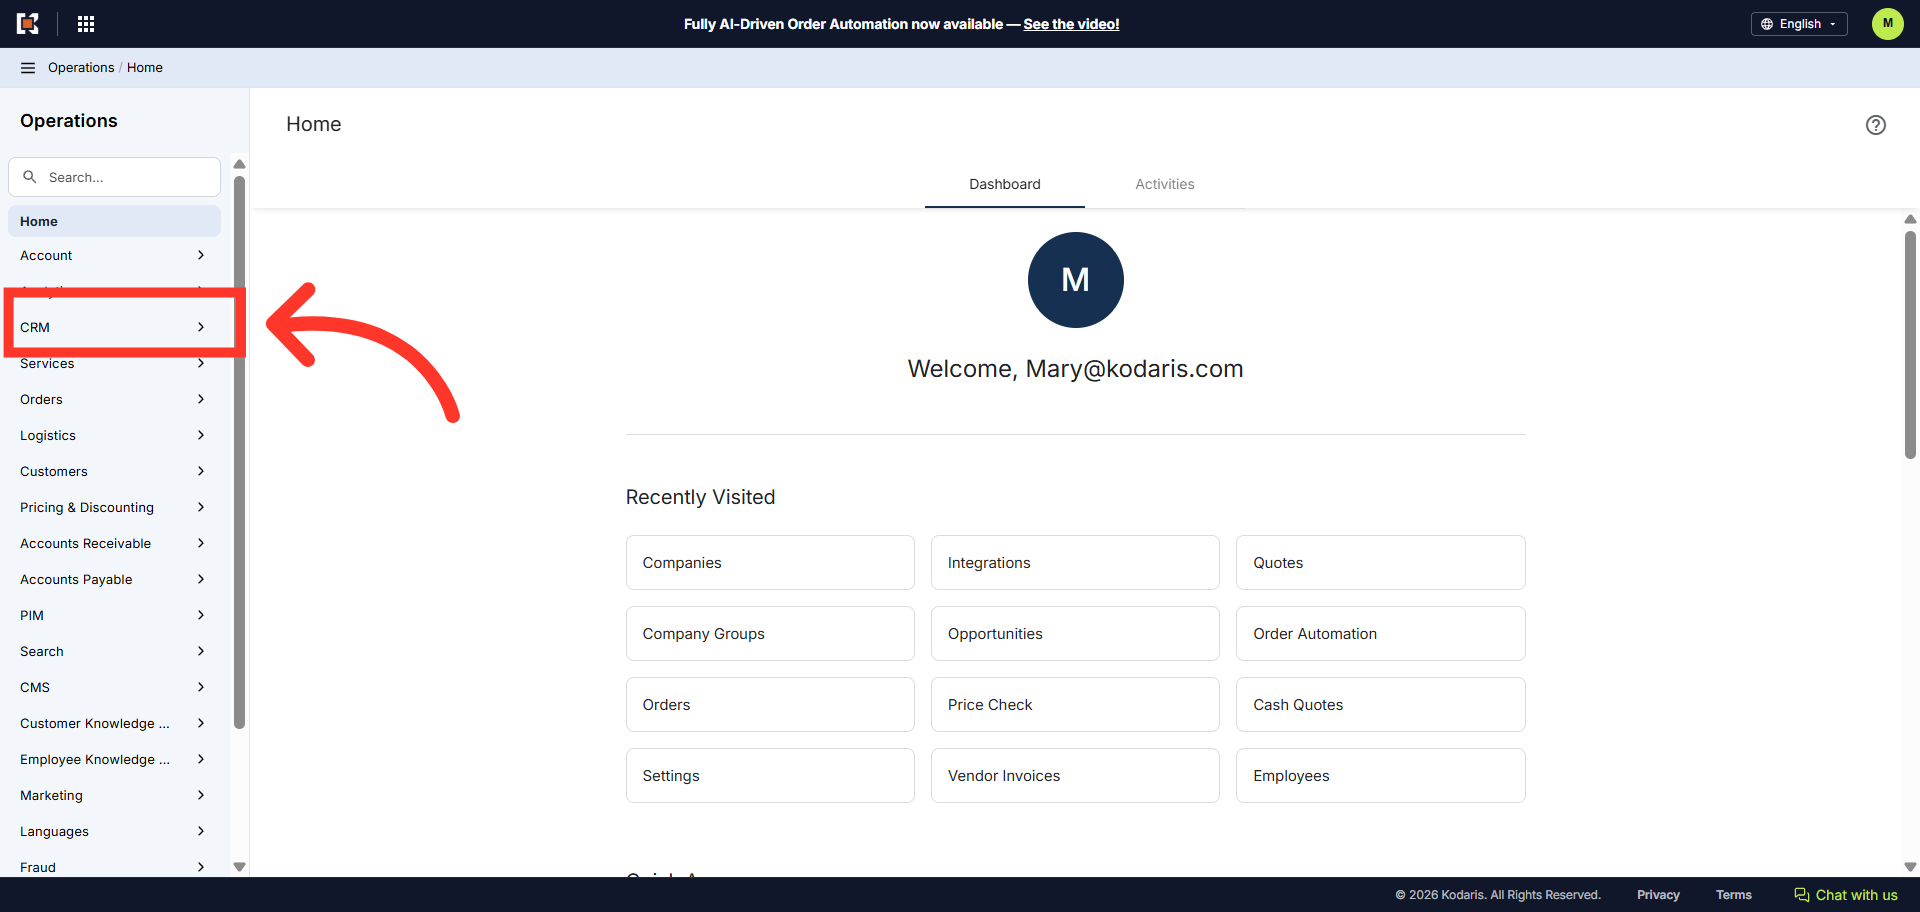
To create a ship to and generate pricing records for a quote, navigate to the "CRM" section in the operations portal.
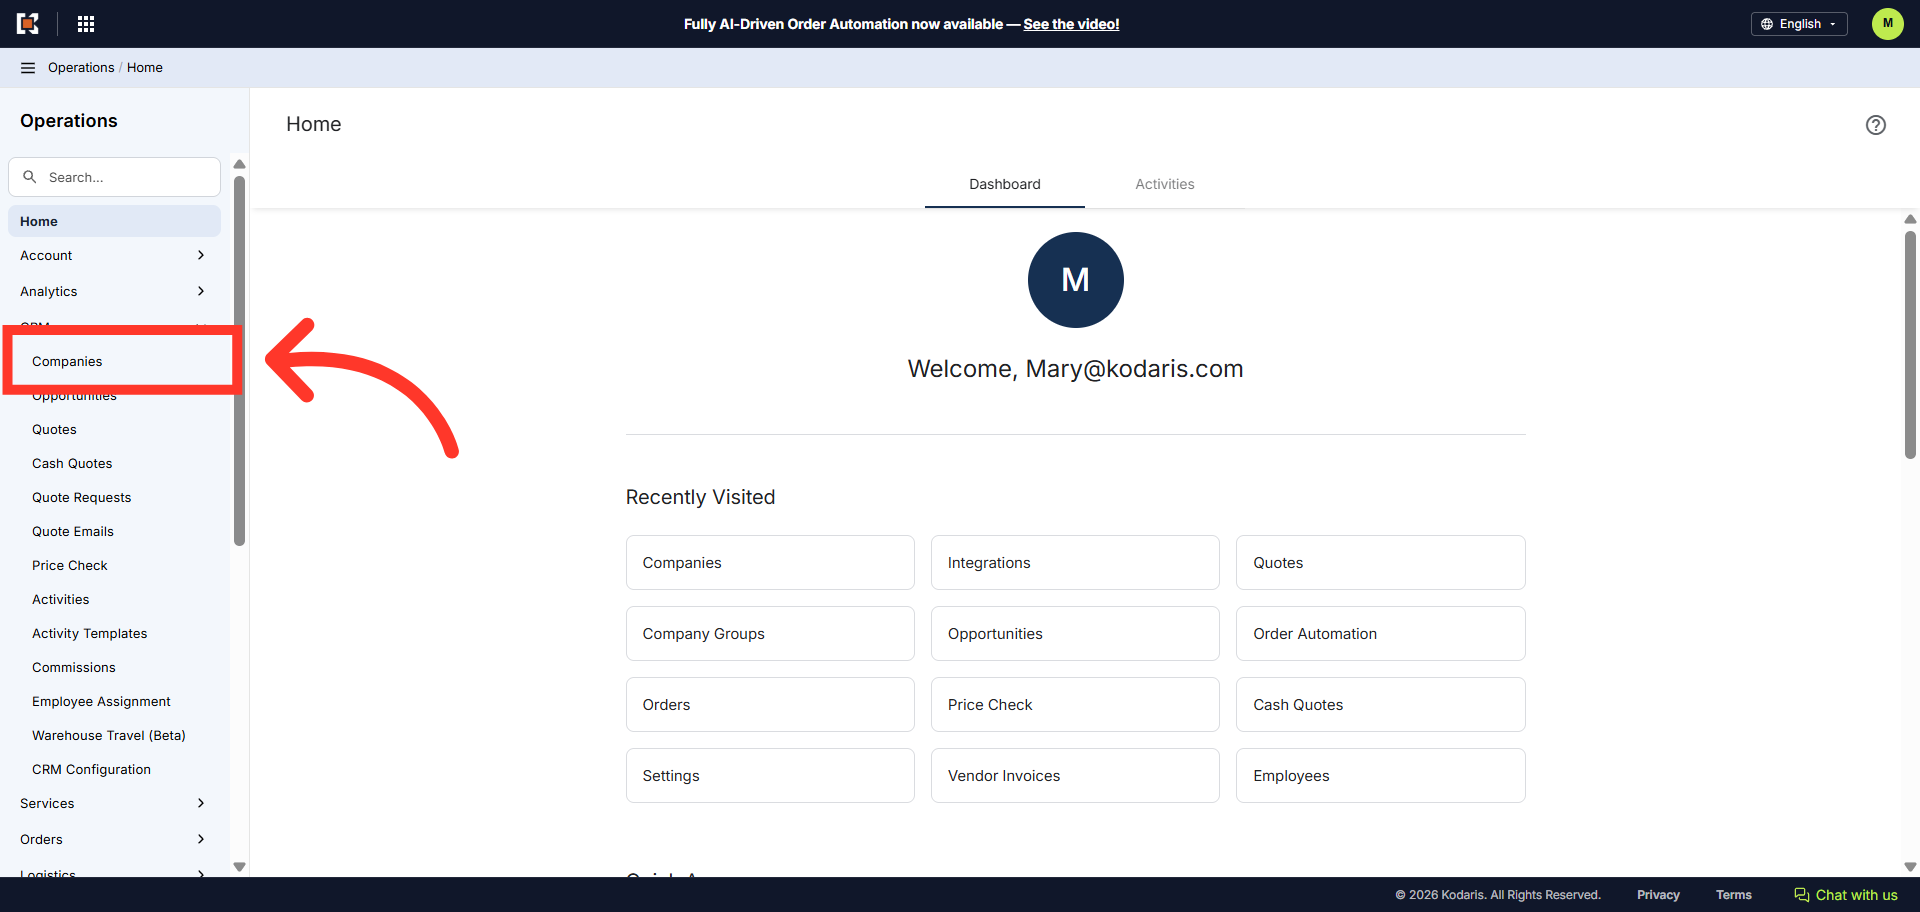
Then, click "Companies". In order to access "Companies" you will need to be set up either as an "administrator" or a "superuser", or have the appropriate roles: "companyEdit", or "crmCompanyEdit". Just a reminder, "crmCompanyEdit" access only allows employees to access companies that are assigned to them.
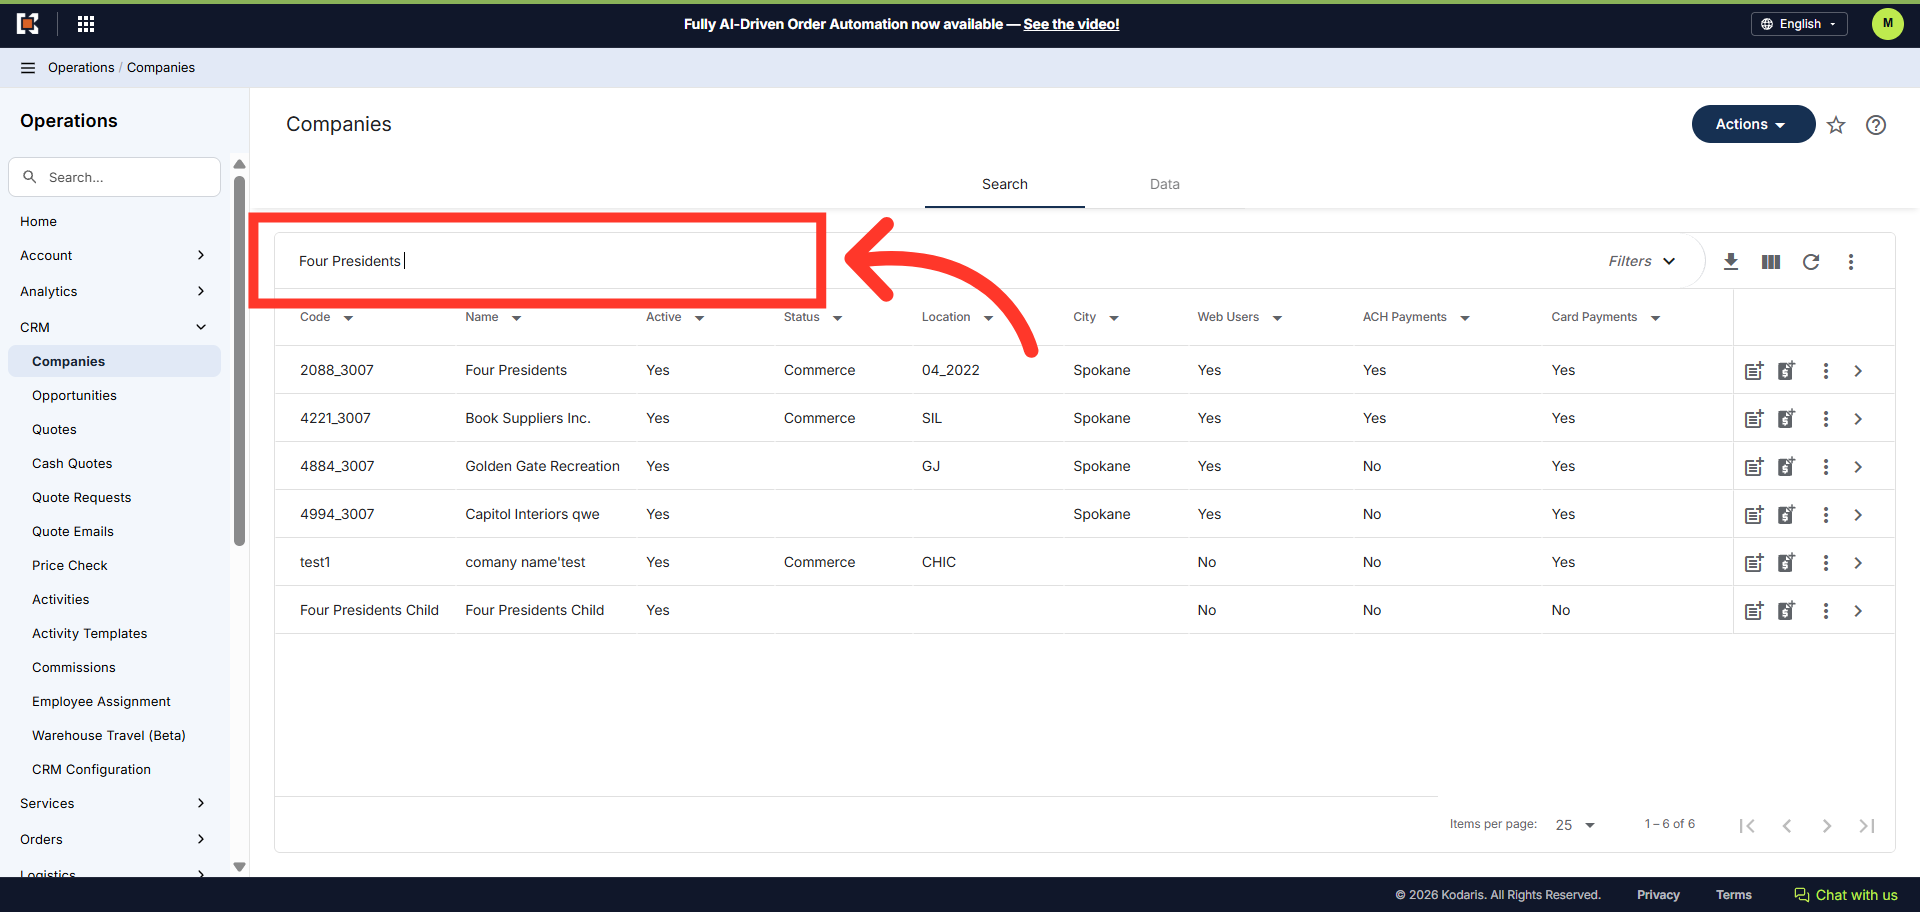
Enter the company code or name to search.
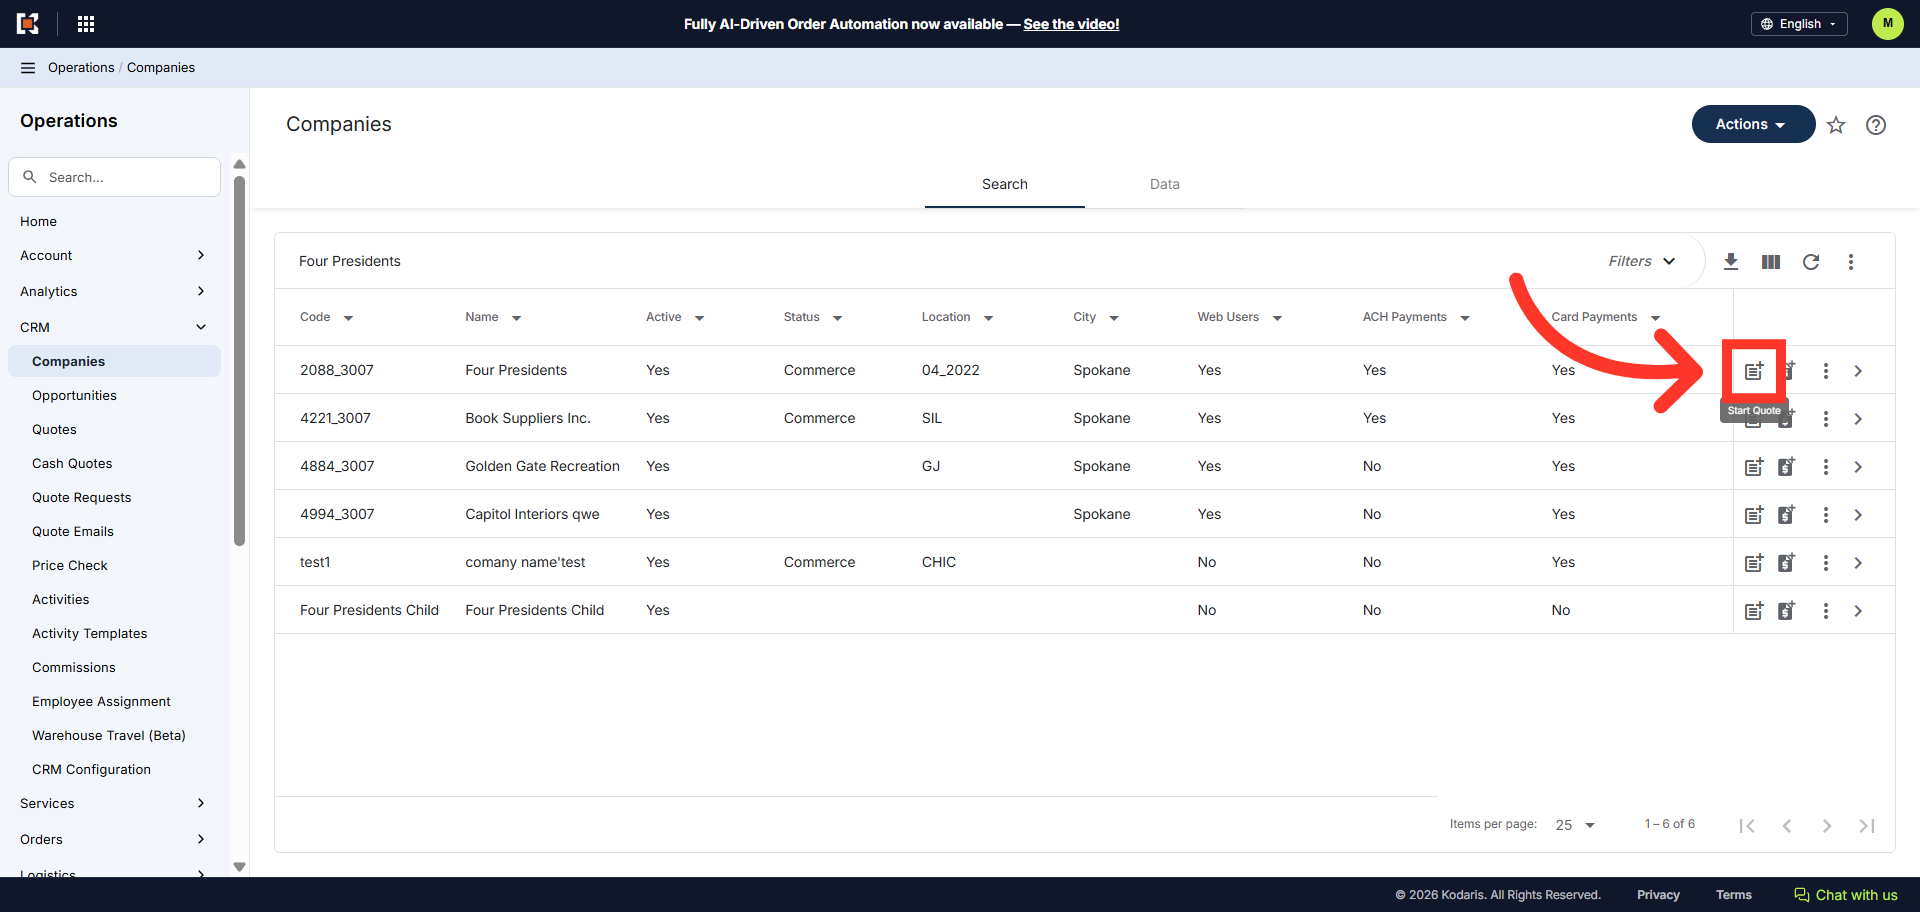
Next, click the "Start Quote" icon. In order to access Quotes, you will need to have the role of "administrator" or "superuser", or have the roles of "quoteEdit" and "accountQuoting".
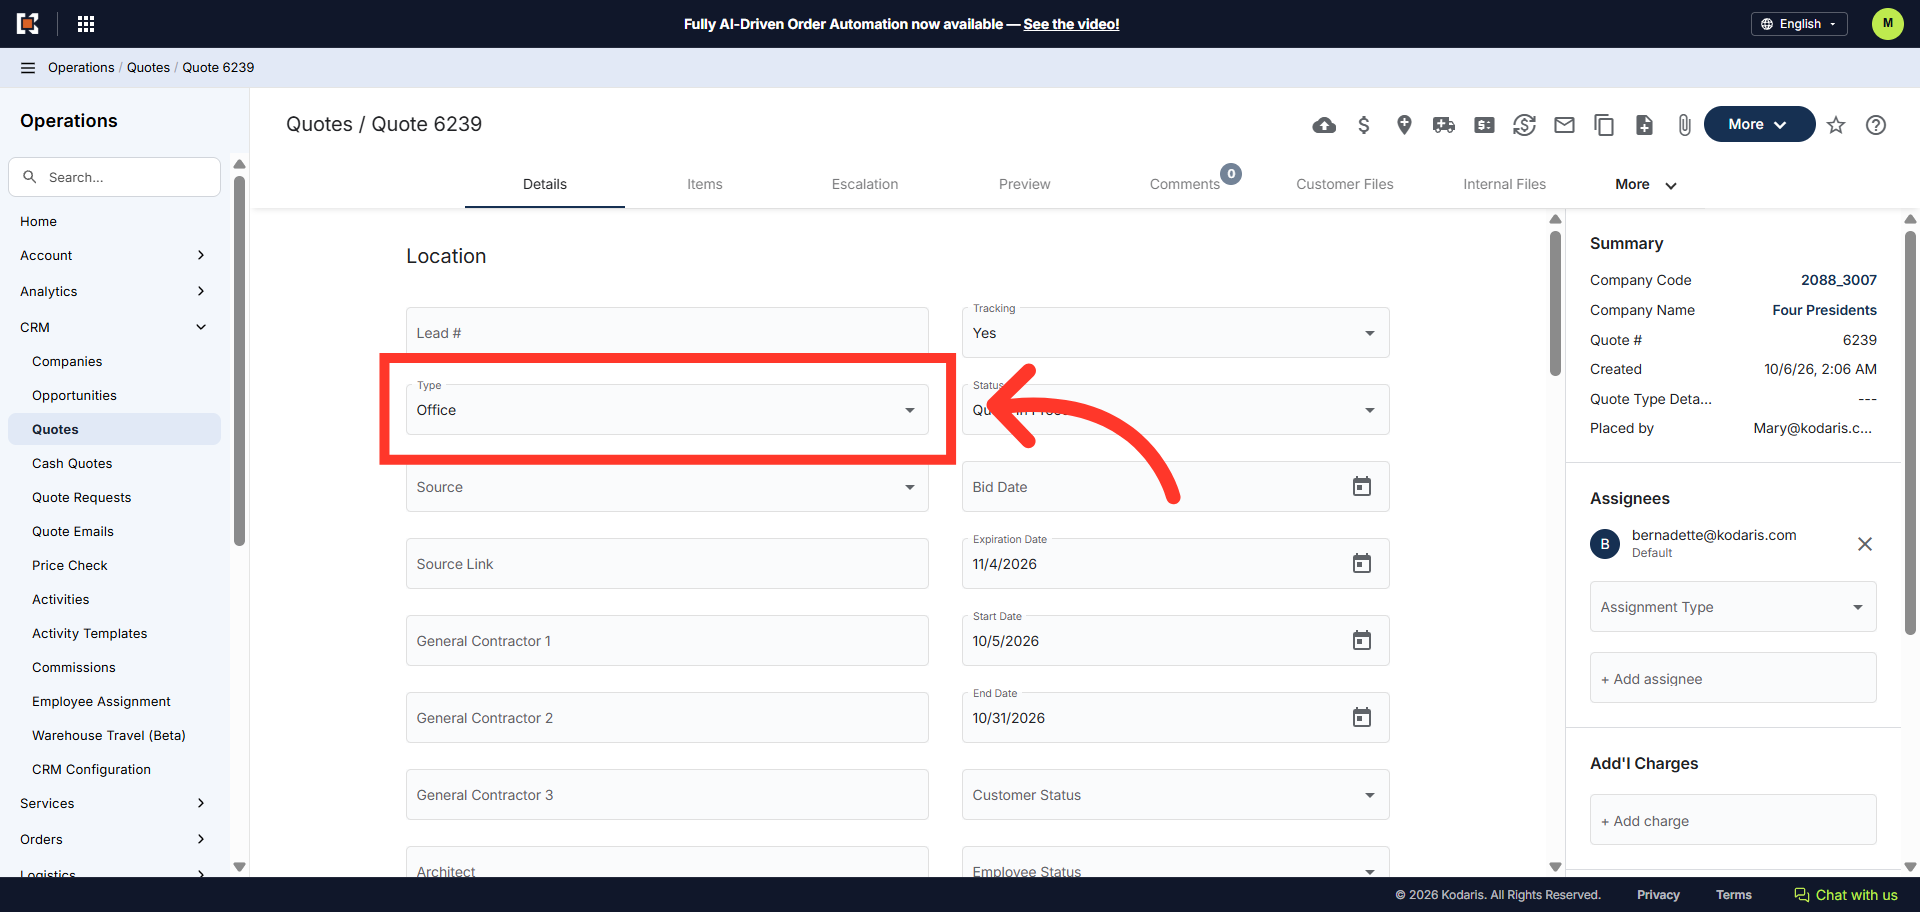
In the Location section, click the "Type" dropdown and select quote type.
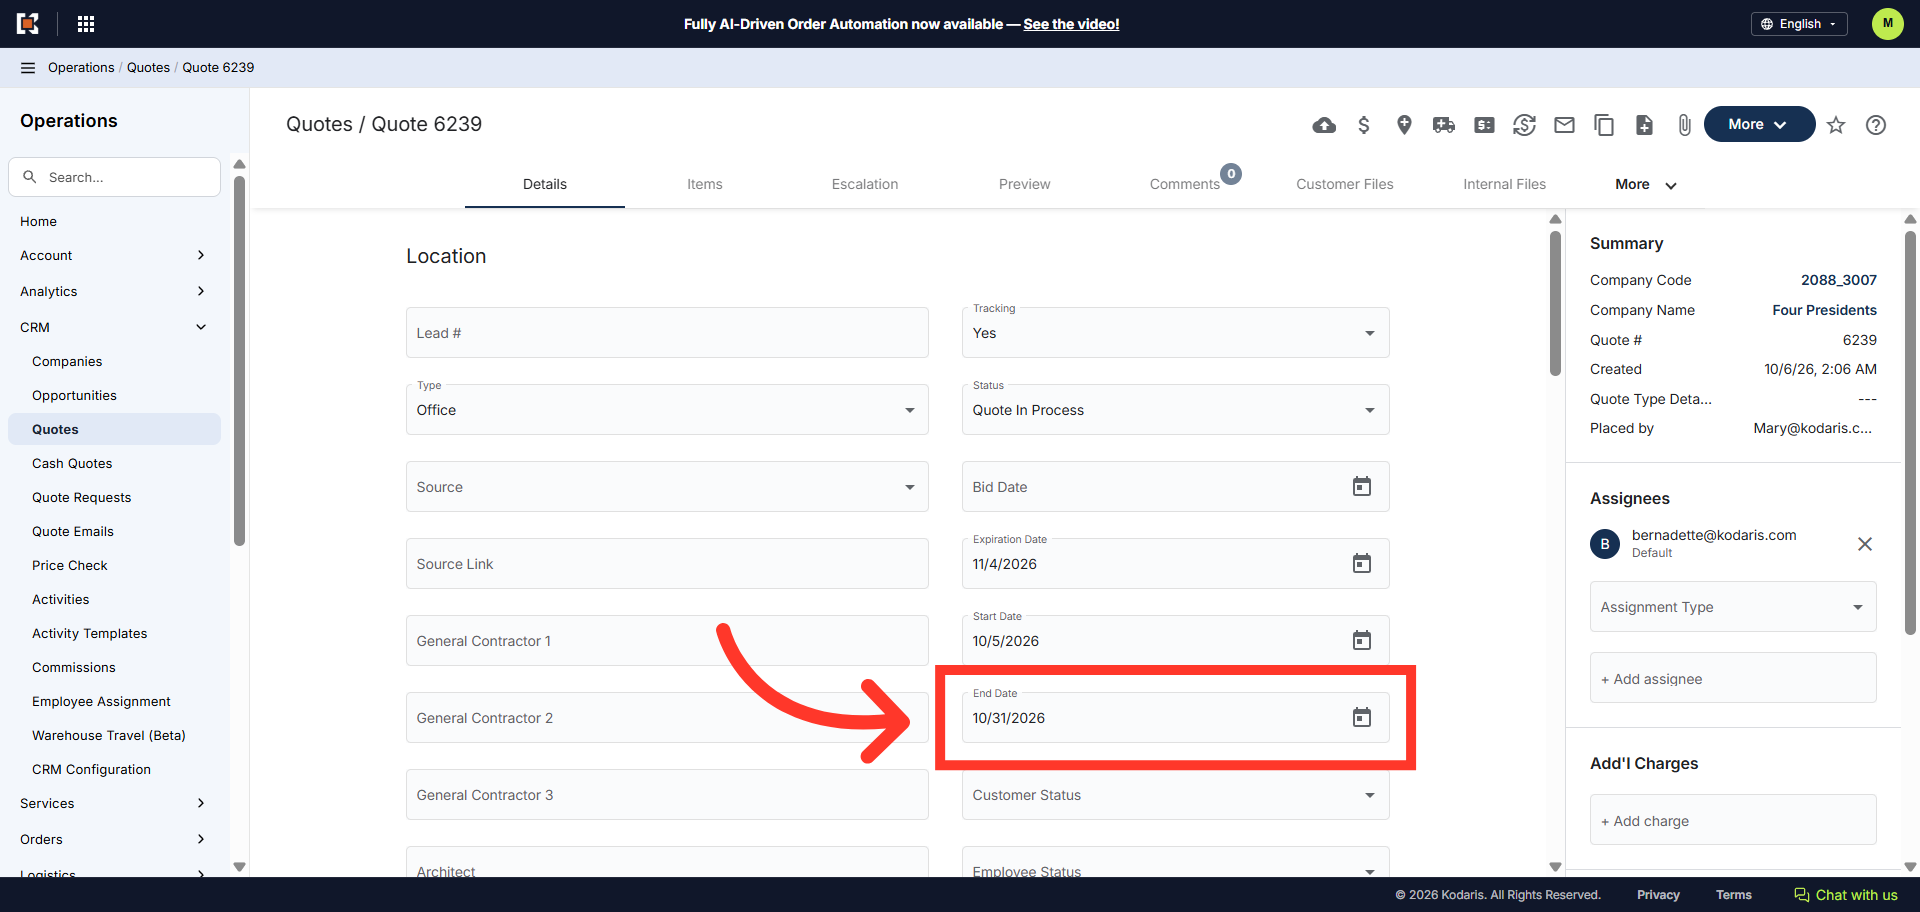
Go to the "End Date" field and set the quote end date.
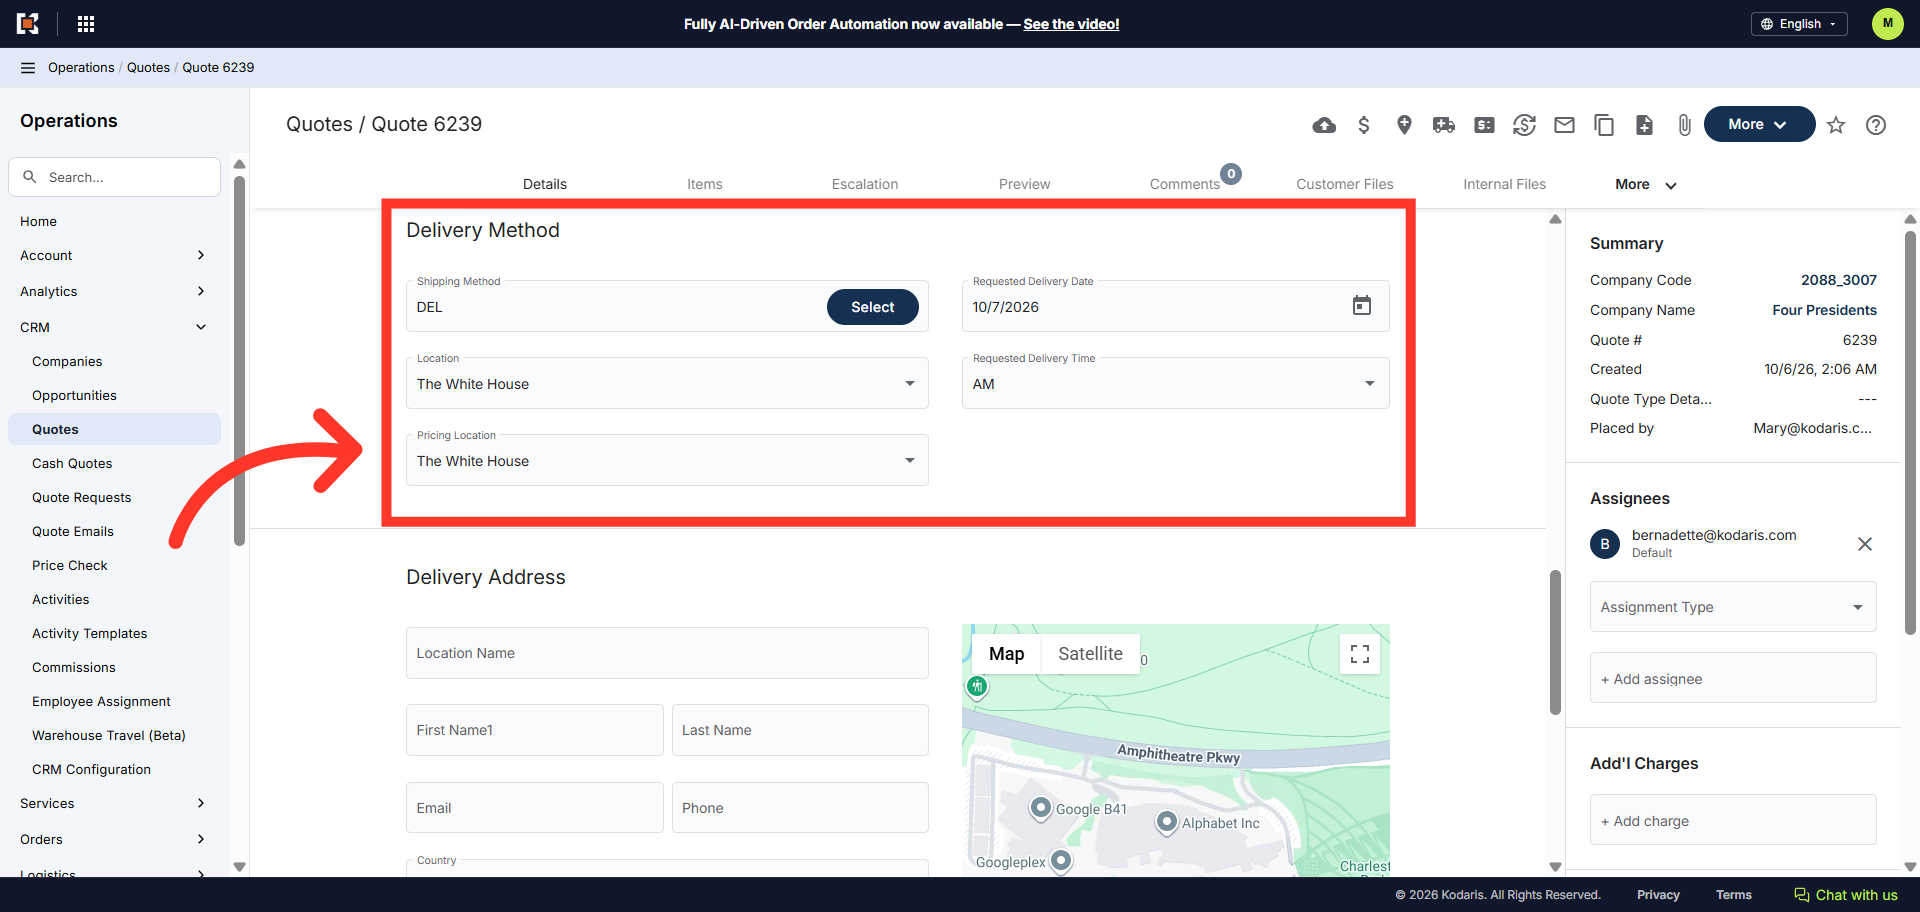
Fill in the needed details in the "Delivery Method" section.
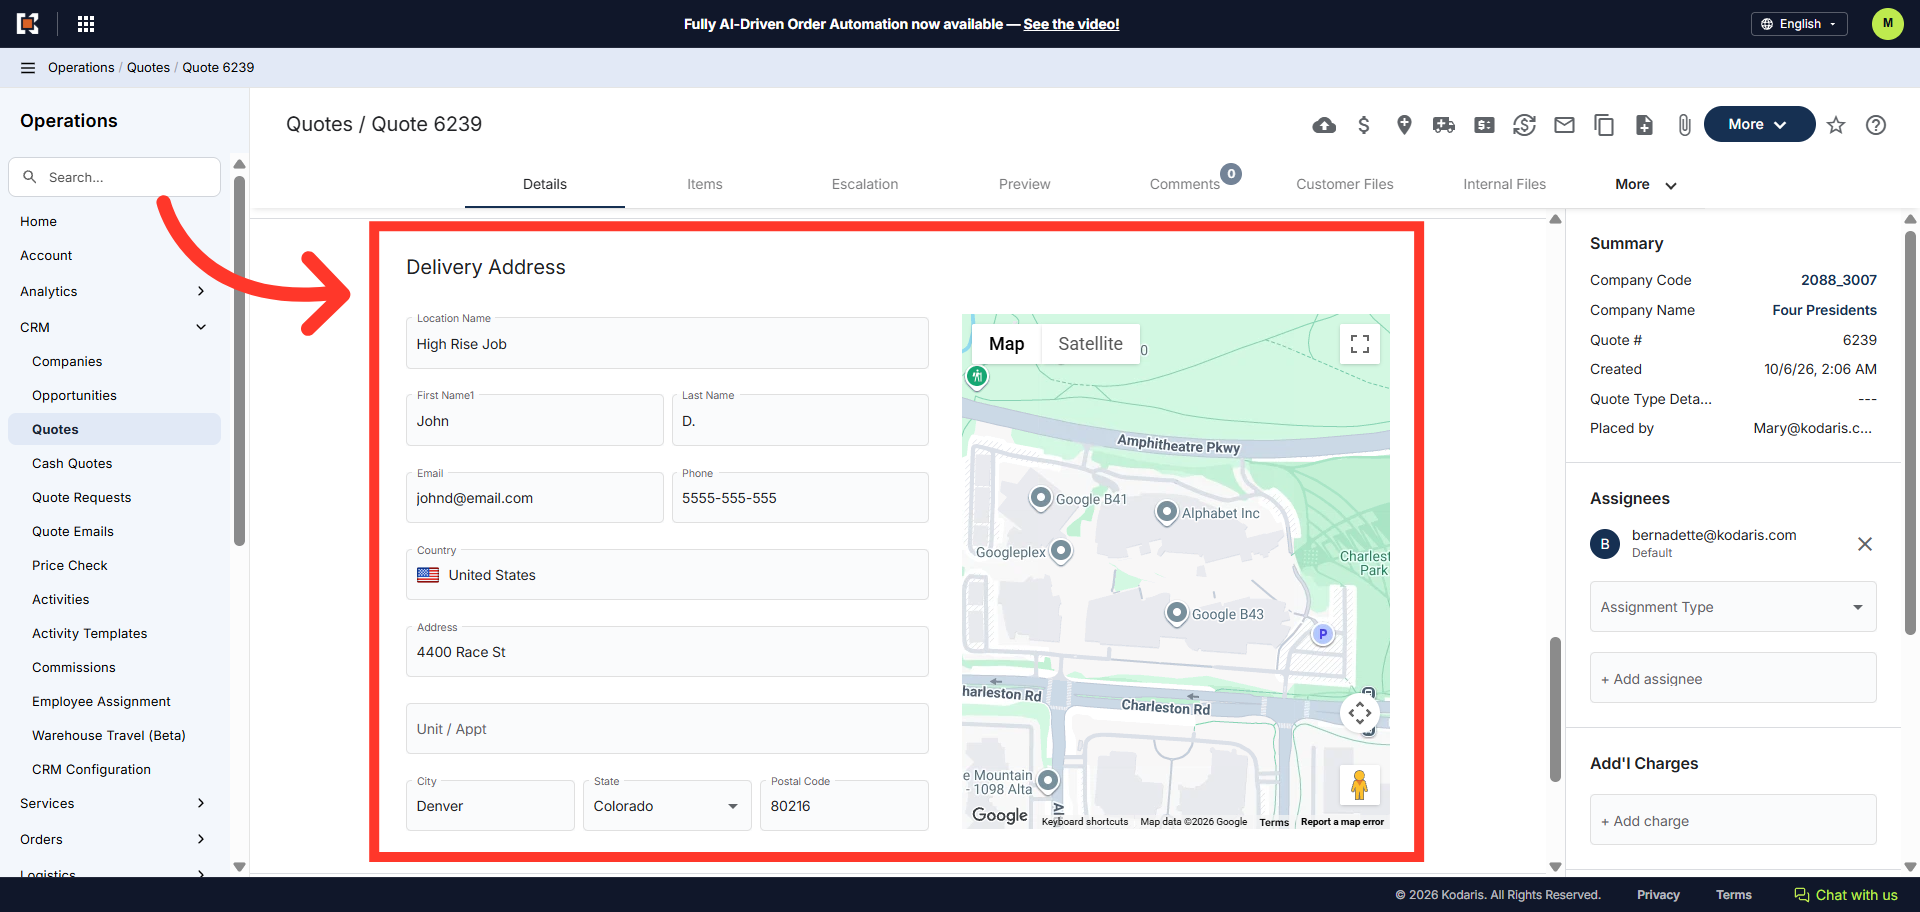
Fill in the needed details in the "Delivery Address" section.
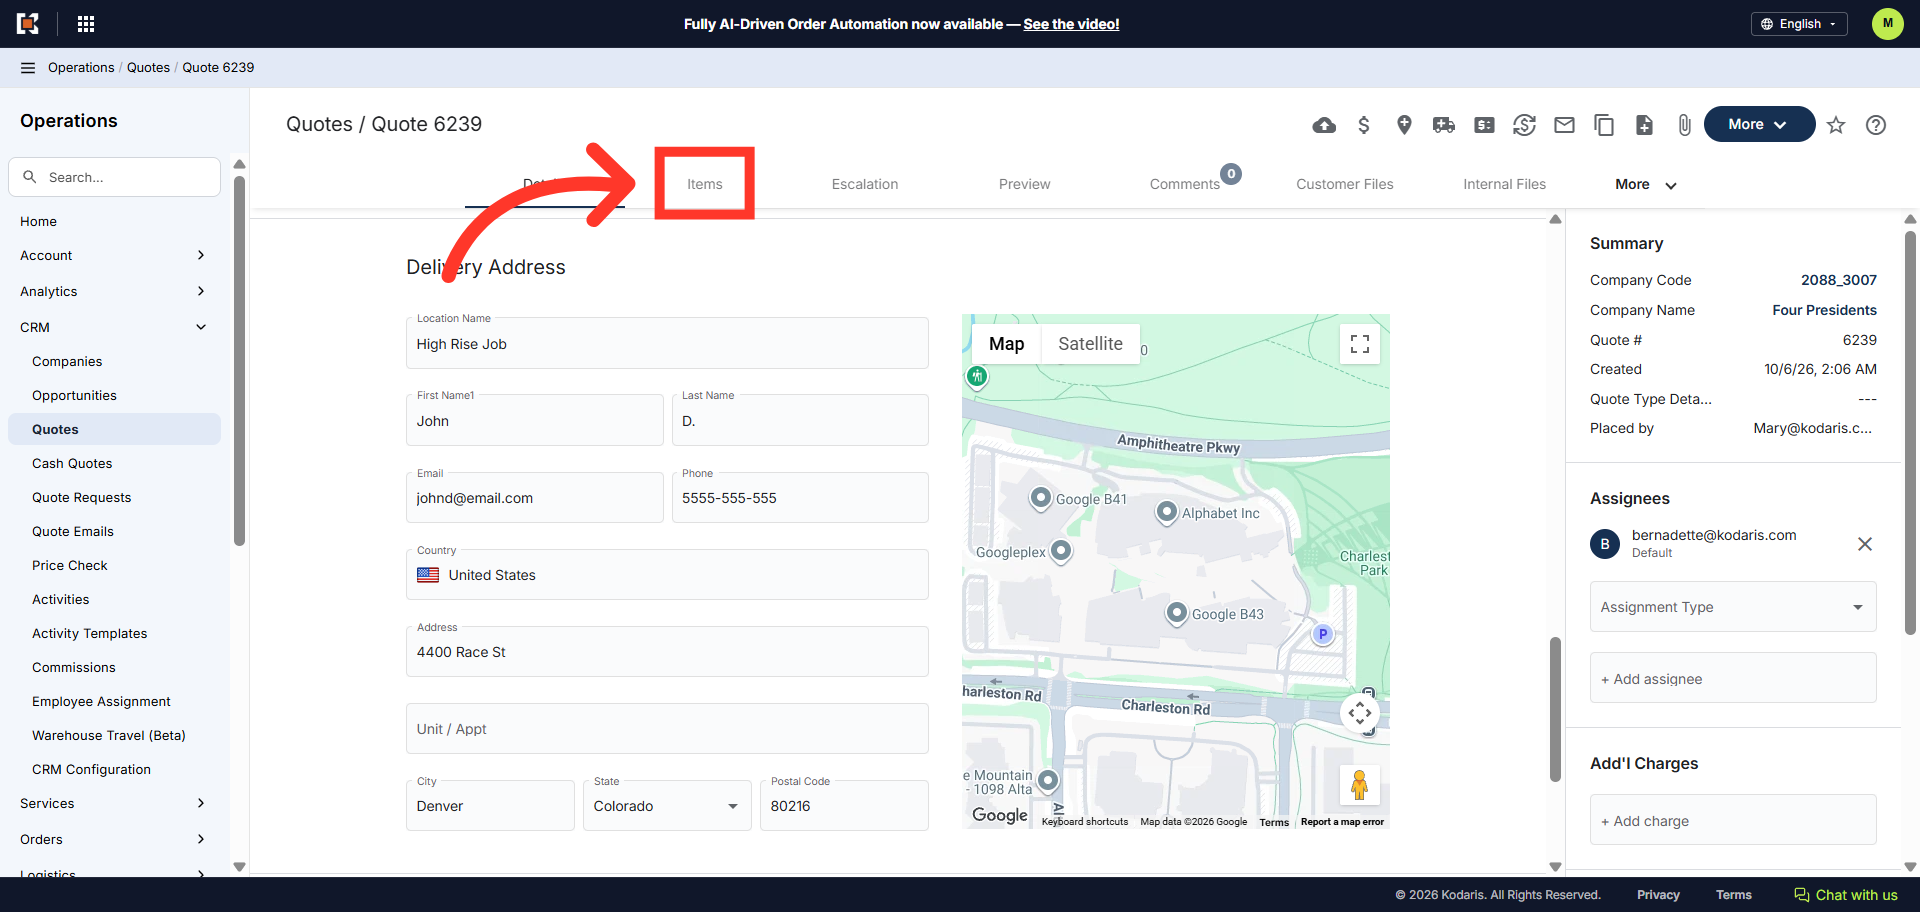
Then, go to the "Items" tab.
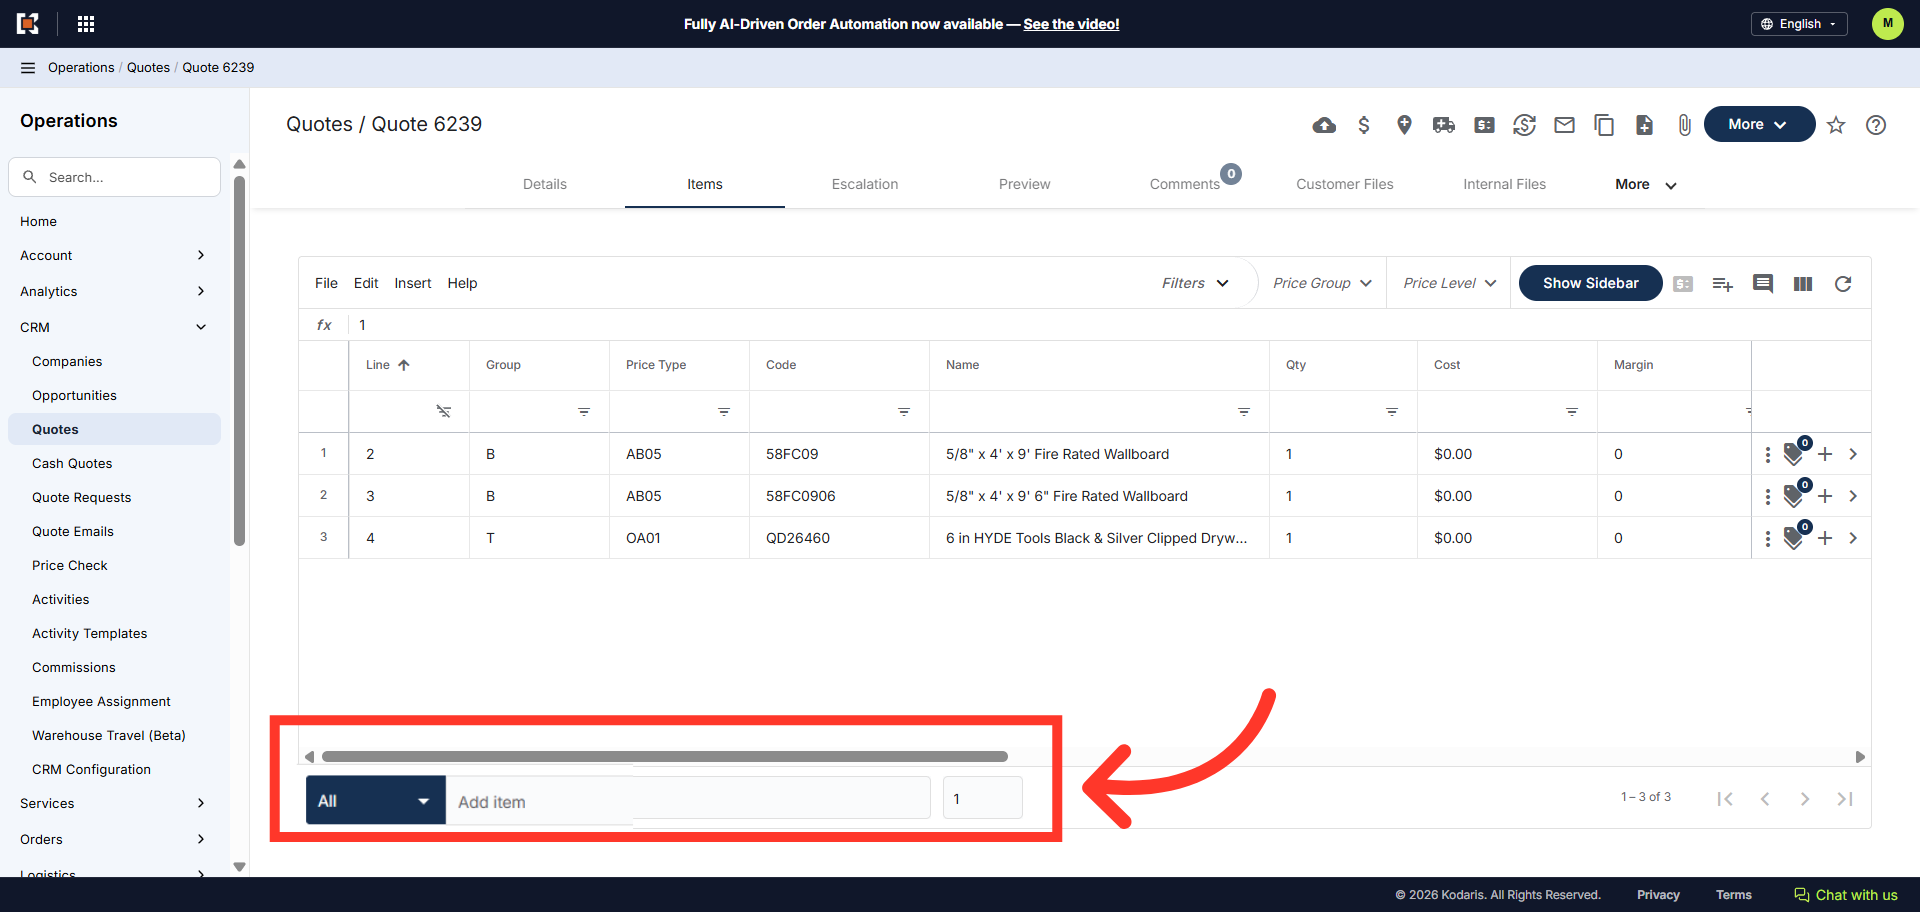
At the bottom of the screen, click the "Add Item" field and enter your preferred item using name or code, and select the item to add to your quote.
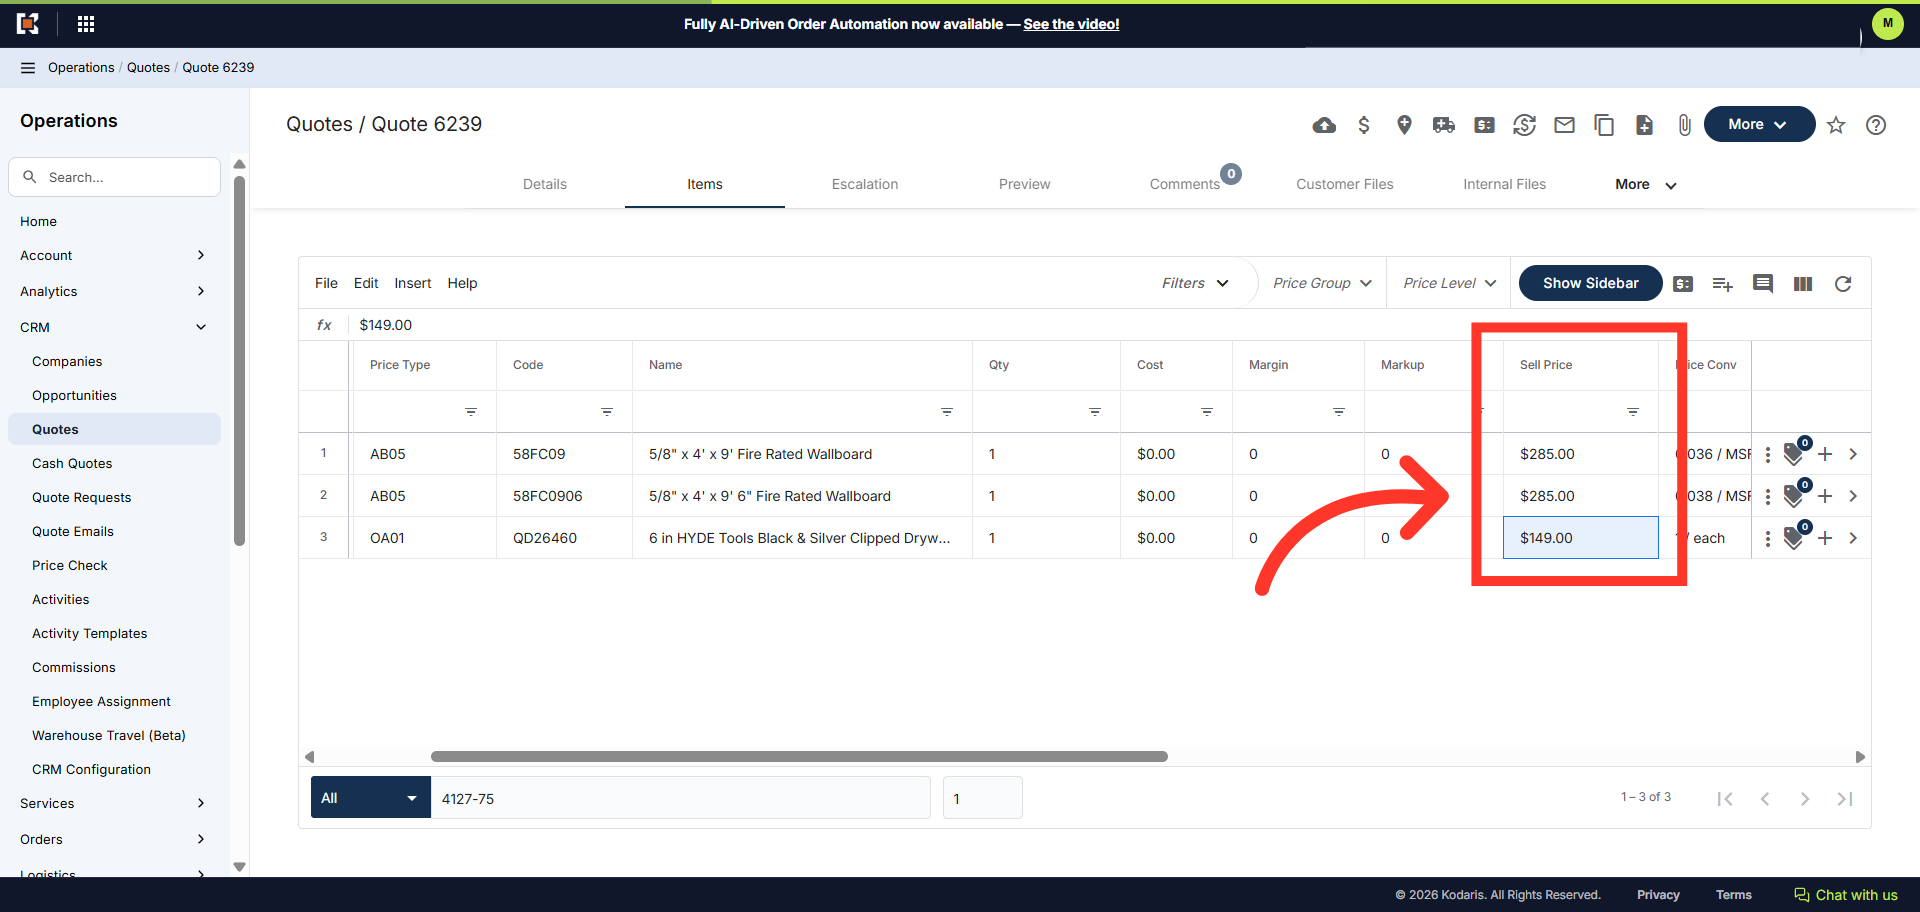
Once items have been added, you can update the "Sell Price".
Just a reminder, if the price for the product will increase at some point before the quote expires, you can go to the "Escalation" tab on the quote and add the price increases for each date.
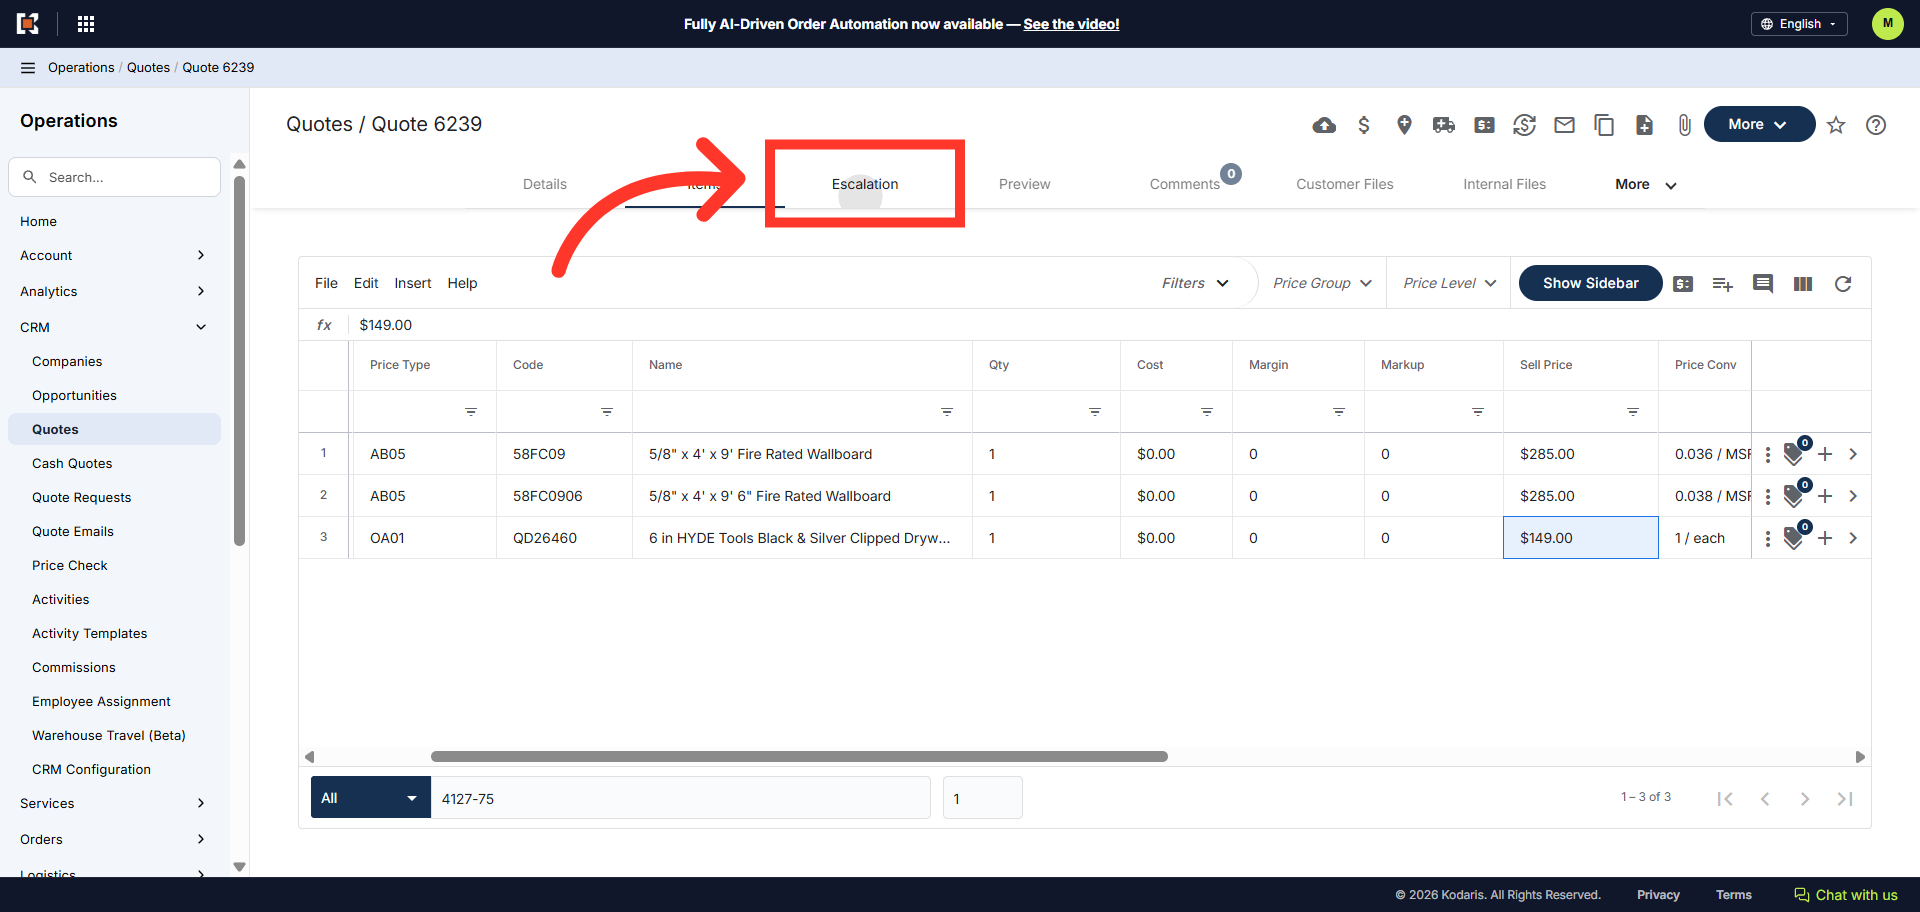
If the global escalator is turned on, it will automatically populate.
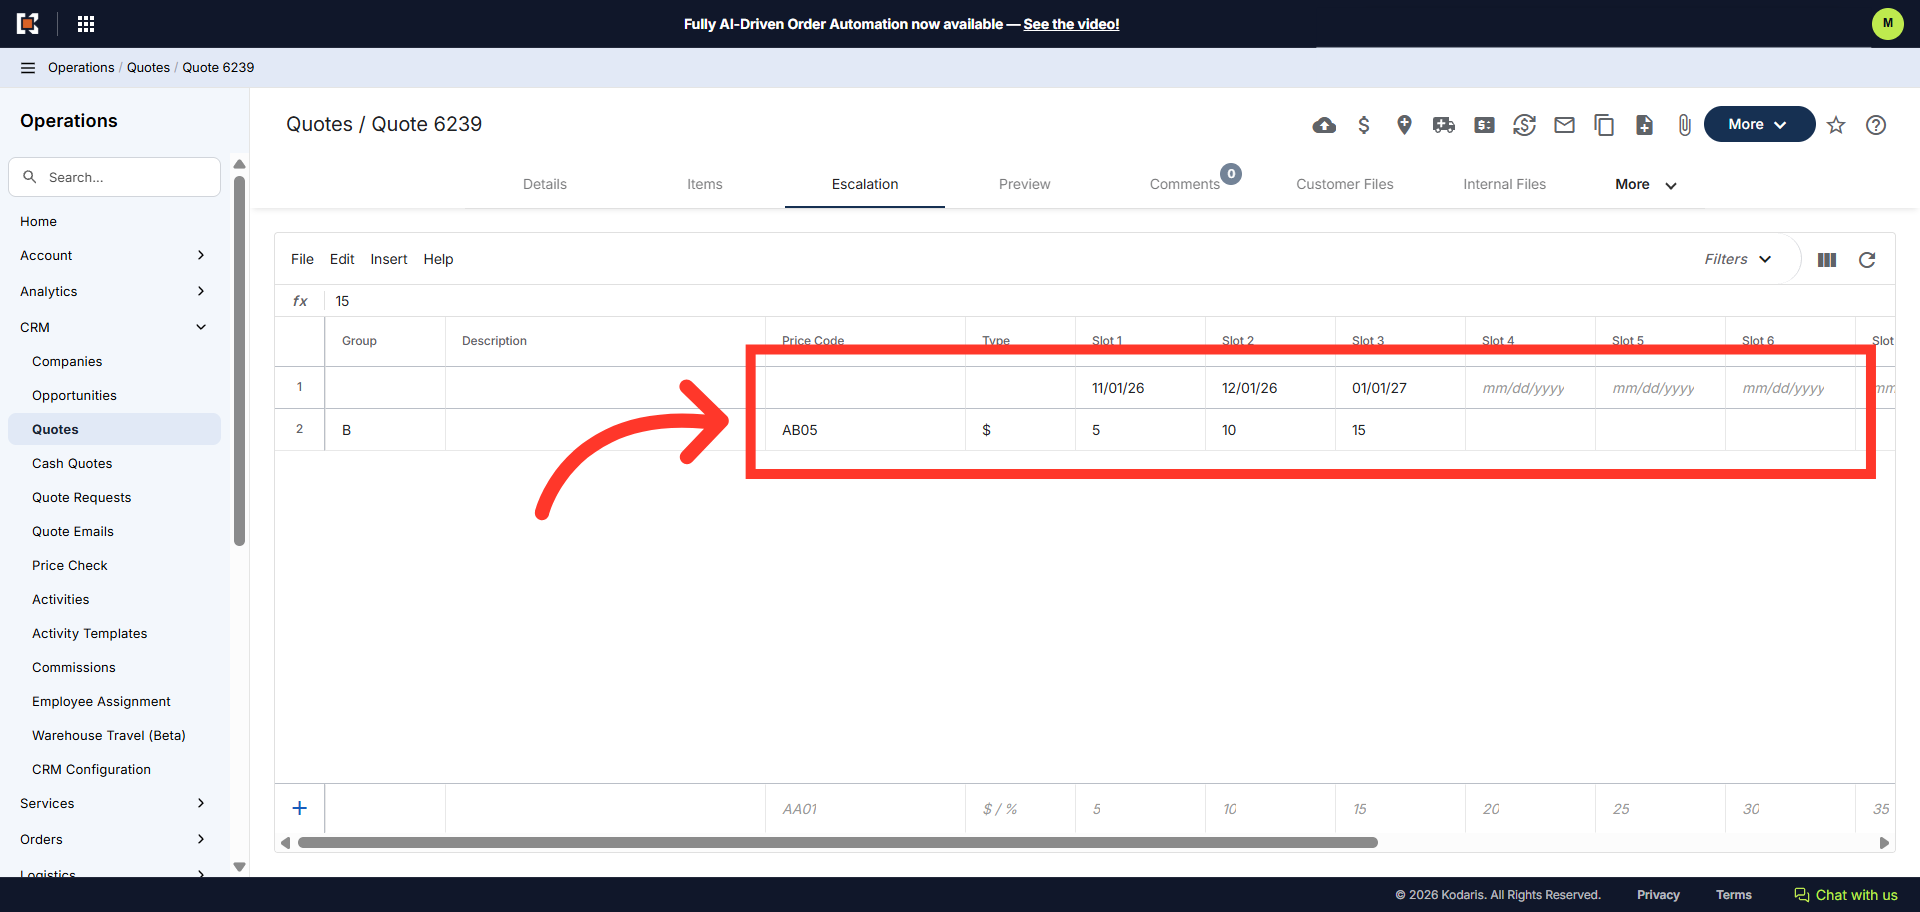
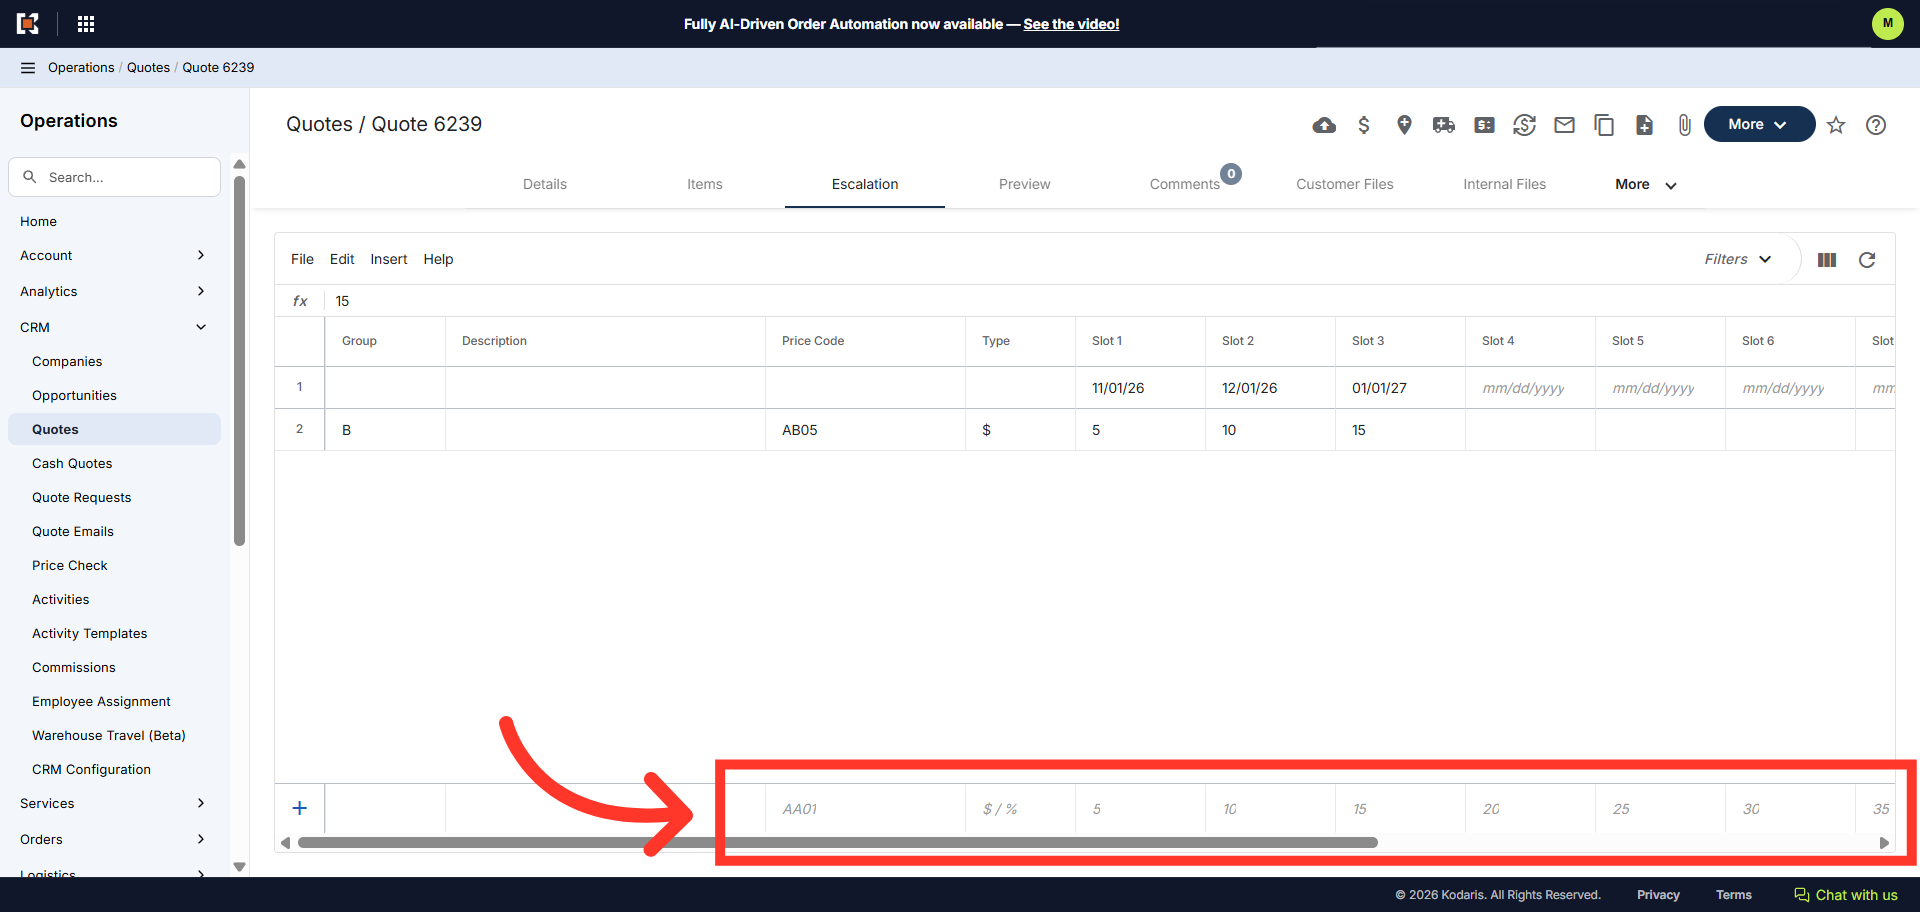
To add new escalators, fill out the escalator cells in the "Add a row" fields.
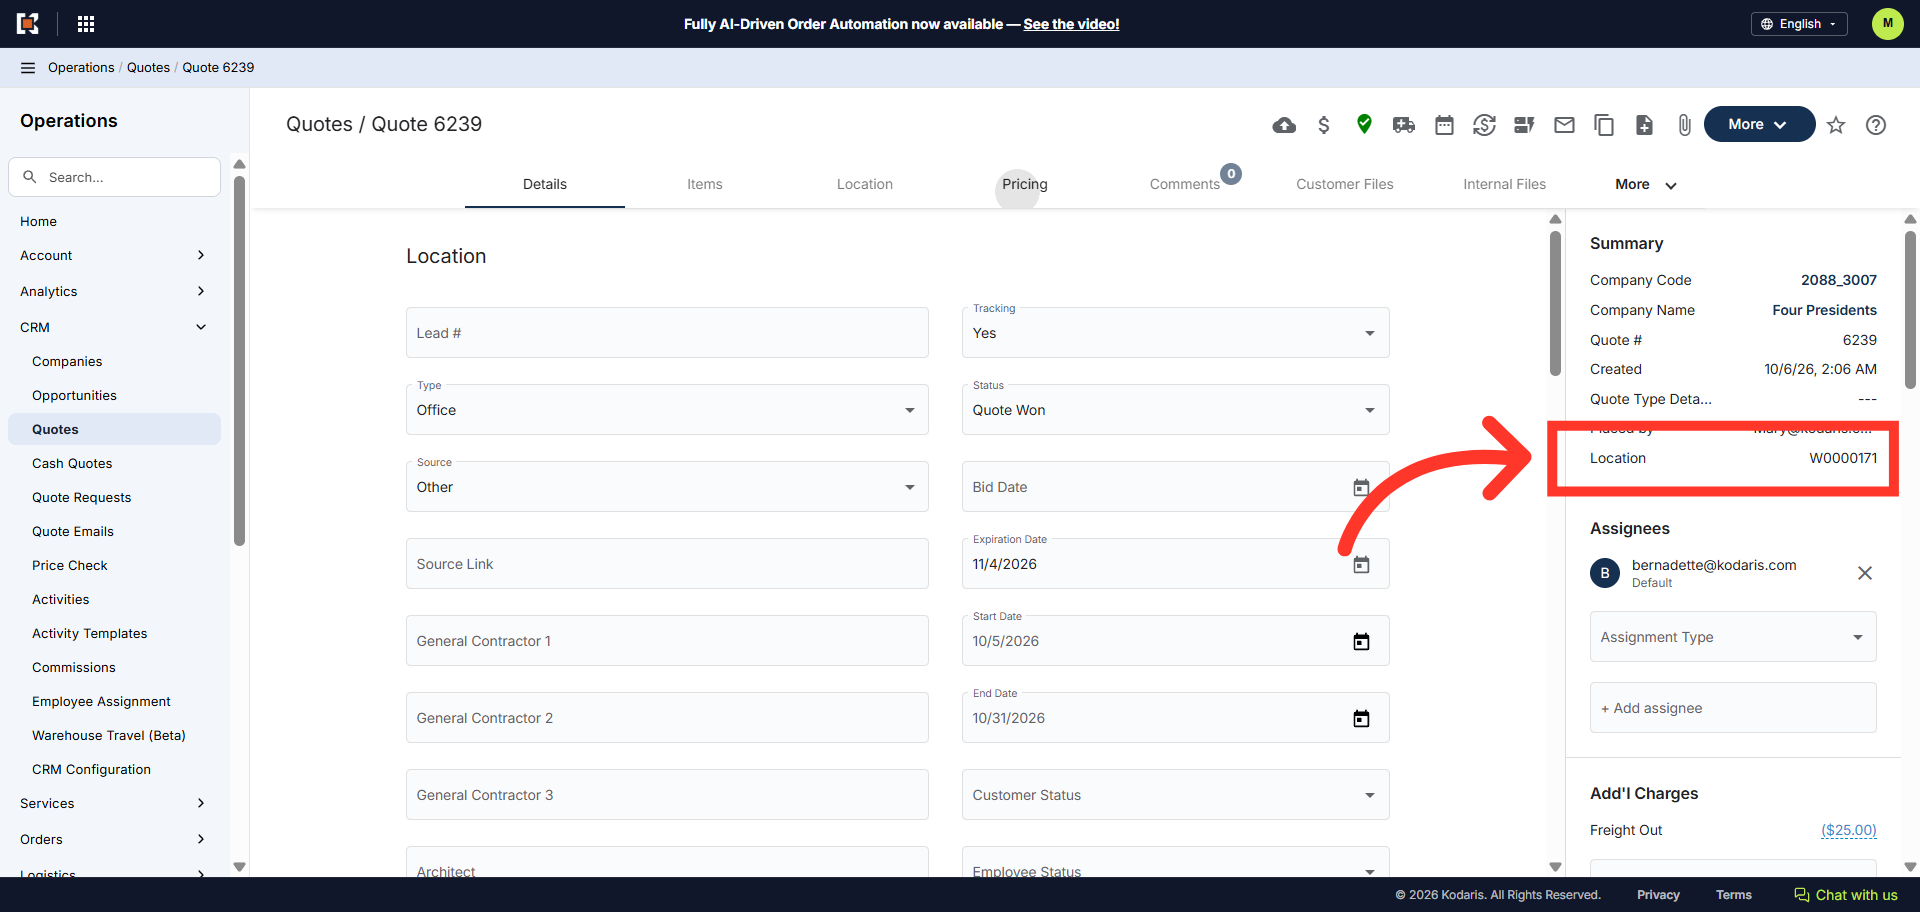
Once everything is set up, click "Setup Location" icon.
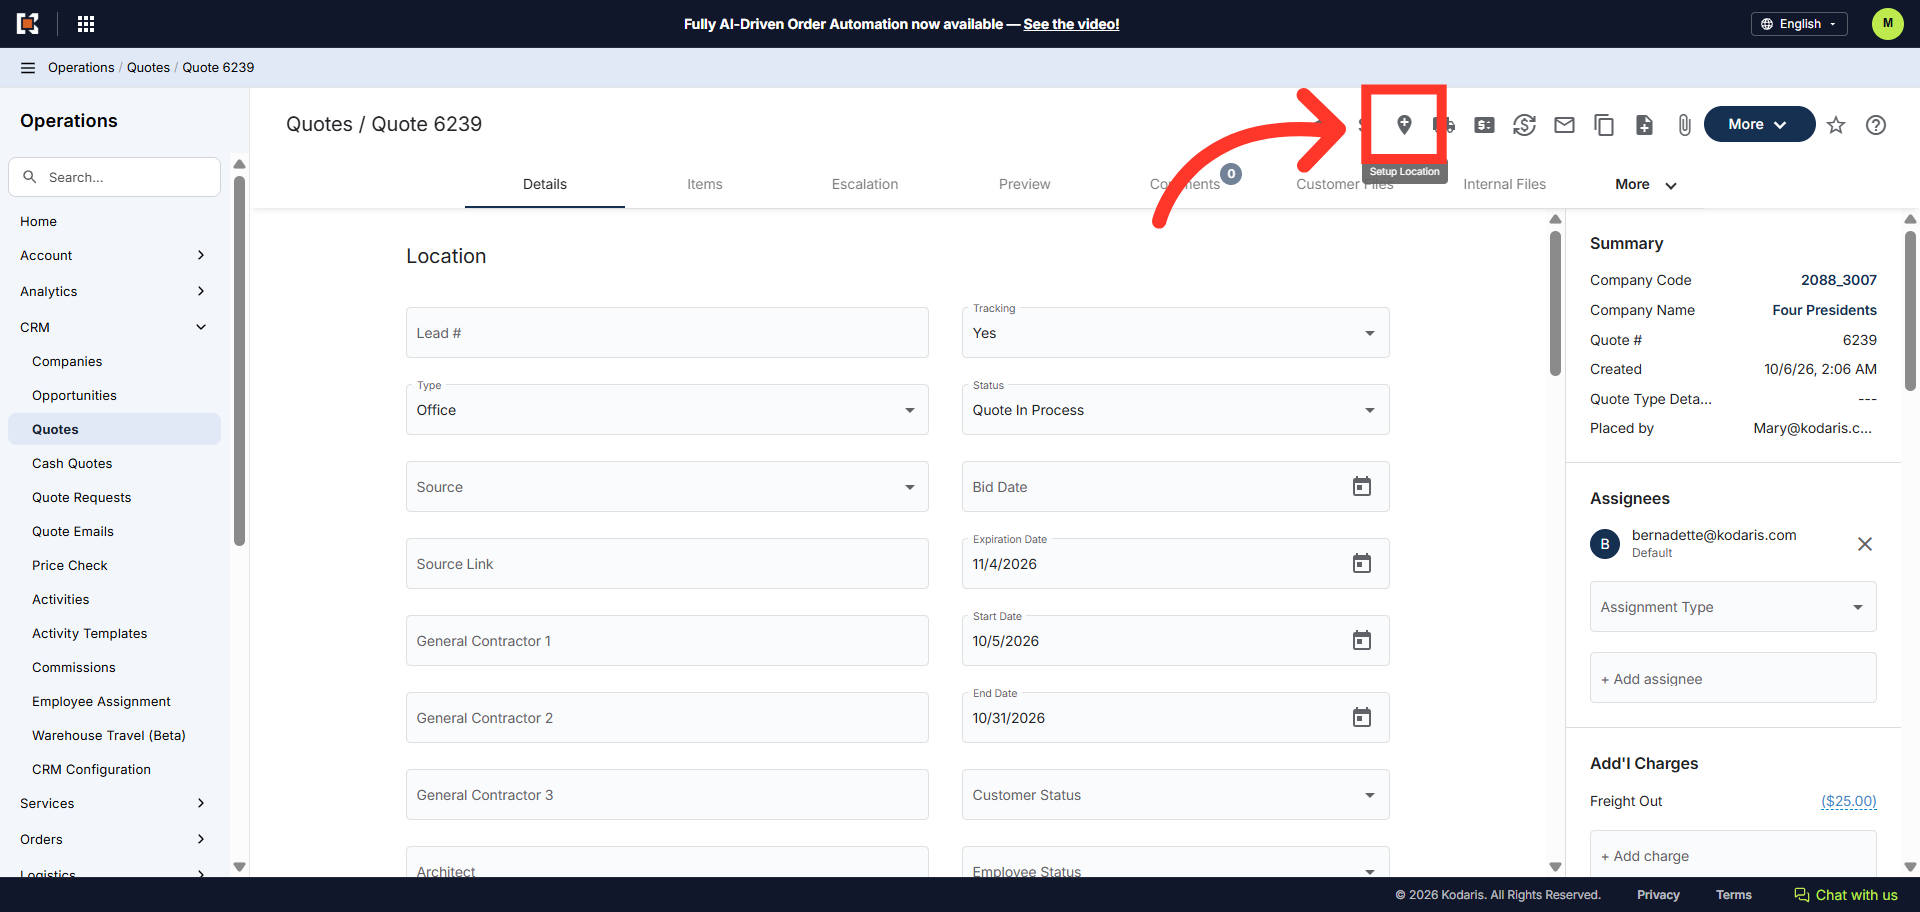
The ship to/location has been created for the quote.
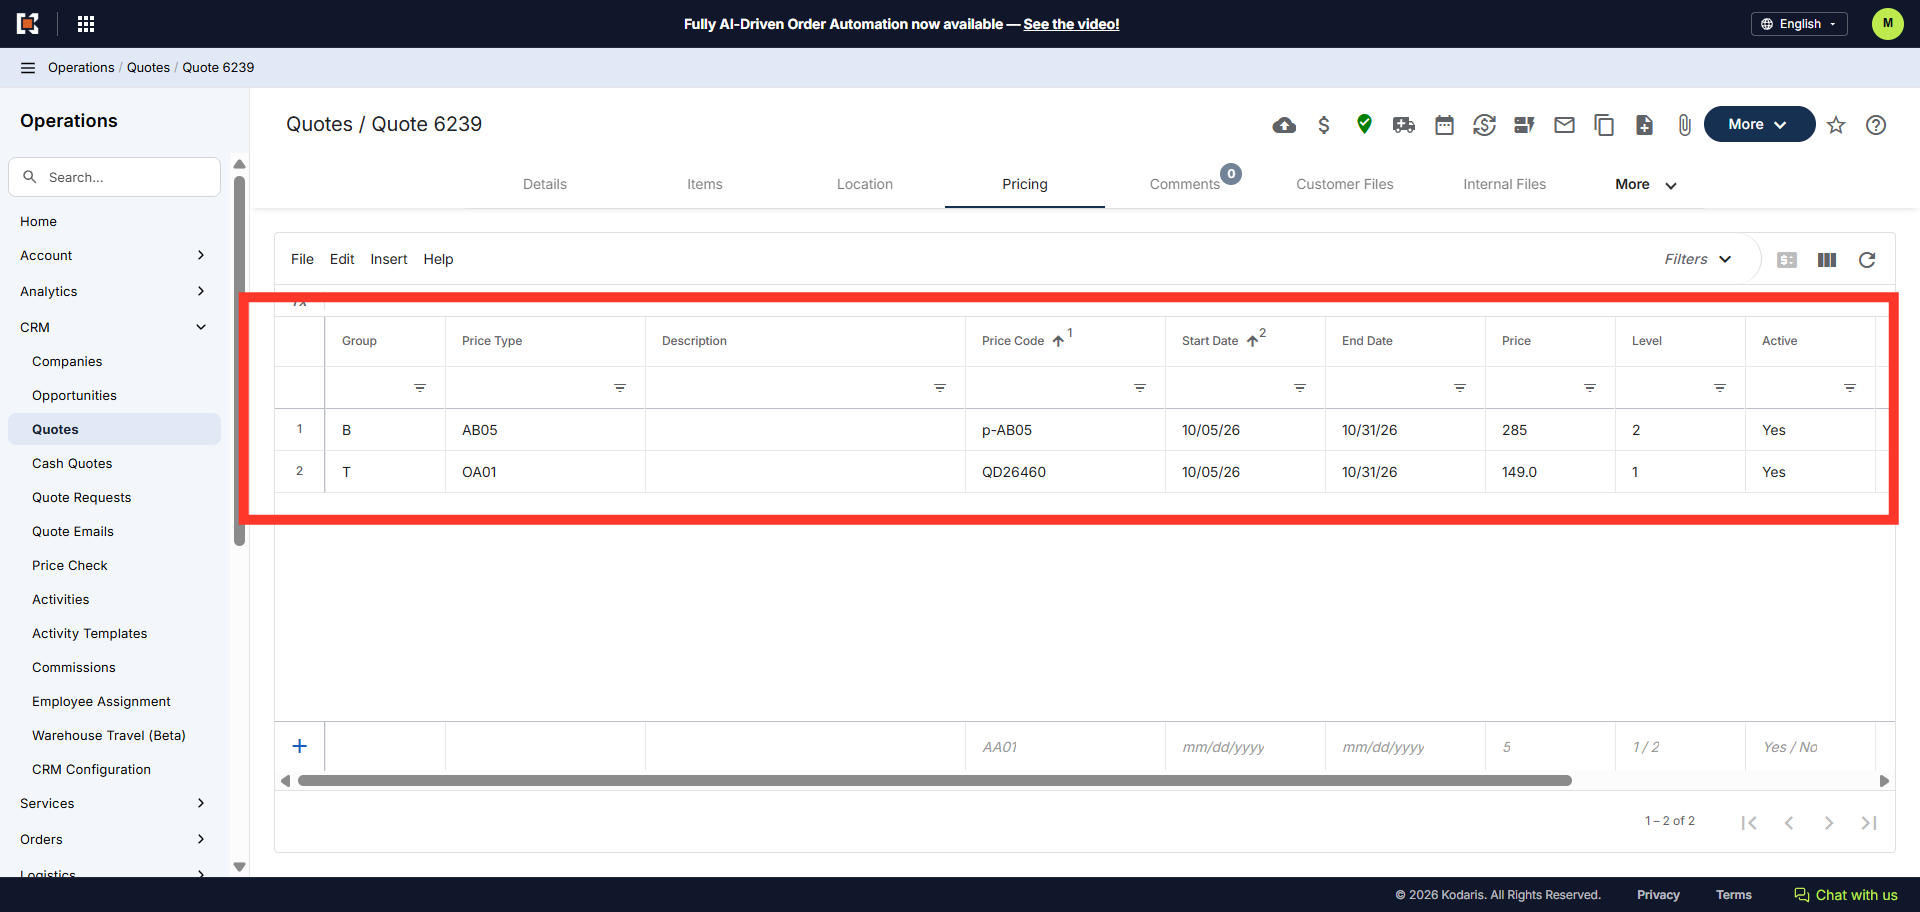
Next, click "Pricing" to view or modify pricing details related to the items in the quote.
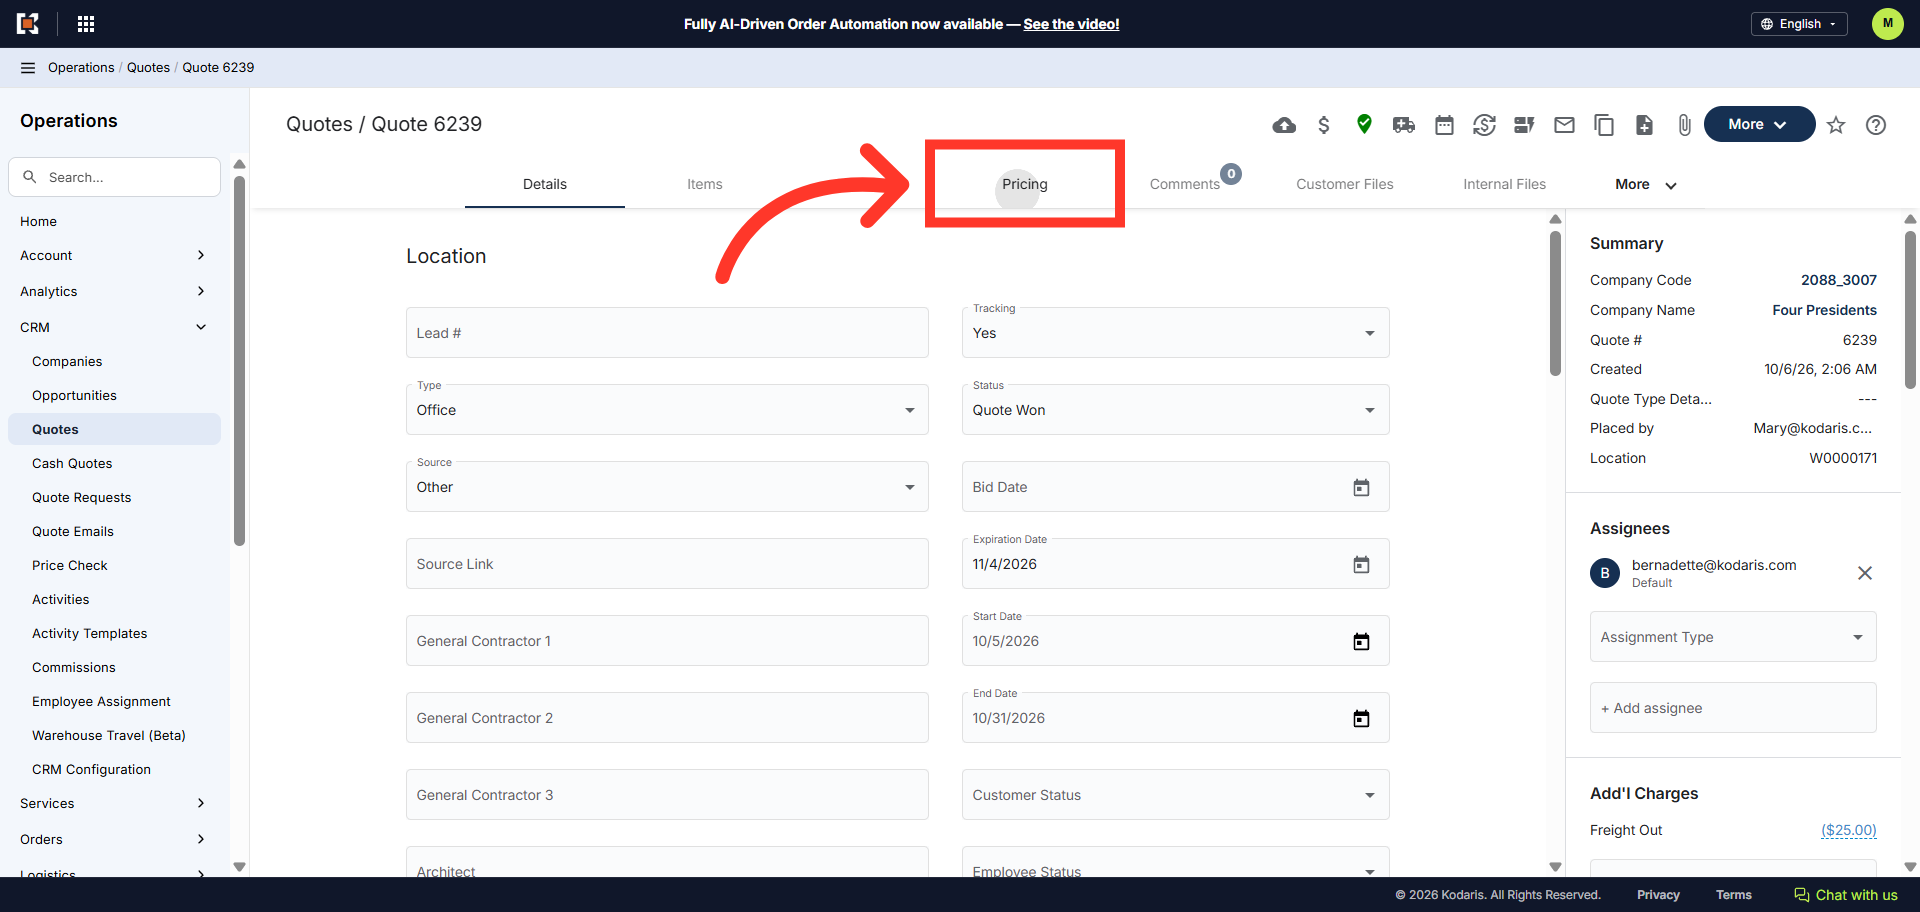
Confirm if the Pricing is correct.