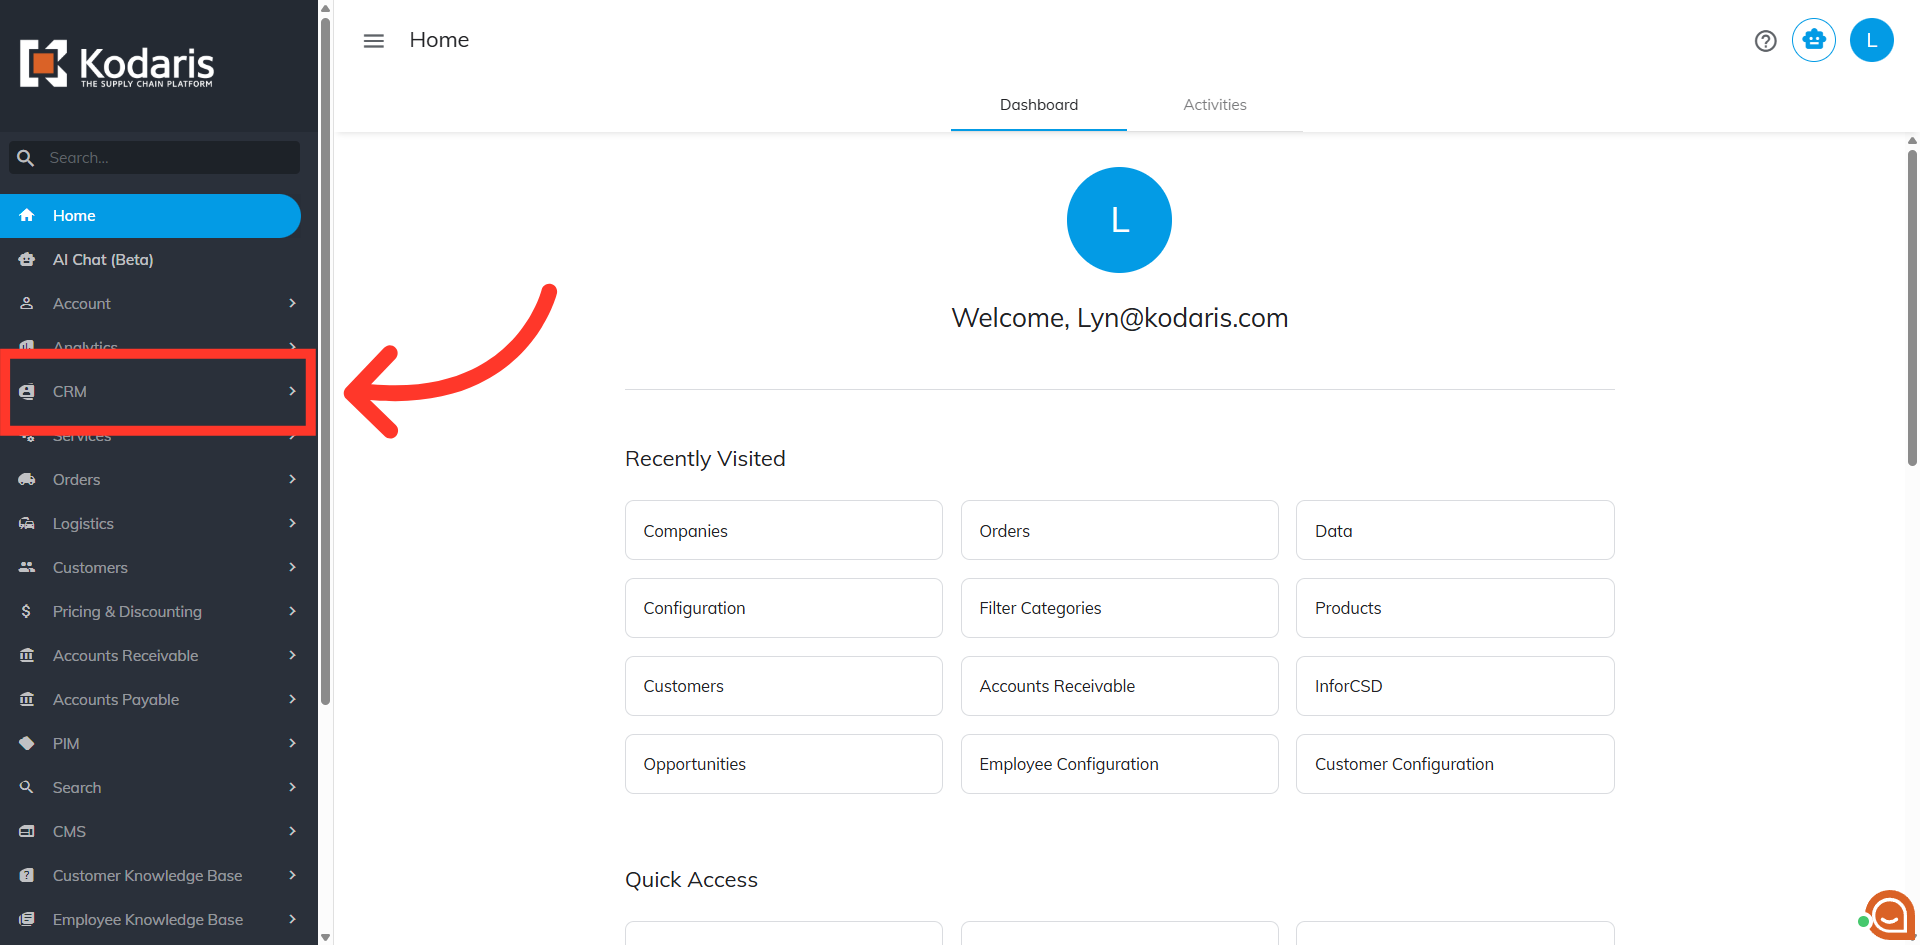
In this video, you'll learn how you can view the history of orders associated with your customers in the Operations Portal and be able to download or print invoices. To start, navigate to the "CRM" section in the Operations Portal.
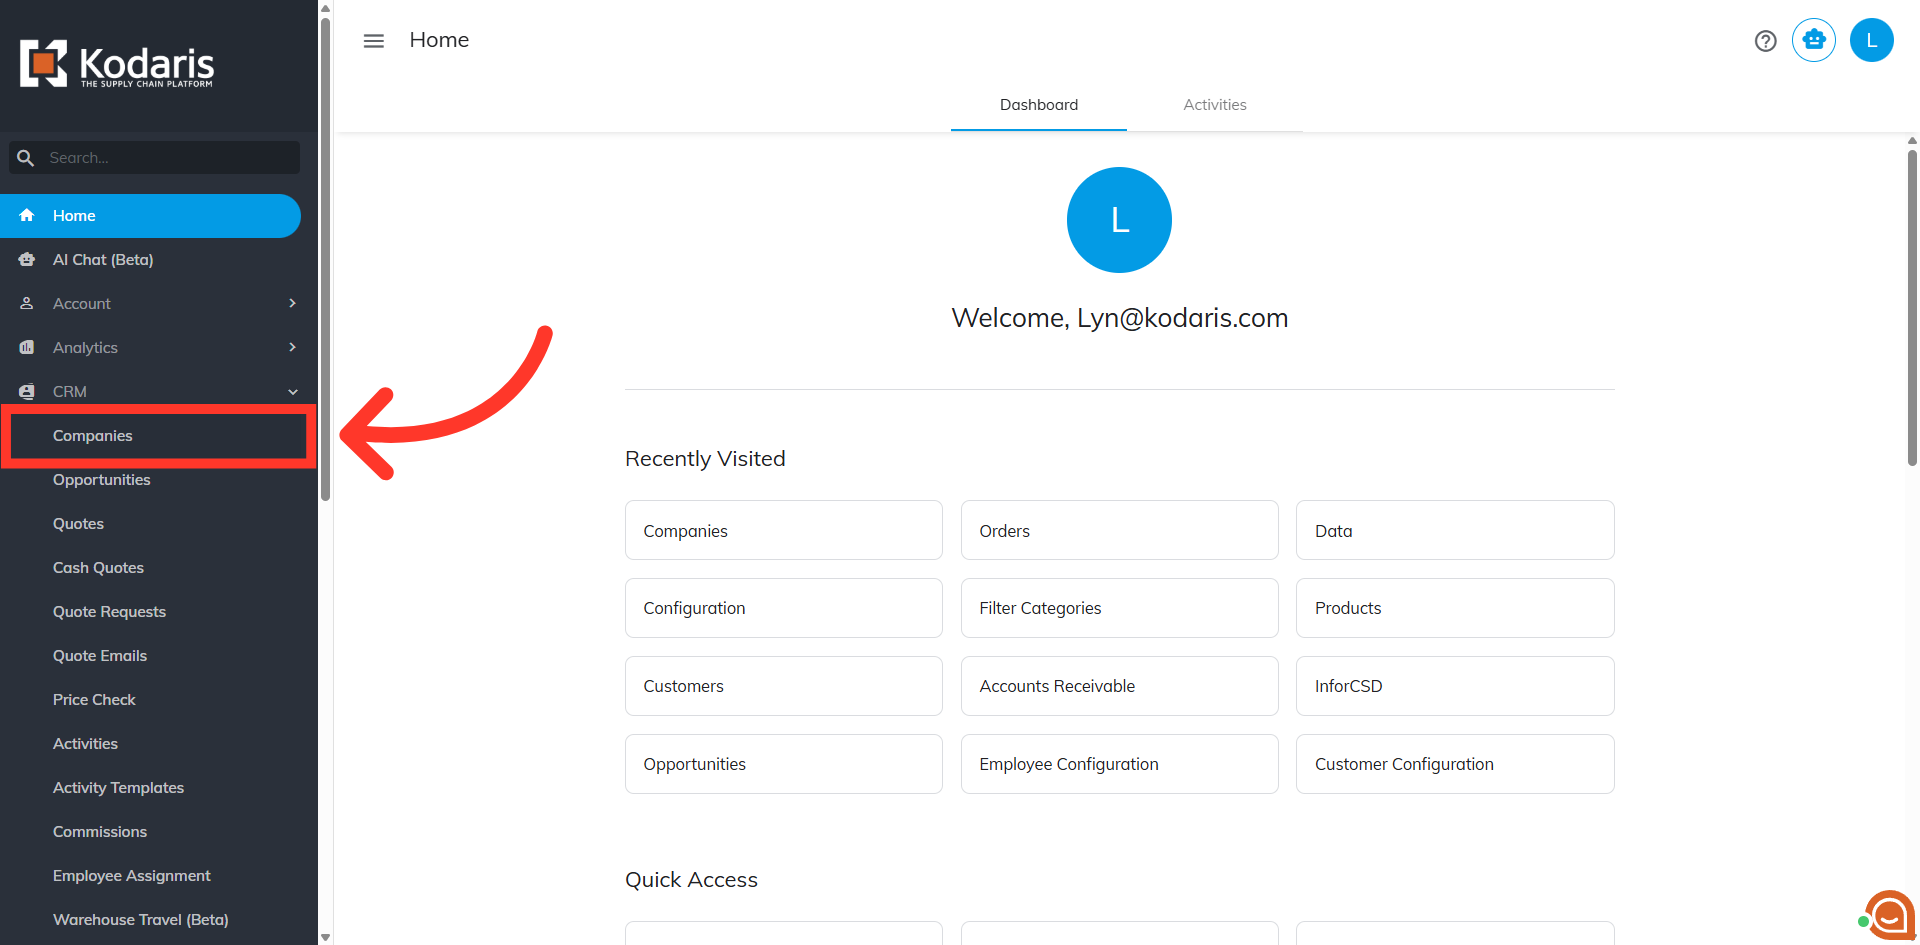
Then, click "Companies". In order to access "Companies", you will need to be set up either as an "administrator" or a "superuser", or have the appropriate roles: "companyView and companyEdit", or "crmCompanyView and crmCompanyEdit". Just a reminder, "crmCompanyView and crmCompanyEdit" access only allows employees to view companies that are assigned to them.
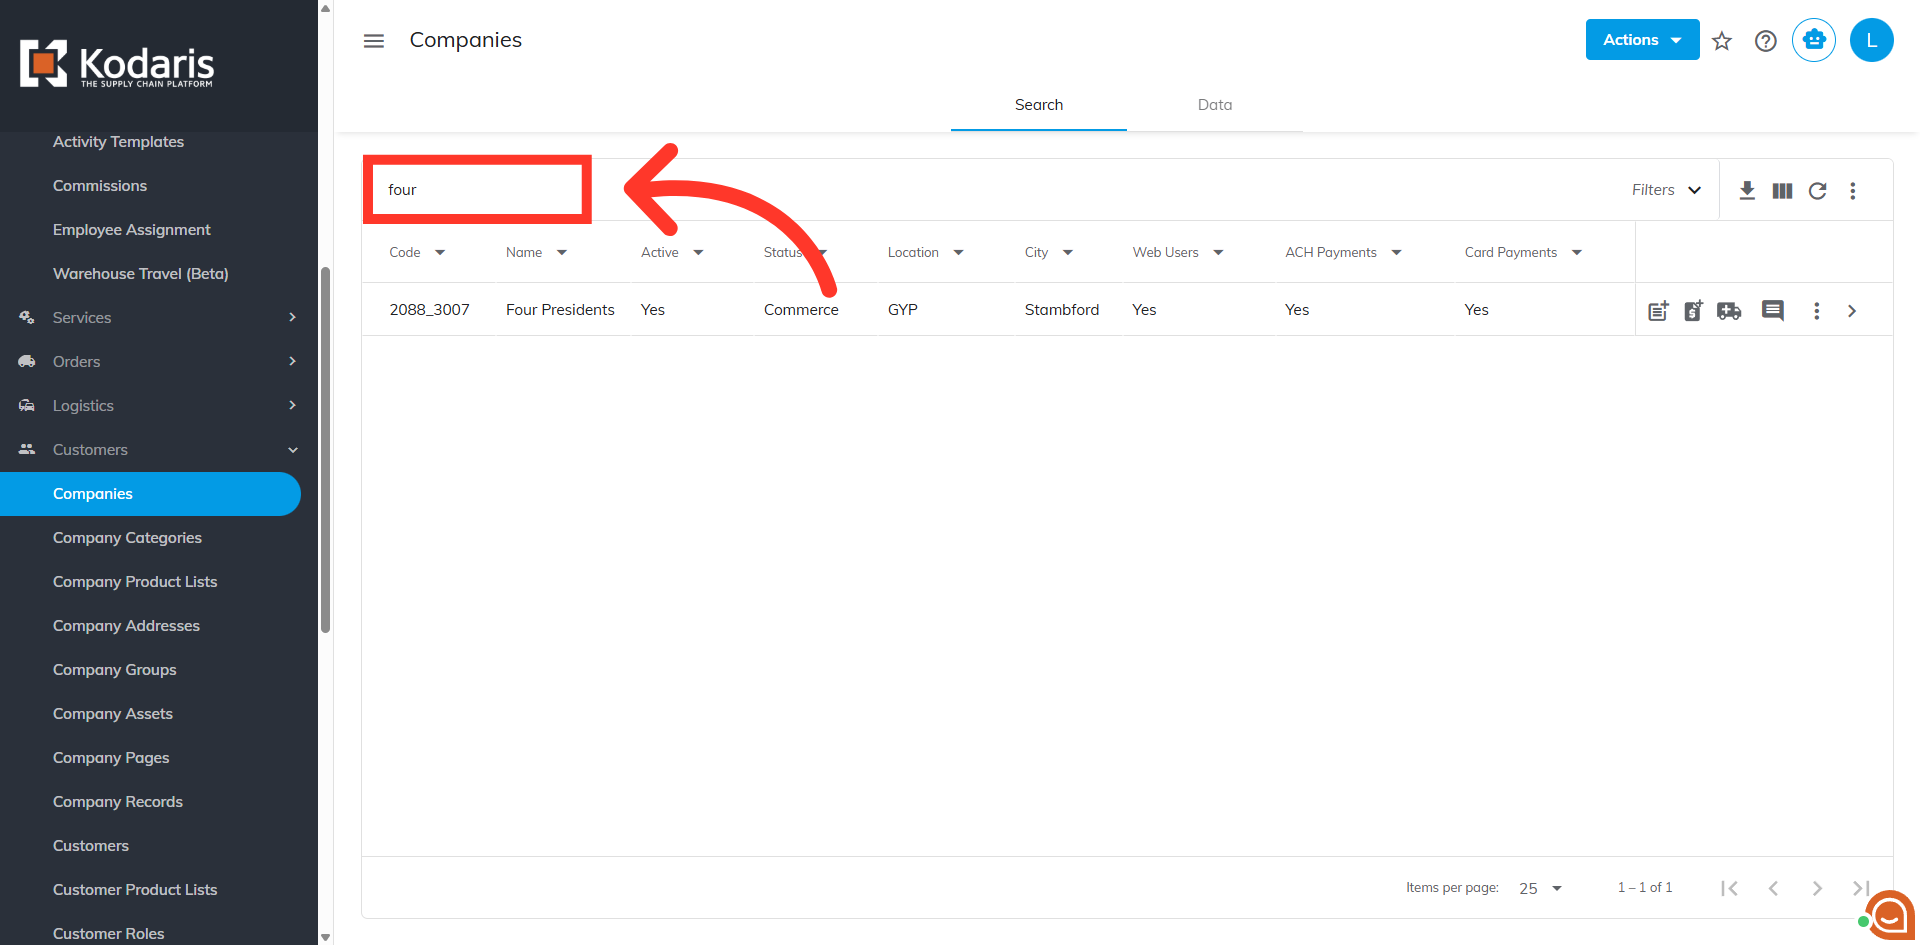
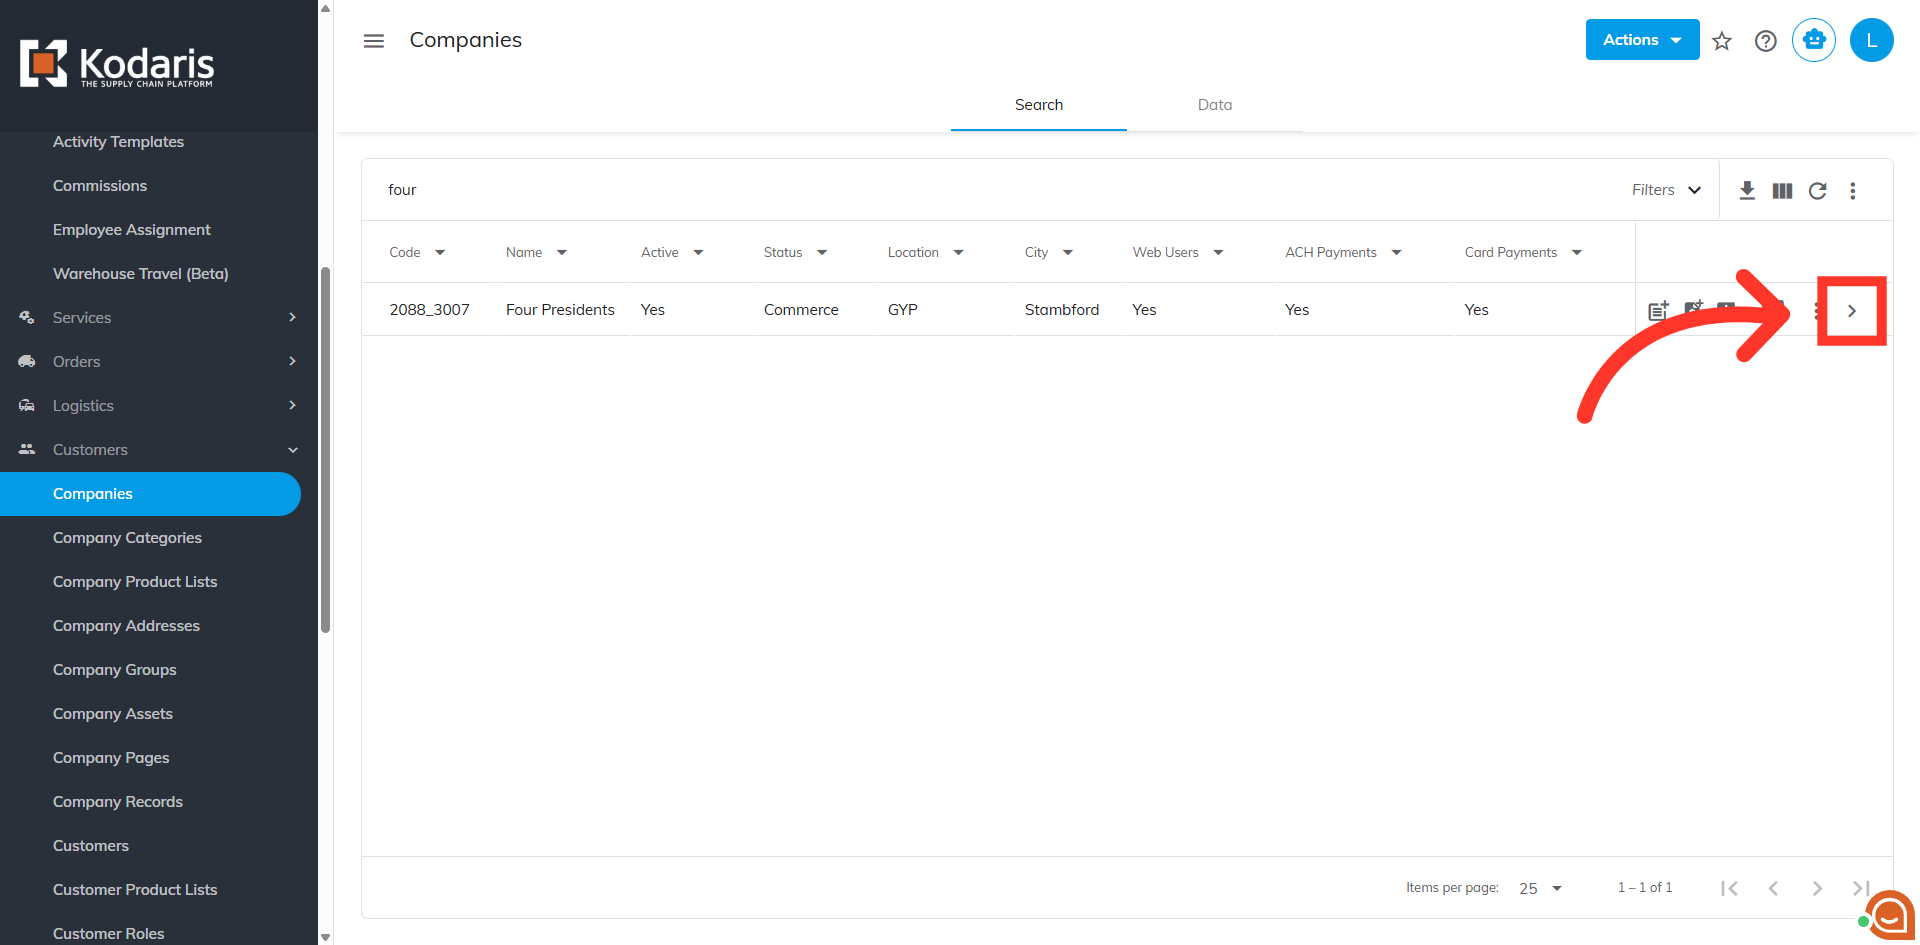
Search for the company. You can enter the company name or code in the "Search..." field to search.
Click on the more details icon to open the Company's page.
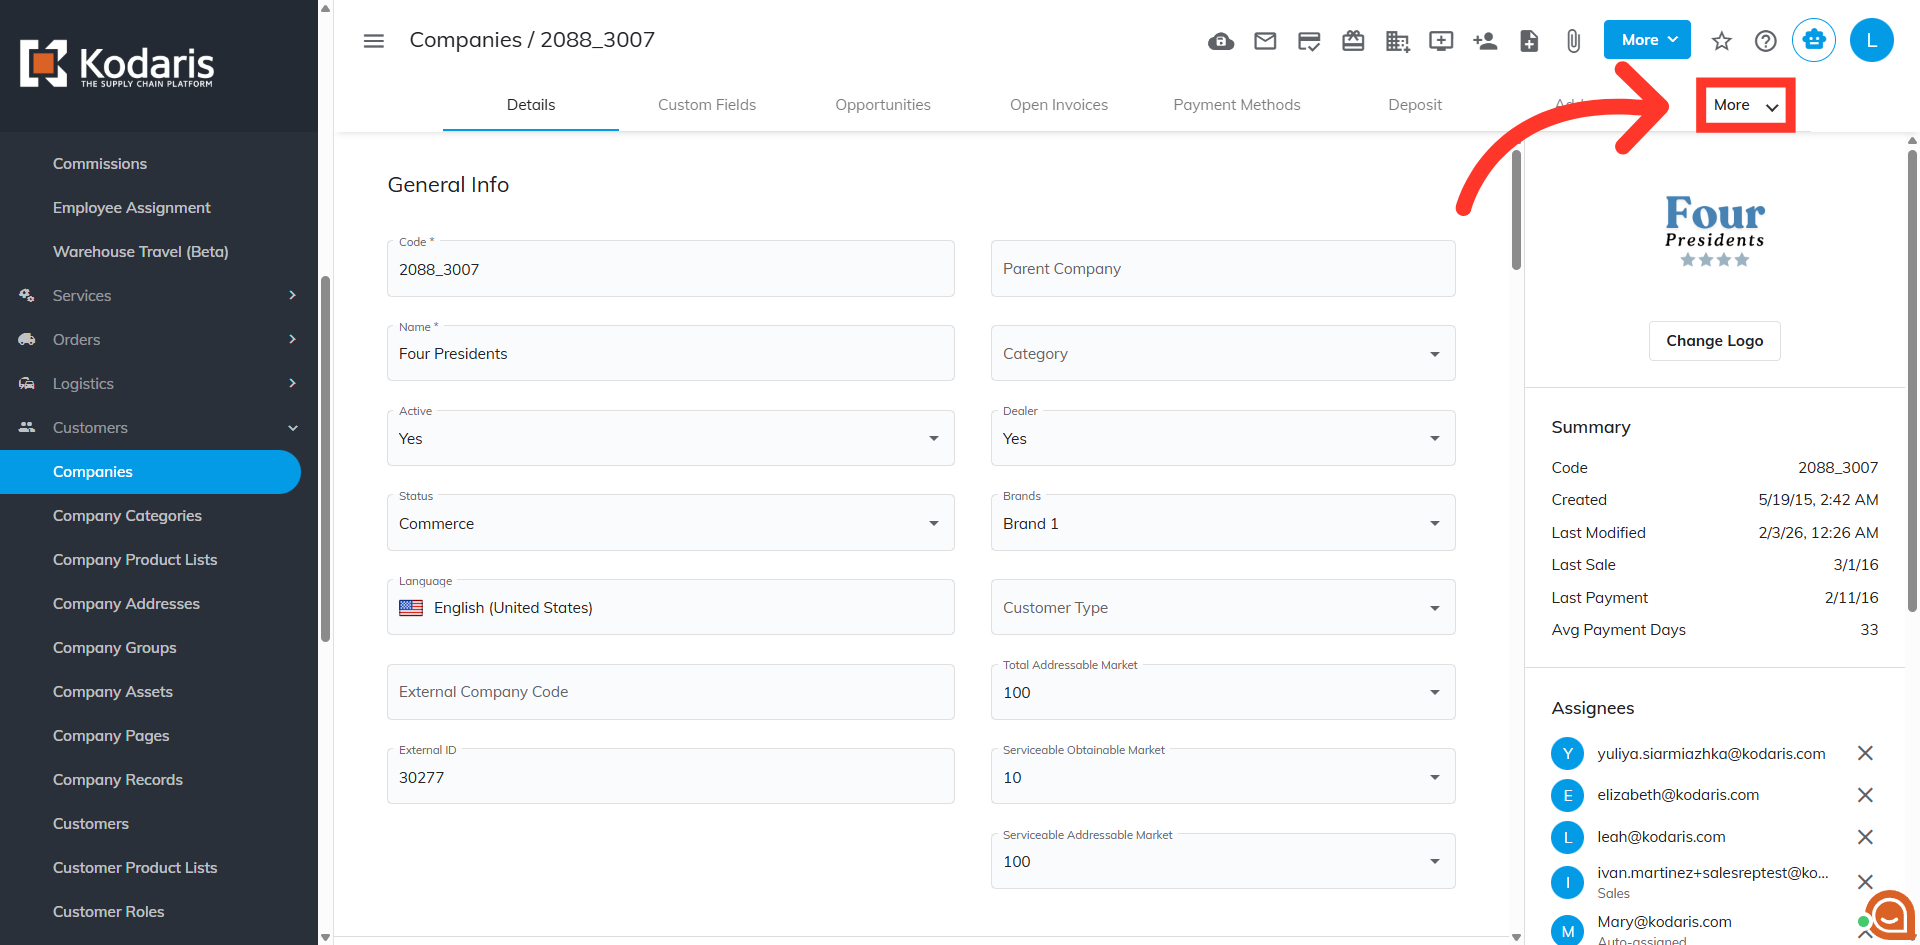
Then, click "More" to view other tabs.
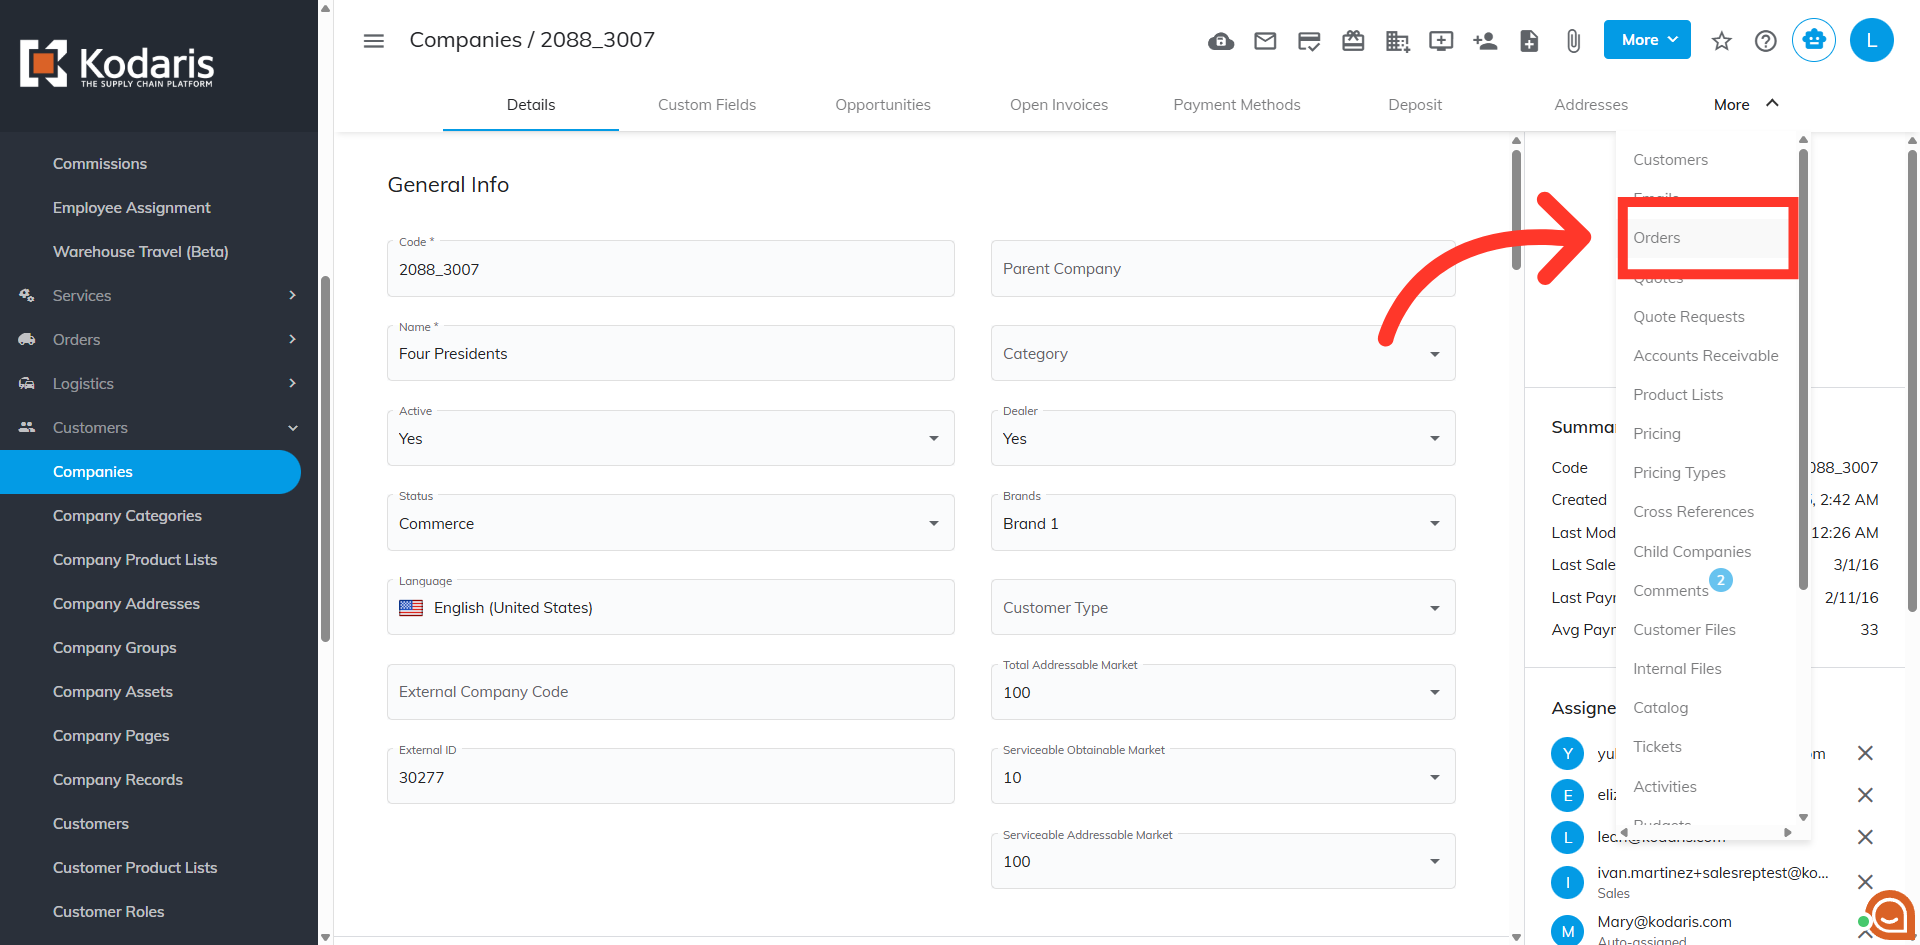
Select "Orders". In order to access and update "Orders", you will need the additional roles of: "dispatch", "orderEdit", "orderView", "crmCompanyOrderView" and "crmCompanyOrderEdit". Just a reminder, "crmCompanyOrderView" and "crmCompanyOrderEdit" access only allows employees to view company orders that are assigned to them.
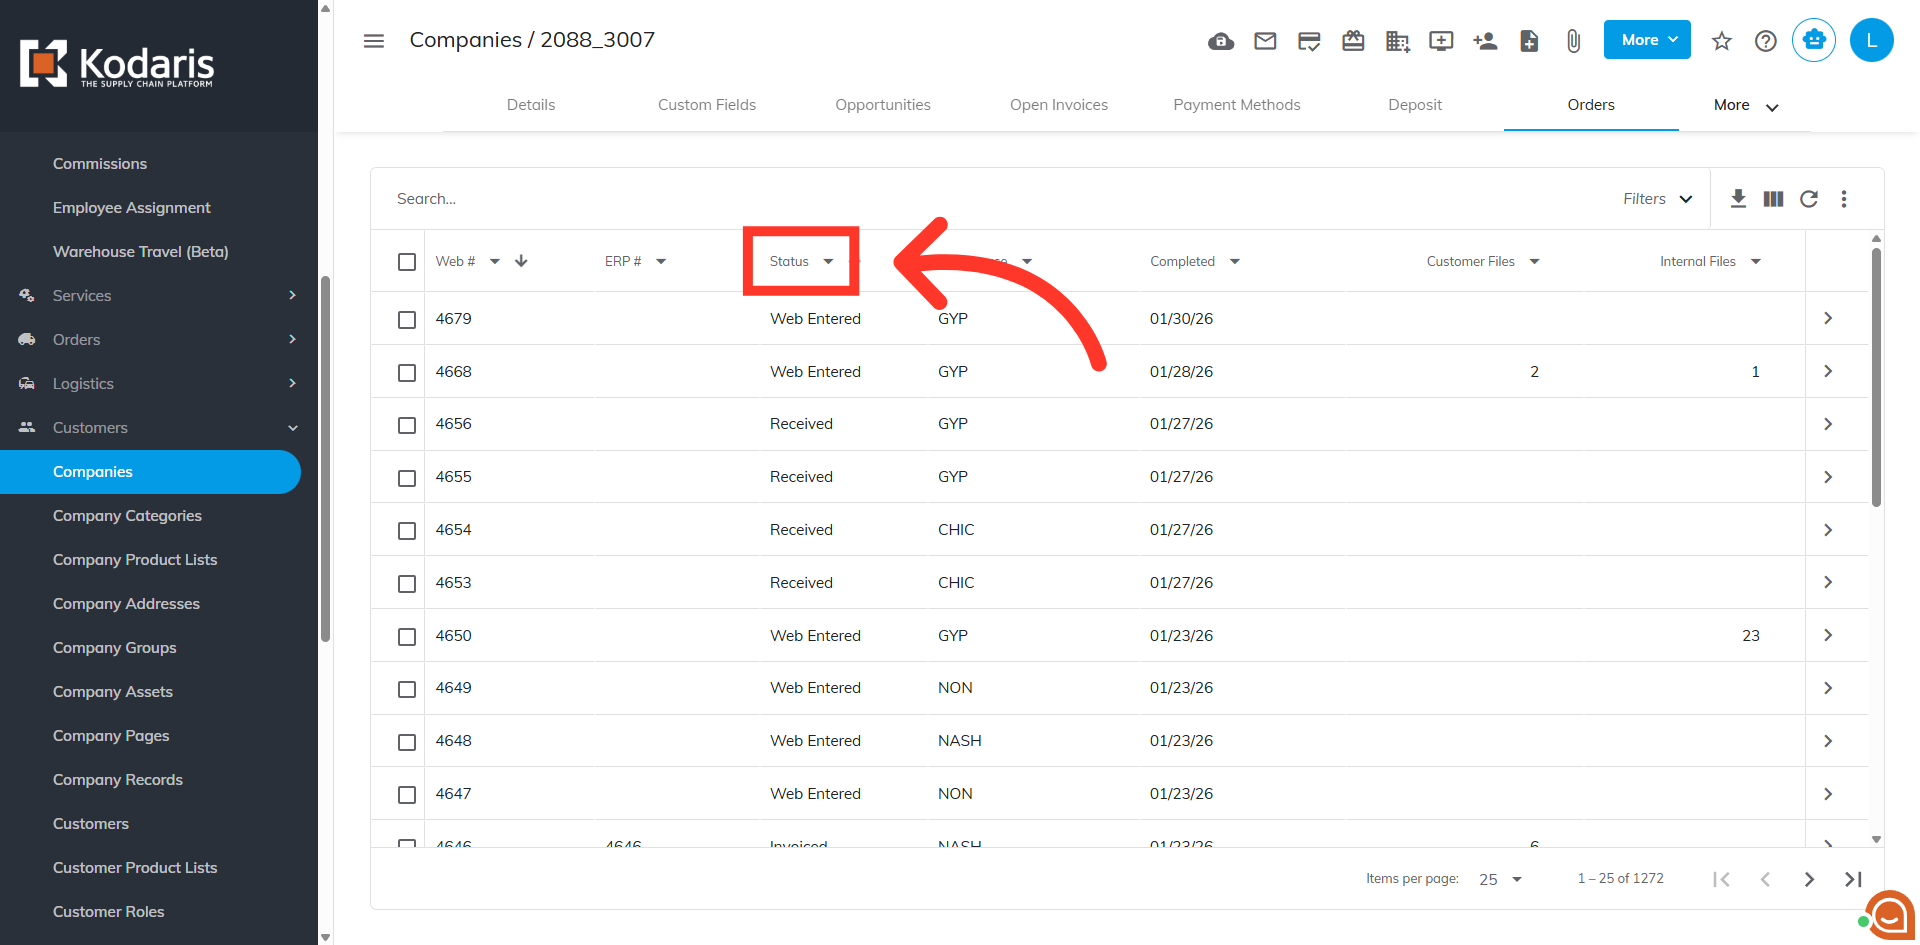
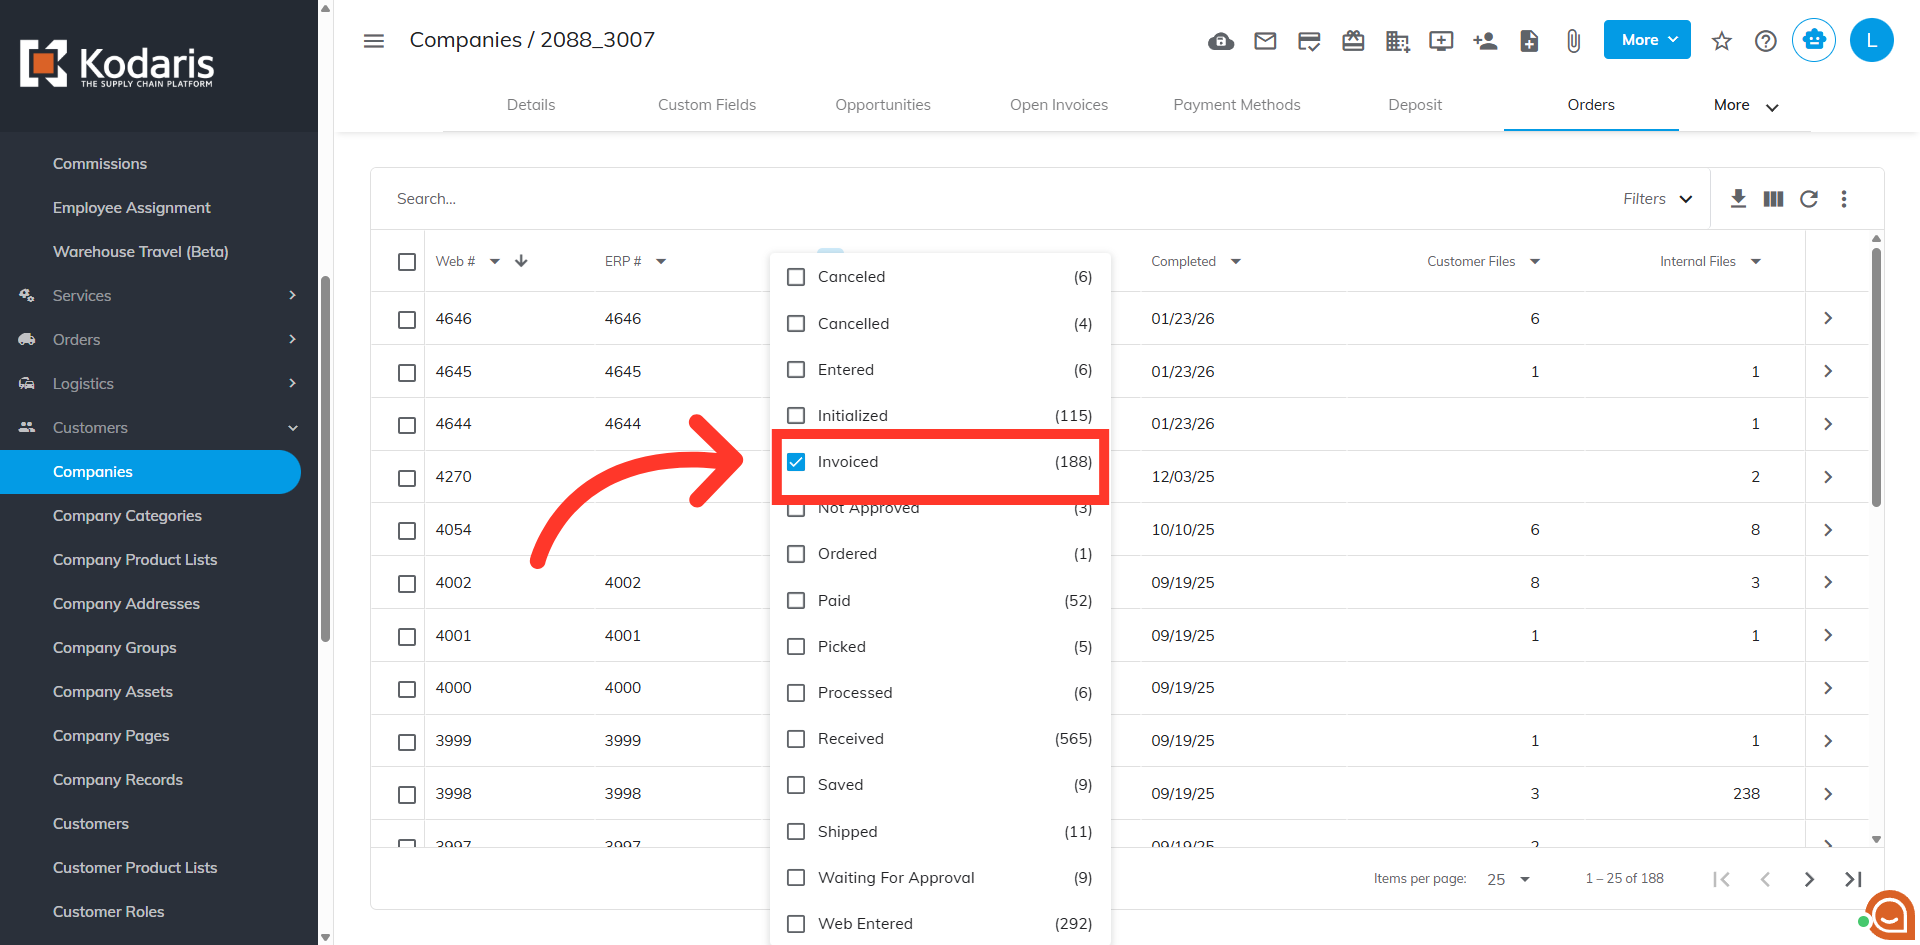
The "Orders" screen displays all orders associated with this customer. Since we are going to print invoices, we will filter down the orders by invoice. To do this, click "Status".
Then, select "Invoiced". This brings up a list of all of your invoiced orders for this customer.
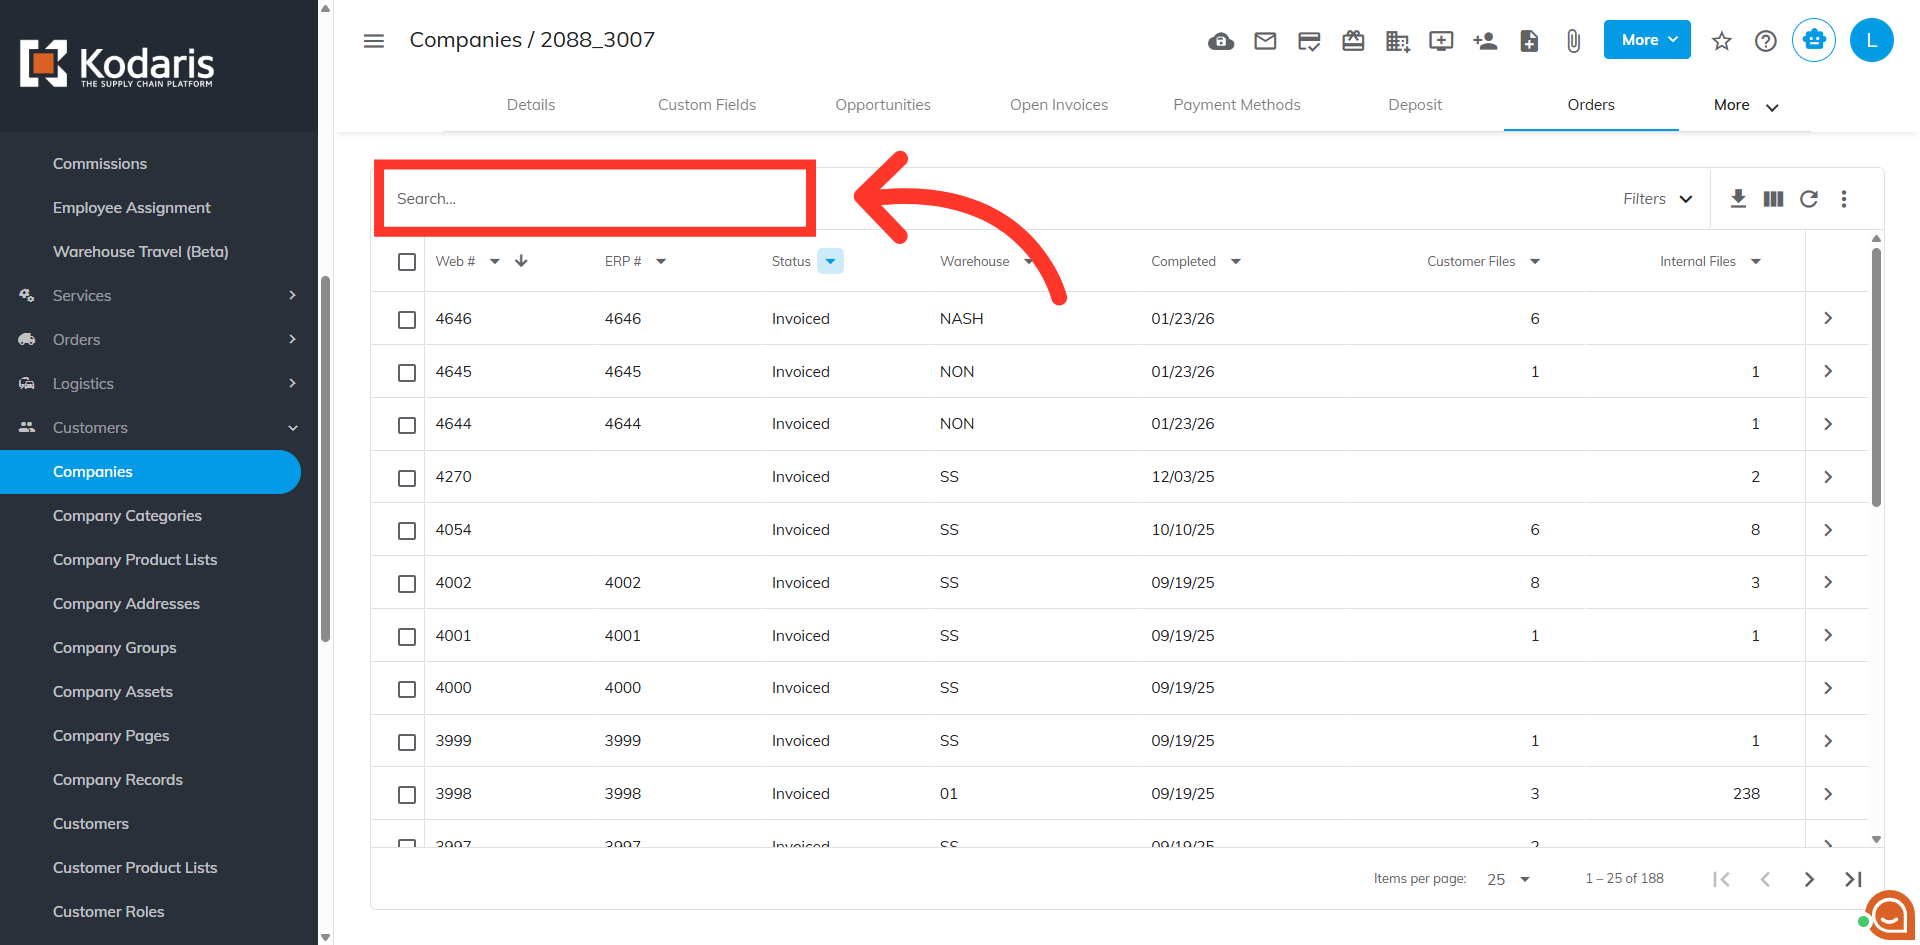
Using the "Search..." field, you can search for the invoice you want to download or print.
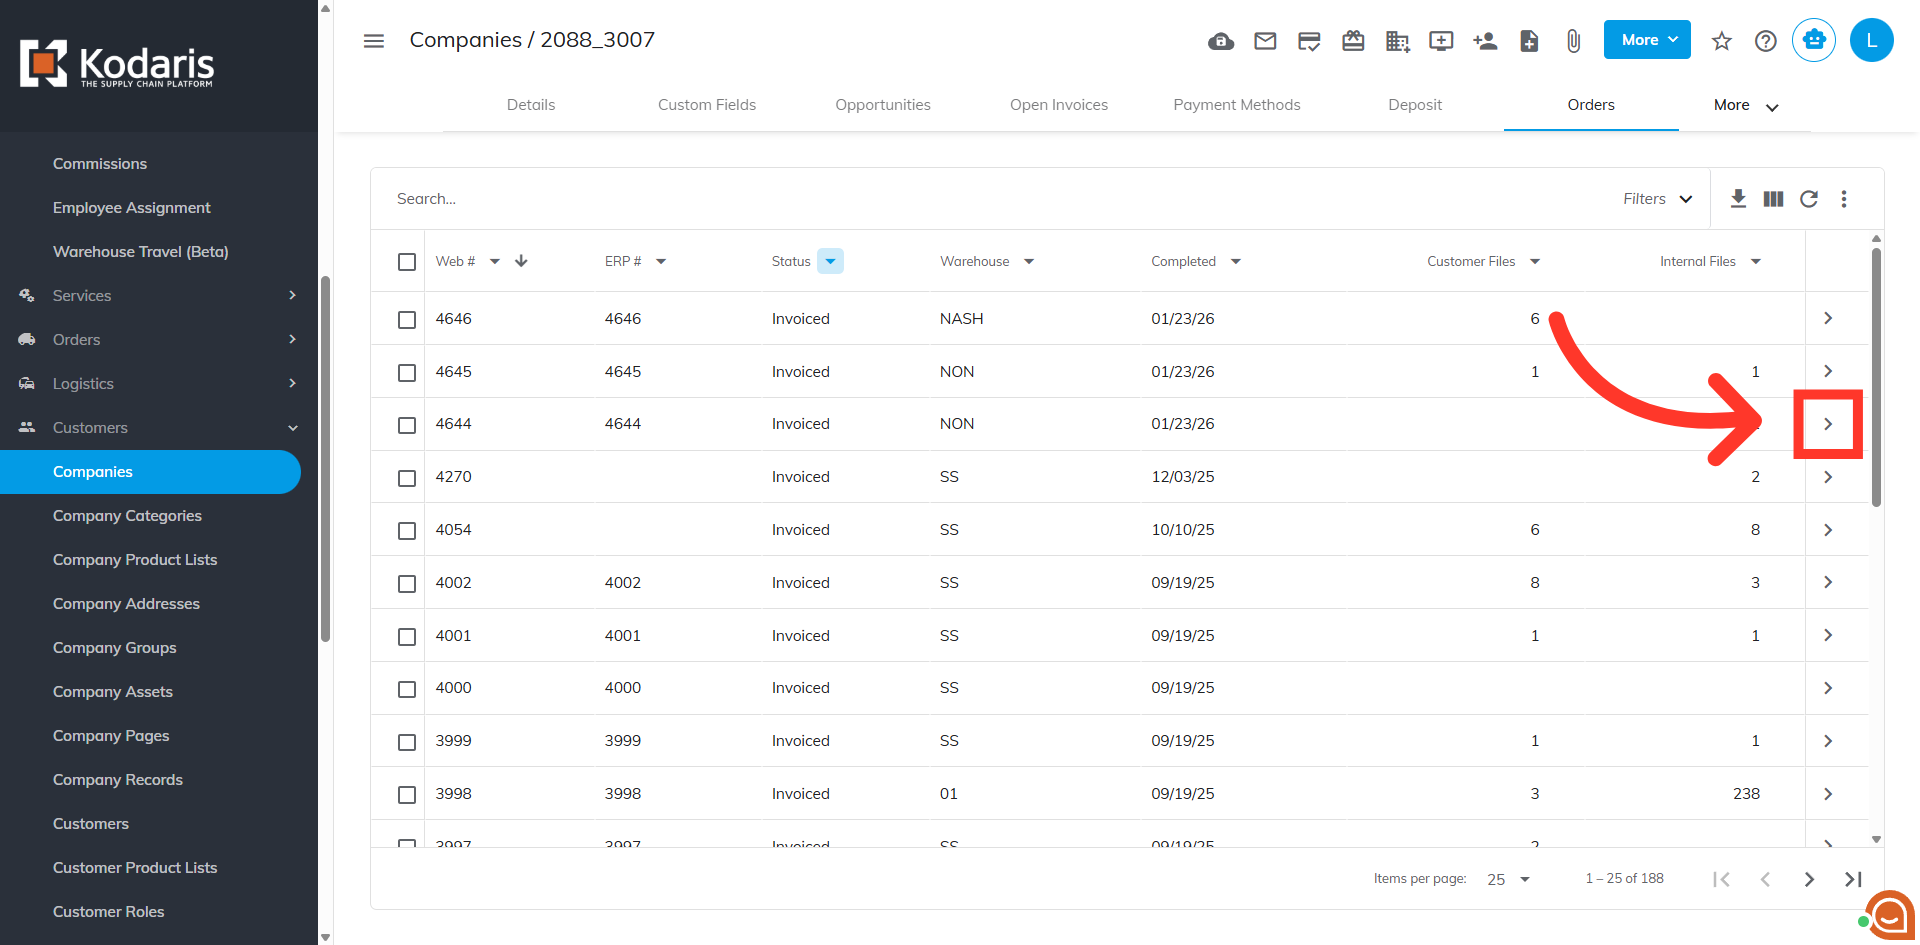
Click on the more details icon of the invoice to view its details.
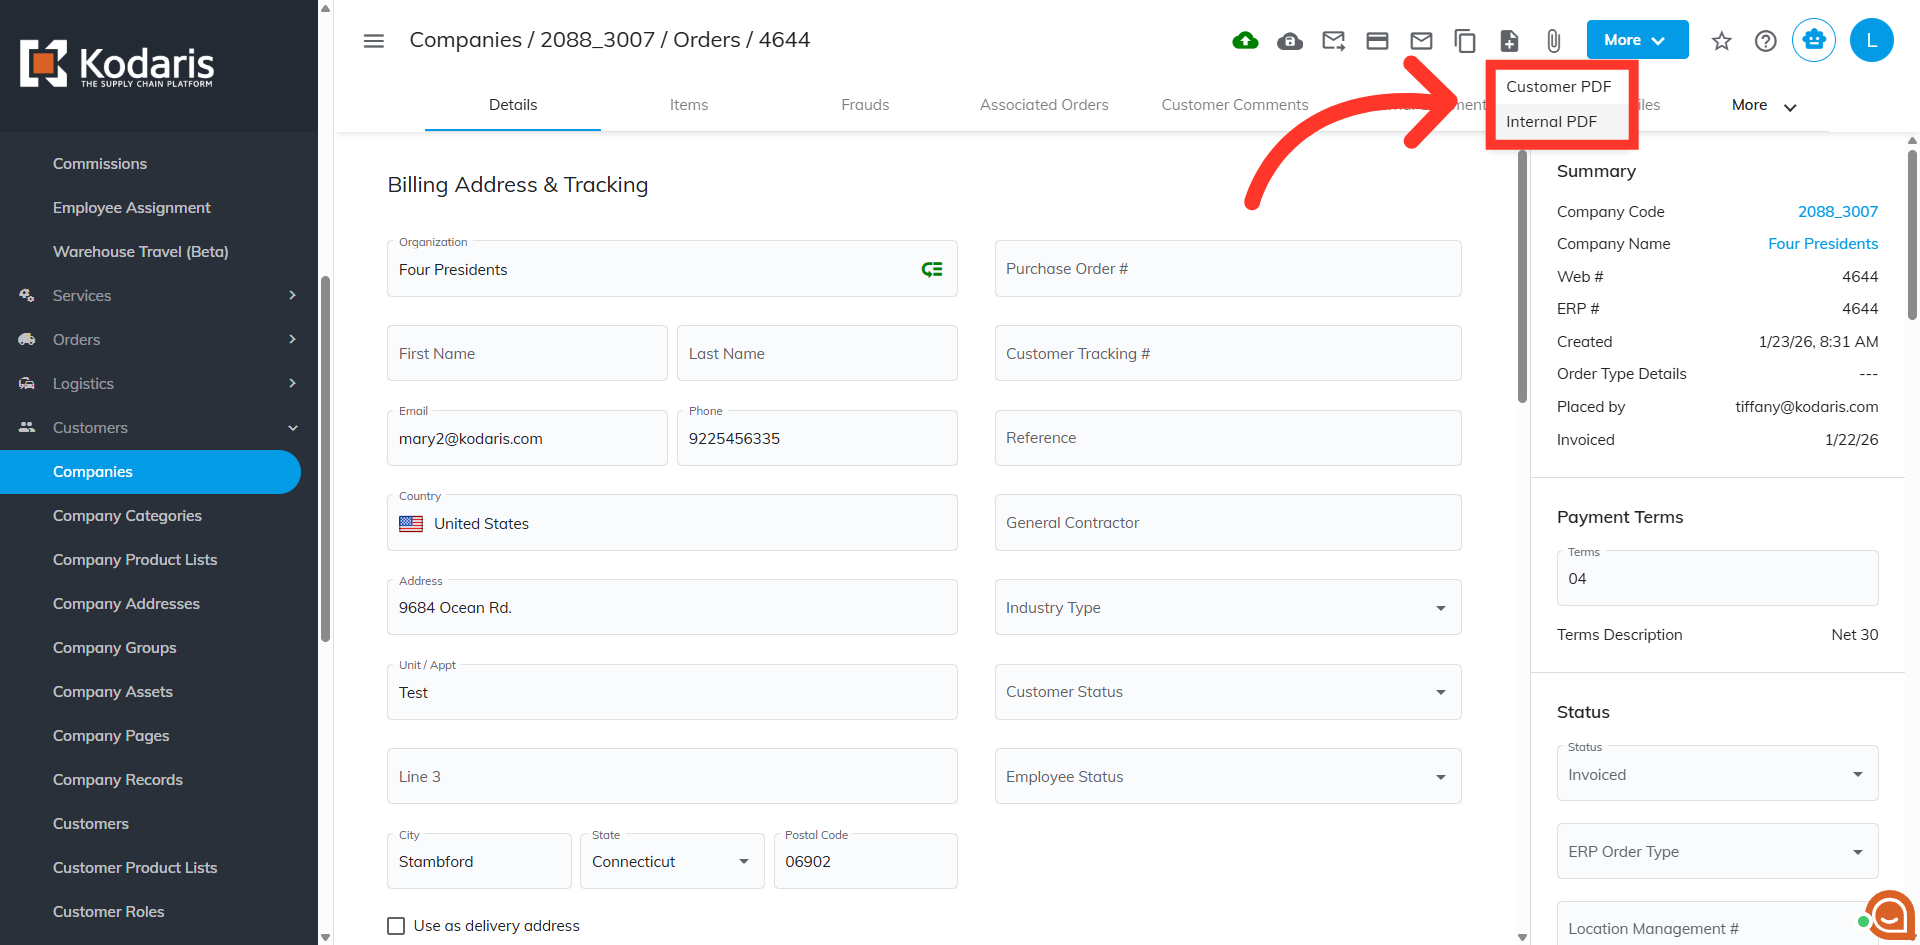
To generate an invoice, click the "Generate File" icon.
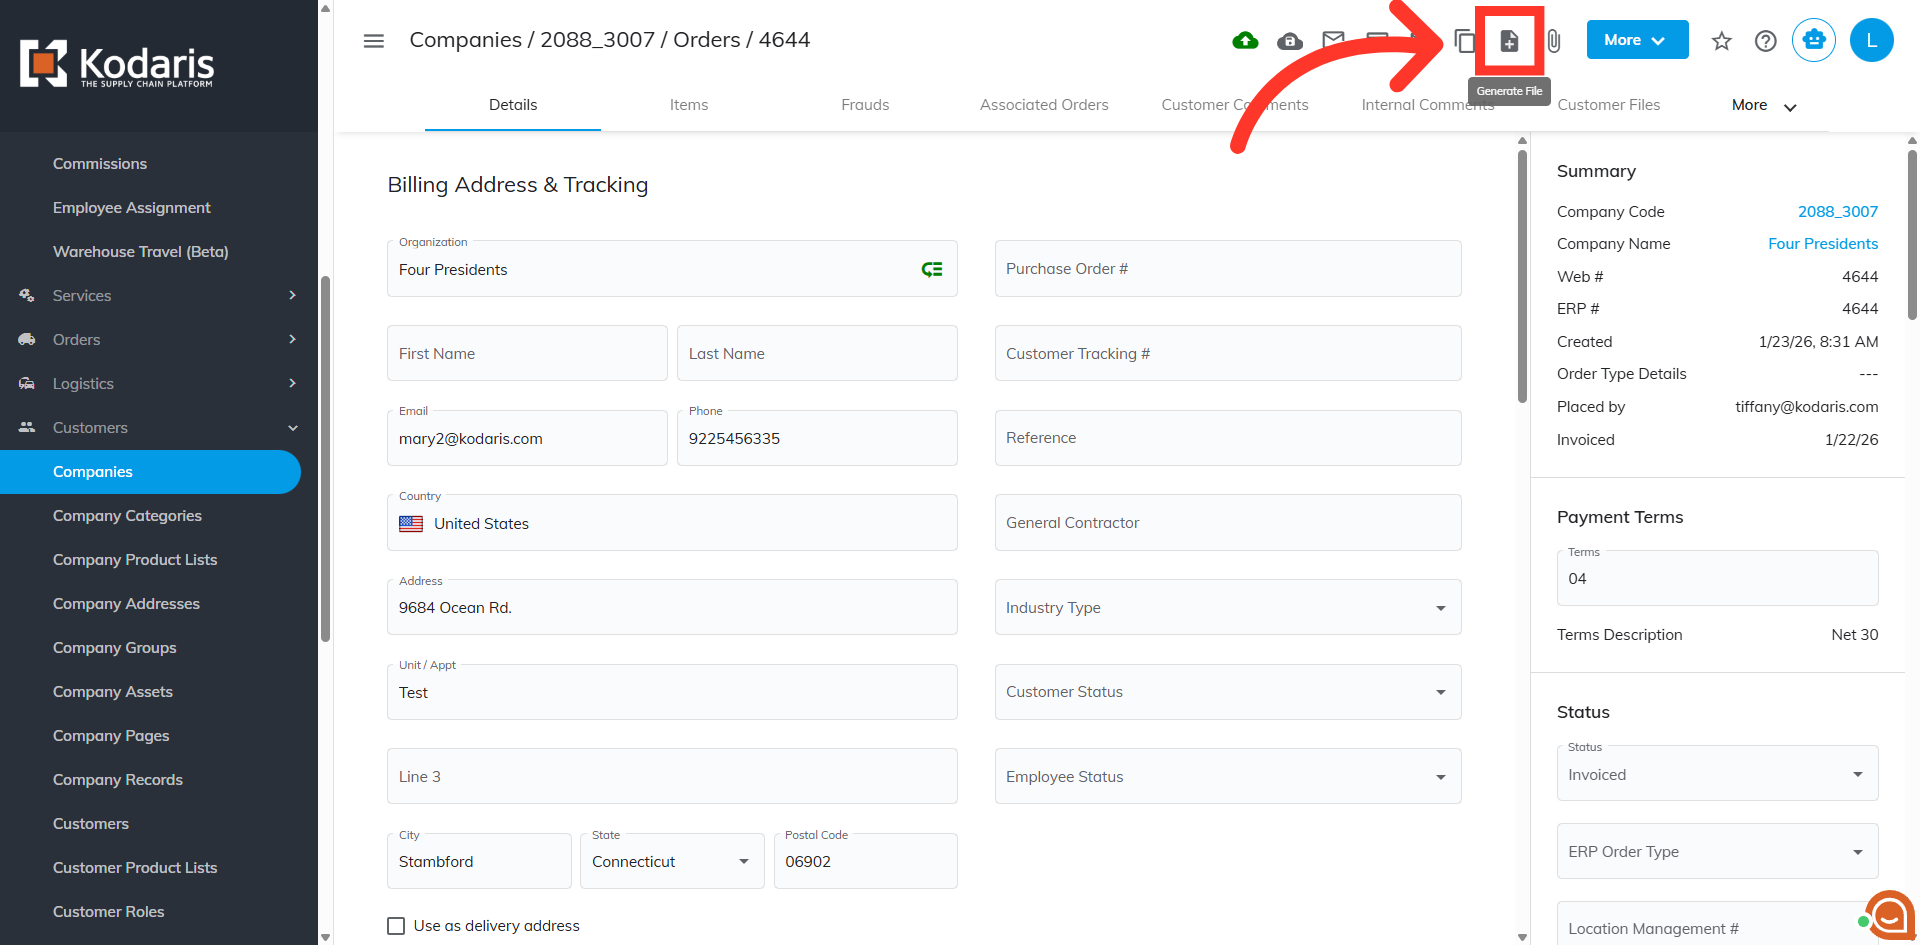
Select the type of file you want to generate. The "Customer PDF" will save under "Customer Files" section on the order and will be visible to your customer. The "Internal PDF" will save to the "Internal Files" tab on the order and is only viewable to employees in the Operations Portal. For this example, we will select the "Internal PDF" option.
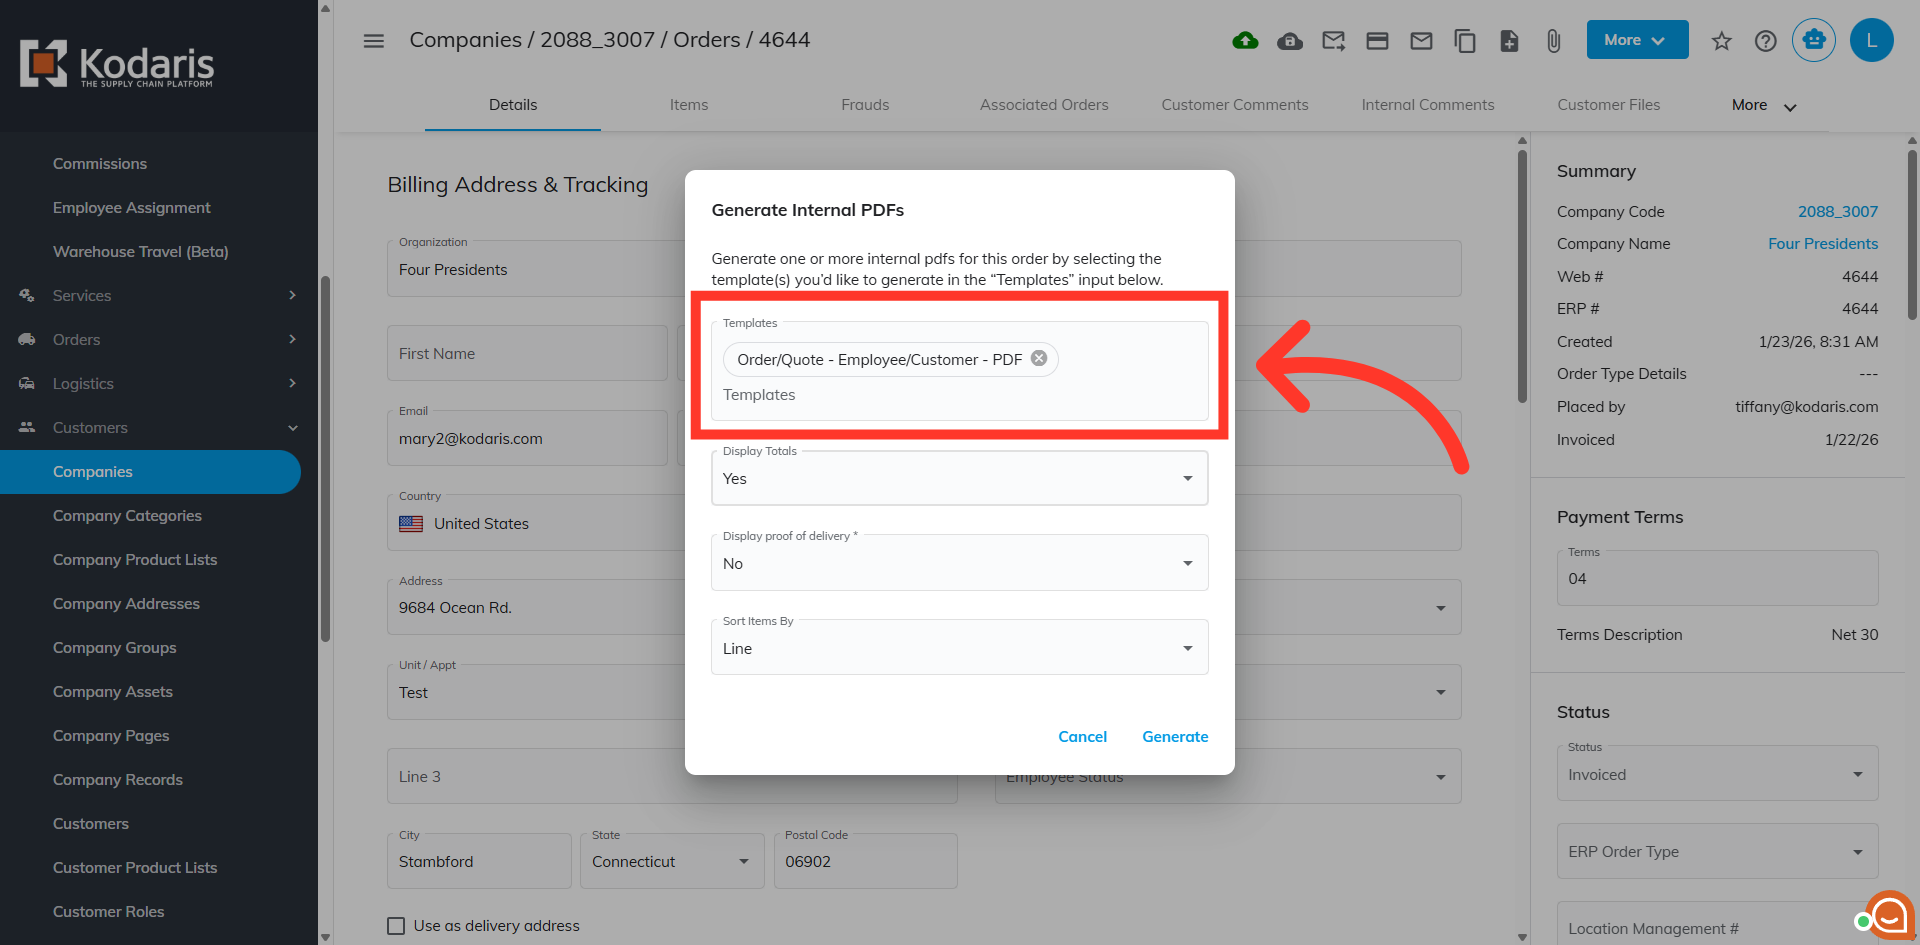
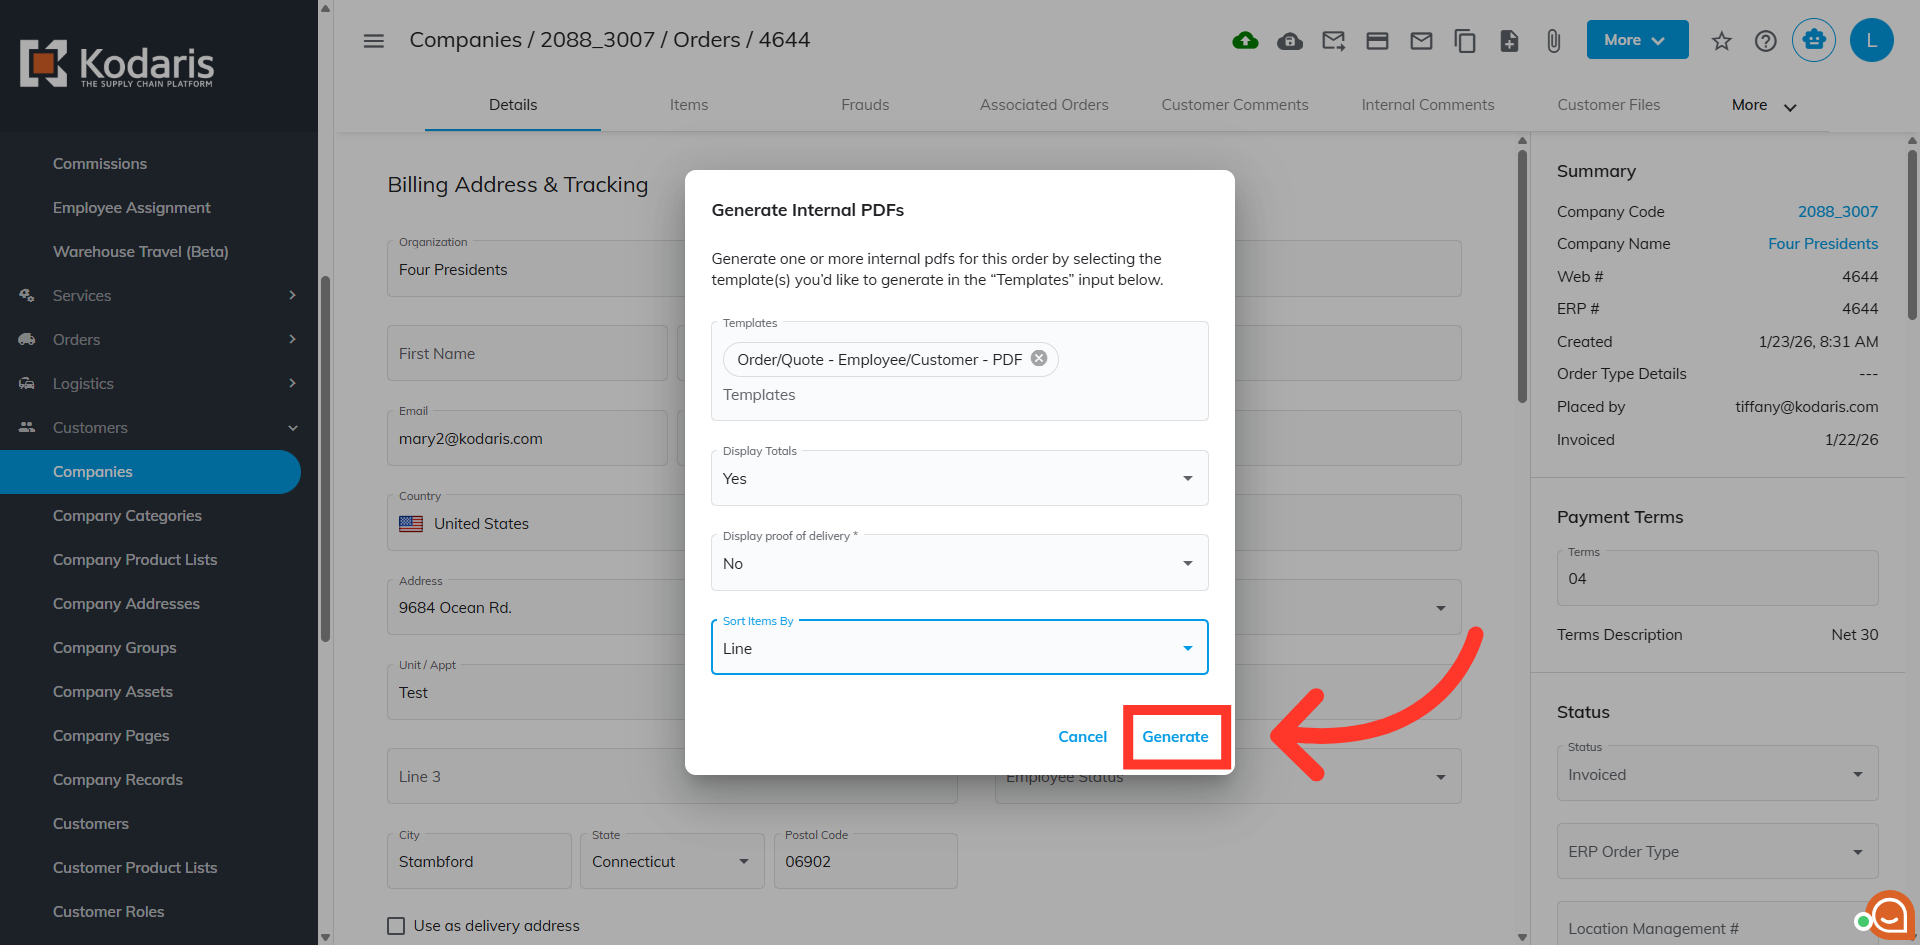
The "Generate Internal PDF's" window will show with the default template selected.
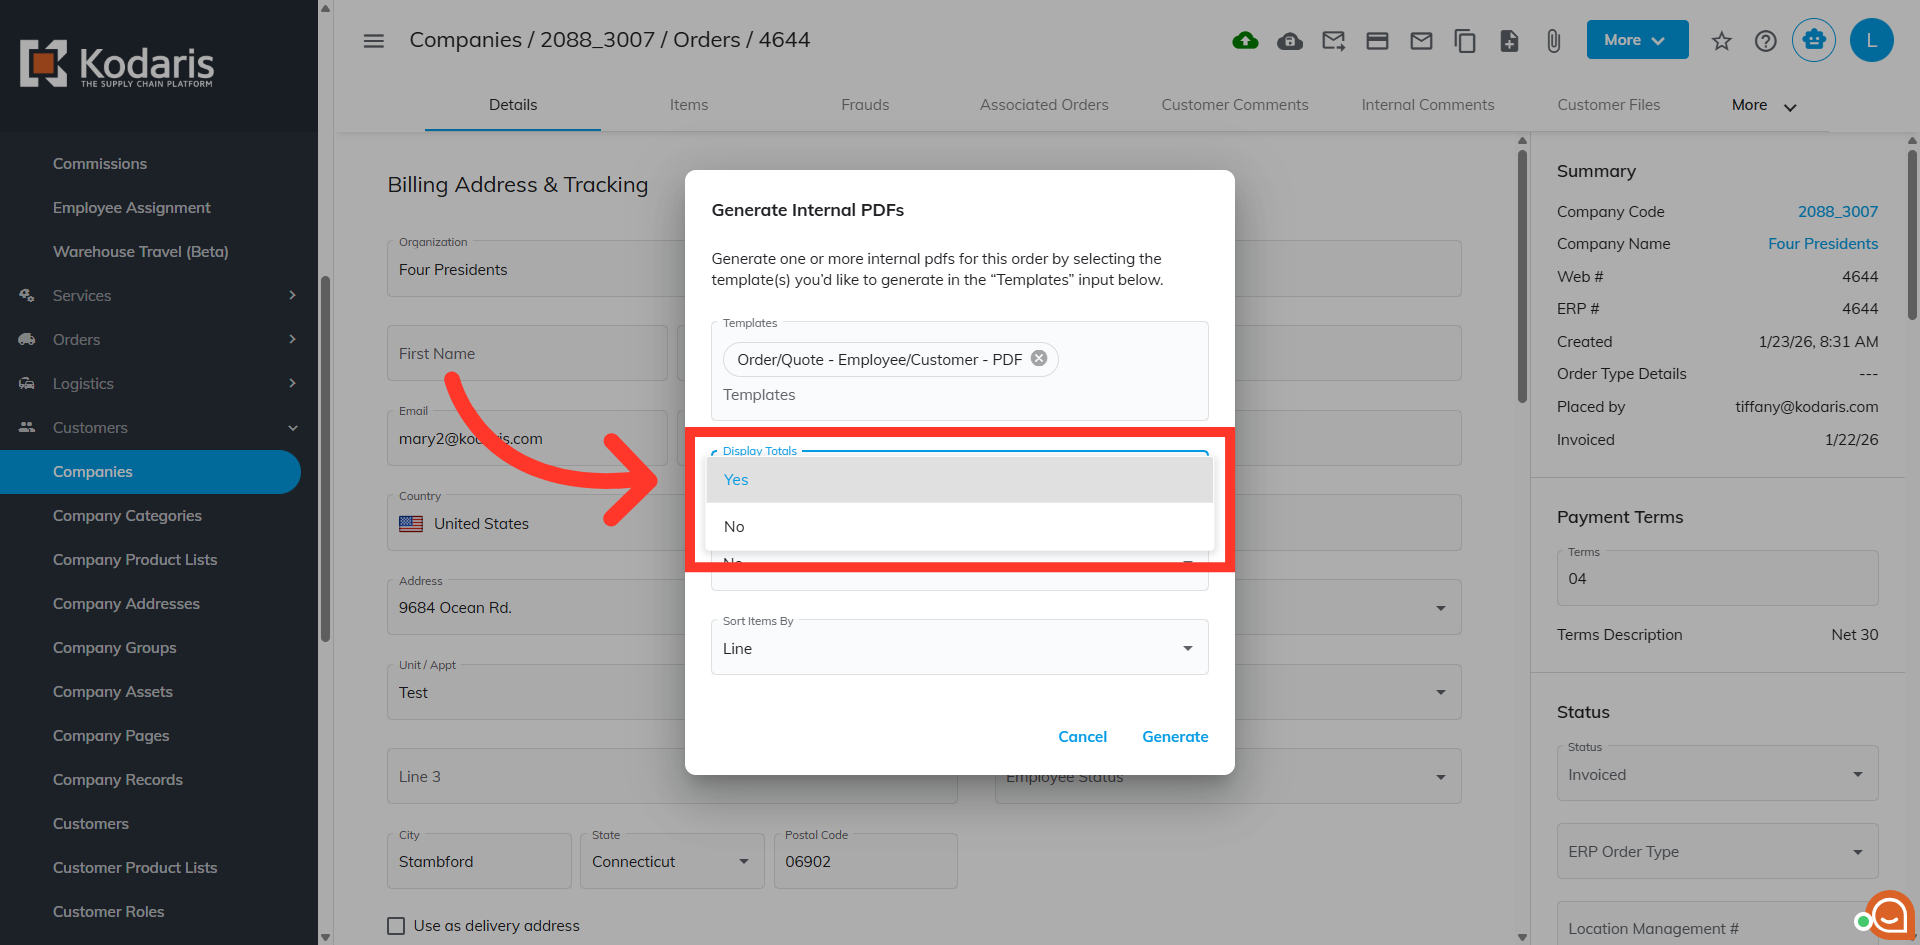
The default setting to display totals on the invoice is set to "Yes", but you can select "No" if you don't want the totals to be displayed.
If this is enabled for your system, you also have the option to sort the items by "Line" or by "Product Group".
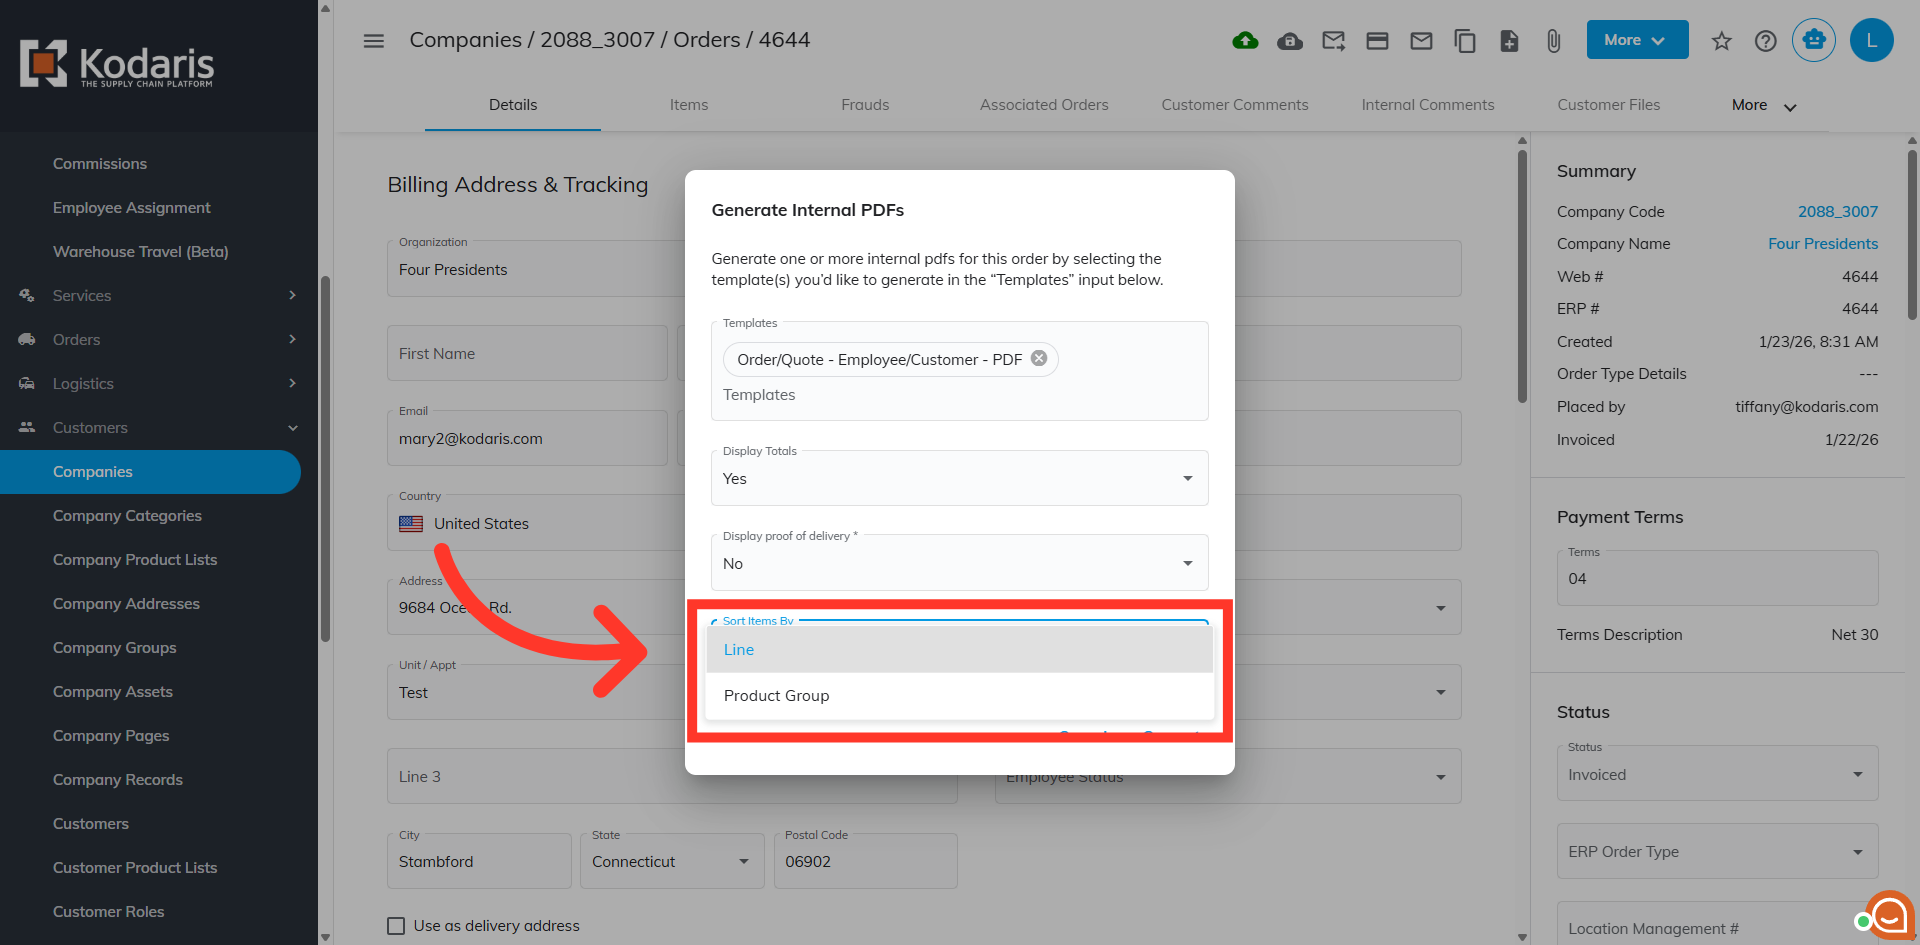
After choosing your options, click "Generate".
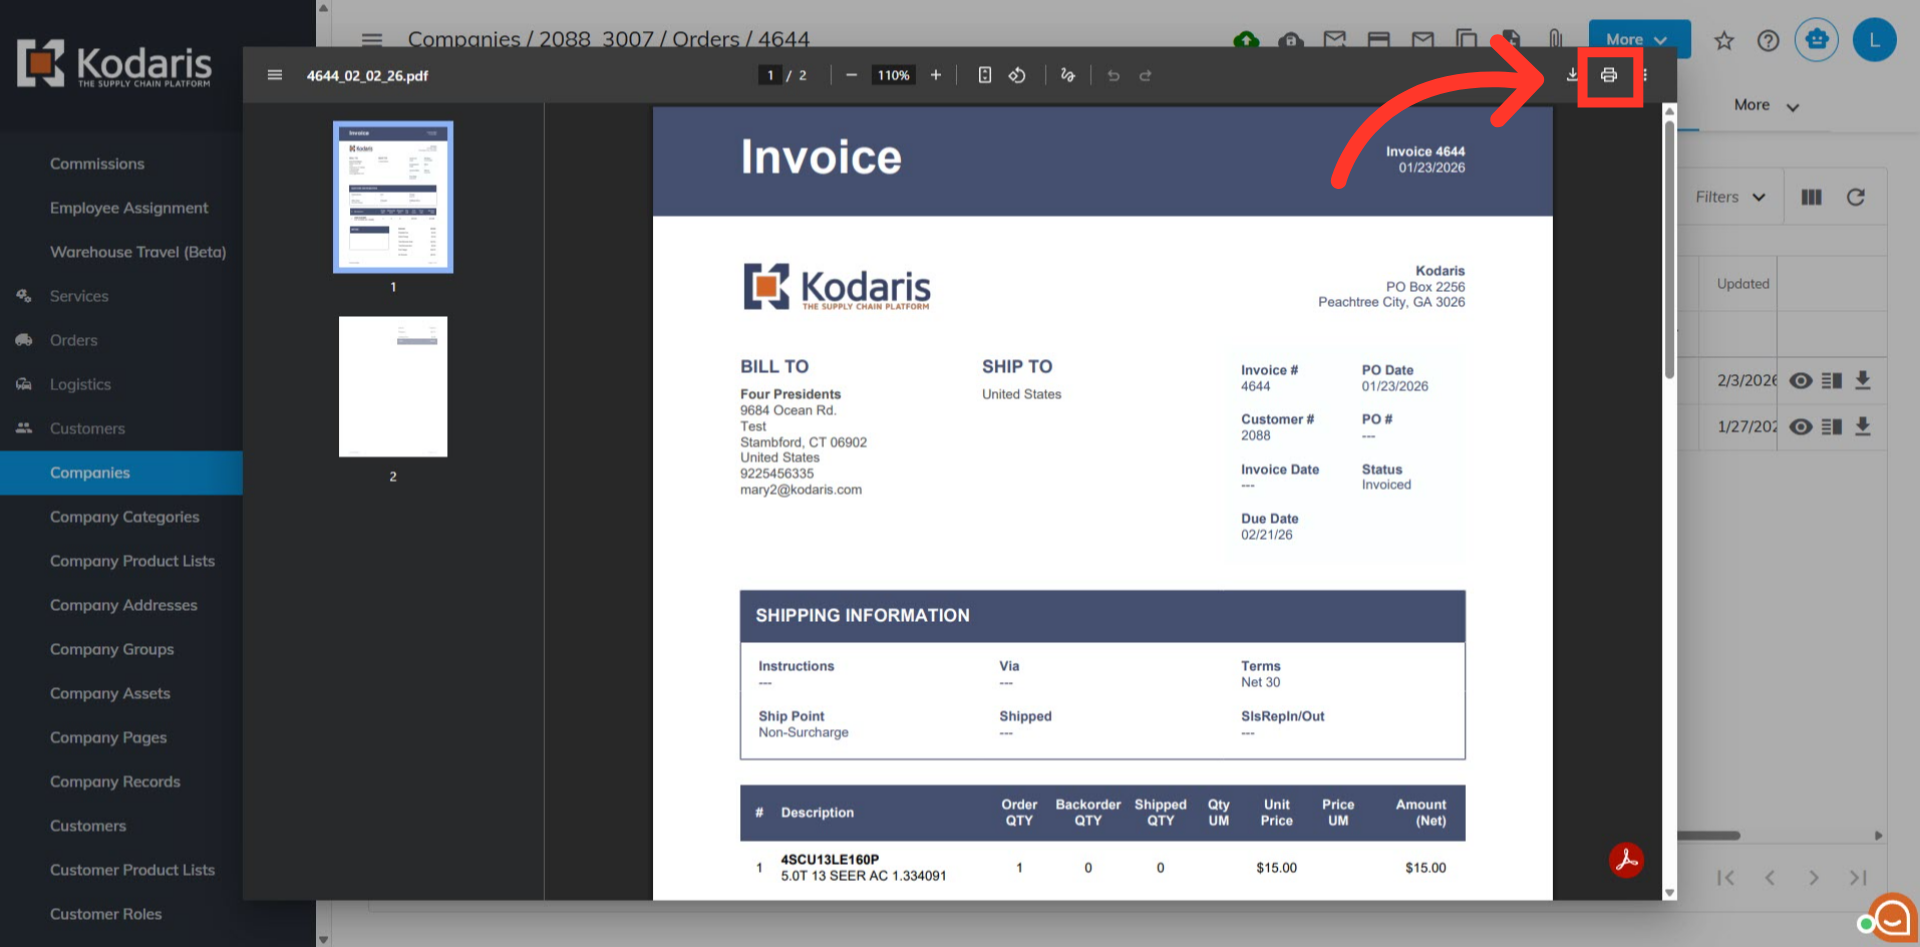
The "Internal Files" screen will automatically open with the generated invoice saved. To view, click on the "Preview" icon.

You now have the option to download or print the invoice. Click on the "Print" icon to print the invoice.