Customers can use the "Direct Shipped" filter on product listings to narrow down items that can be "direct shipped".

To configure the filter, first, navigate to "PIM" section in the Operations Portal.

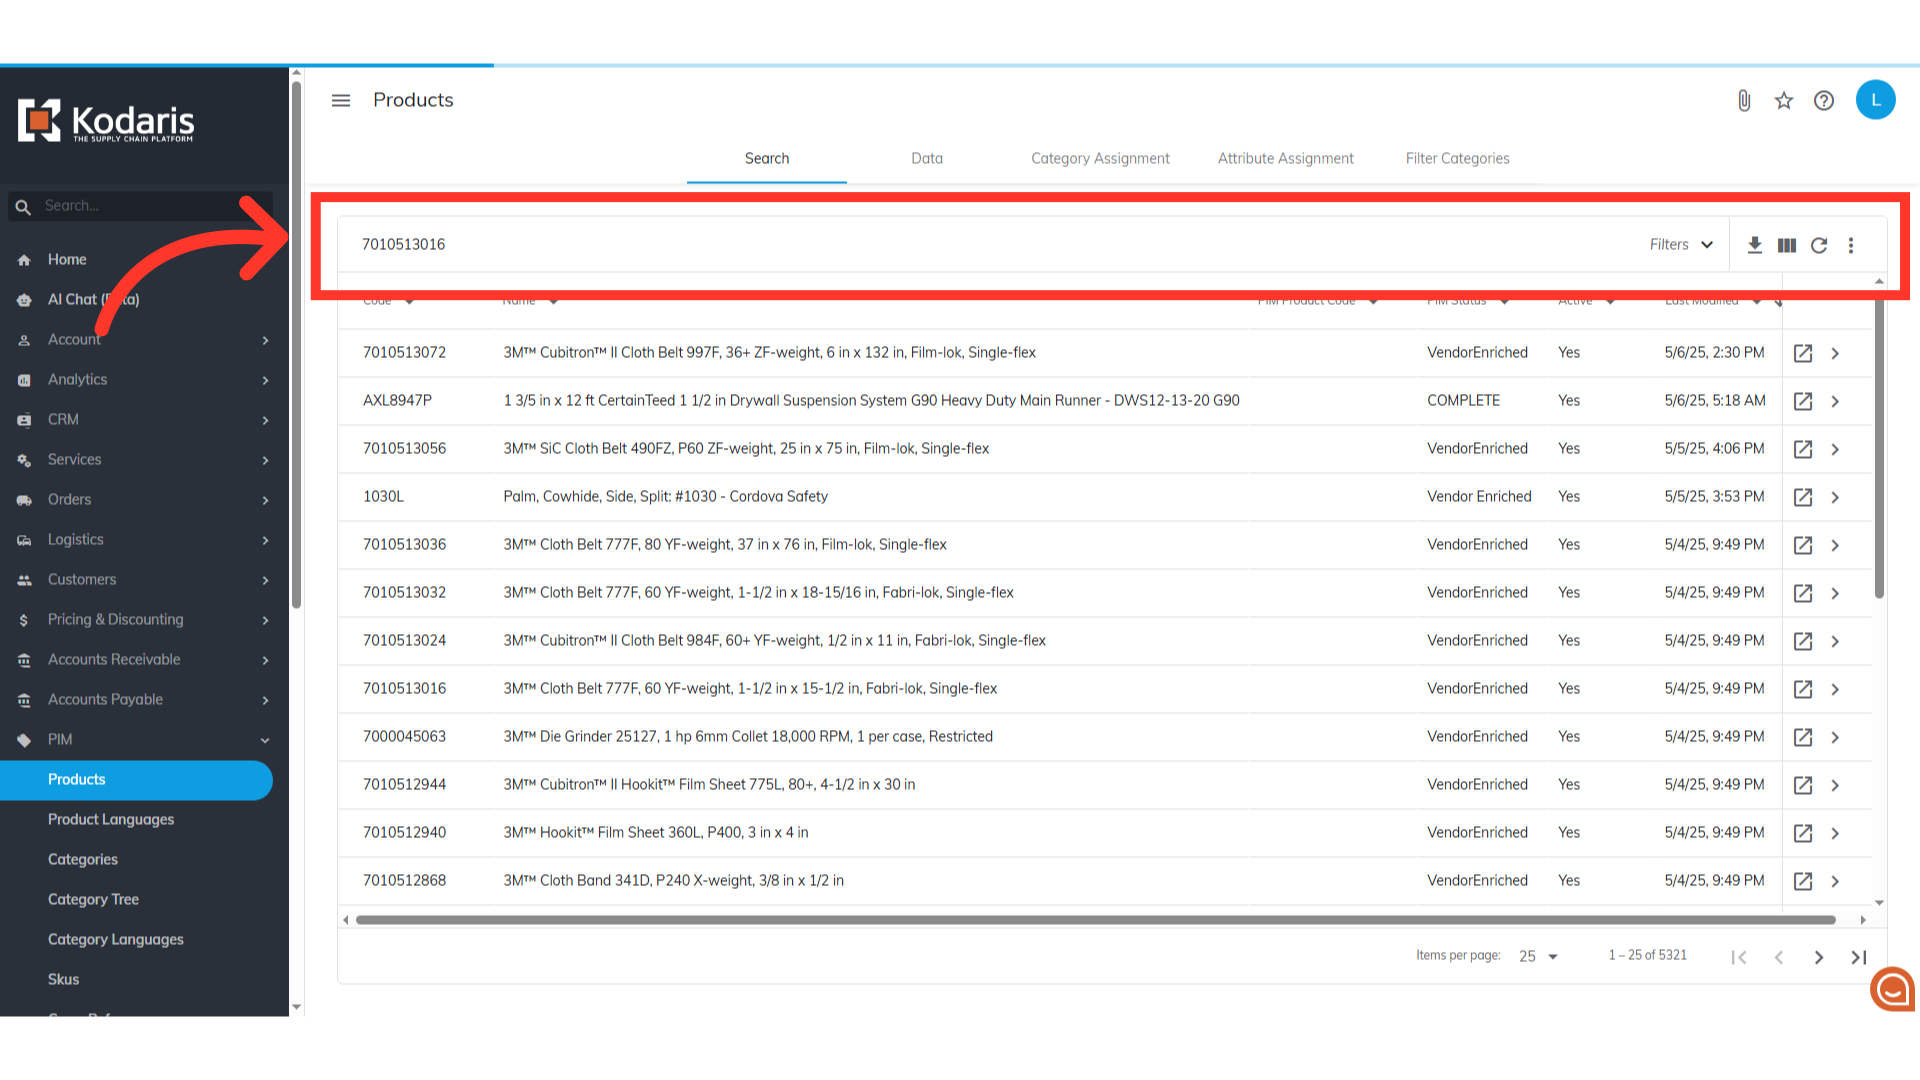
Then, go to "Products". In order to access and update "Products" you will need to be set up either as an "administrator" or a "superuser", or have the roles of: "productView" and "productEdit".

Search for the product that you need to mark as "direct shipped." Search the product by code or name.
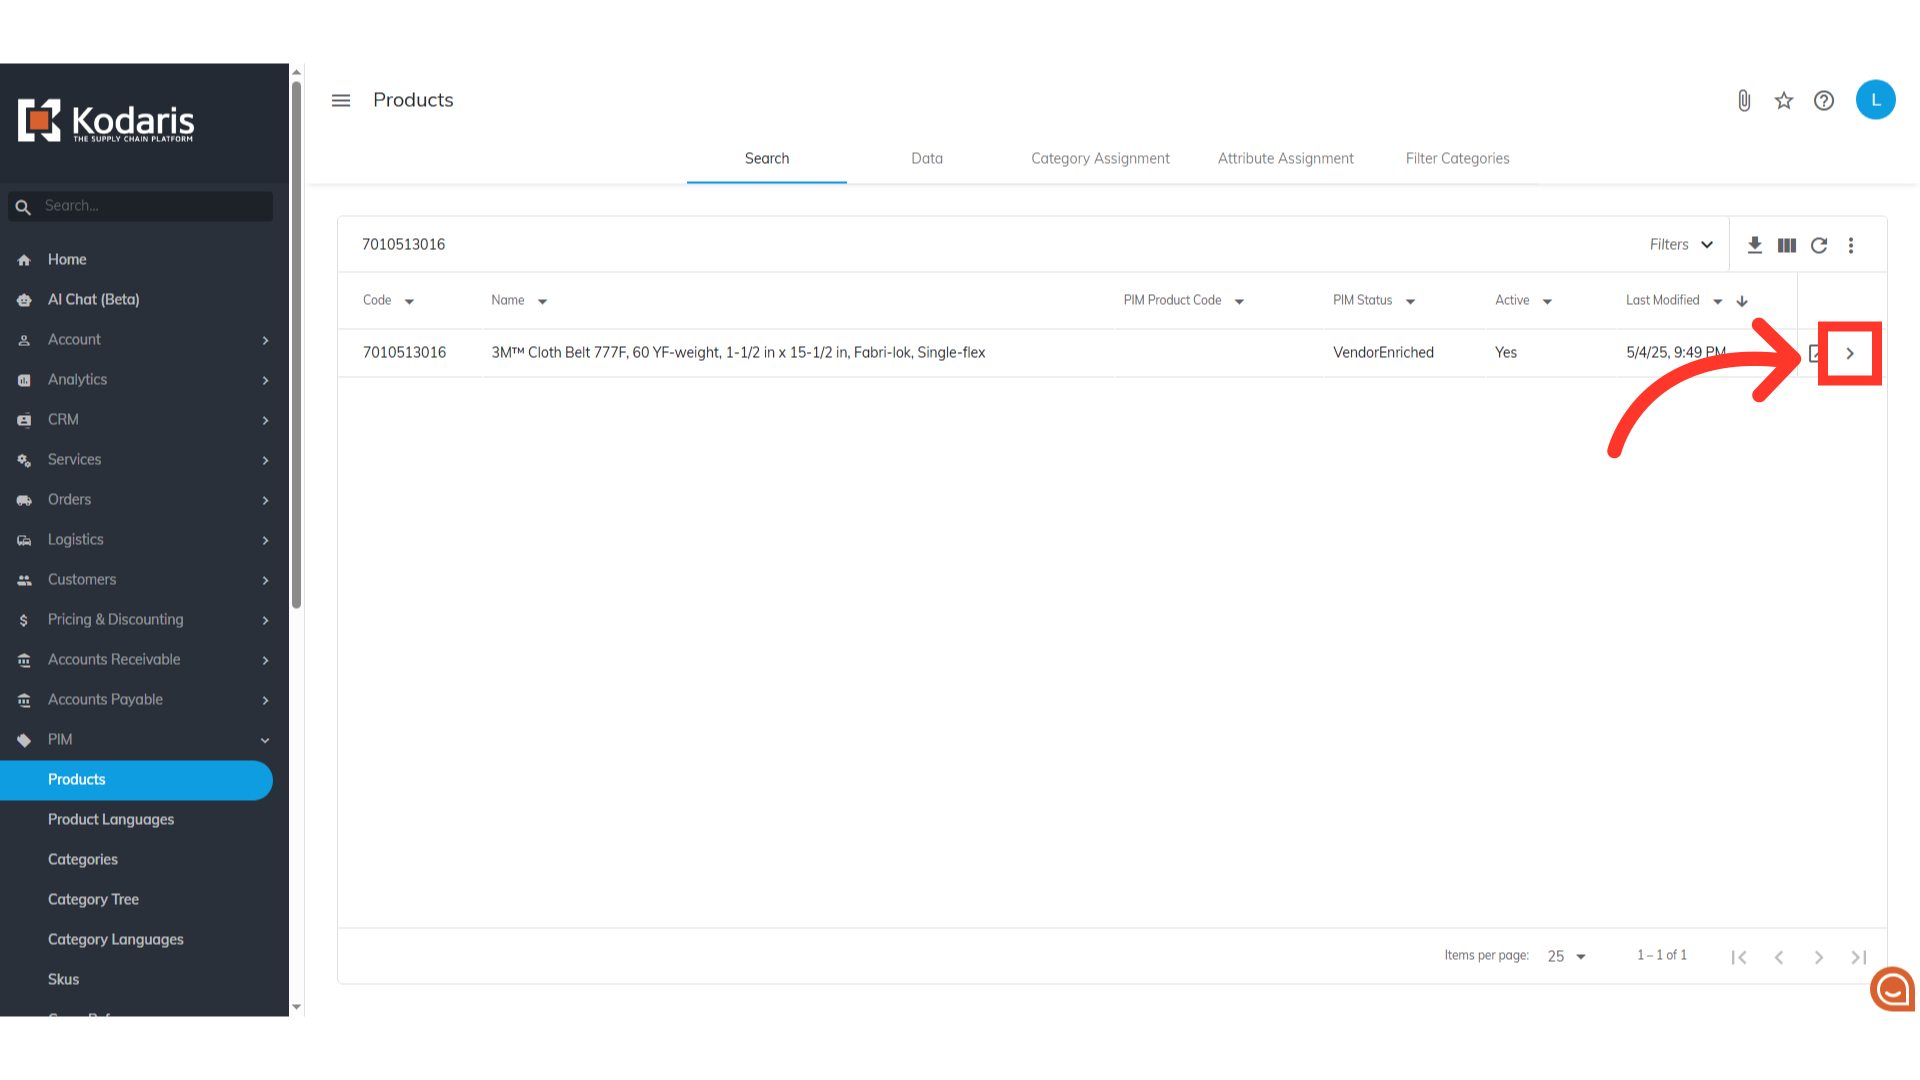
Once you find the product, click the icon for more details.
Next, scroll down to look for the "Direct Shipped" dropdown and select "Yes". Once you’ve done this, the system will now recognize this product as direct shipped. Do this to all the products you want to tag as Direct Shipped. If you have a lot of products that need to be updated as Direct Shipped products, you can update the products by importing.

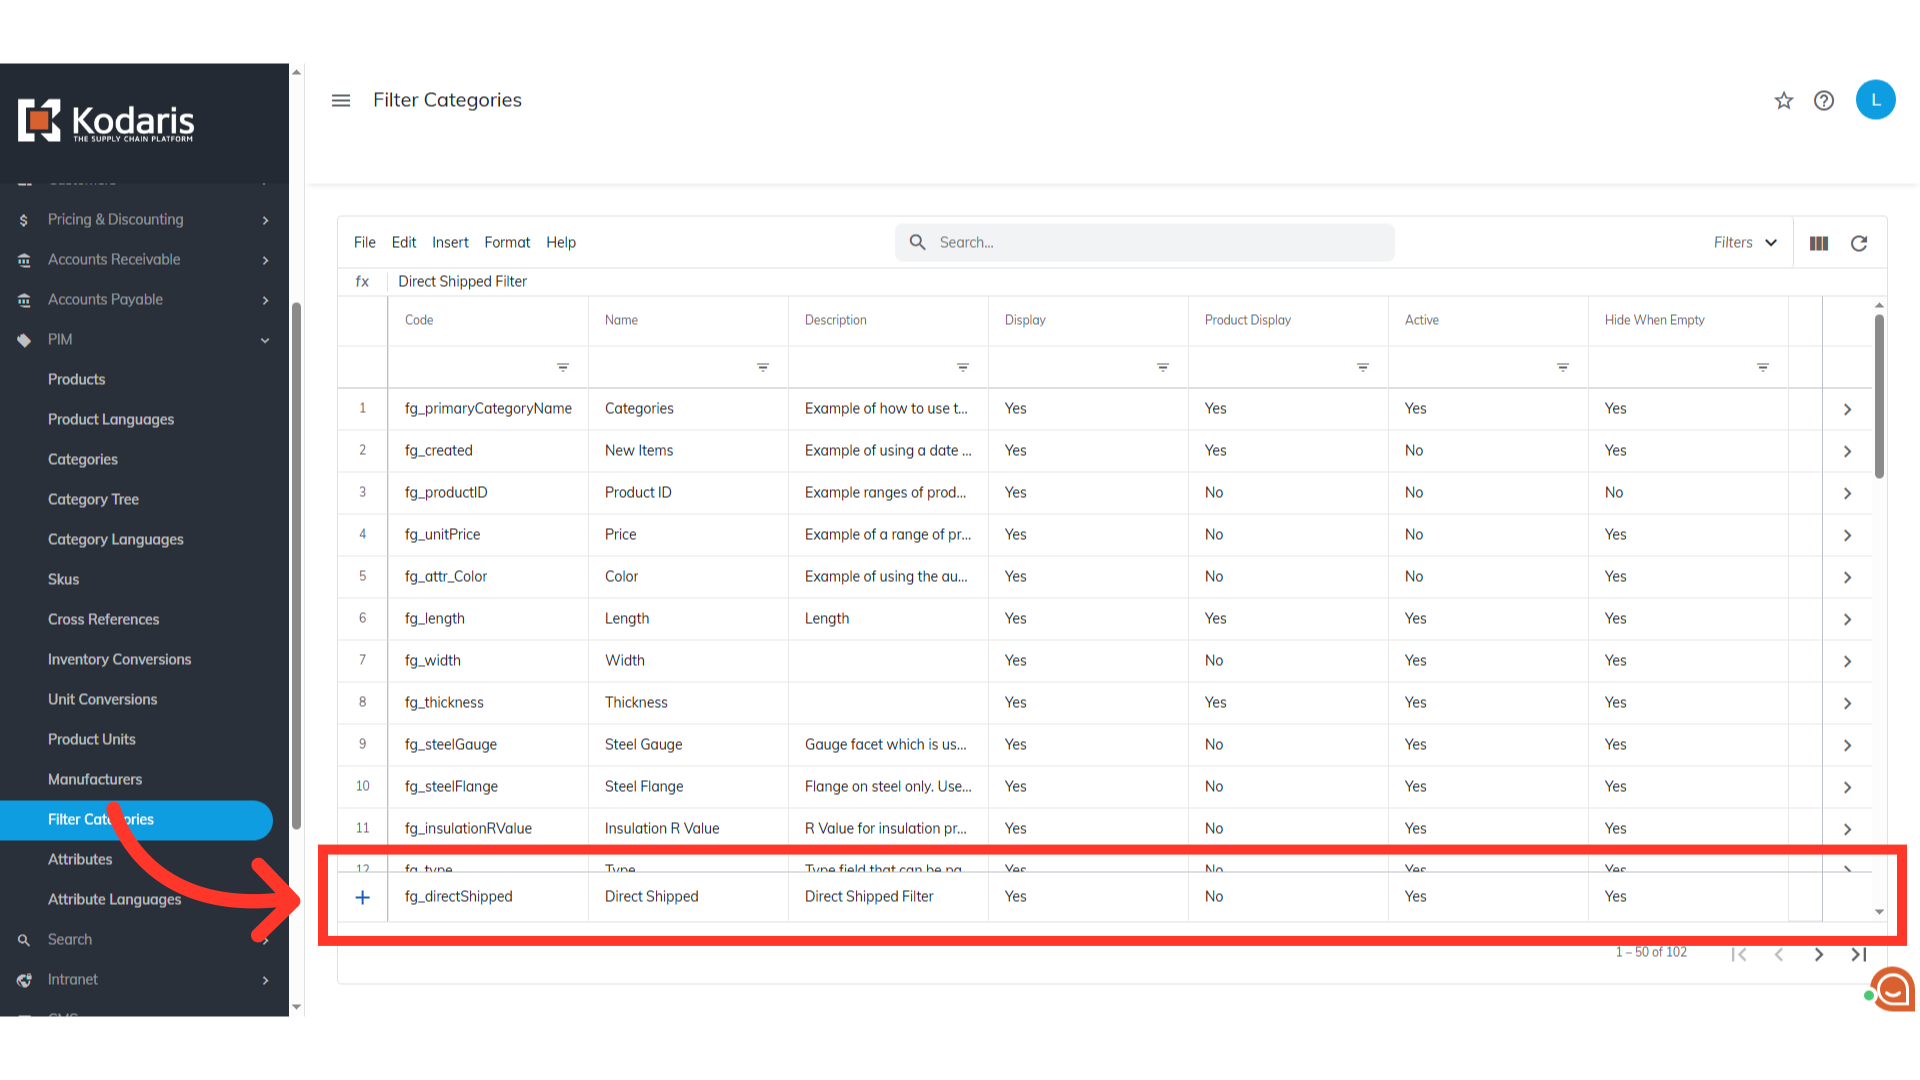
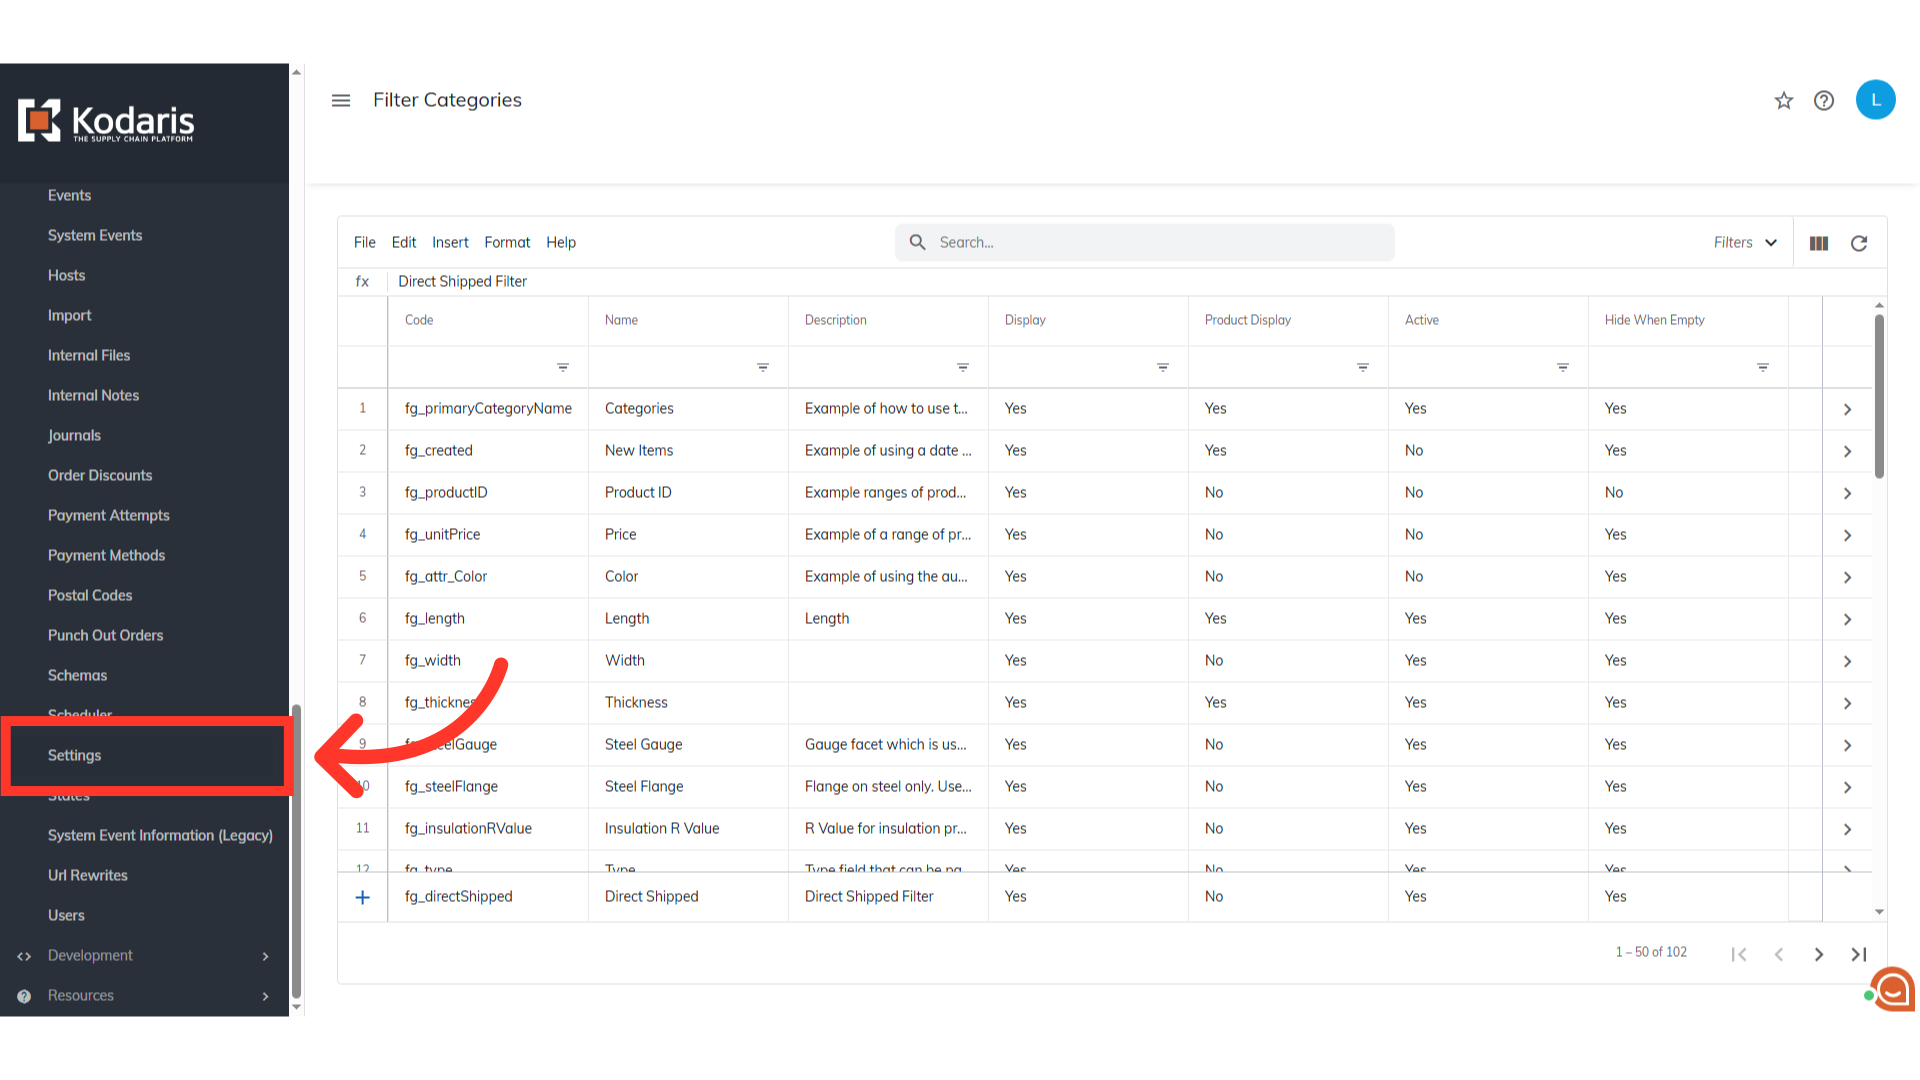
We now need to create a "Filter Category," for all direct shipped products. Under "PIM" section, select "Filter Categories".

First, check if the filter category already exists. Search for "fg_directShipped". If it doesn't exist, you'll need to add it as a filter category. If it does, simply go to its details screen and make sure that the details are the same to the setting on the next steps.

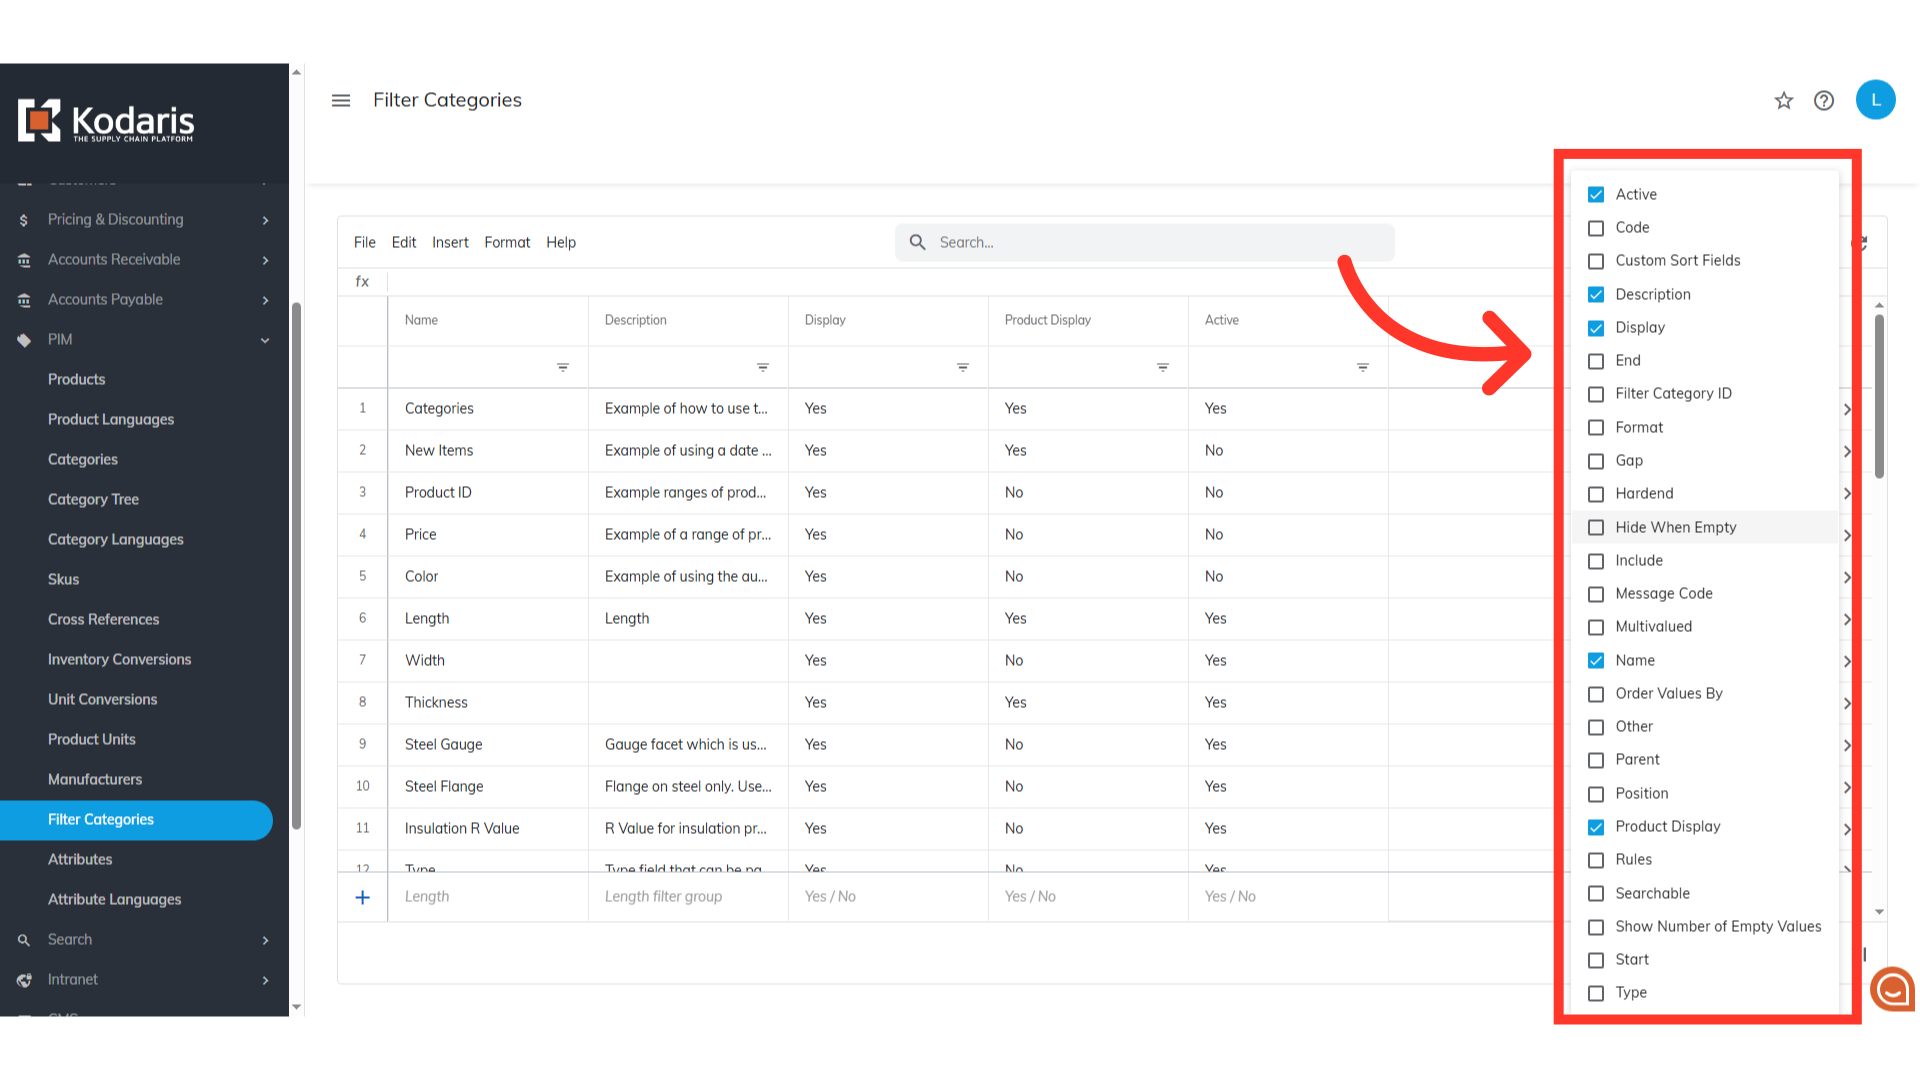
Click on the "Show/Hide Columns" icon.

To create the filter category easily with the add row feature, show the Code, Name, Description, Display, Product Display, Active, and Hide Group When Empty columns on your screen. You may also hide any unwanted columns.
To create a new filter category. Notice the fields below the data table. Enter data here to create a new filter. Each field represents the data for a specific column.
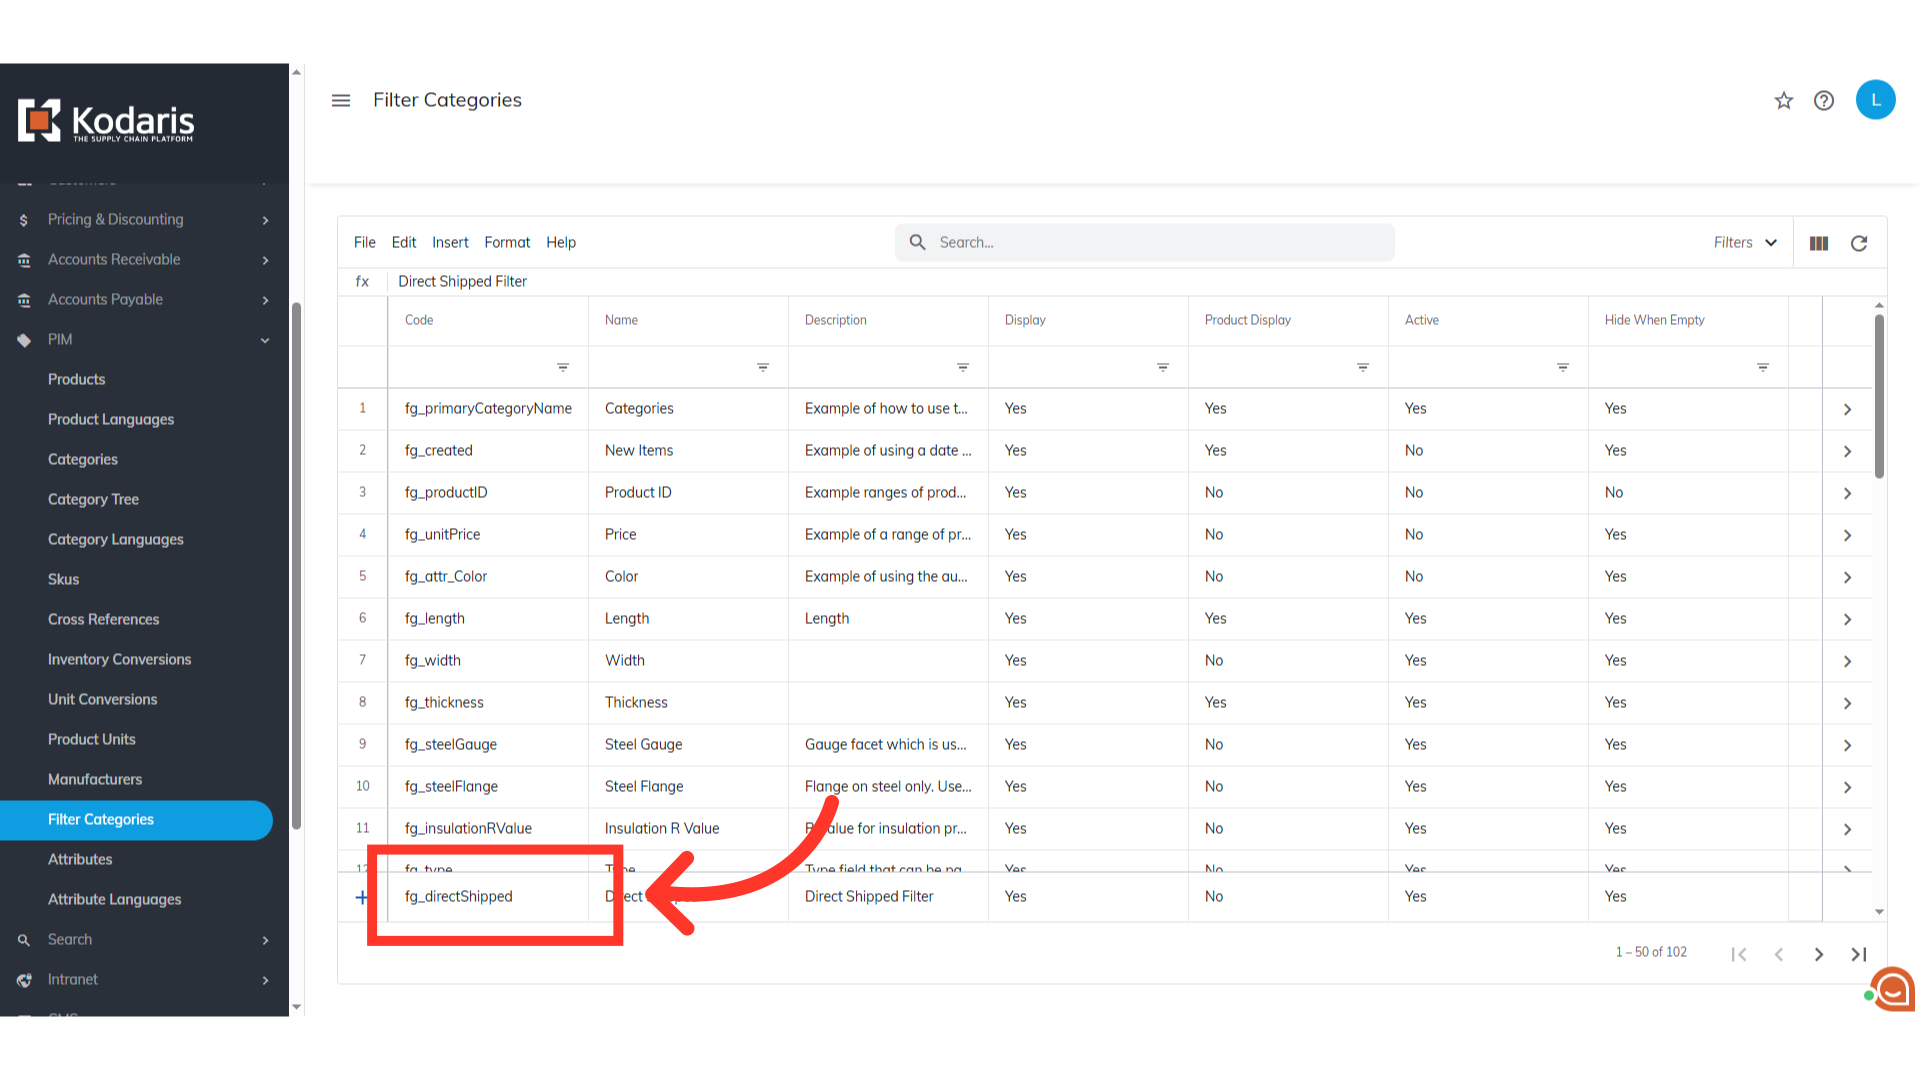
Populate the "Code" field with "fg_directShipped".
The name of the filter category with "Direct Shipped"

The "Description" simply explains what the filter category does.

Set Display to "Yes". This enables the filter's visibility on the site.

Set Product display to "No".

Set Active to "Yes".

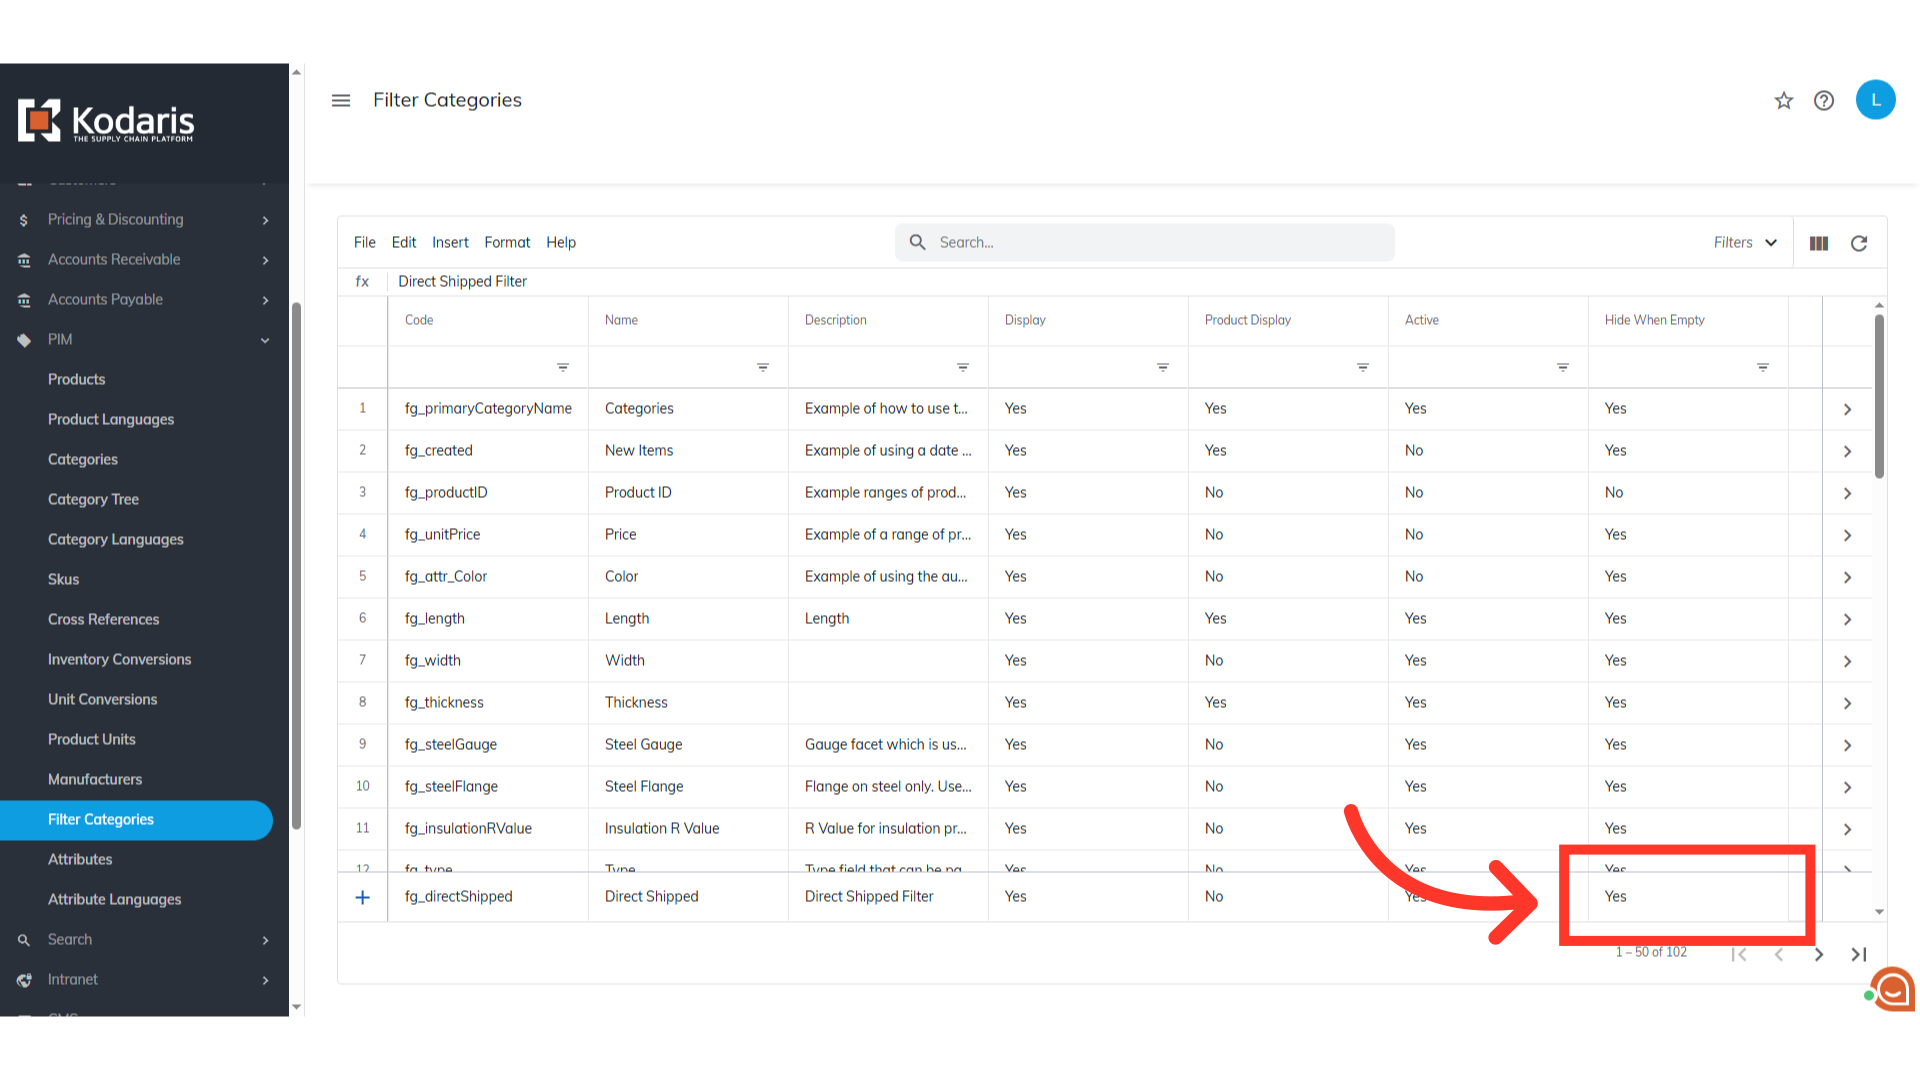
Set "Hide When Empty" to "Yes," so it the filter category will not be shown on the commerce site when there are no direct shipped products. Press "Enter" key to add the new filter category.
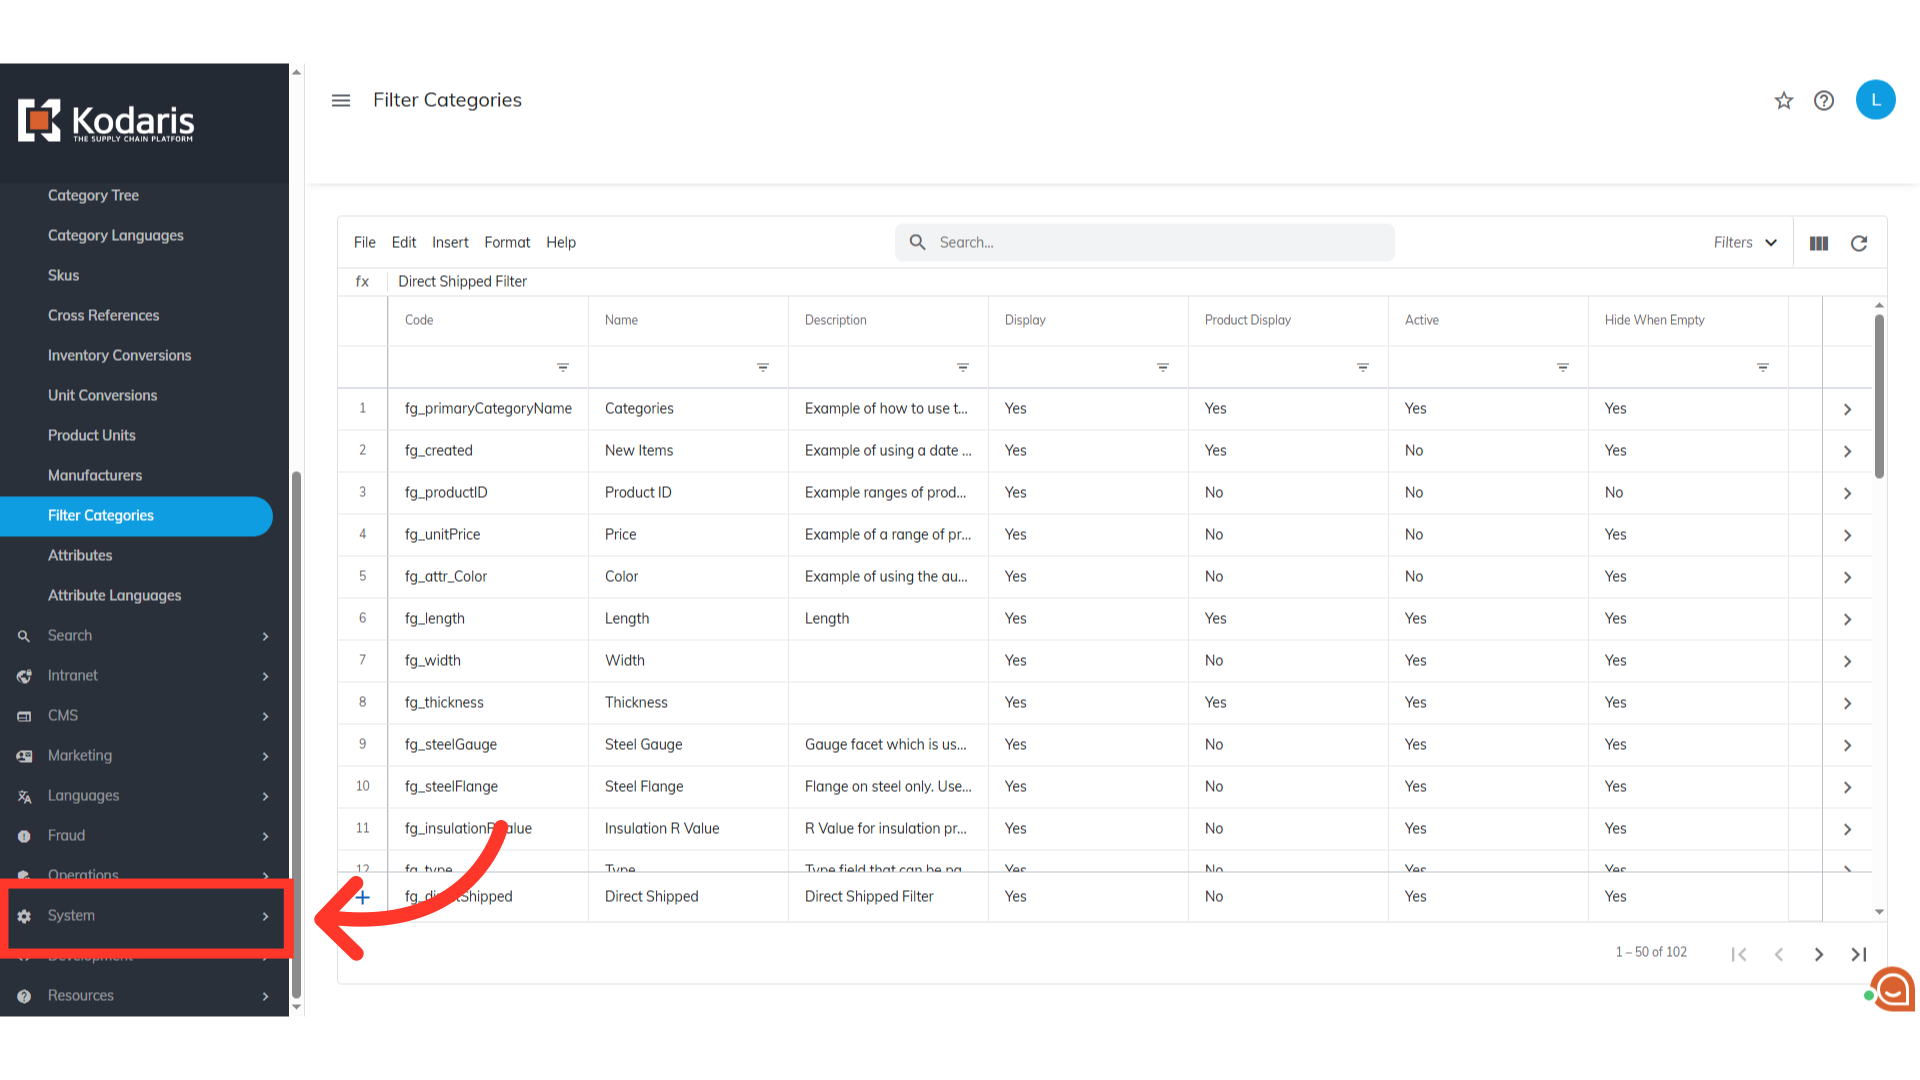
You now have a filter category for all direct shipped products. Next, we need to create a global setting named "integrationIndexedProductFields". This setting tells the system how to interpret products marked for direct shipped and link them to the filter category you just created. Navigate to "System" section.
Then, go to "Settings".
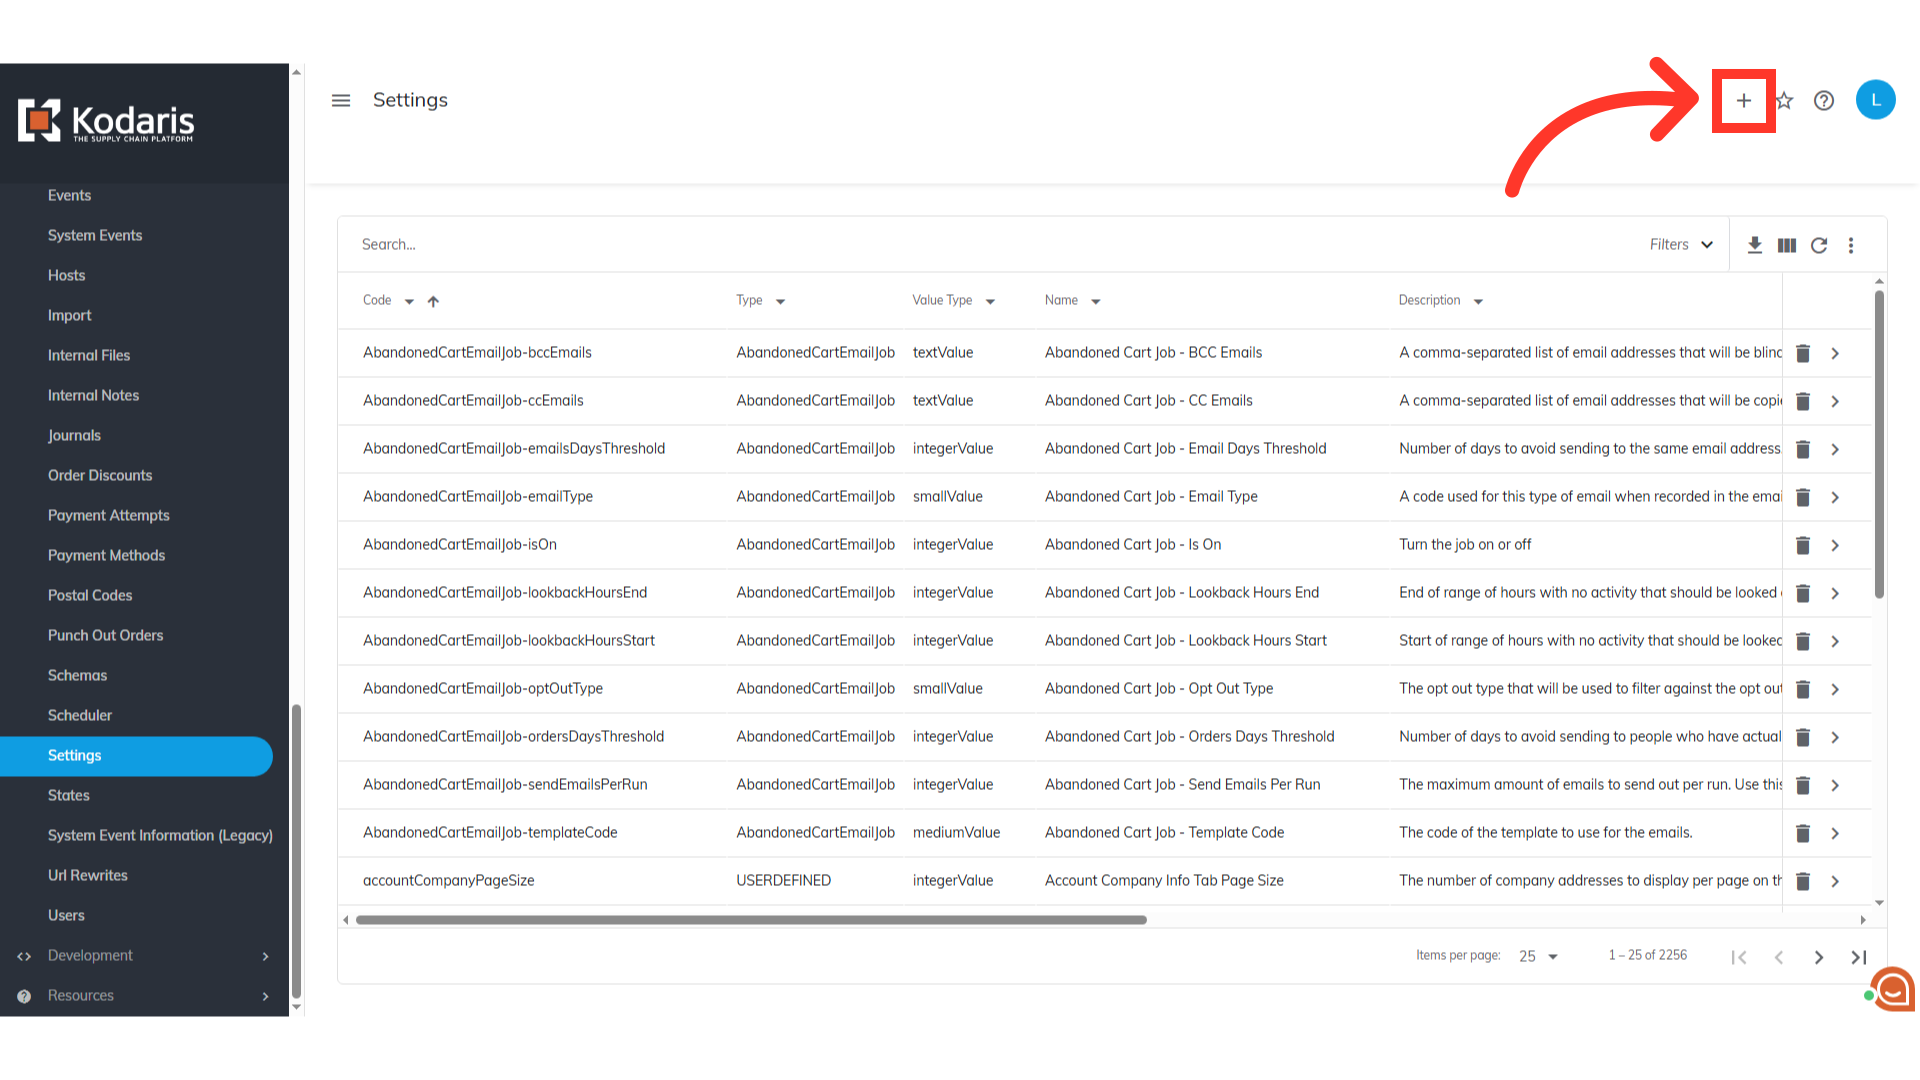
Search for "integrationIndexedProductFields". You will need to create one if the setting has not been created yet. Now, if the setting already exists, go to its details screen and apply the settings on the next steps.

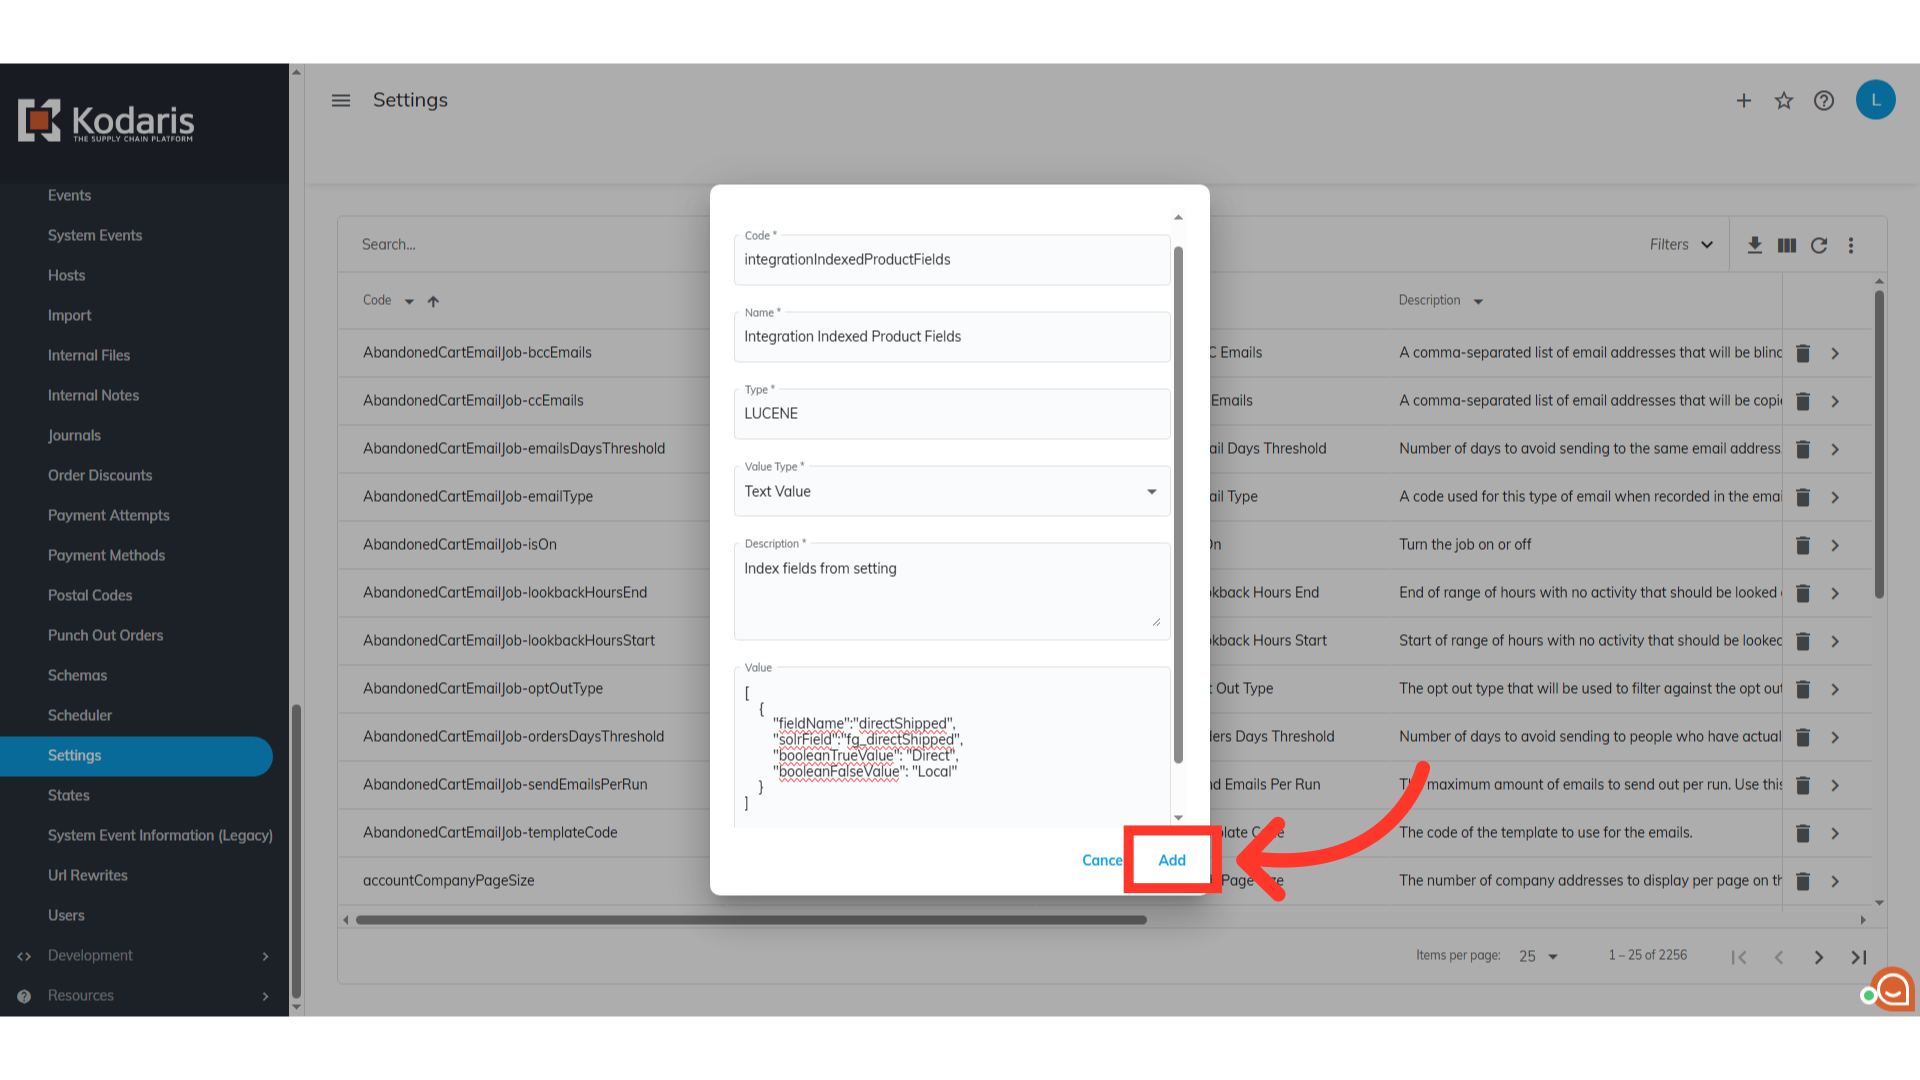
Let's start adding the setting. Click the "Add" icon. Then, fill out the fields on the "Add Setting" dialog box.
Populate the "code" field with the "integrationIndexedProductFields".

The name will serve as the label of the setting. Simply enter "Integration Indexed Product Fields".
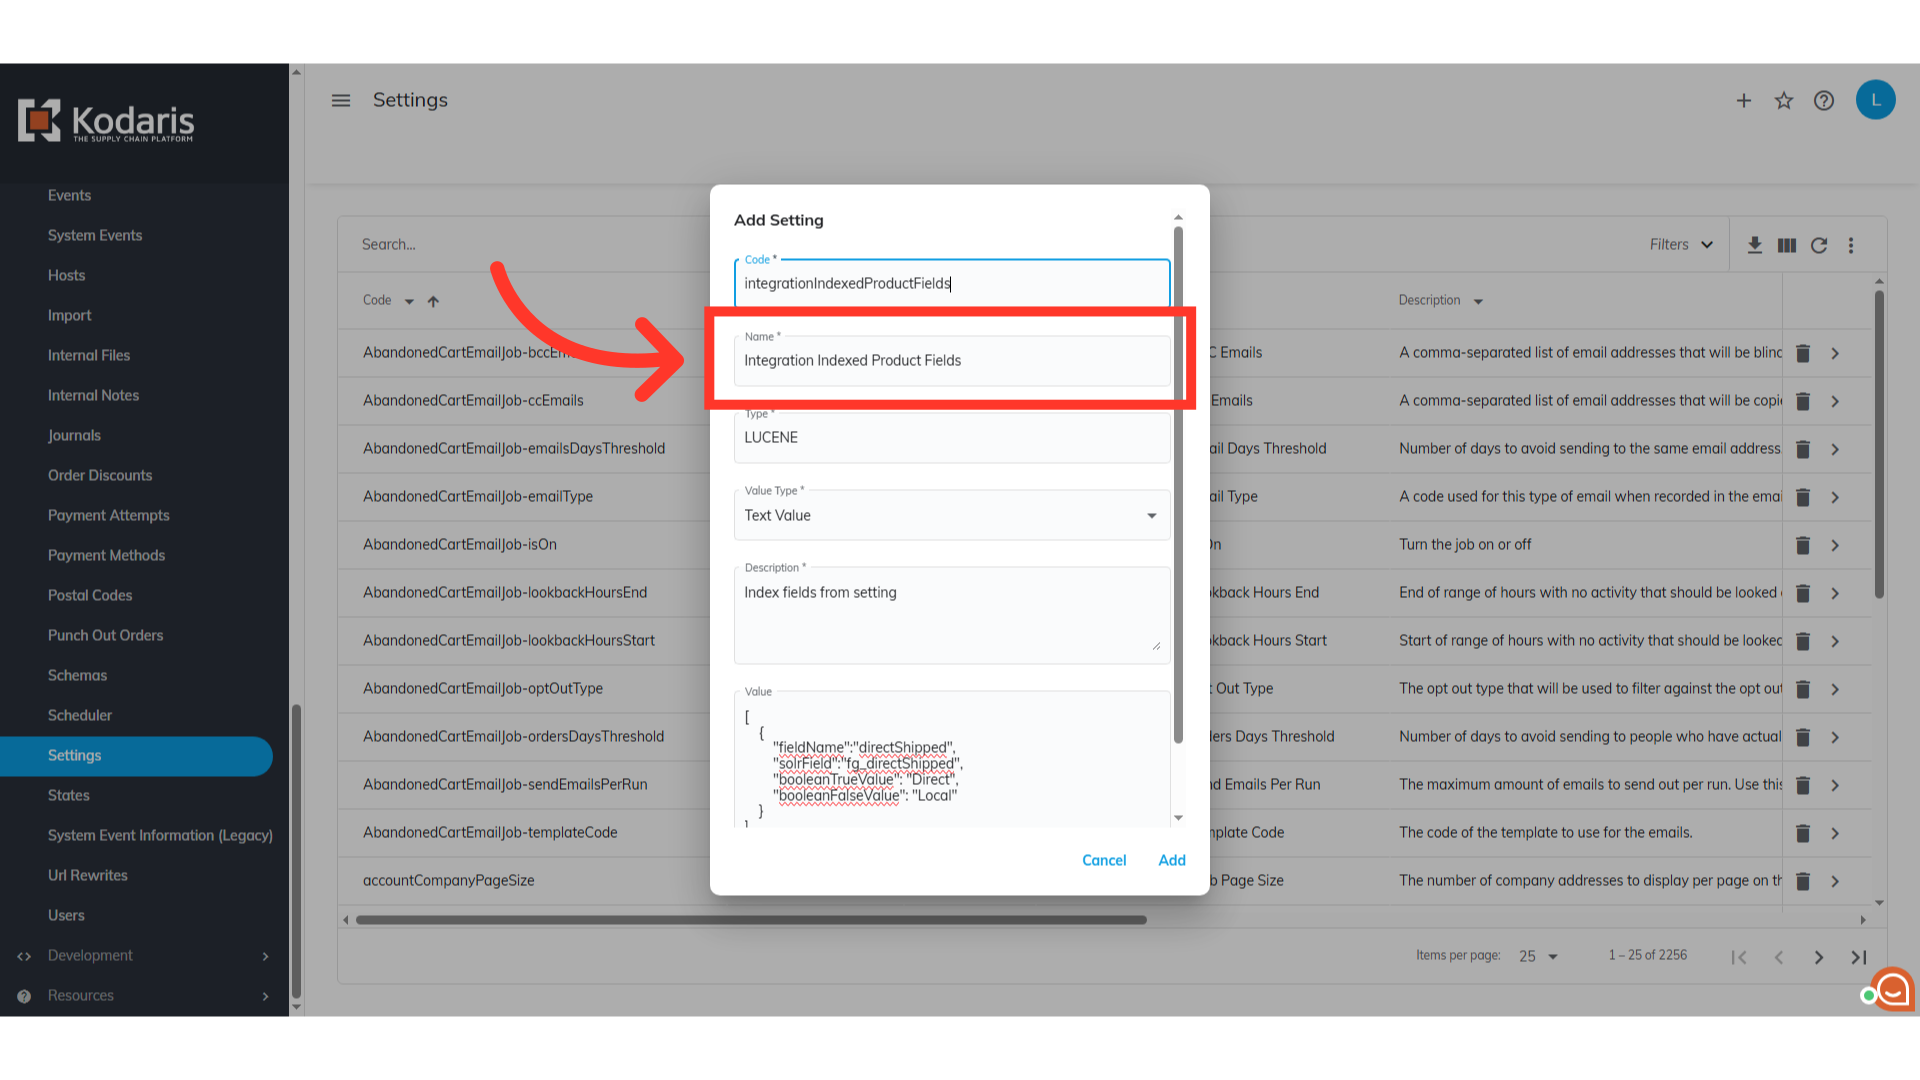
Fill the "Type" field with "LUCENE".

Set the "Value type" to "Text Value".

The "Description" simply explains the purpose of the setting.
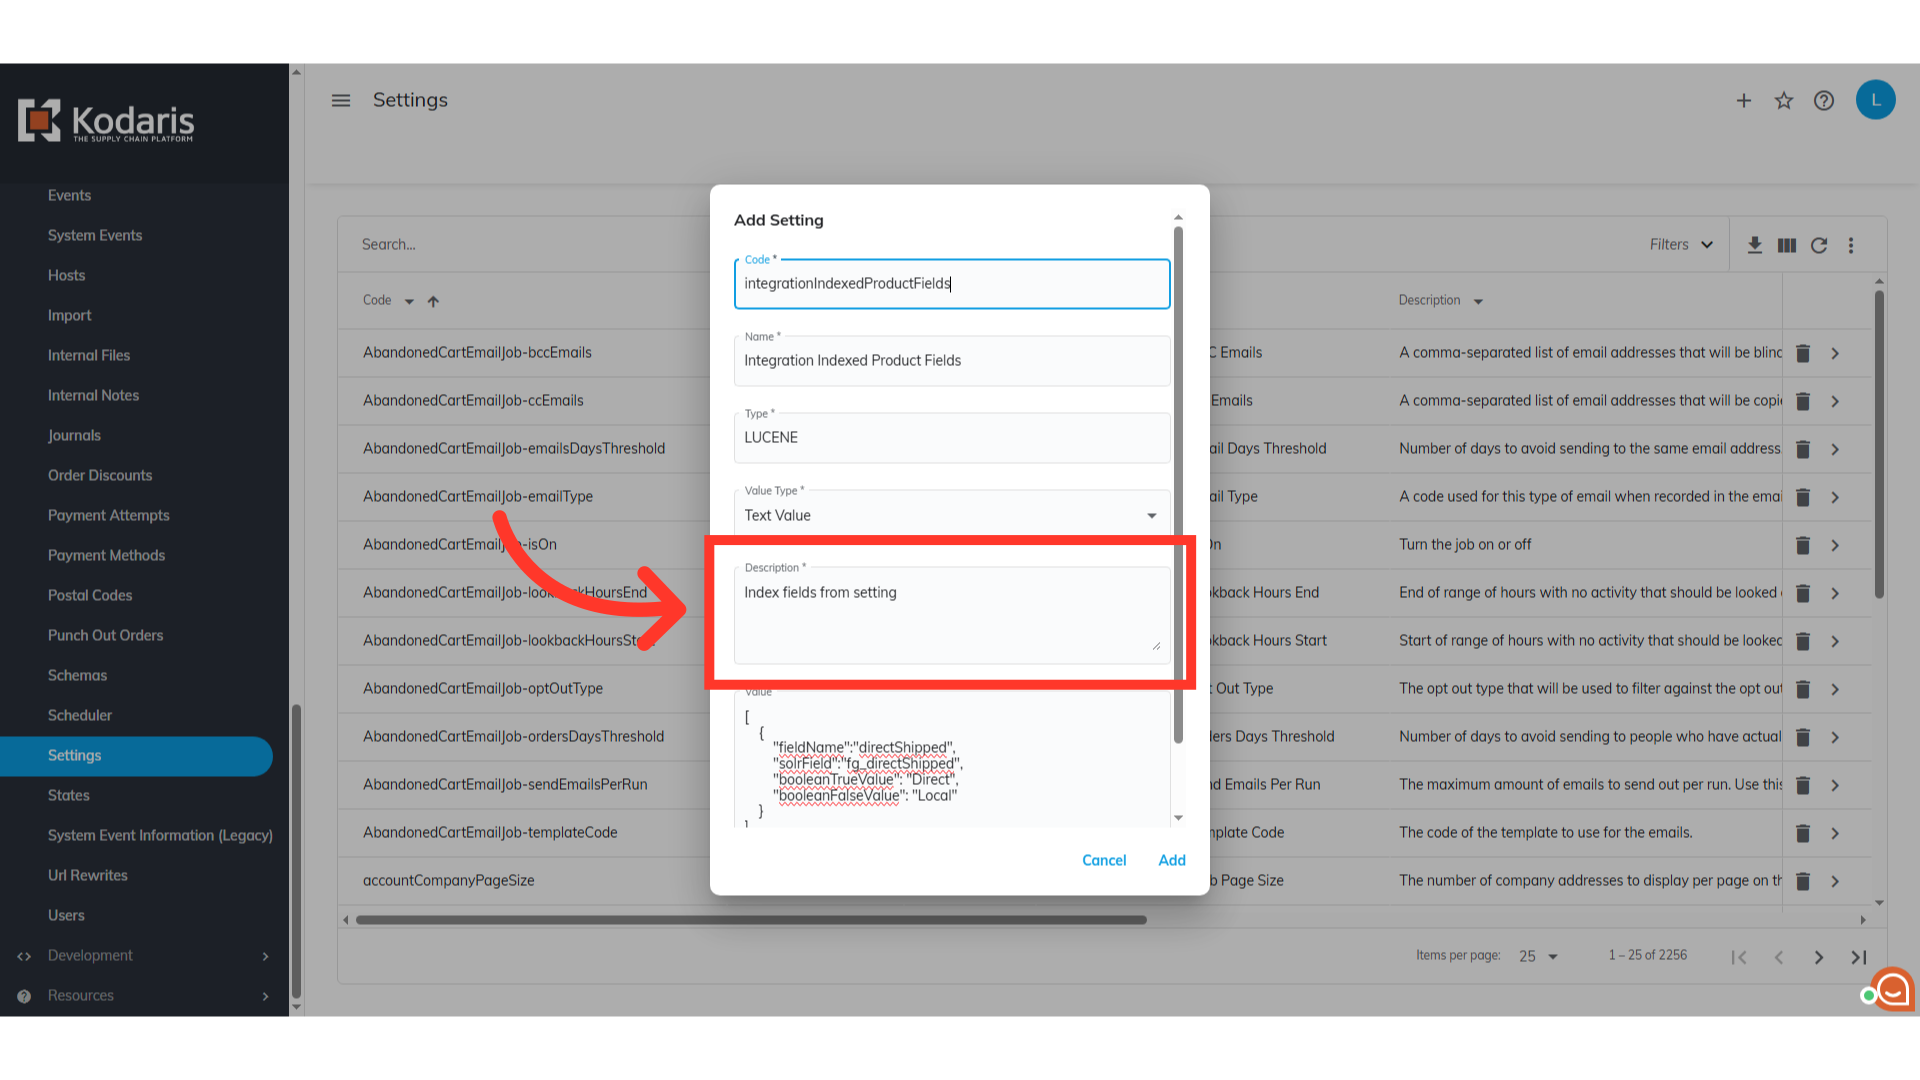
The code, defines which field to look at, which filter category to use, and what text to display for each state. Copy this code and paste in the "Value" field. [ { "fieldName":"directShipped", "solrField":"fg_directShipped", "booleanTrueValue": "Direct", "booleanFalseValue": "Local" } ]

Populate the fieldName with the field to look at, "directShipped".
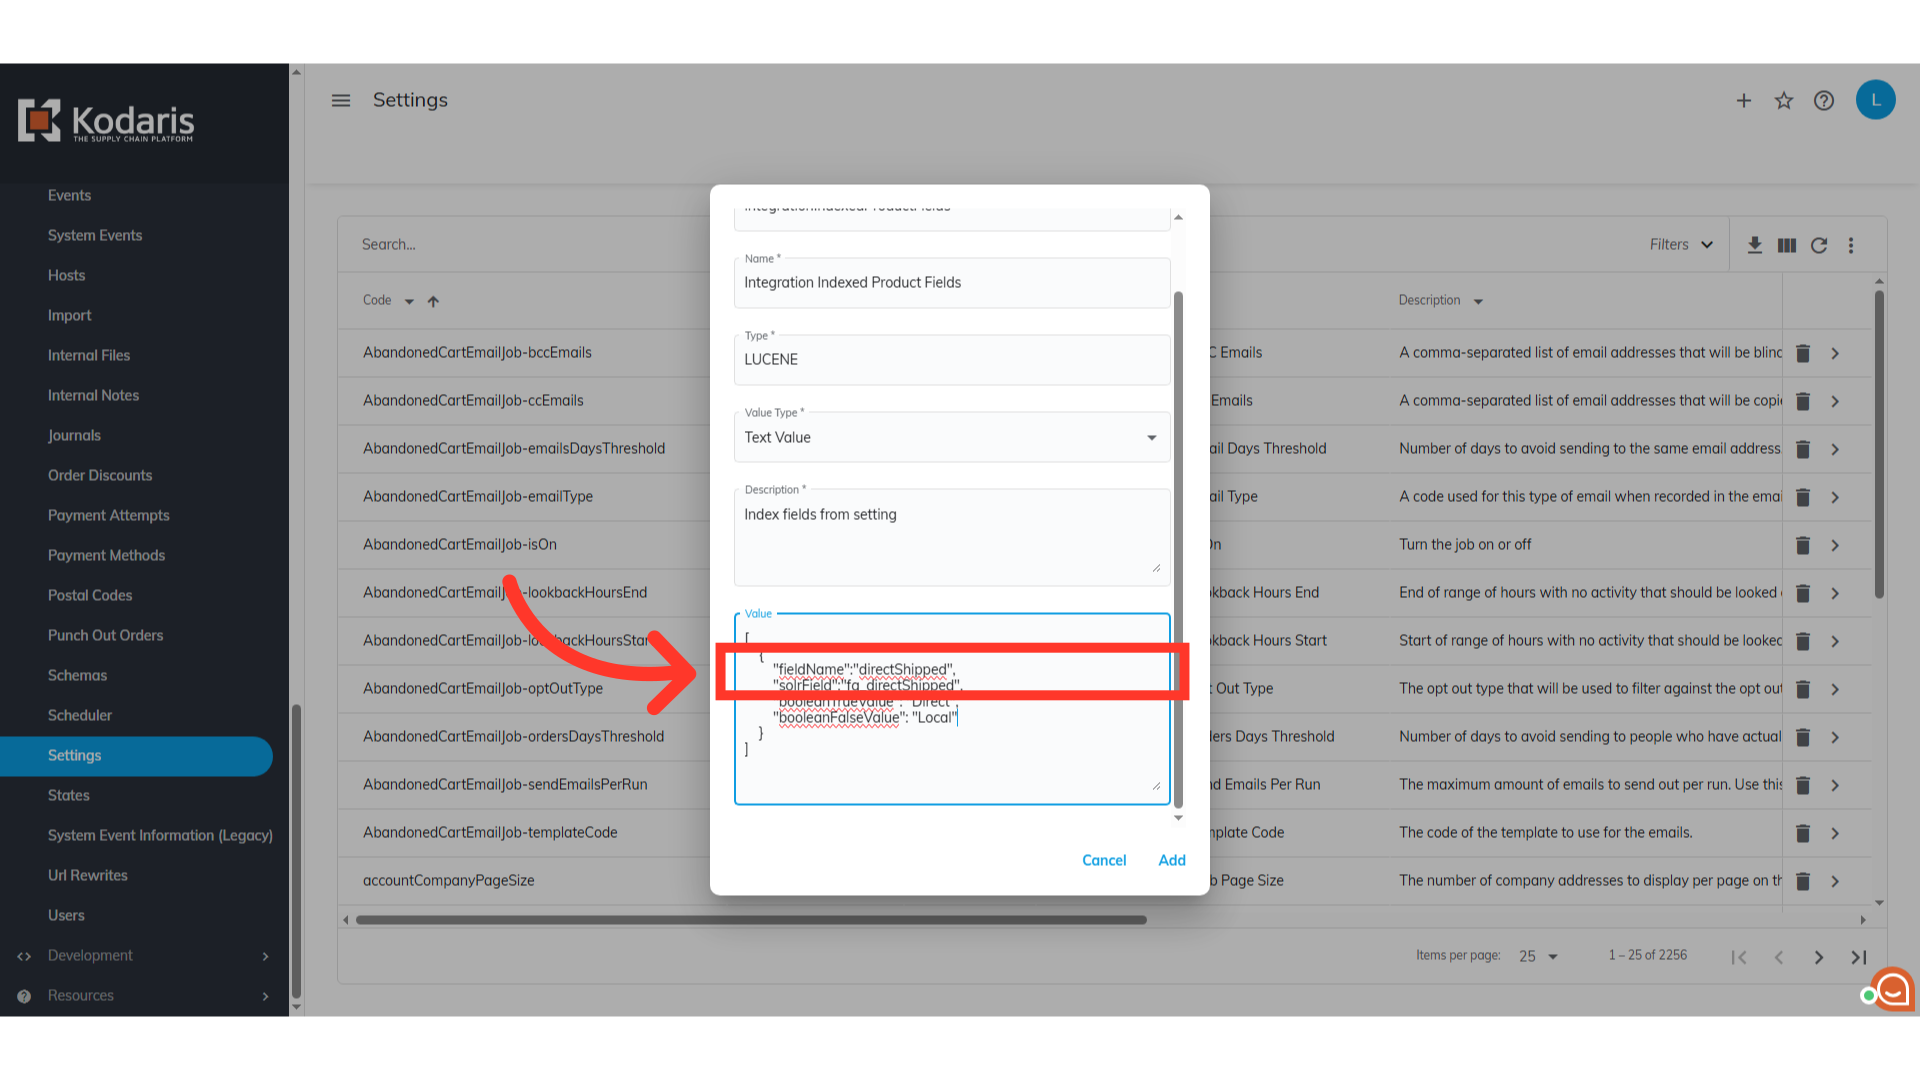
Populate the solrField with the filter category we created earlier, "fg_directShipped".
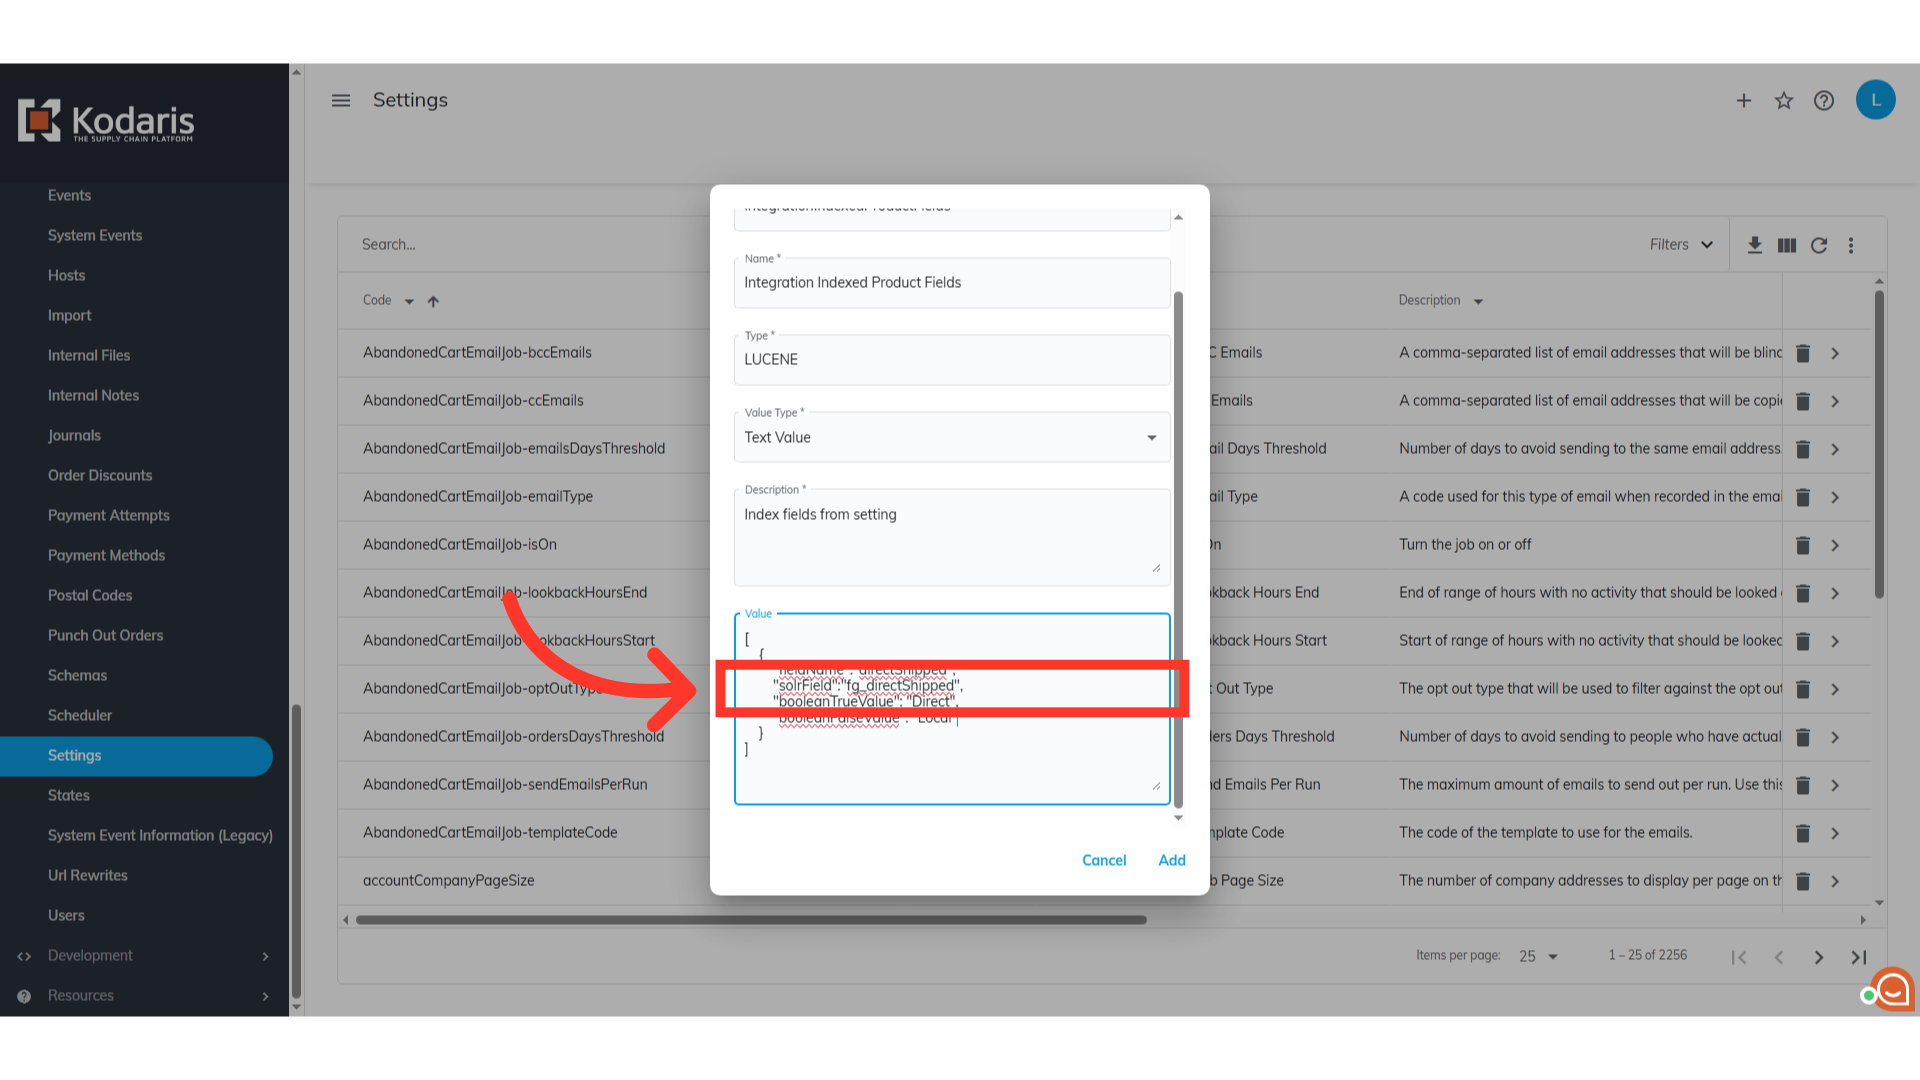
Populate the booleanTrueValue with "Direct".

Populate the booleanFalseValue with "Local".

Then, click on the "Add" button. The Direct Shipped filter will now appear on your customer's site, and the products will be visible within that filter.