If you offer digital products on your commerce website, you can now label them as such. Marking a product as “Digital” is useful based on how your commerce system is configured. It can be used to exclude the product from shipping costs at checkout if you have custom shipping rules set up, easy filtering to find all digital products on your website, etc. With this help page, we will be mass updating digital products by import. To start, navigate to "PIM" in the operations portal.

Click "Products". In order to access, update, and import “Products” you will need to be set up either as an “administrator” or a “superuser”, or have the roles of: “productView”, “productEdit” and "importView".

Select the Data tab.

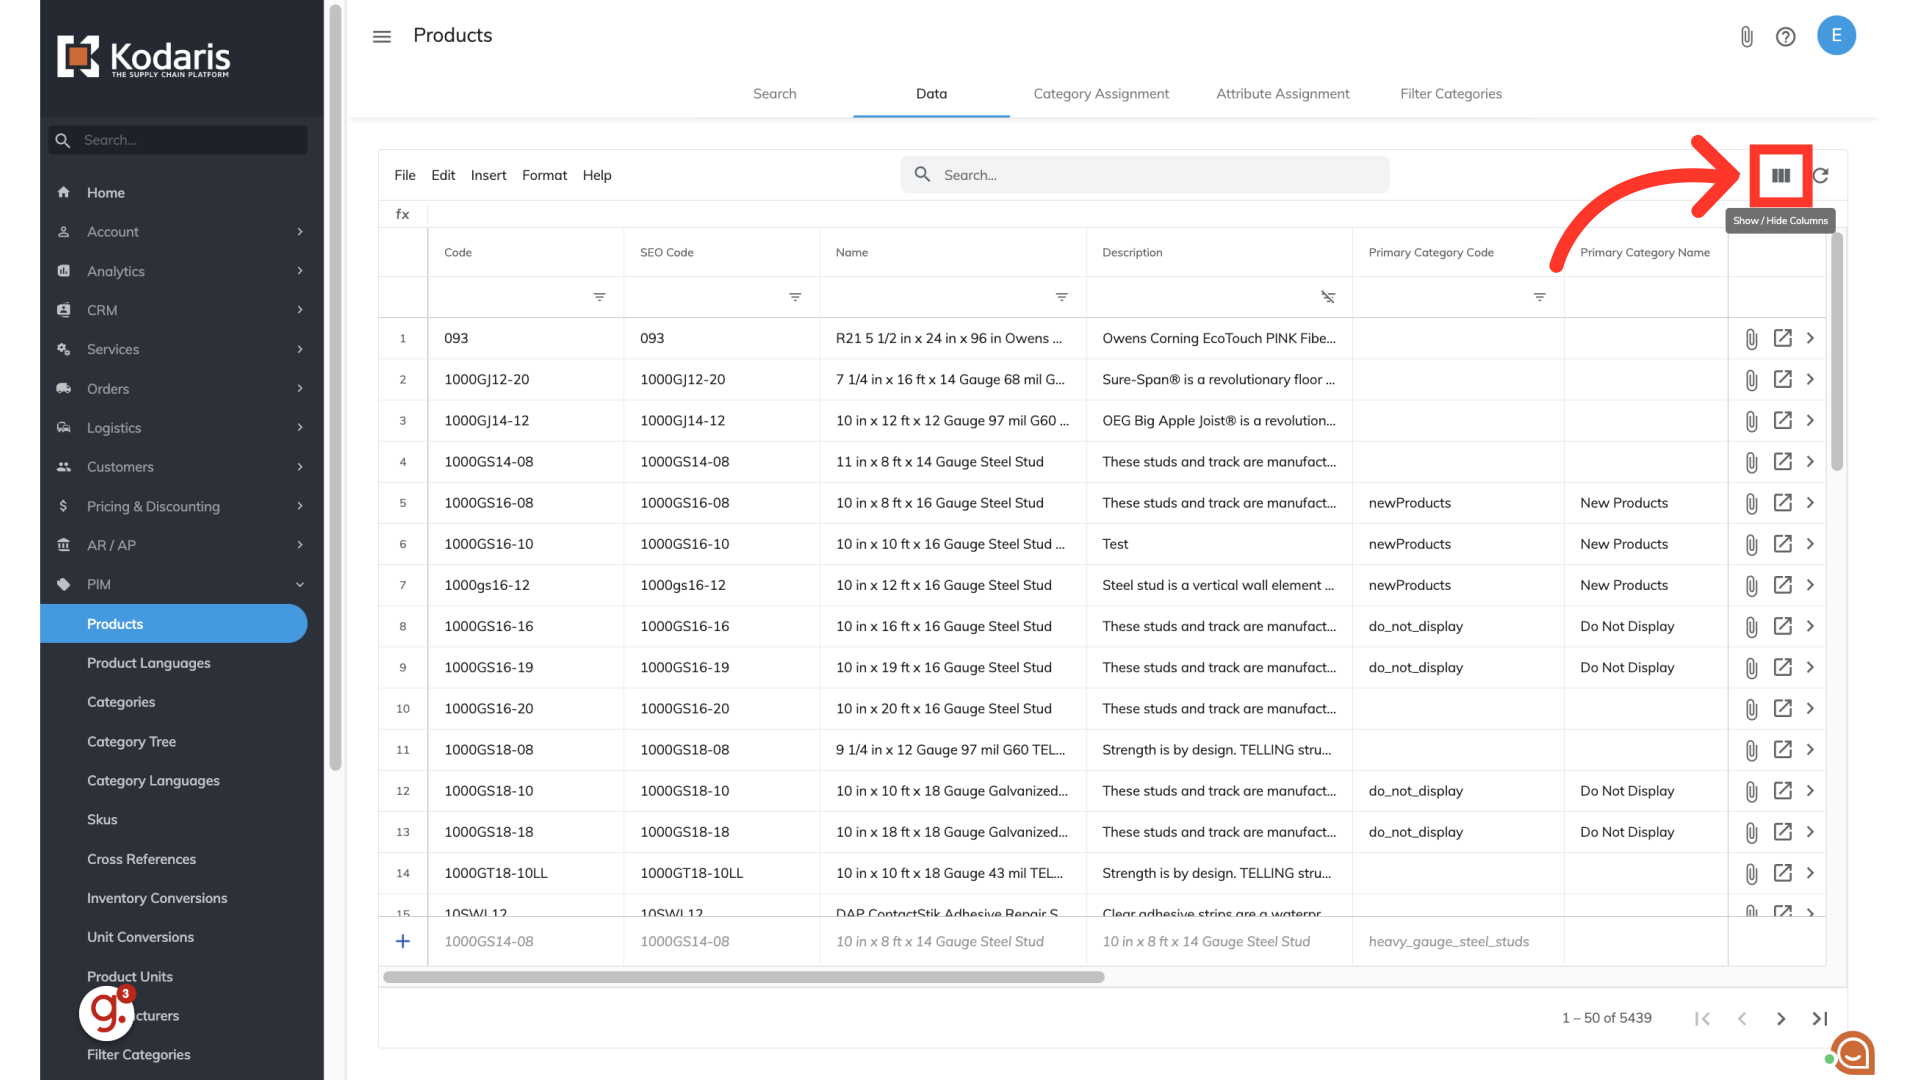
Click on the "Show/Hide" icon to choose the columns you would like to add to your grid.
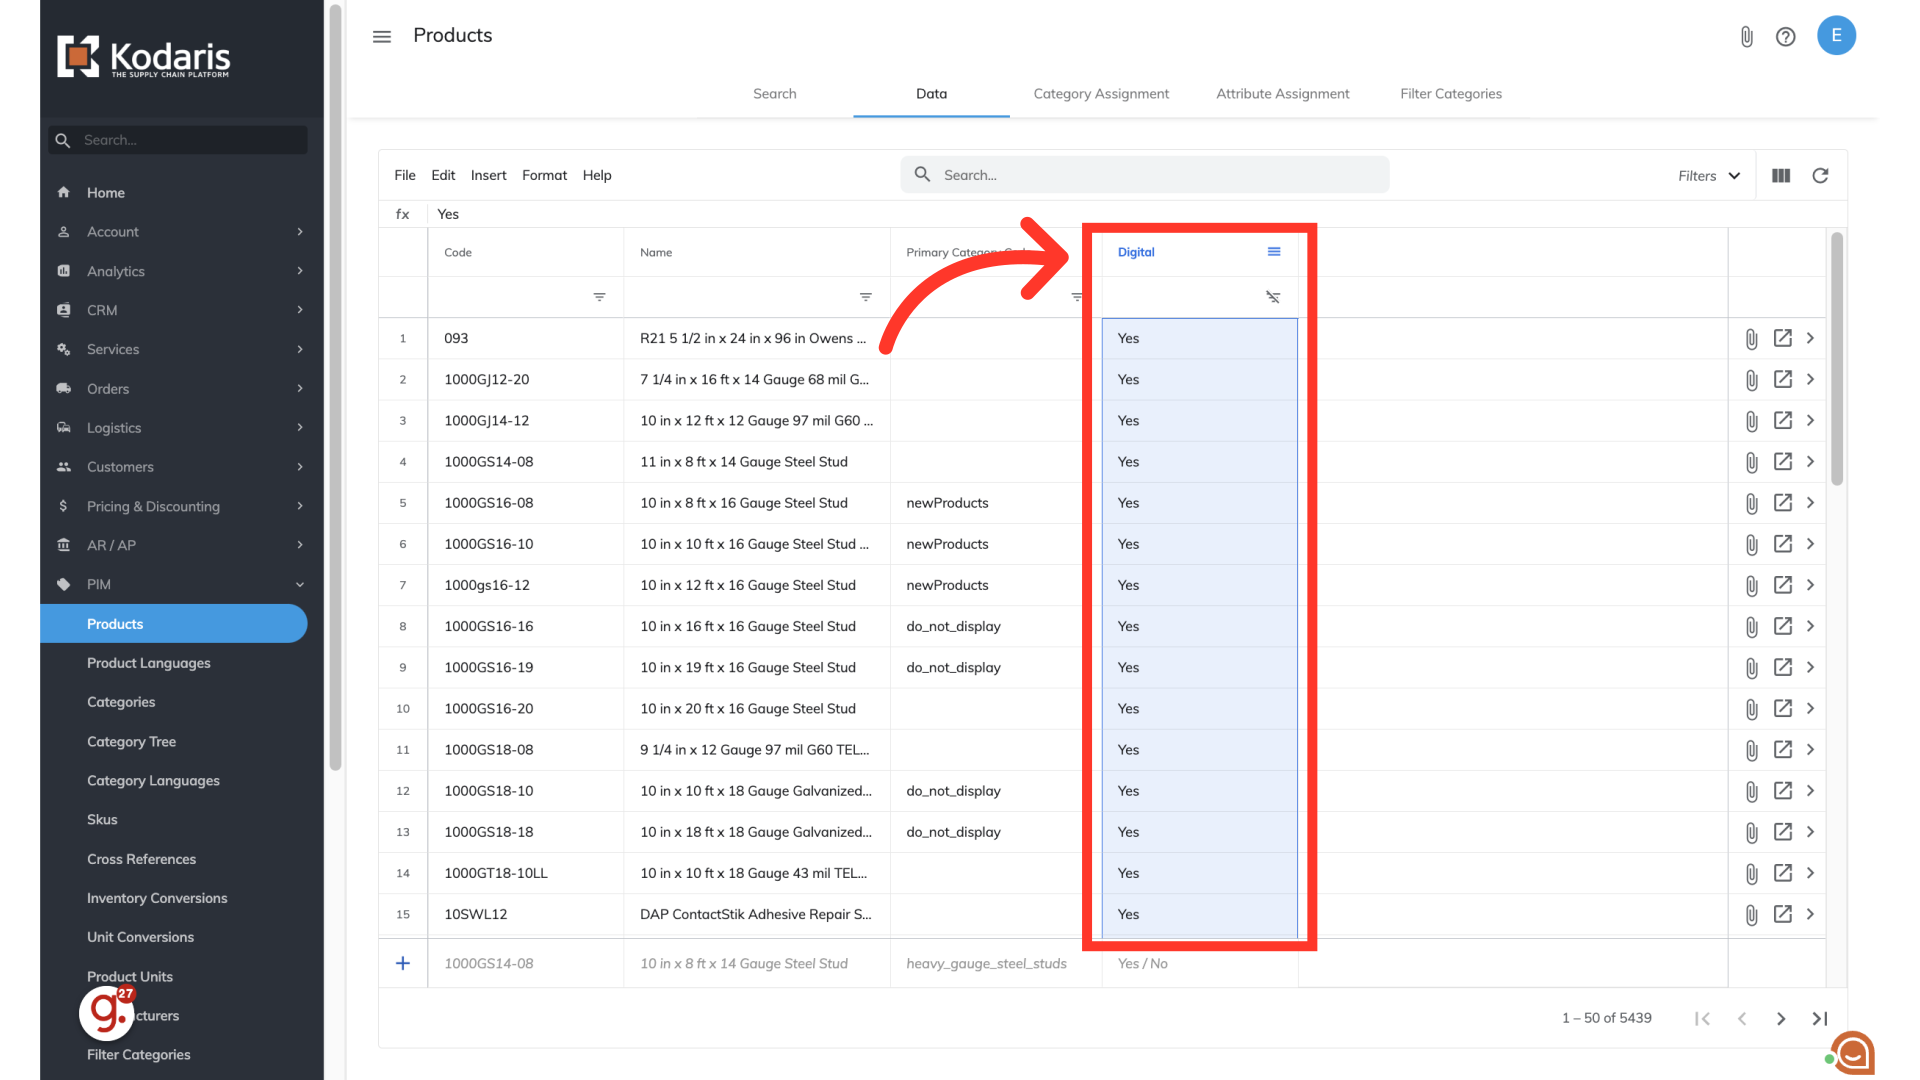
In order to mark products as "Digital" by import, you will want to add the "Code" and "Digital" columns to your grid - along with any other columns that will be helpful. You can include other columns that you would like to export and update by importing. In this instance, we are also going to choose the "Name" column.

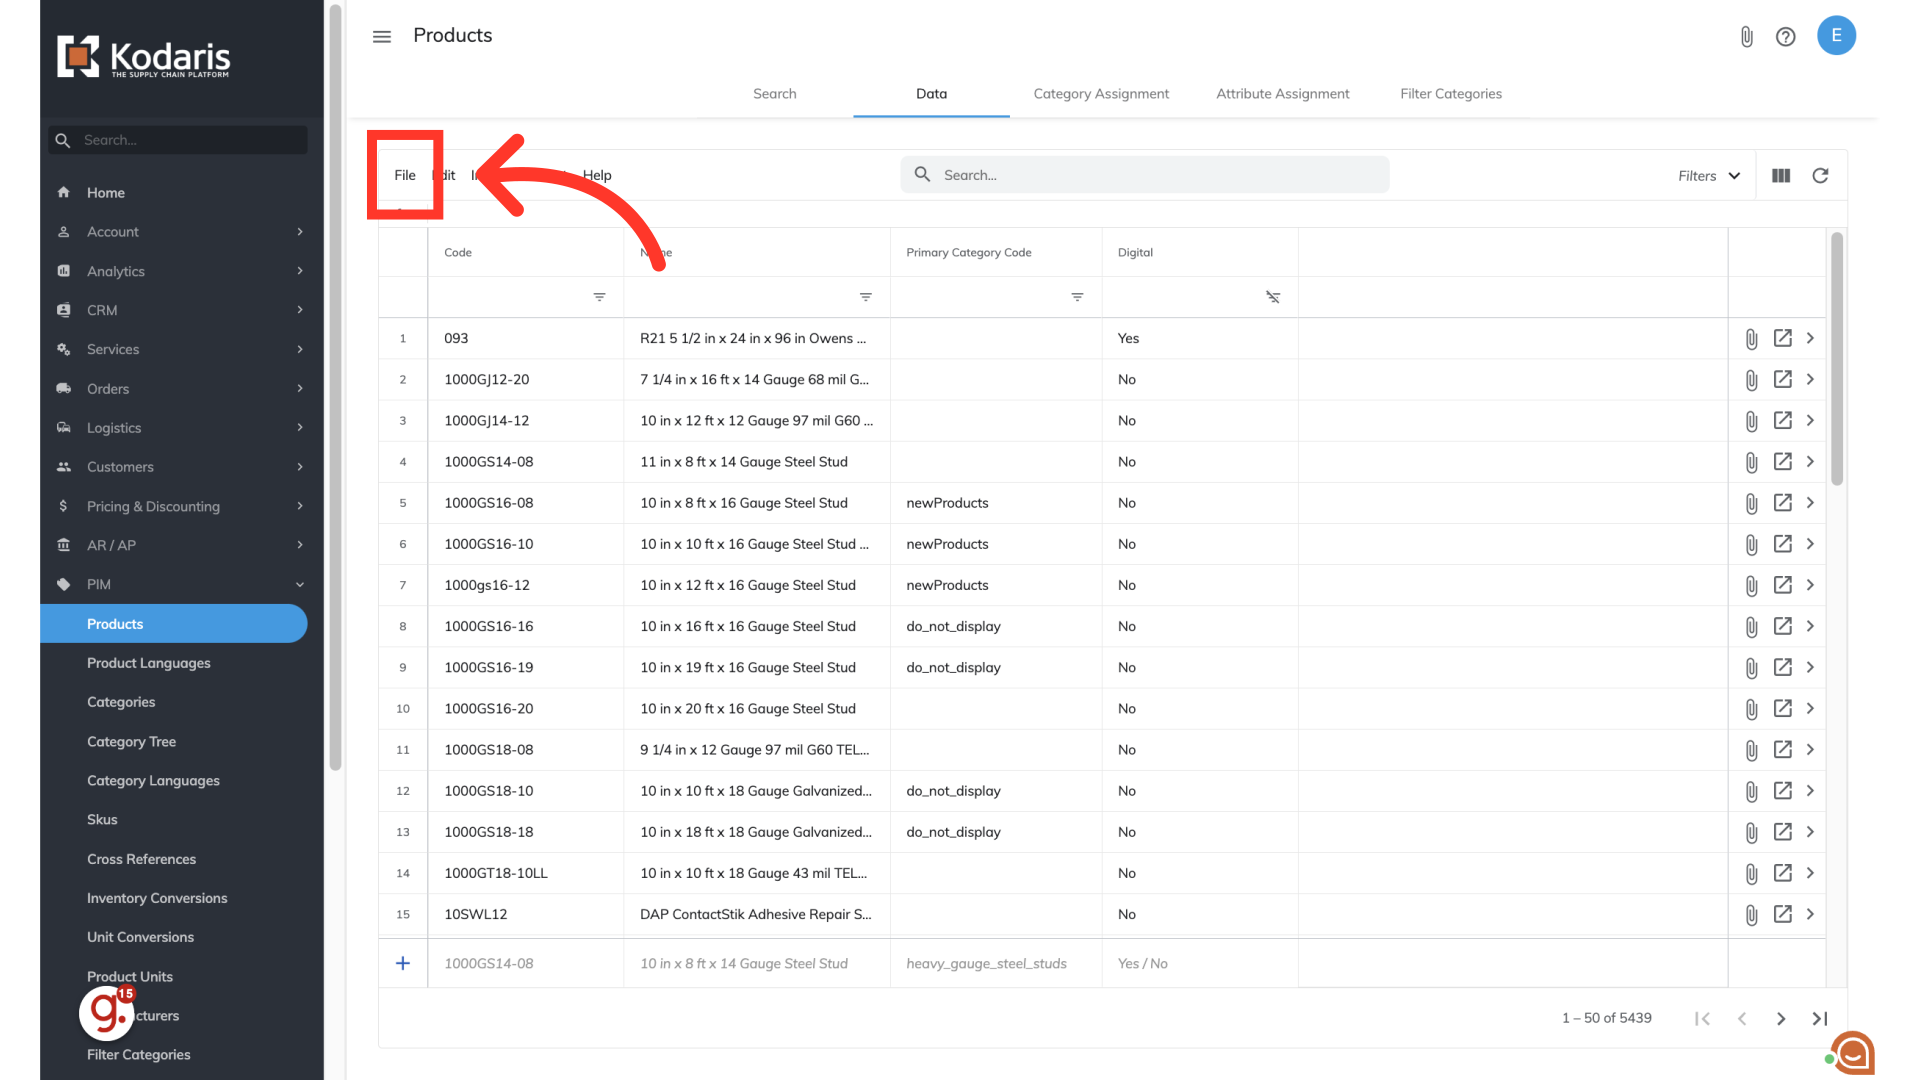
To export the data from the operations portal, click "File".
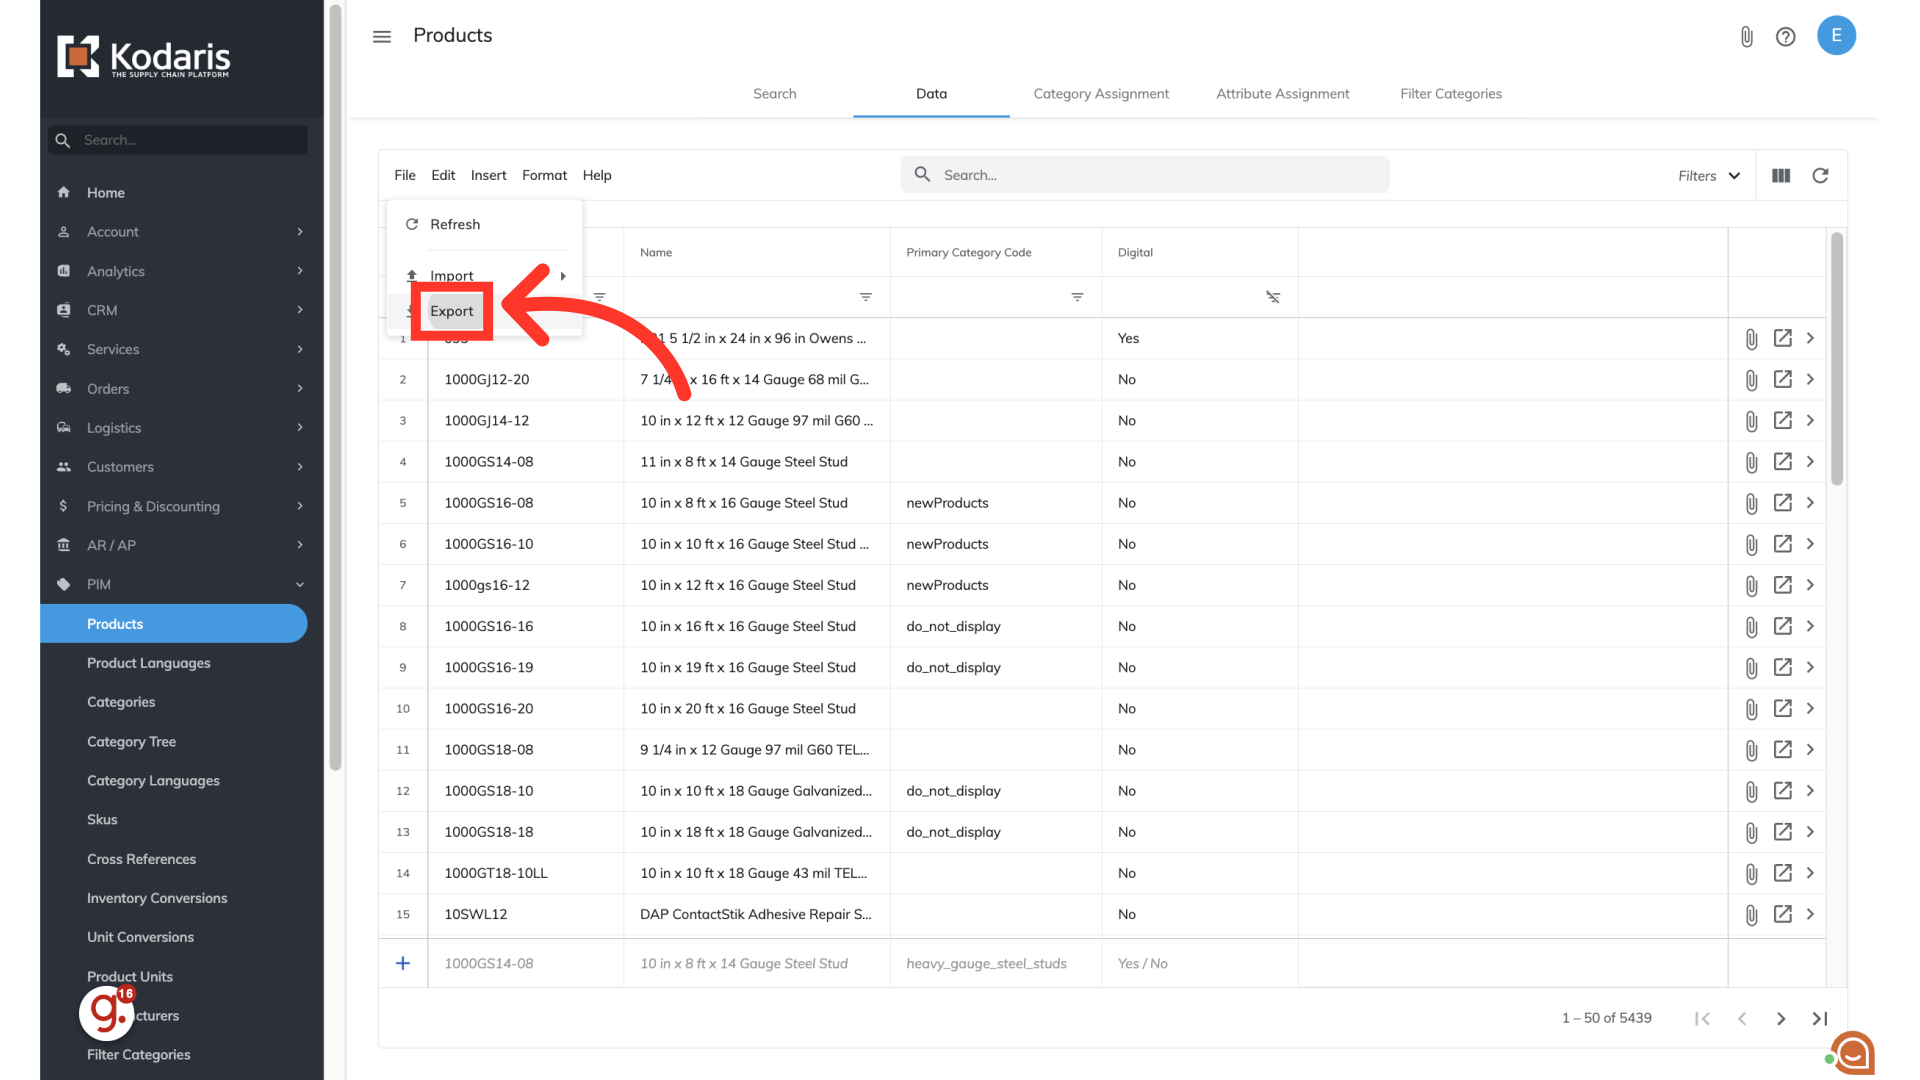
Choose "Export". Select the Export option. This export will have the needed header row and data that will be used for importing back into the system when using the "Data" screen.
You can choose to name your export by clicking into the field and typing to update the name. Click "Save" to save the file to your computer. If you are exporting a large amount of data, it may take a small amount of time to complete the export. The file will download and save to your computer.

You can see in this sample export that we have the header row that is needed to import data, and also the exported data from the product grid.

The "code" column contains the product code. When importing product data, the code is required as it is the identifying factor for matching information.
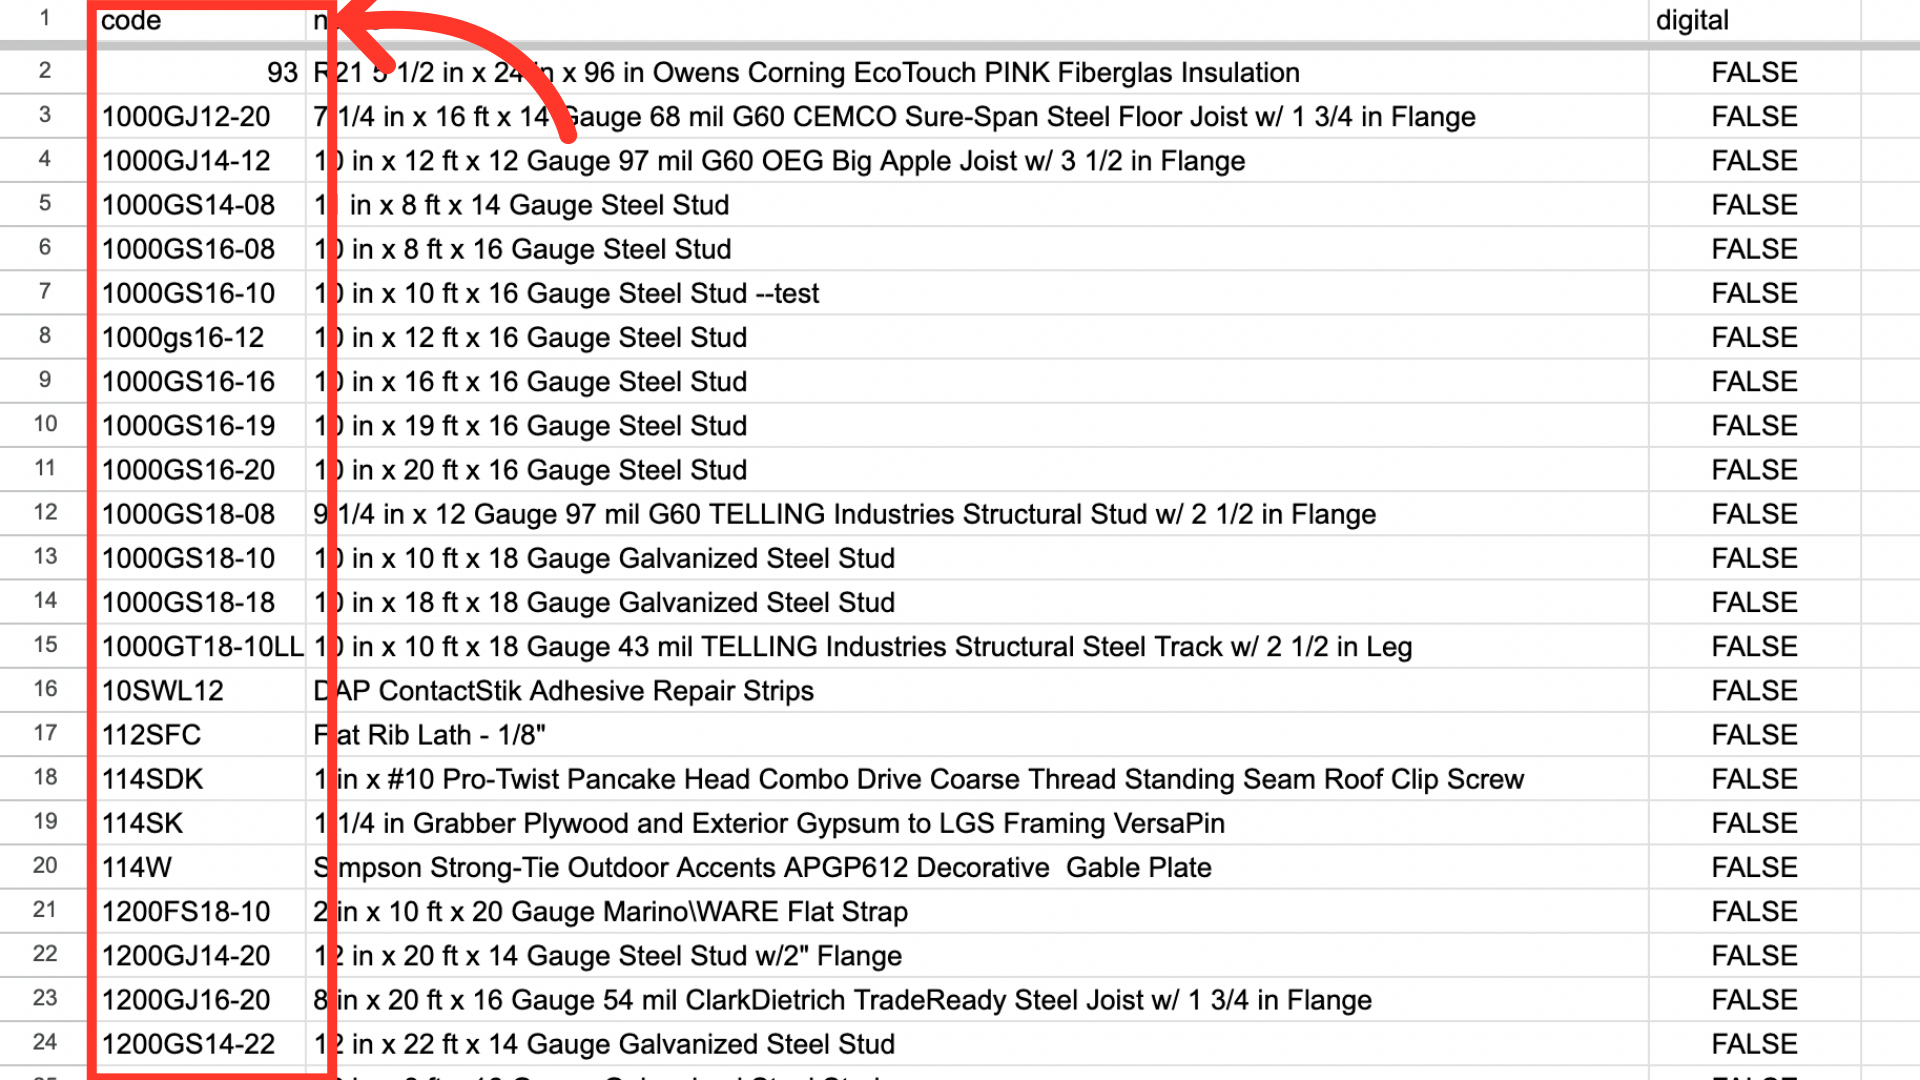
The "name" column contains the name of the product - while not required for importing, it can be a helpful reference when updating data. You can also make any needed updates to the names, and update with this import if needed. If you do not wish to update the "name" data, then just remove the column before importing.

The "digital" column is for the value of the digital setting. The values to use are "TRUE" if you would like the product to be marked as digital, and "FALSE" if the product is not digital.
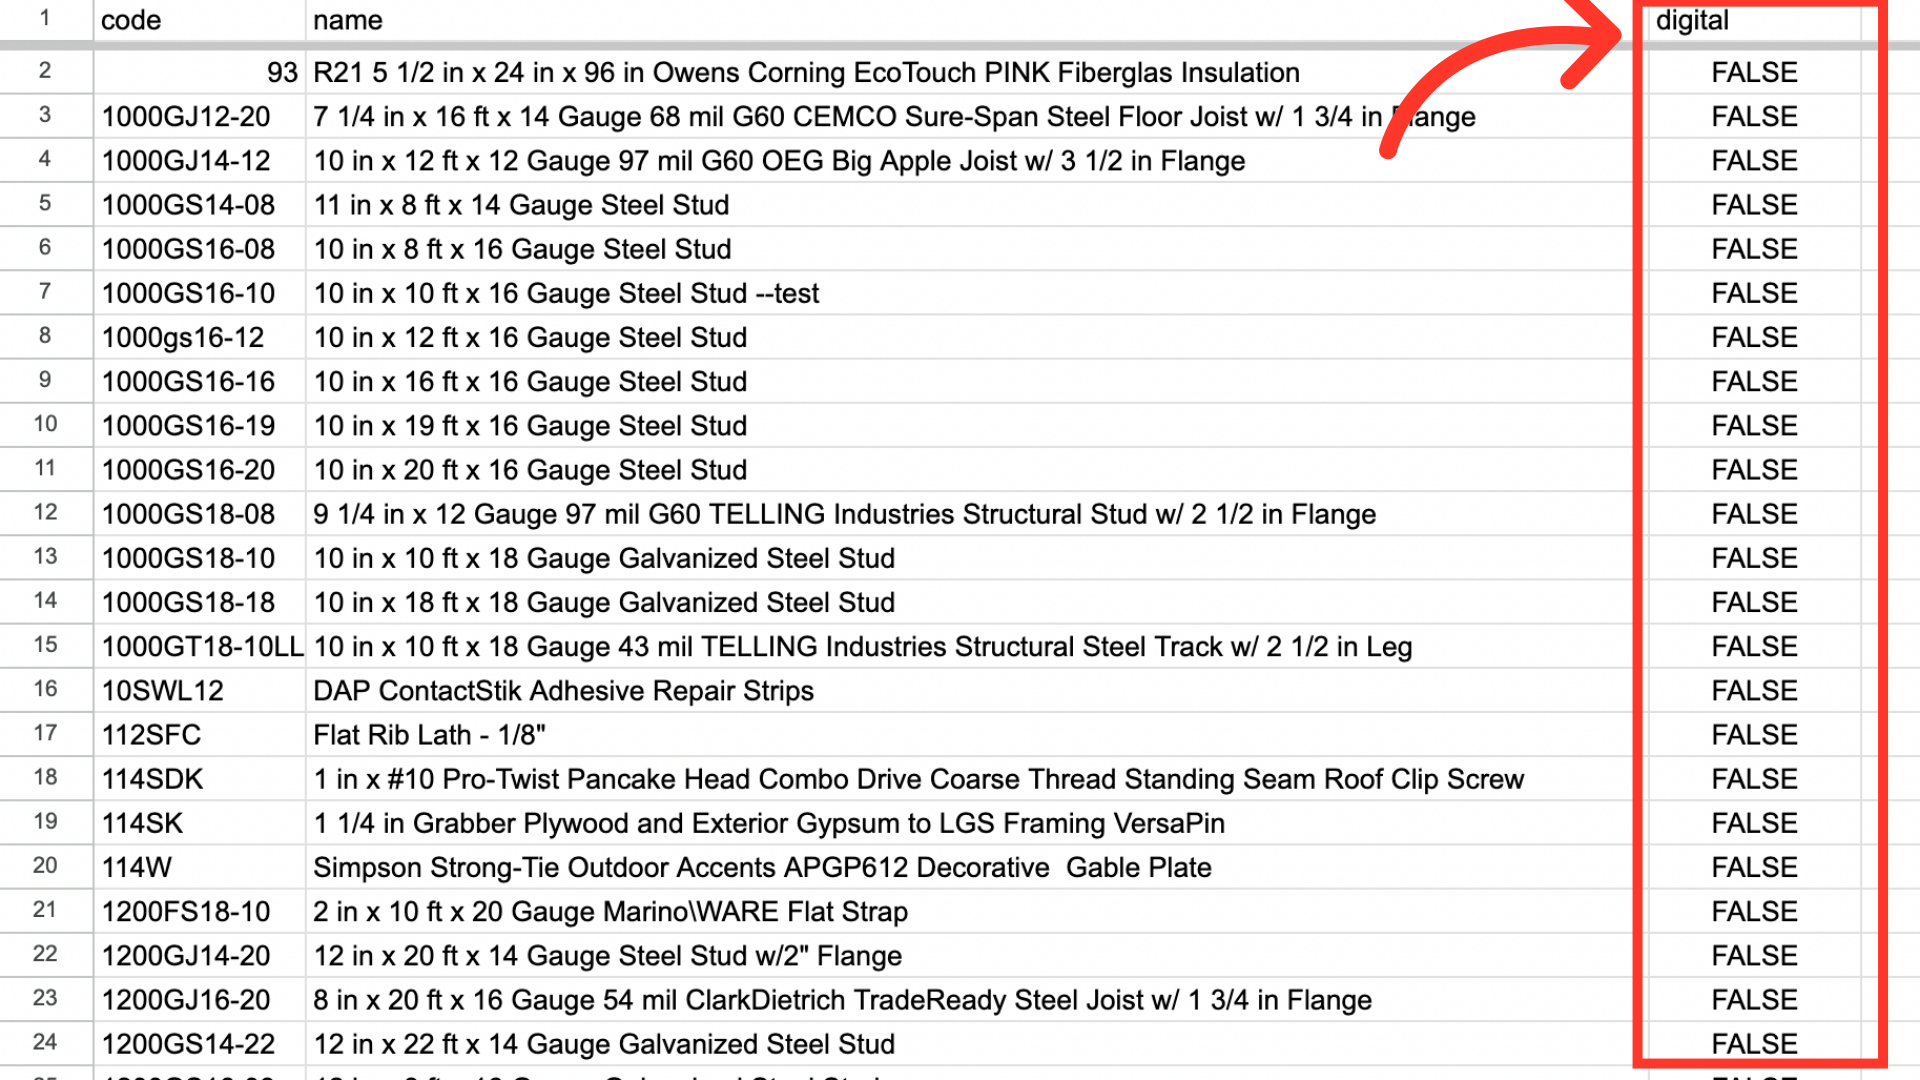
Enter the values you would like to use to update the products. Once you have updated the export, be sure to save as .CSV file which is spreadsheet compatible and your file is ready to import. Be sure the spreadsheet you are using only contains the data that you would like to update by import. If you remove data from a cell, the data imported into the system will be blank for that field on that product. If you do not wish to update product names with this import, you will want to remove that column from the file before importing.

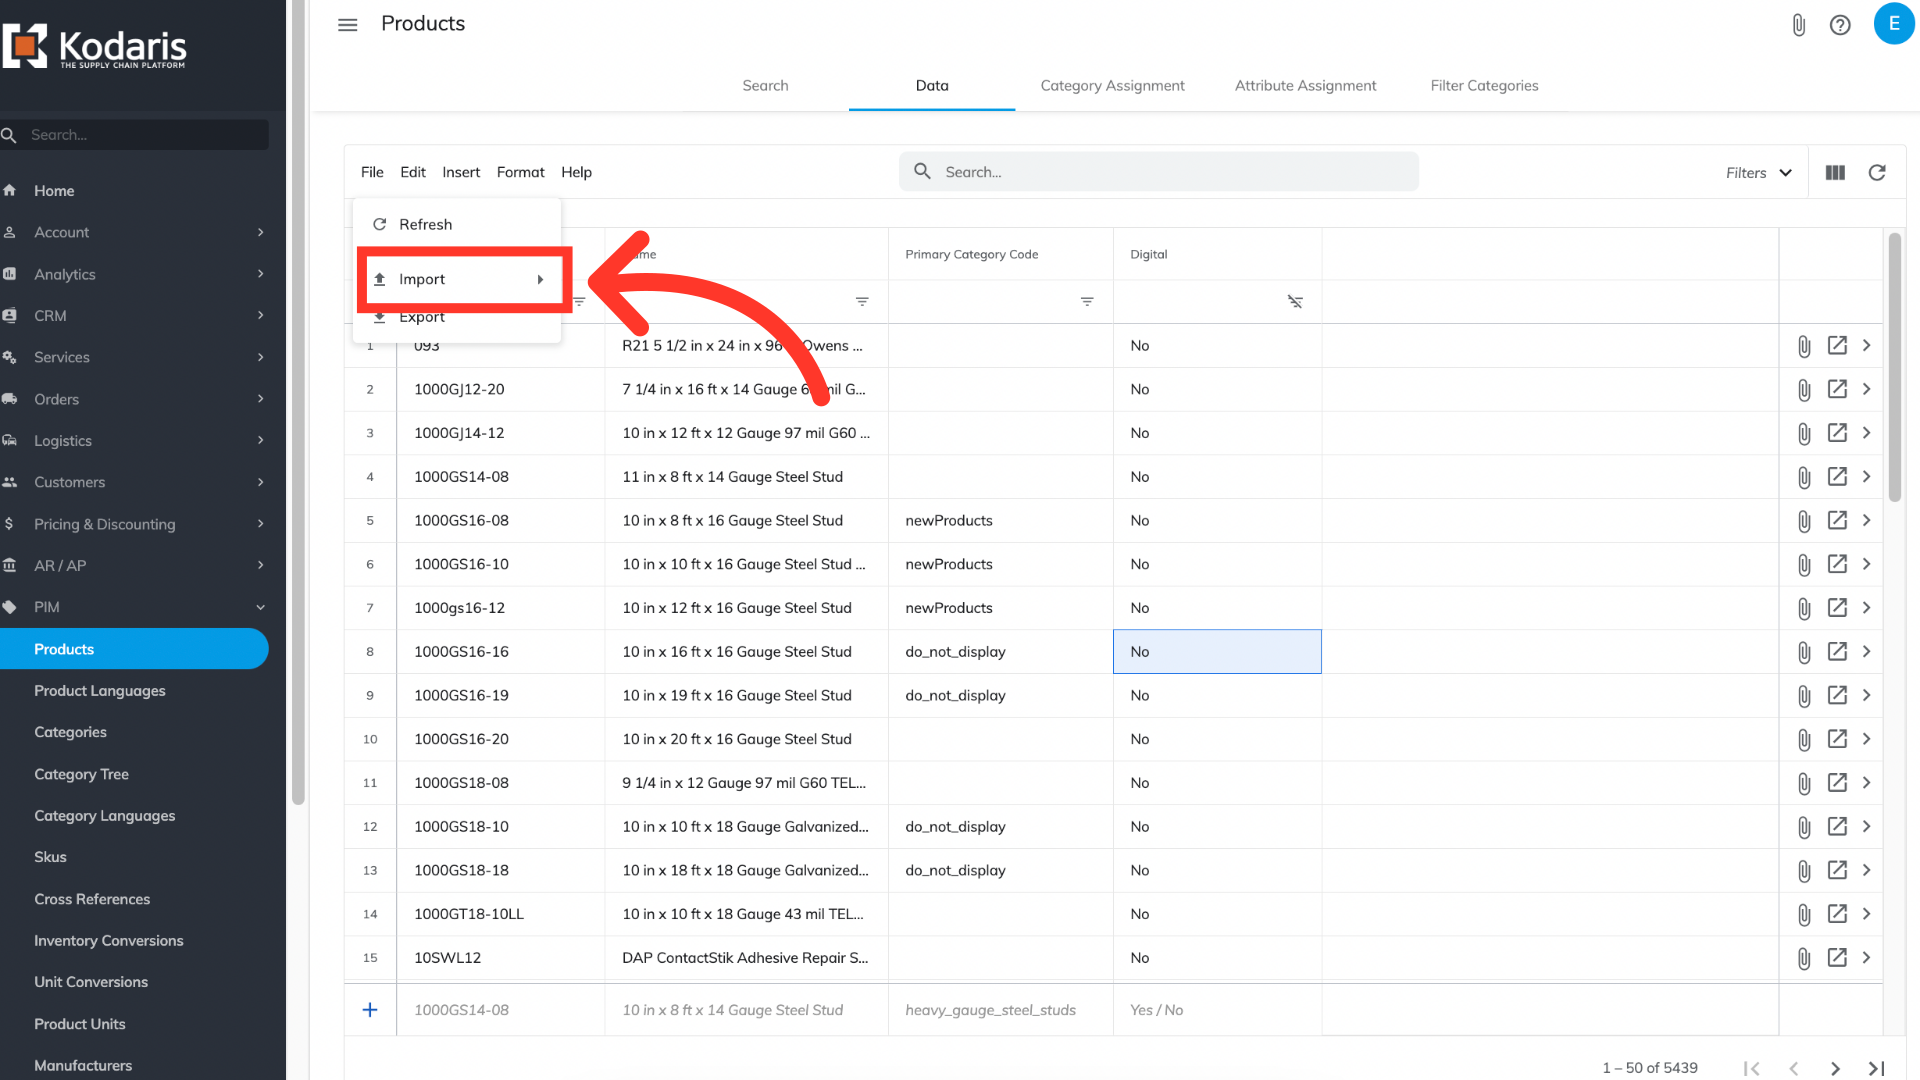
To import the data, click "File".

Select the Import option.
Since we only want to update product data at this time, choose "Default Product Mapping Update Only".

Once you click the import option, you will be prompted to choose and upload a file from your computer. Choose the .CSV file you would like to import. Please be sure that you select the correct file, as there are no rollbacks for imports. An import message will appear letting you know that the import file is in process and to check back in a few minutes for the imported data. If you are importing large amounts of data, it may take a short amount of time to complete. The import will continue to run in the background.

Once the import has finished, reload the product screen in the operations portal to verify your changes.