You can use Filter Categories and Attributes as a useful method for a customer to refine the selection of products when viewing a traditional product category on your website. Creating Filter Categories is the first step to setting up Attributes on your website. Once these are set up, you can then create your Attributes. Using the import feature will allow you to quickly create or update as many filter categories you would like with one import. You can also update or add filter categories at any time, either by importing or creating directly in the operations portal.

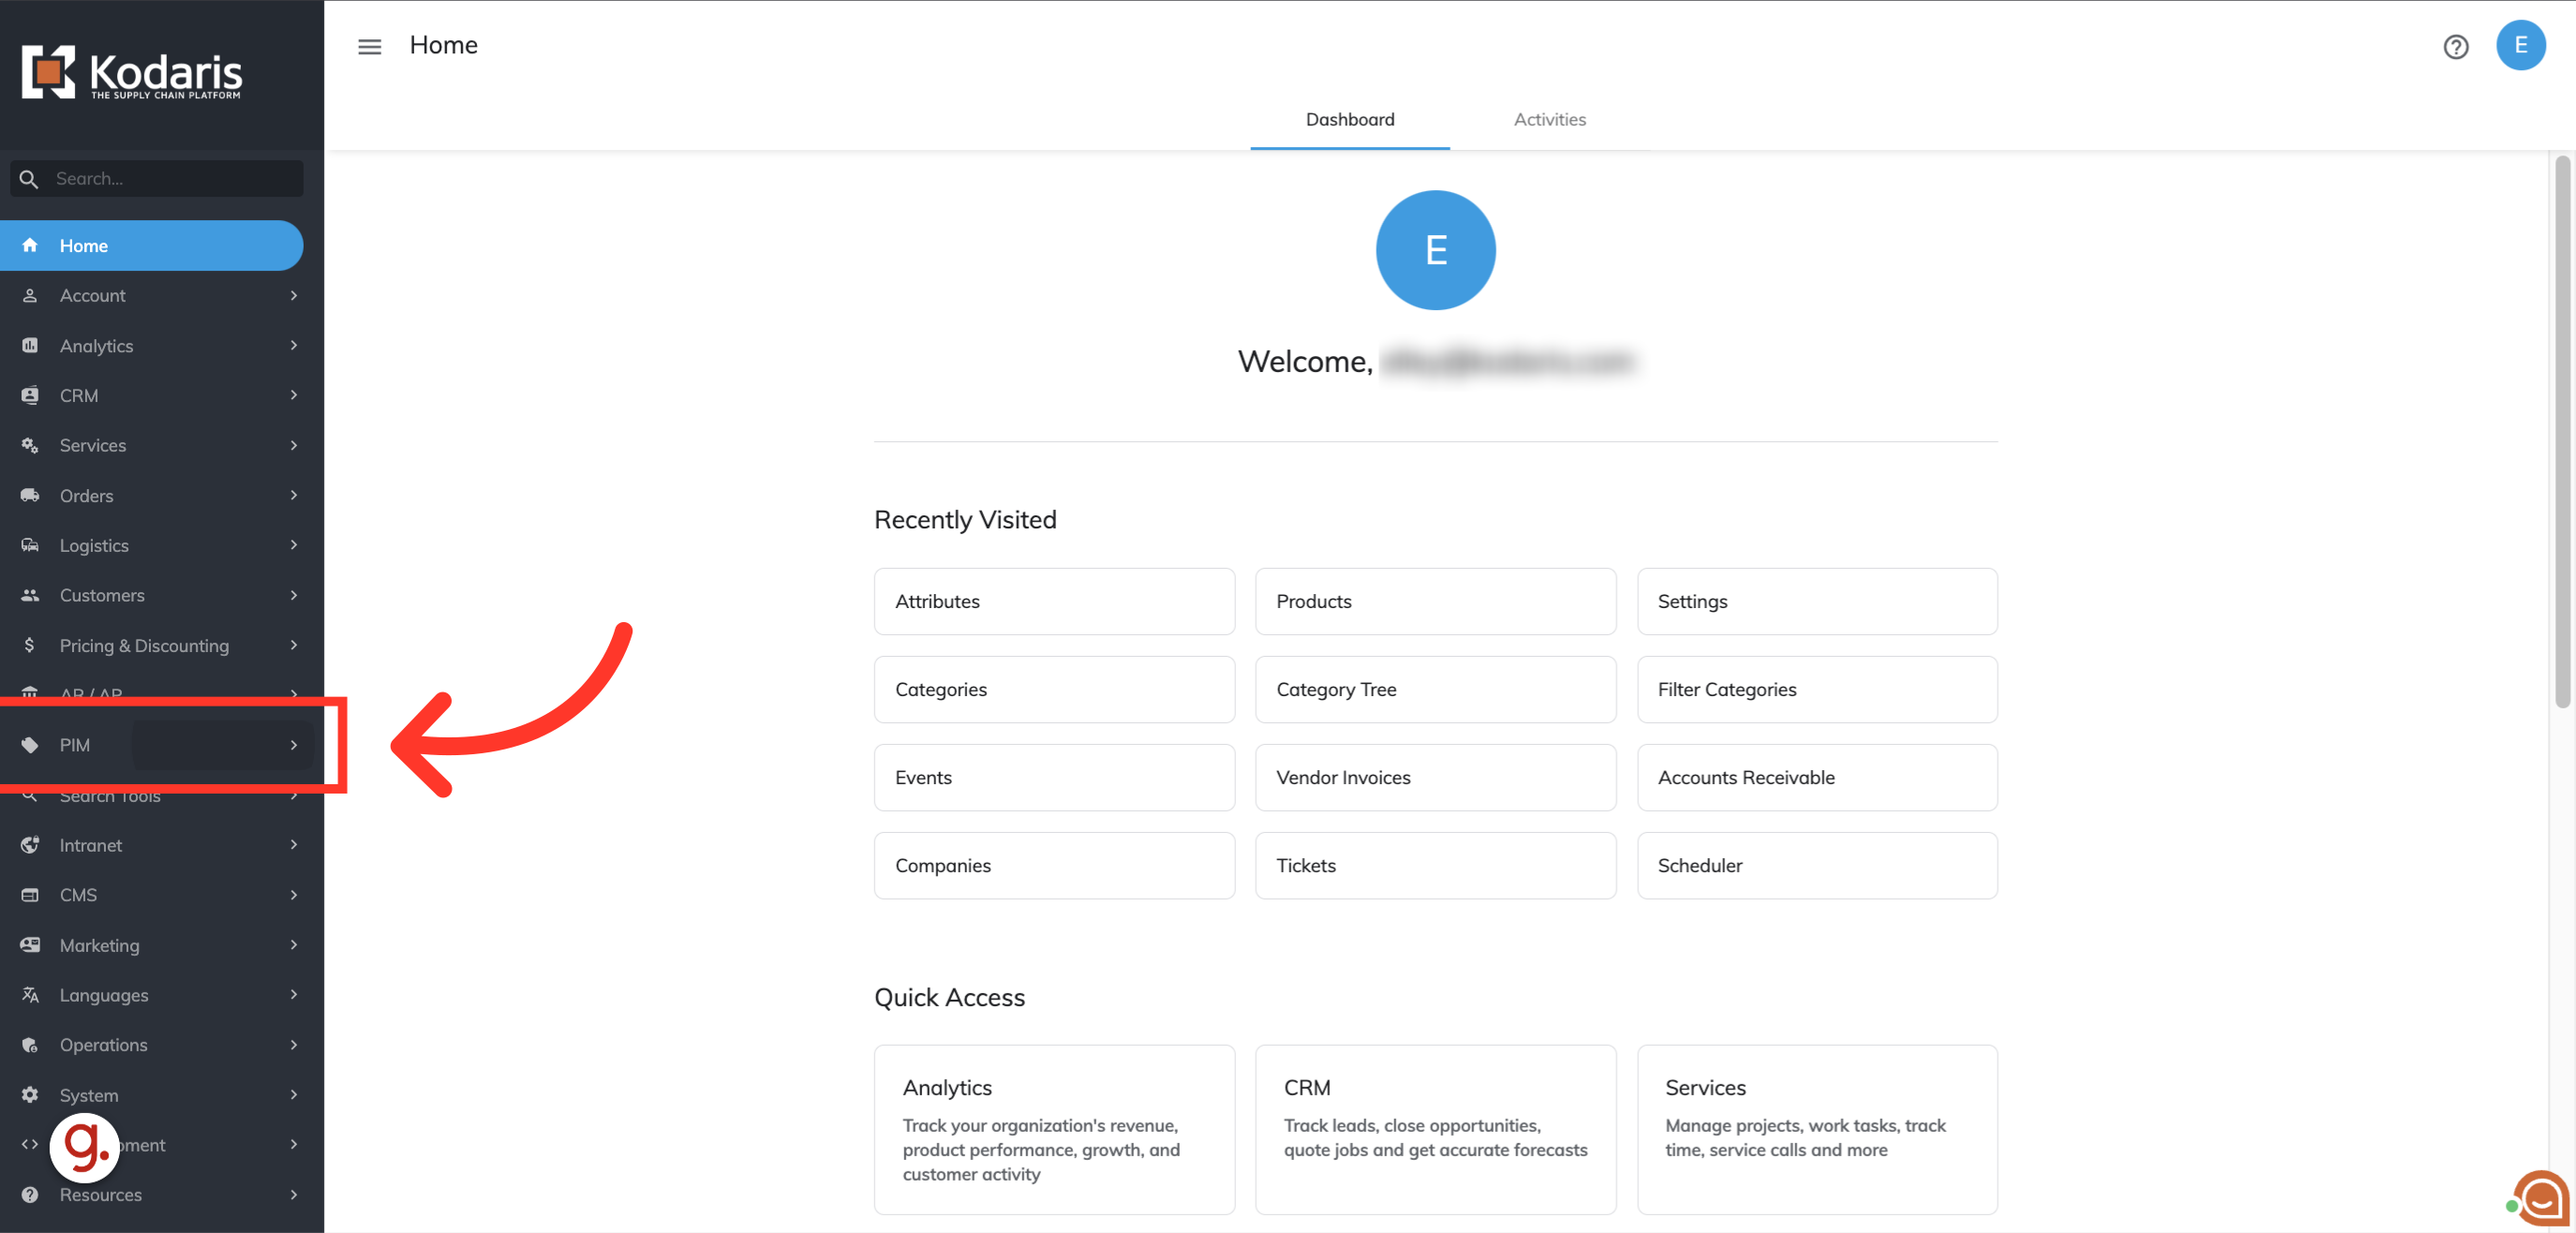
To do this, navigate to "PIM" in the Operations Portal.
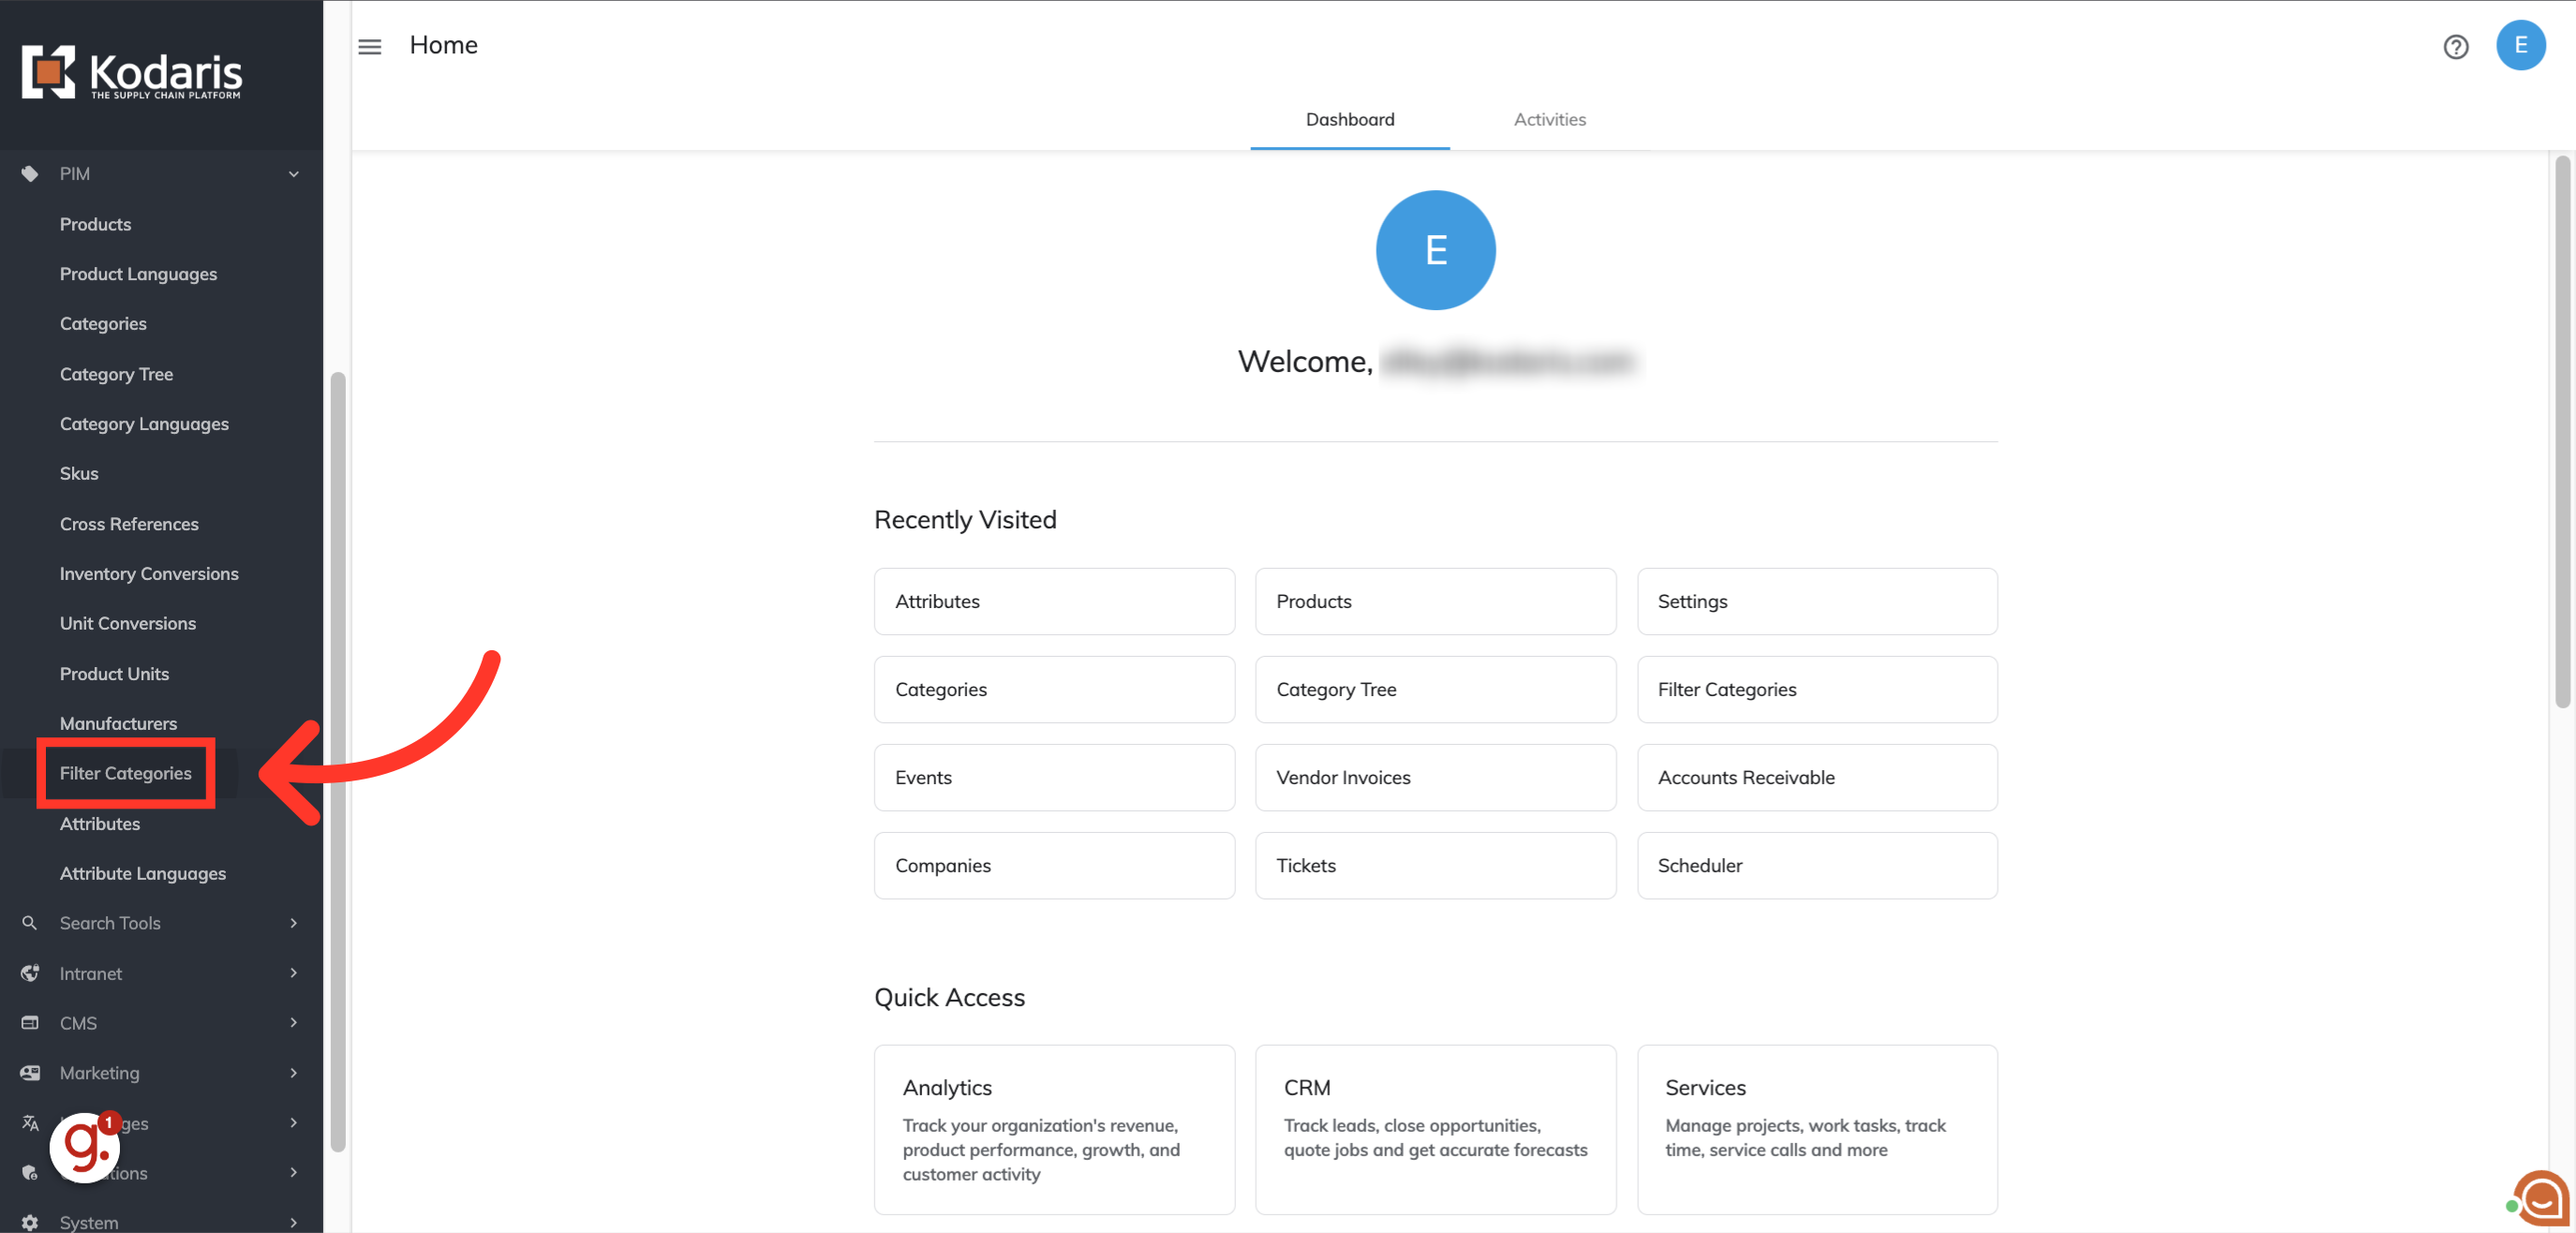
Click "Filter Categories".
Click on the "Show/Hide" icon to choose the columns you would like to include in your export.

When creating filter categories by import with this screen, the only required column is "code". You can choose to update other filter category information by selecting additional columns. In this case, we are going to choose Code, Name, Order Values By, and Position.

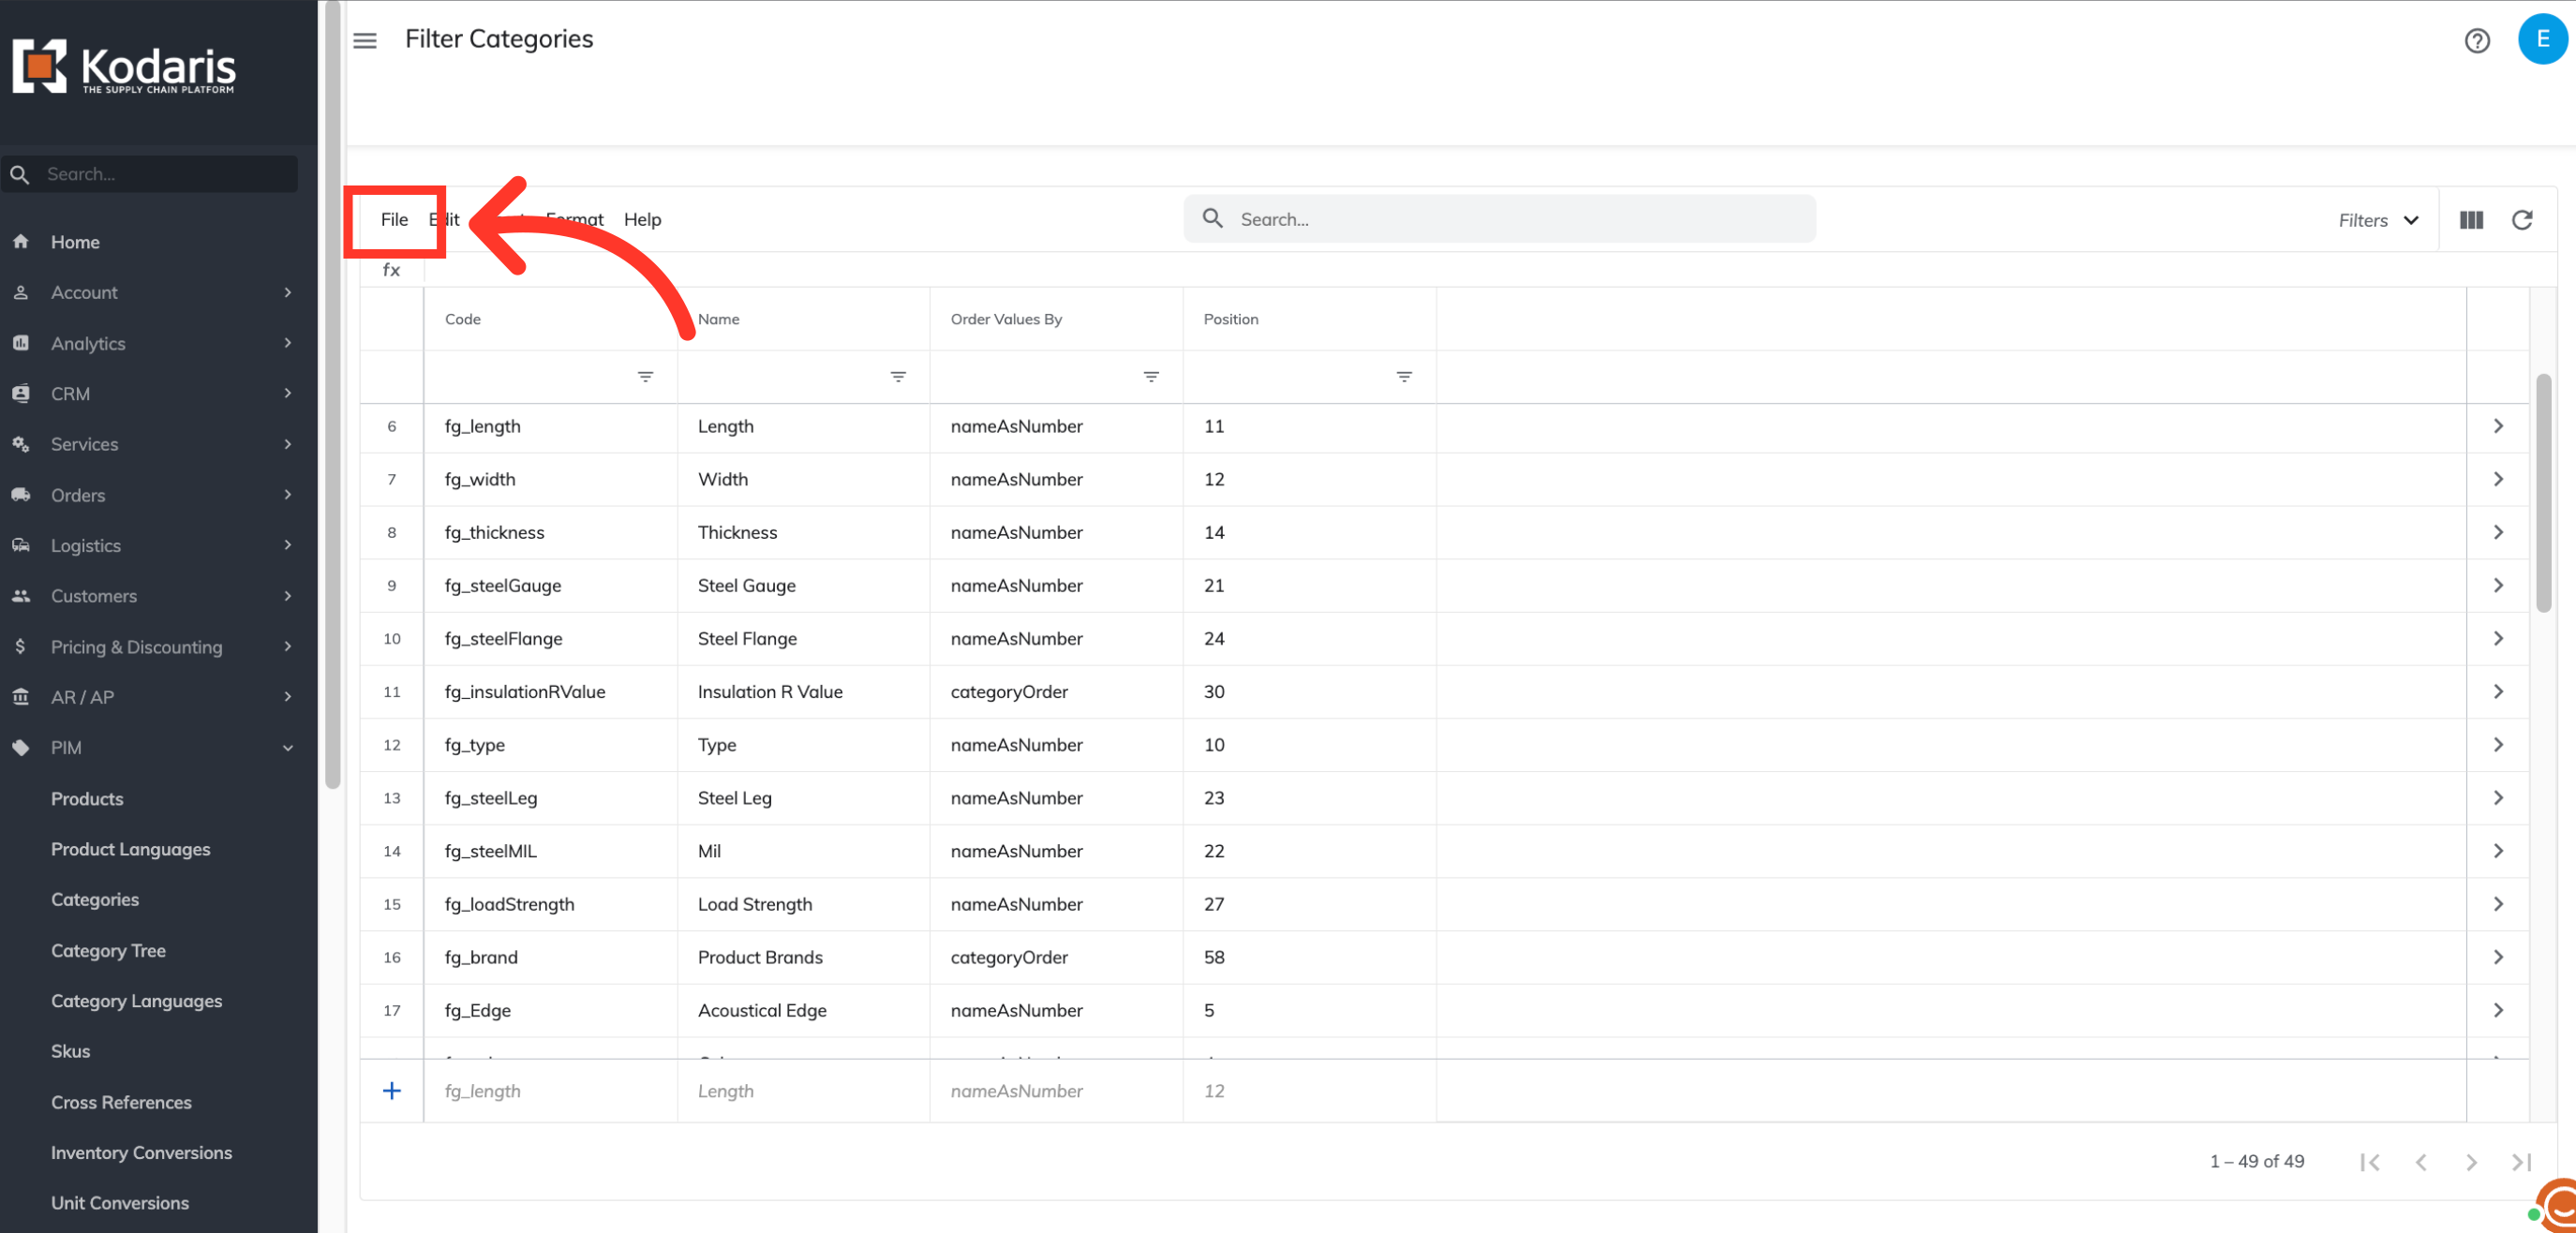
Click "File".
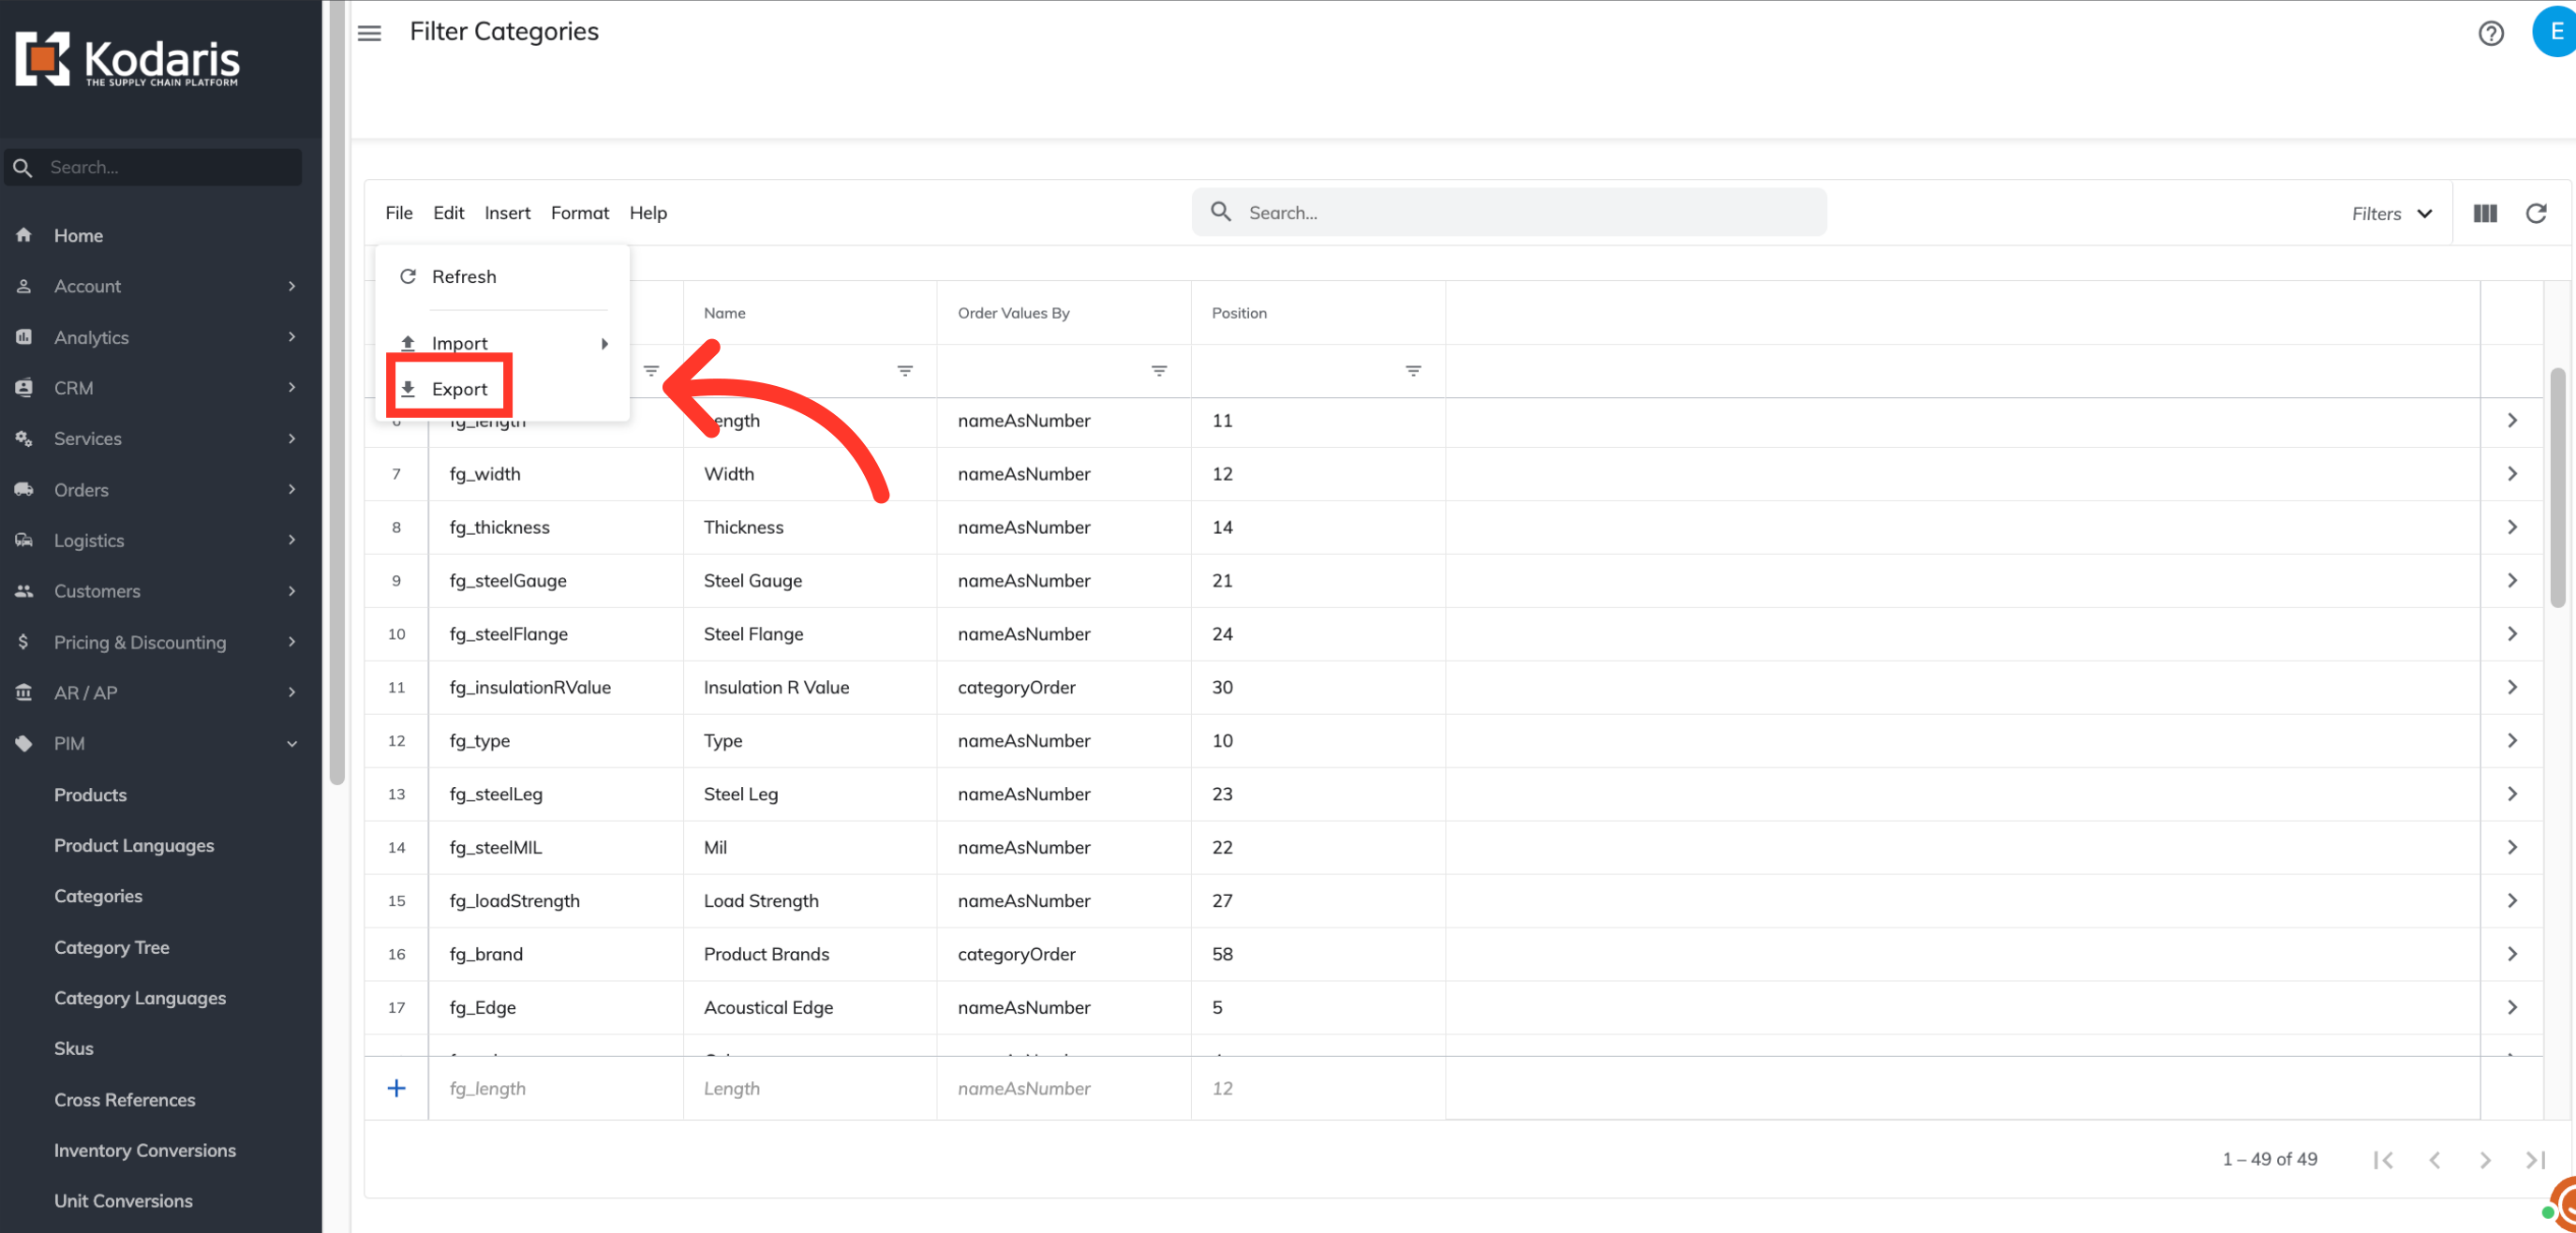
Click "Export". This export will have the needed header row for importing data back into the system when using the "Filter Category" screen.
You can choose to name your export by clicking into the field and typing to update the name.

Click "Save" to save the file to your computer. If you are exporting a large amount of data, it may take a small amount of time to complete the export. The file will download and save to your computer.

You can see in this sample export the header row that is needed to import data, and also the data from the filter category grid. Since we only need to create filter categories at this time, all data can be deleted - but keep the header row in the spreadsheet for your import.
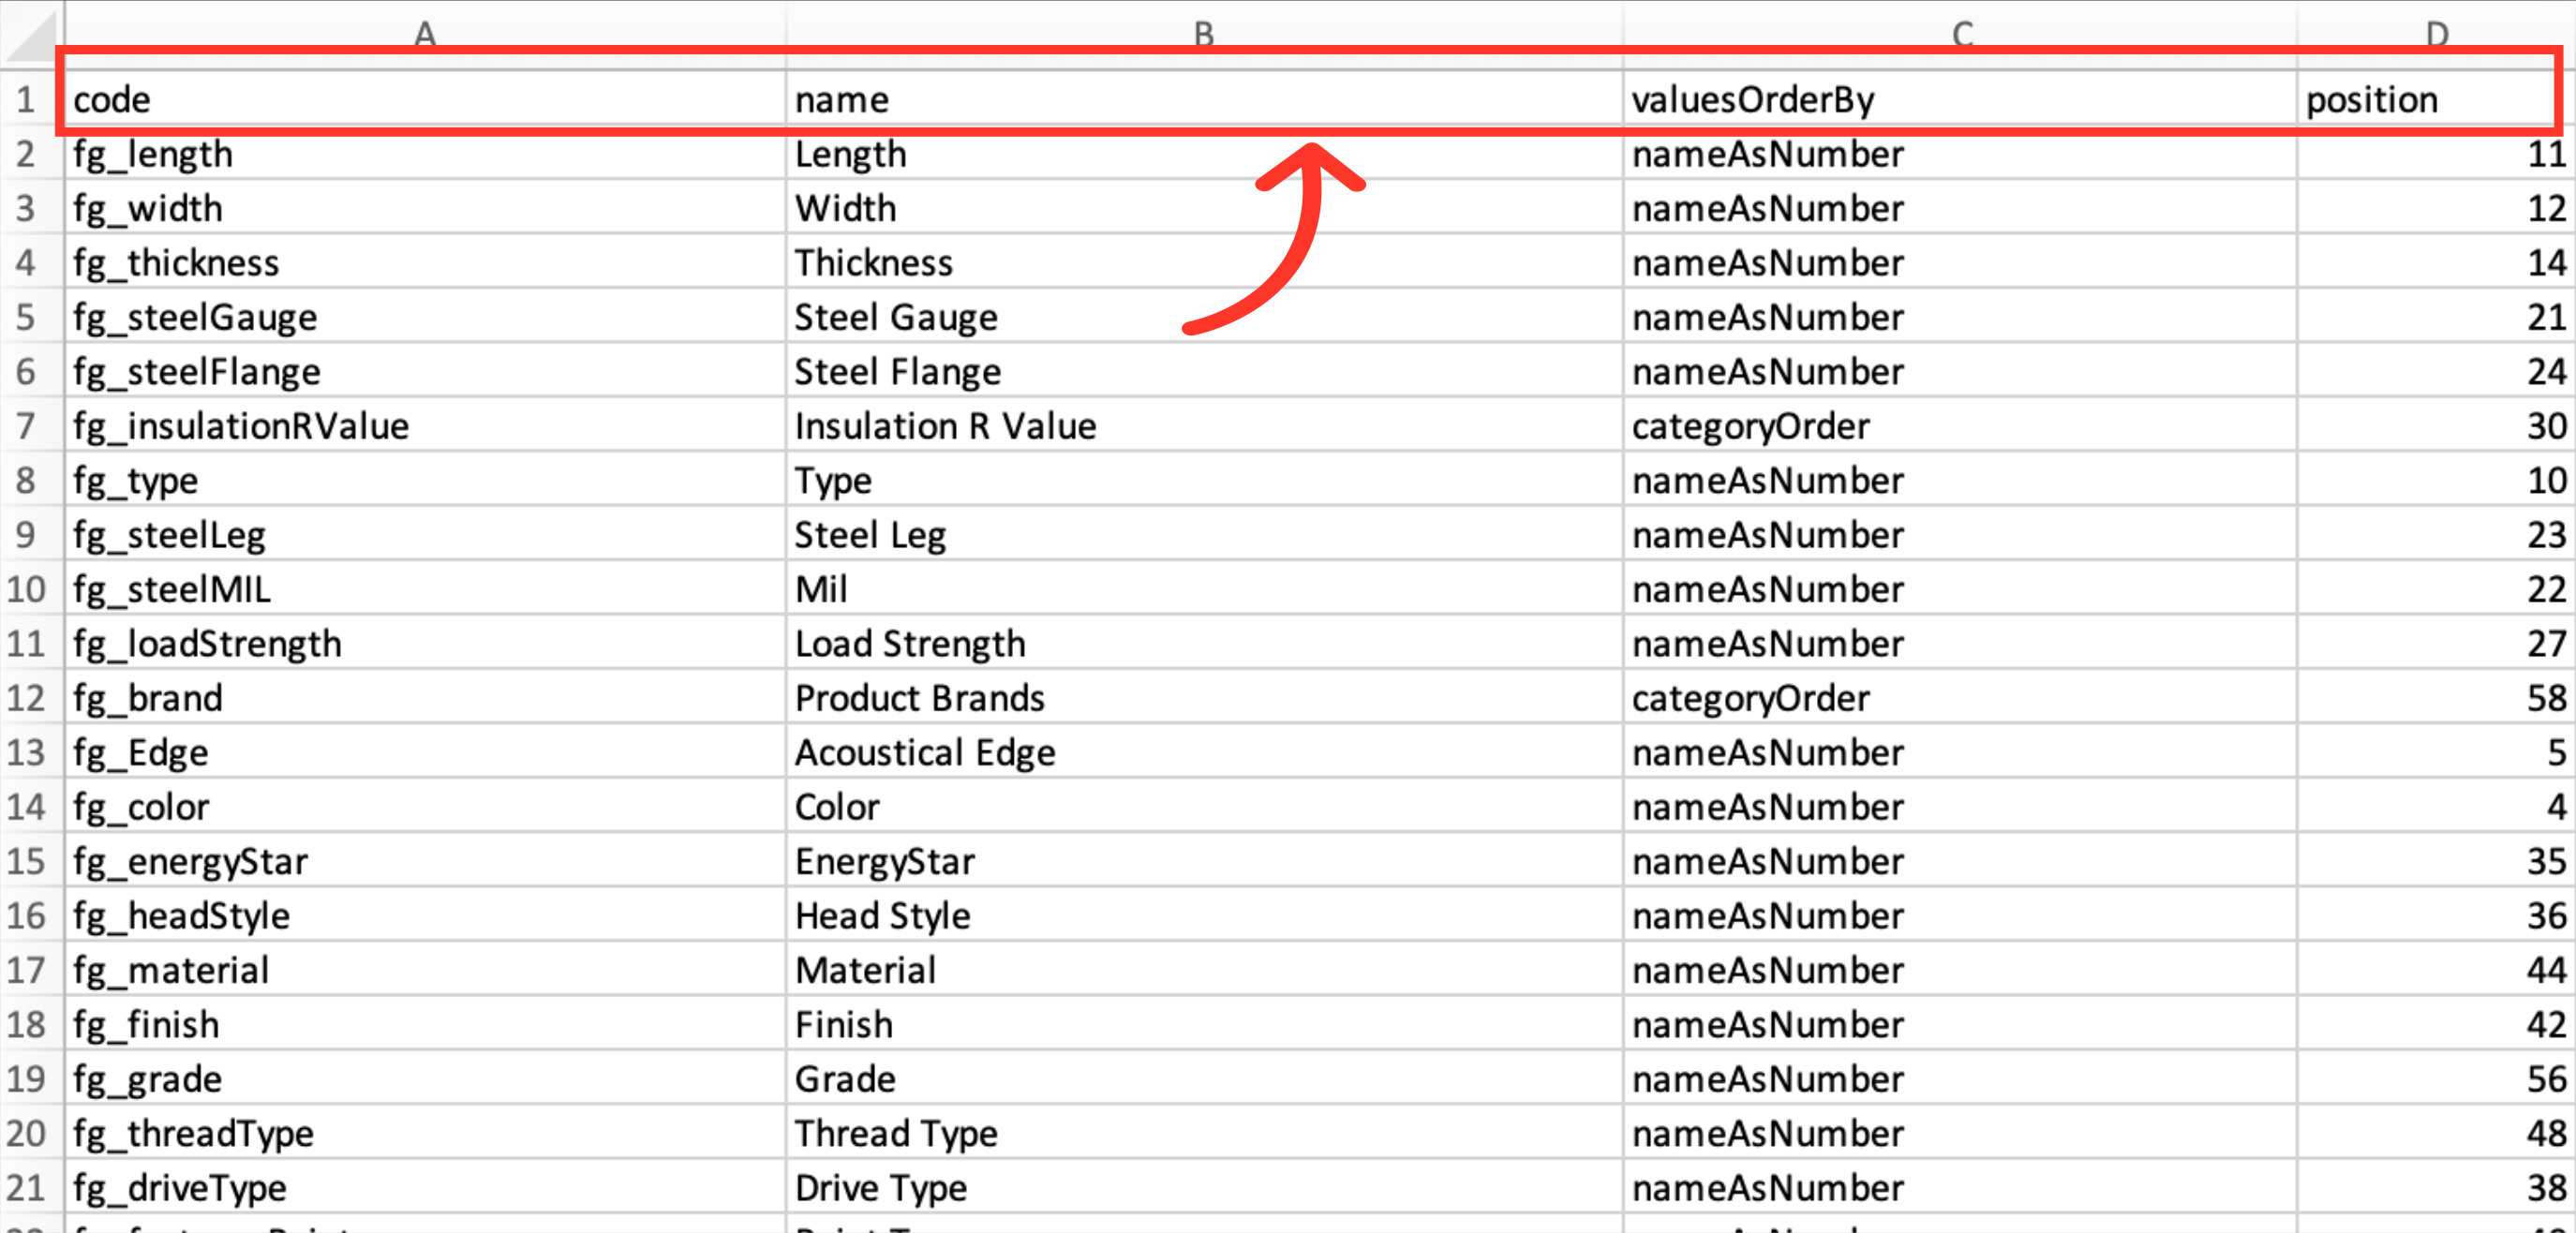
The "code" column is used for the filter category code. When creating filter category codes, it is helpful to follow a consistent pattern. Filter Category codes cannot contain special characters, and need to begin with fg_. An underscore is not considered a special character.

The "name" column is for the name of the filter category, and is visible to your customers. Filter Category names can contain special characters.

You can control the order of your Attributes within your Filter Categories by updating "valuesOrderBy" fields with specific codes. Count: order is based on the number of products in each category from highest to lowest. Index: order is based on the order used in a dictionary and apply to numbers and dates. Name as Number Ascending: ordered alphabetically. Name as Number Descending: reverse alphabetical order. Category Order: order is controlled numerically. The codes for each of these options are: count index nameAsNumber nameAsNumberDesc categoryOrder

You can also control the order of your Filter Categories on the commerce side by entering a numerical value in the "position" column. If you would like a specific Filter Category to appear at the top, the value would be the lowest number. If you have a Filter Category that you would like to see at the bottom, you will use the highest number. This setting can be updated at any time, and can also be updated directly in the operations portal.

Once you have entered the filter categories that you would like to create, save your spreadsheet as .CSV file which is spreadsheet compatible, and your file is ready to import.

Click "File".
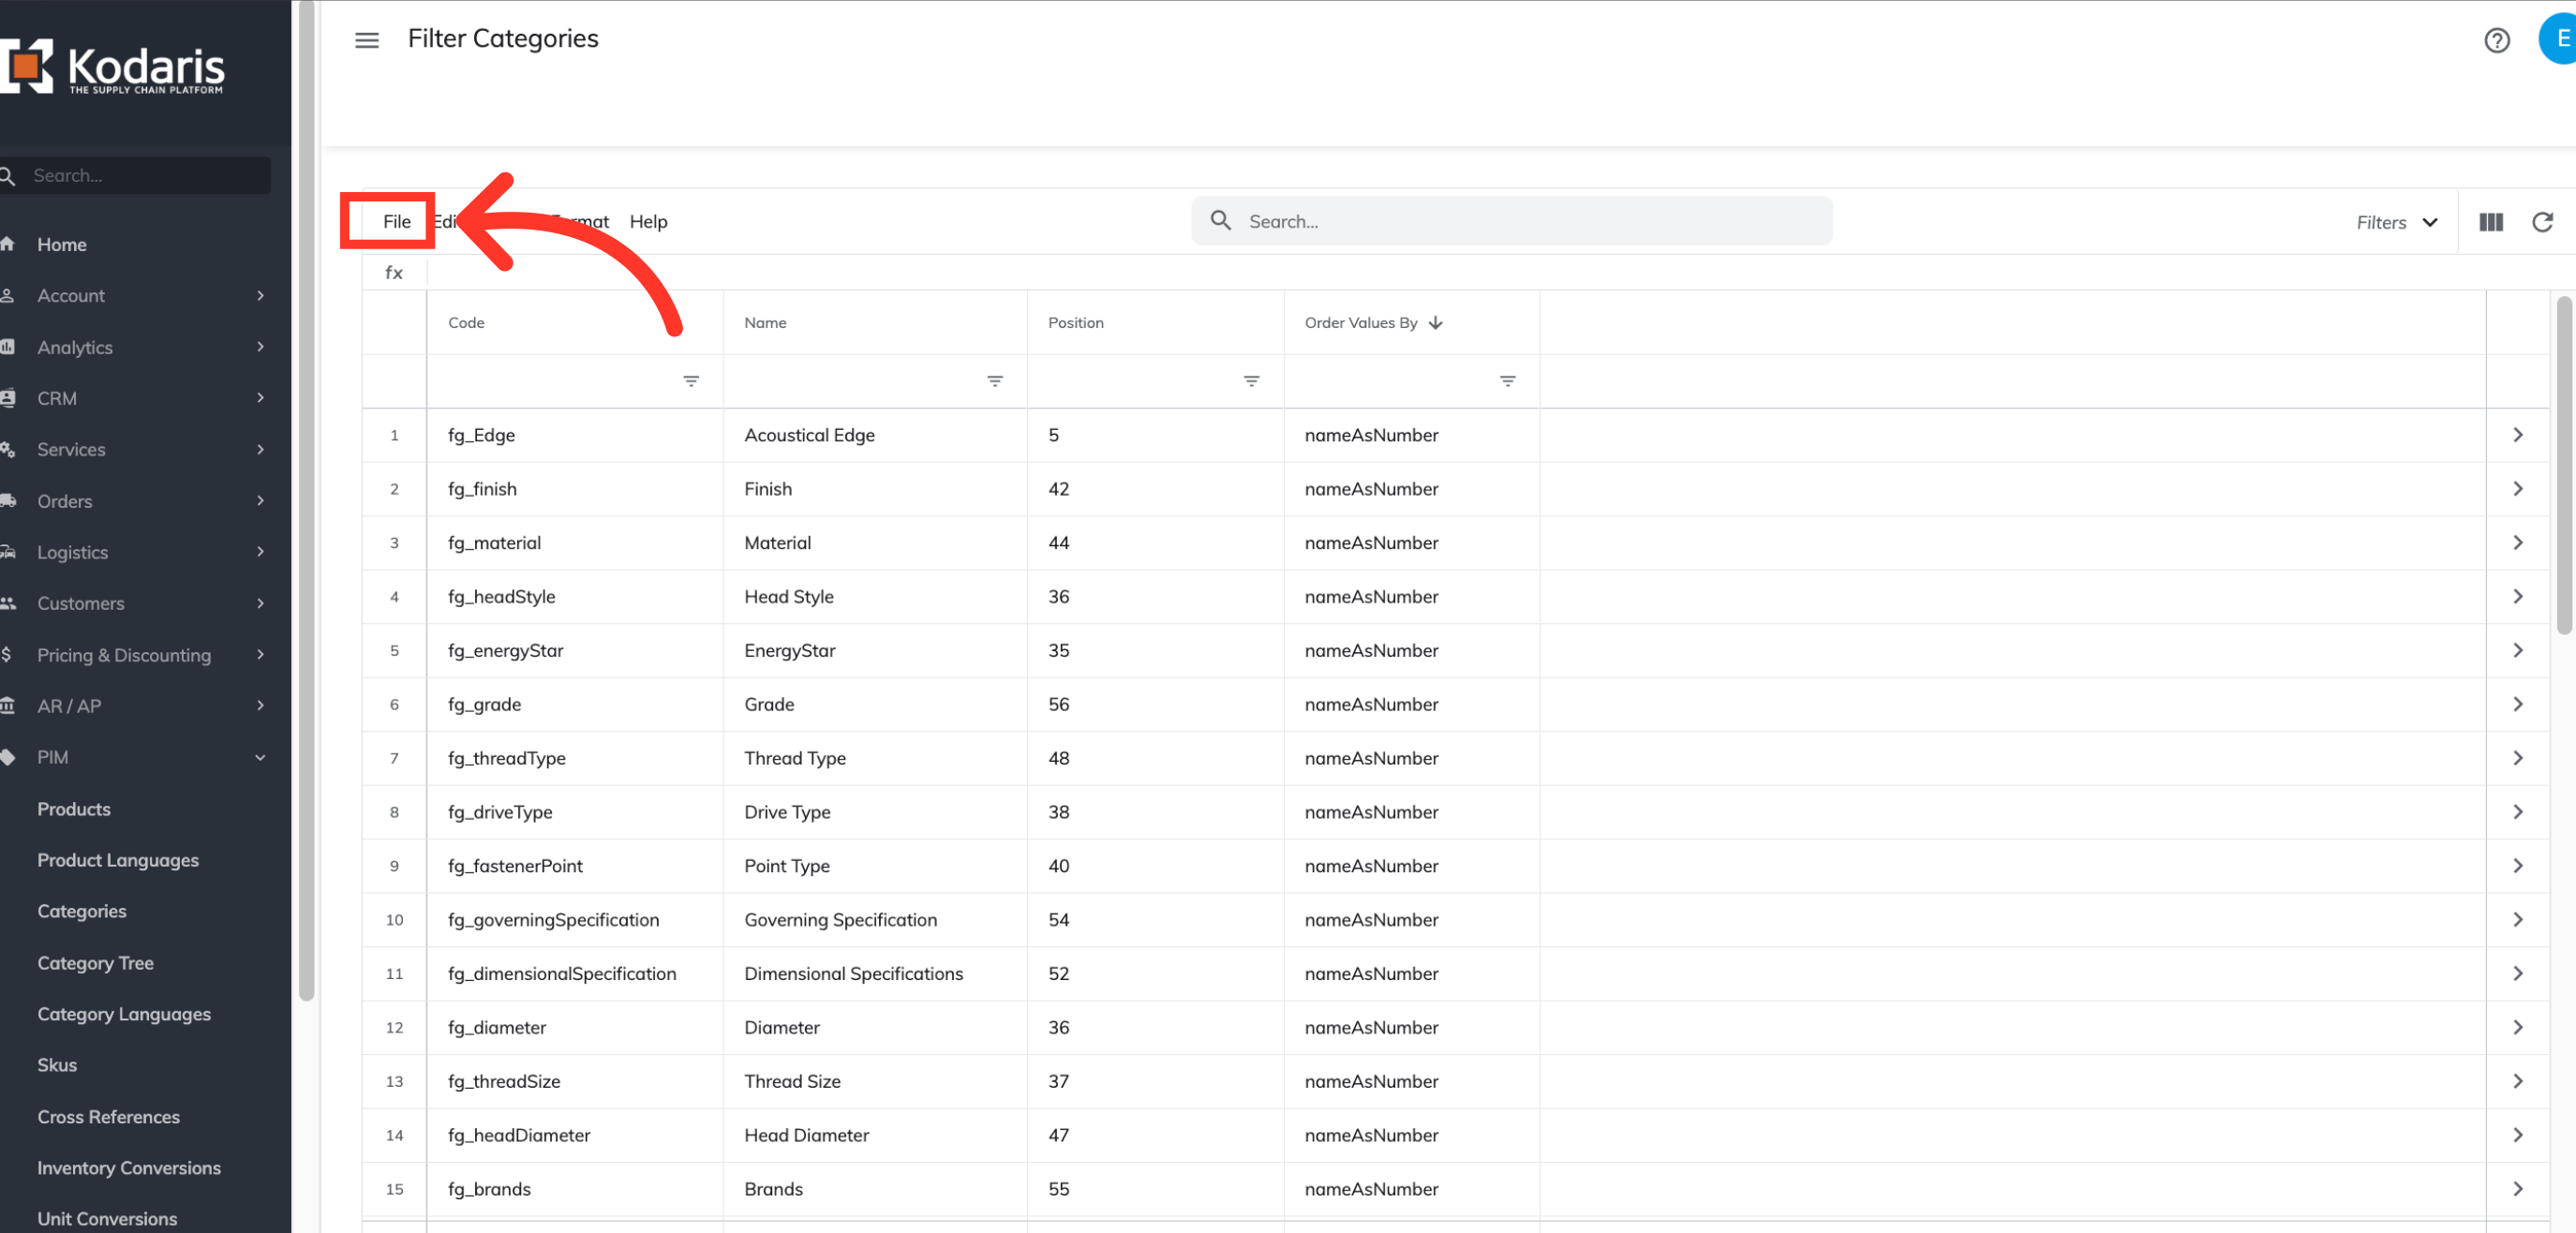
Click "Import".

Choose your preferred import option. "Create & Update" will create new filter categories and also update existing filter categories with your import. "Update Only" will only update existing filter categories with your import. "Create Only" will only create new filter categories with your import. Since we are creating filter categories today, we want to select "Create Only".

Once you click "Create", you will be prompted to choose and upload a file from your computer. Choose the .CSV file you would like to import. Please be sure that you select the correct file. An import message will appear letting you know that the import file is in process and to check back in a few minutes for the imported data. If you are importing large amounts of data, it may take a short amount of time to complete. The import will continue to run in the background.

Once the import is complete, you will receive an email with the report of your import.
