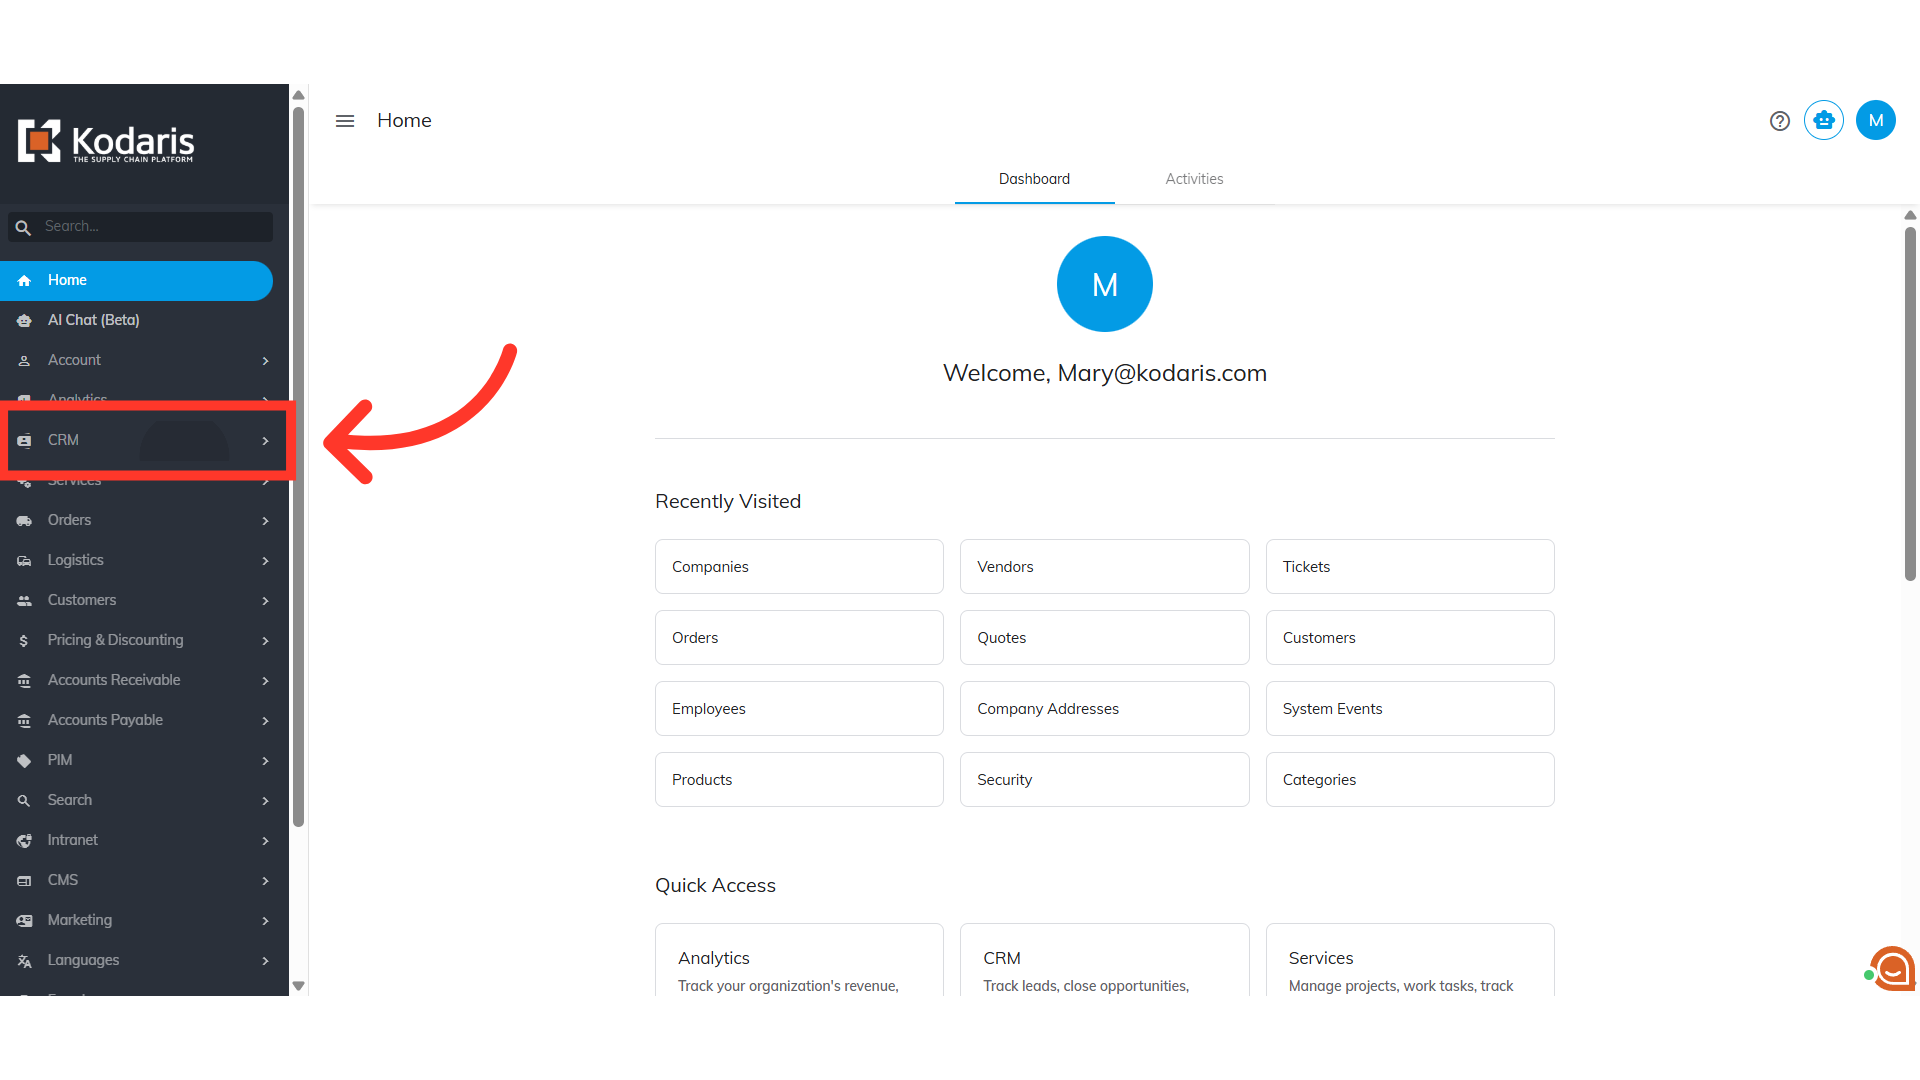
If you are using the multisite feature as part of the Kodaris platform, you can add your customer accounts to a host. Once customer accounts are added to hosts, the system will recognize the correct site to which the customer belongs. To add hosts to companies, navigate to "CRM" in the Operations Portal.
Then, click on the "Companies" menu. In order to access "Companies" you will need to be set up either as an "administrator" or a "superuser", or have the appropriate roles: "companyView and companyEdit", or "crmCompanyView and crmCompanyEdit". Just a reminder, "crmCompanyView and crmCompanyEdit" access only allows employees to view companies that are assigned to them.

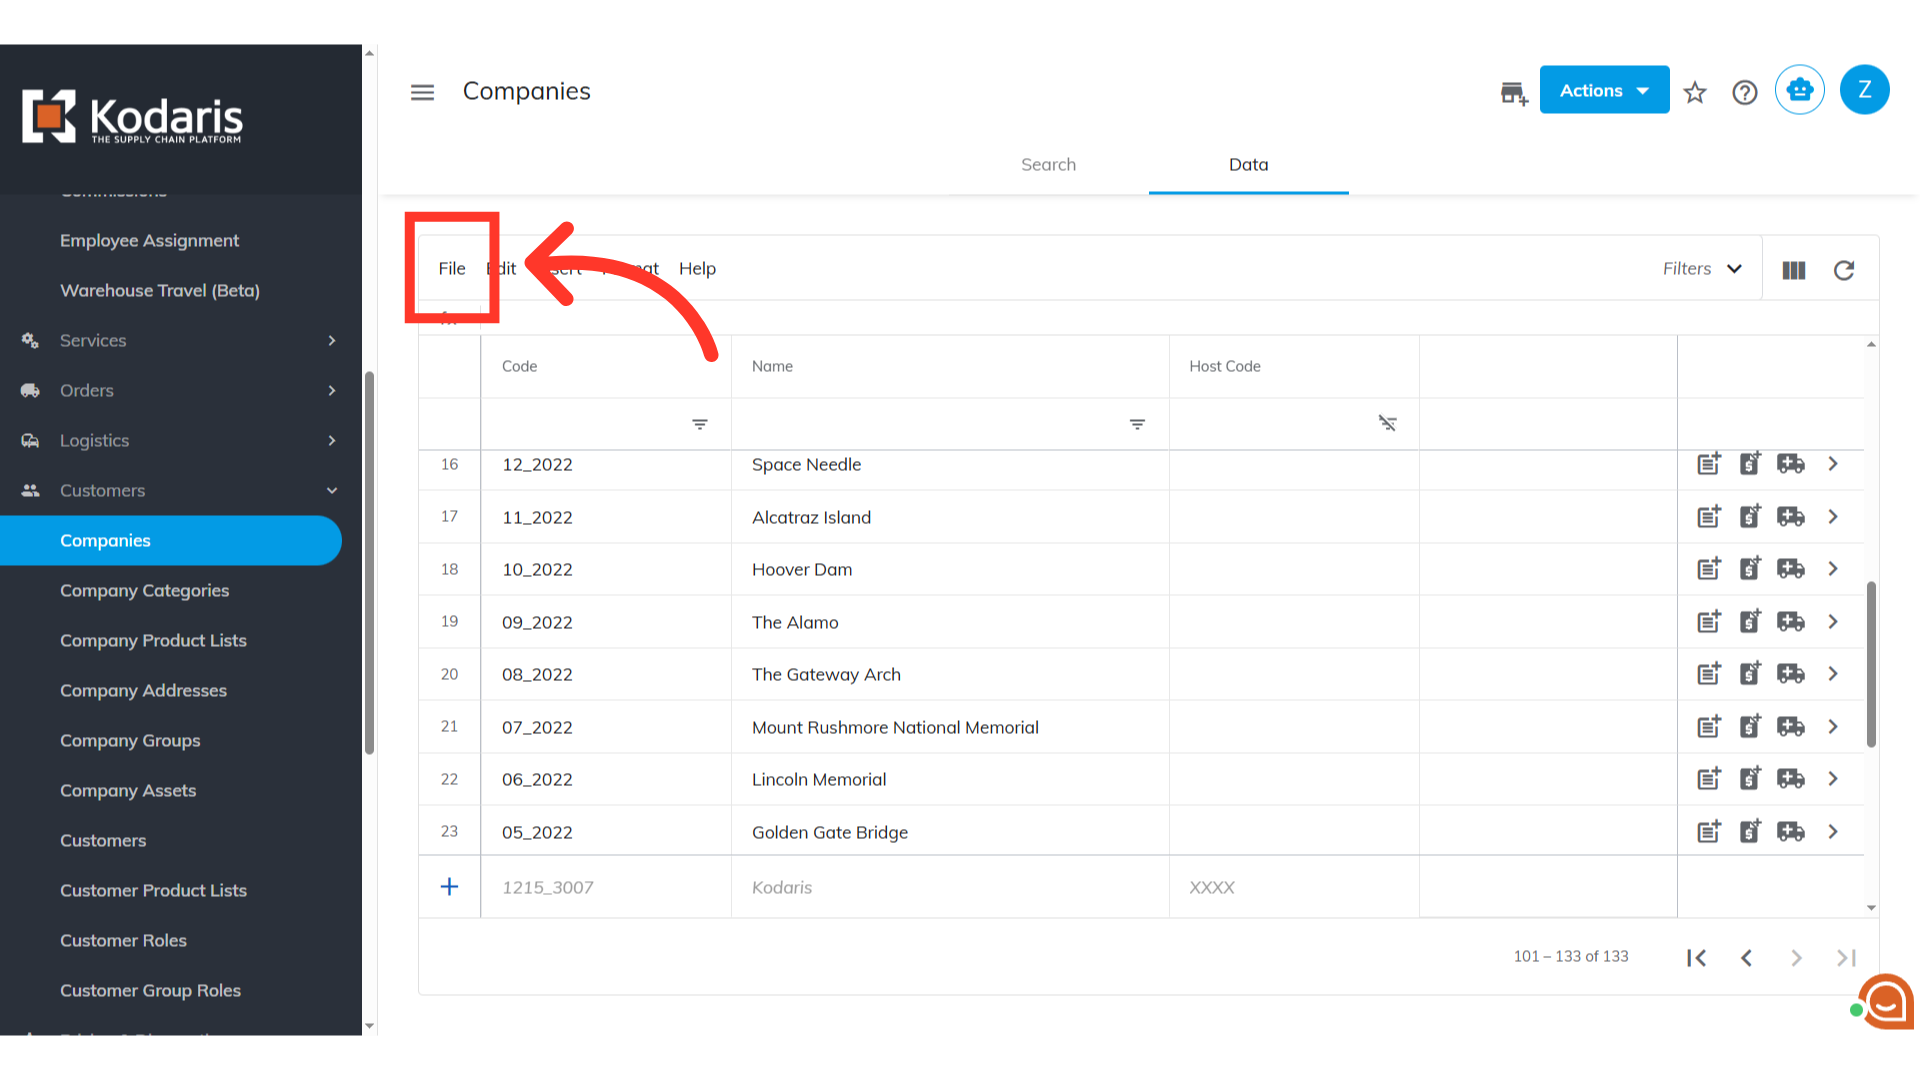
Select the "Data" tab.

Click the "Show/Hide Columns" icon to customize your grid view.

Be sure that "Code", "Name", and "Host Code" are selected. All other columns can be removed from the grid by deselecting the options.

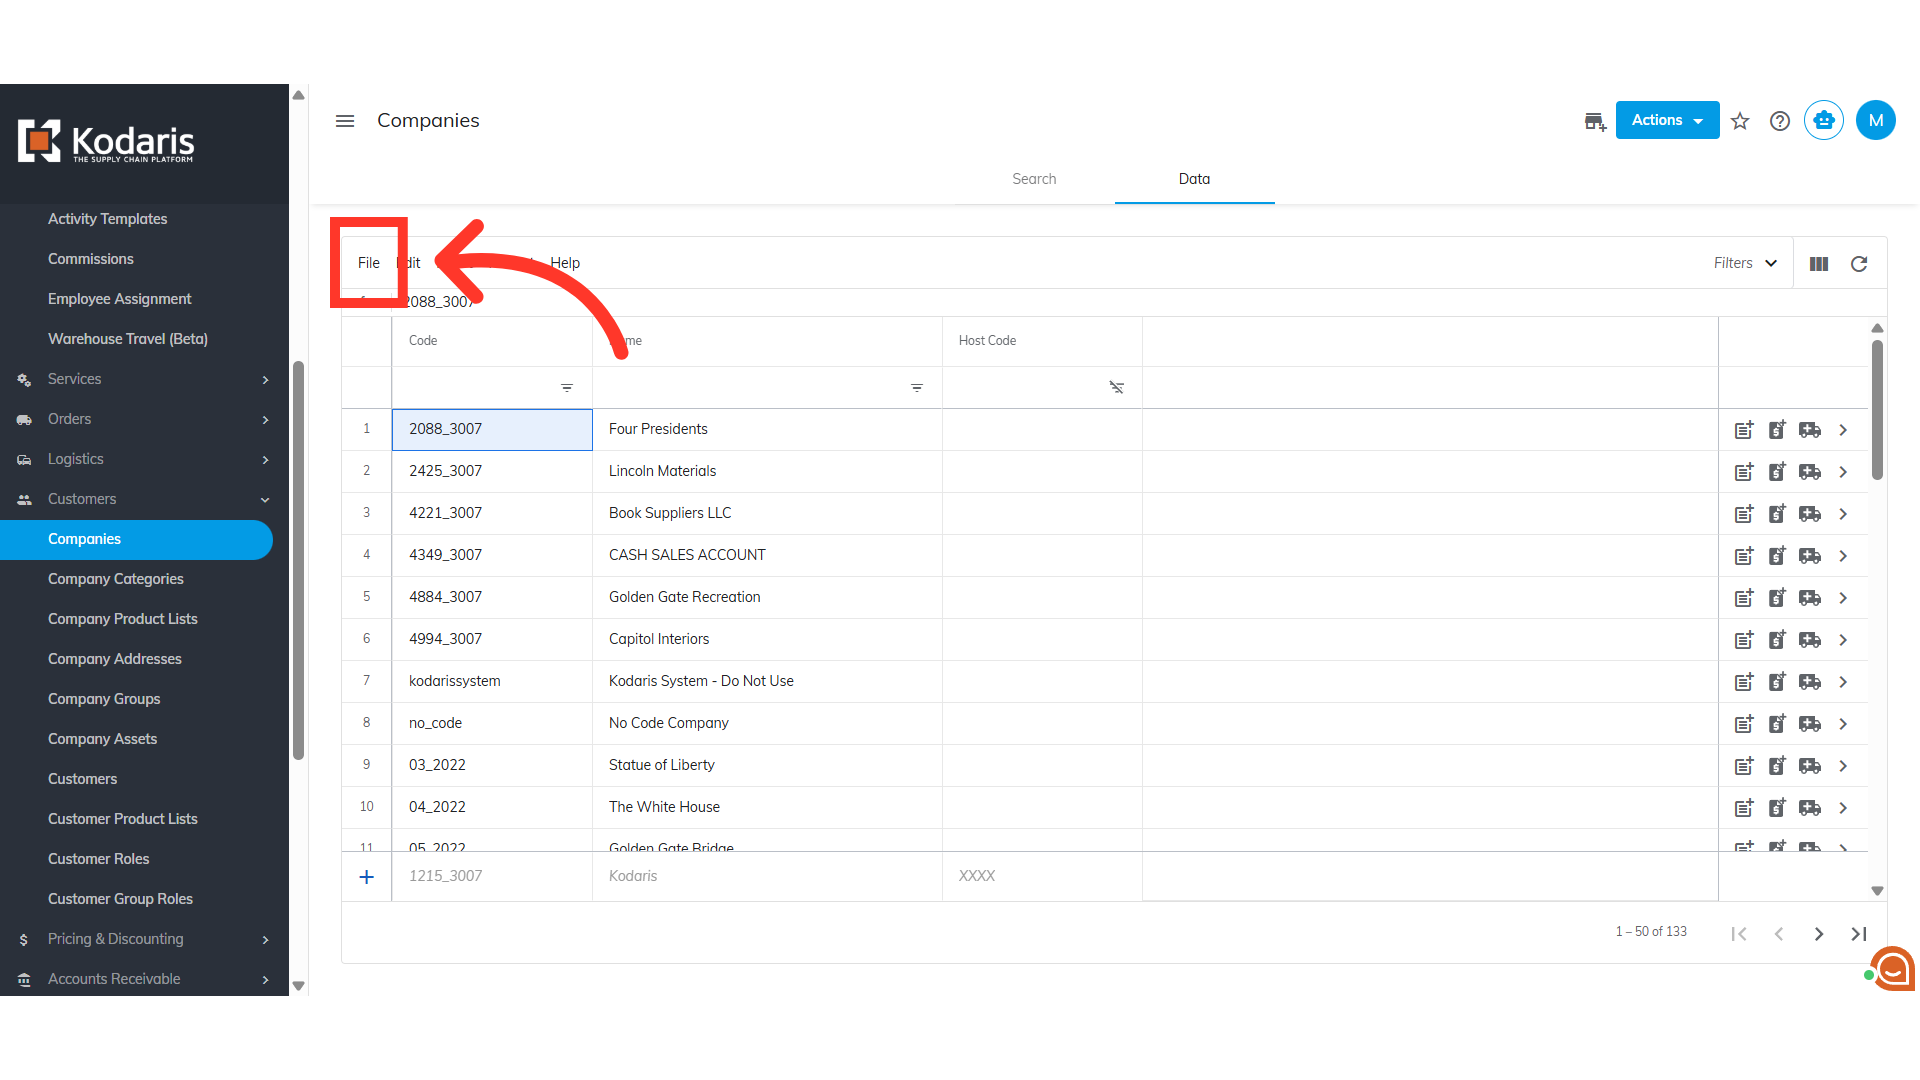
Now, click on "File".
Navigate to "Export".
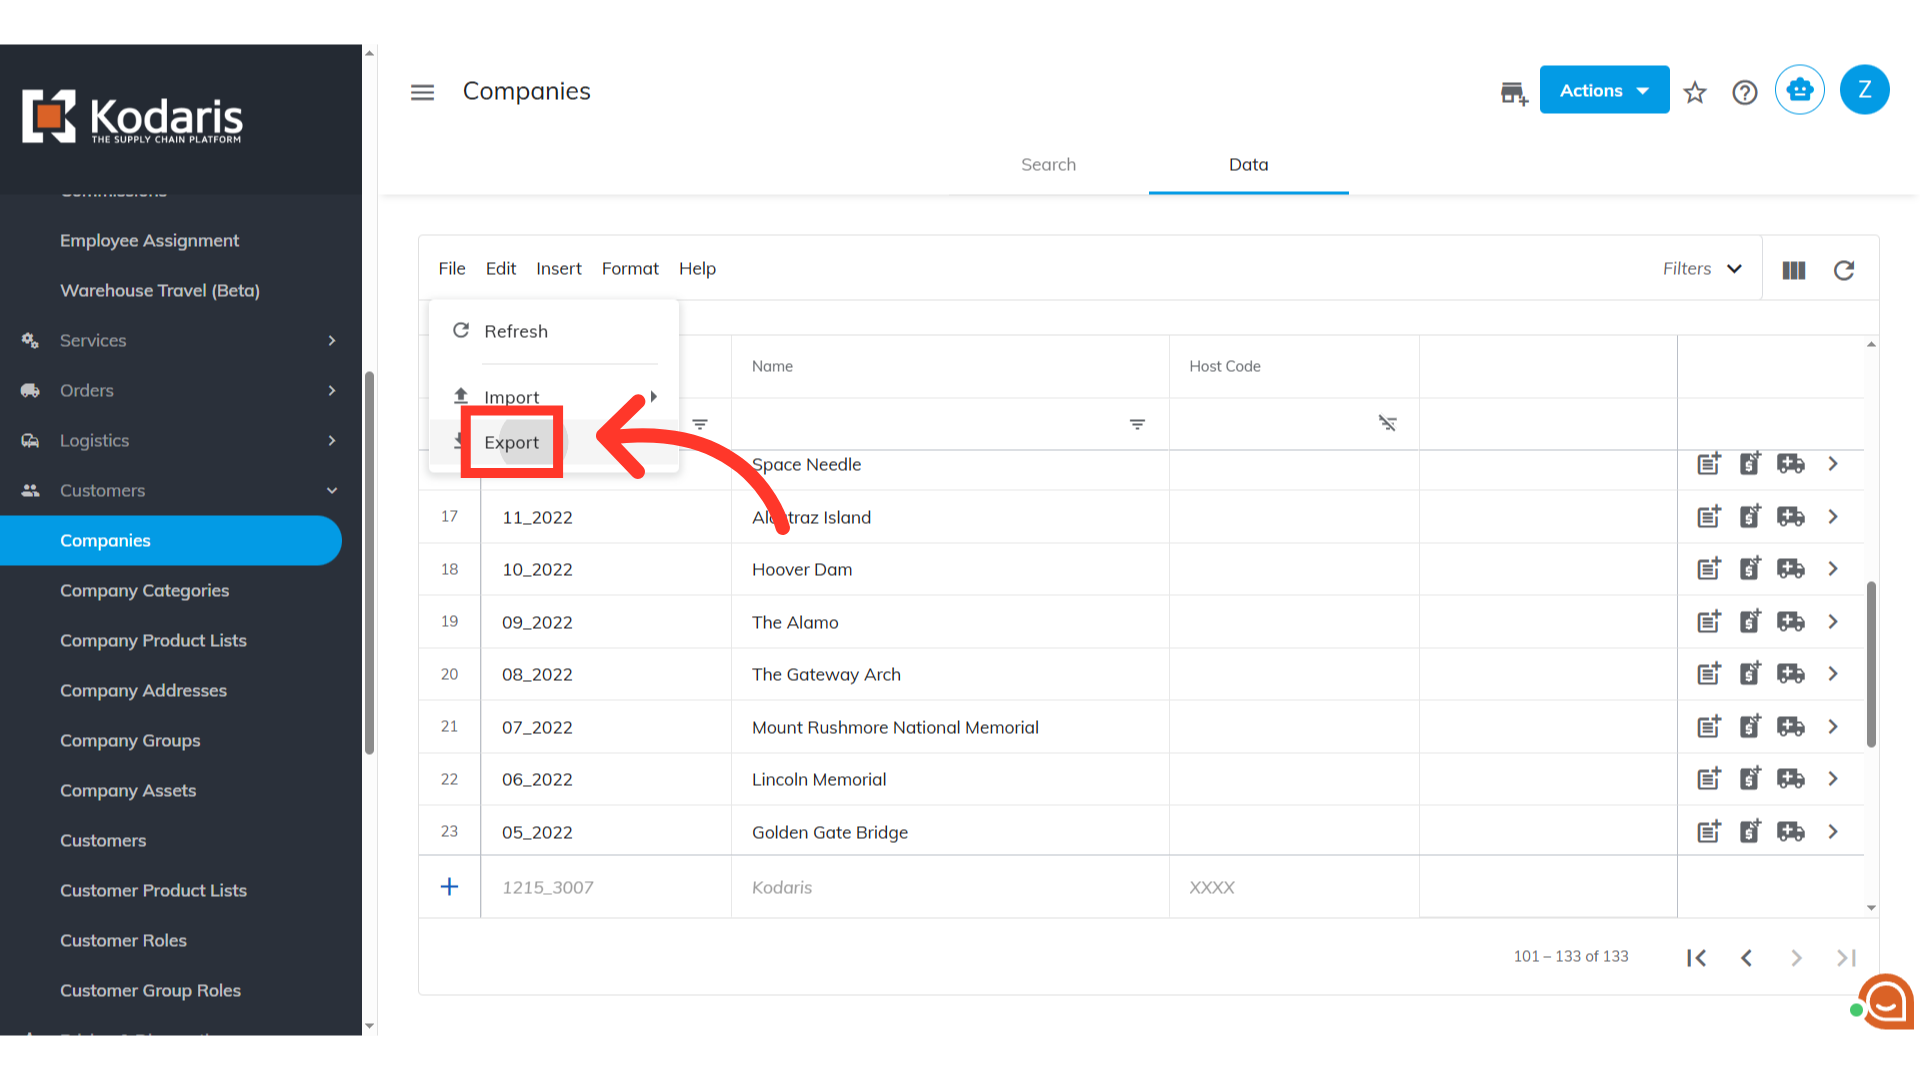
Rename the file, if needed.

Click "Save. The file will be downloaded and saved to your computer.

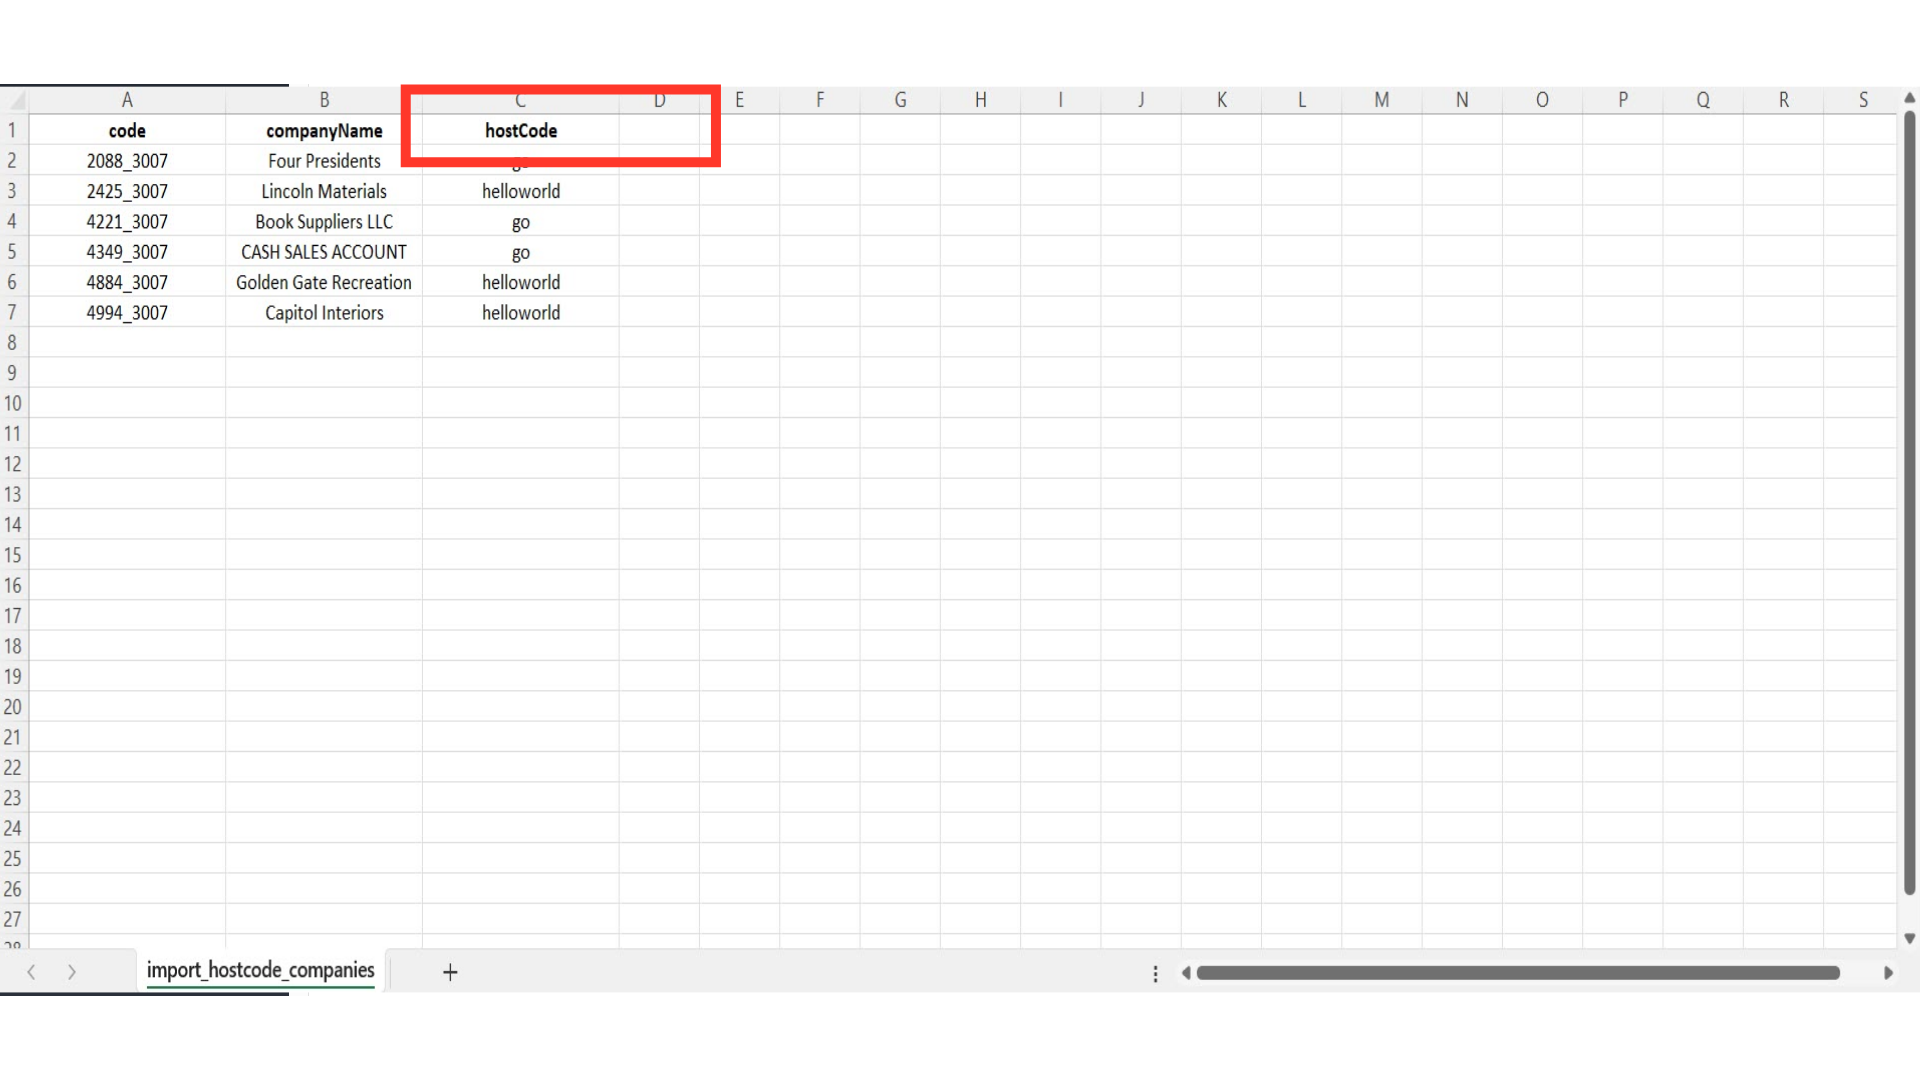
In this example sheet, you can see that it contains the needed header row for importing.

The "code" column contains the company code. When importing data, the code is required as it is the identifying factor for matching information.

The "name" column contains the name of the company. While not required for importing, it can be a helpful reference. Depending on your integration, you may or may not be able to update company names. For this example, we will not be updating names, and will add a special character to the companyName header, or remove the column from the spreadsheet before importing.

The "hostCode" should contain the host code that you would like to update on the company. Just as a reminder, the host code added to a company will be the main website for the customer.
Go to the "Hosts" screen to view all the hosts in the system. Chose the host "code" option that best fits your needs and update the spreadsheet accordingly.

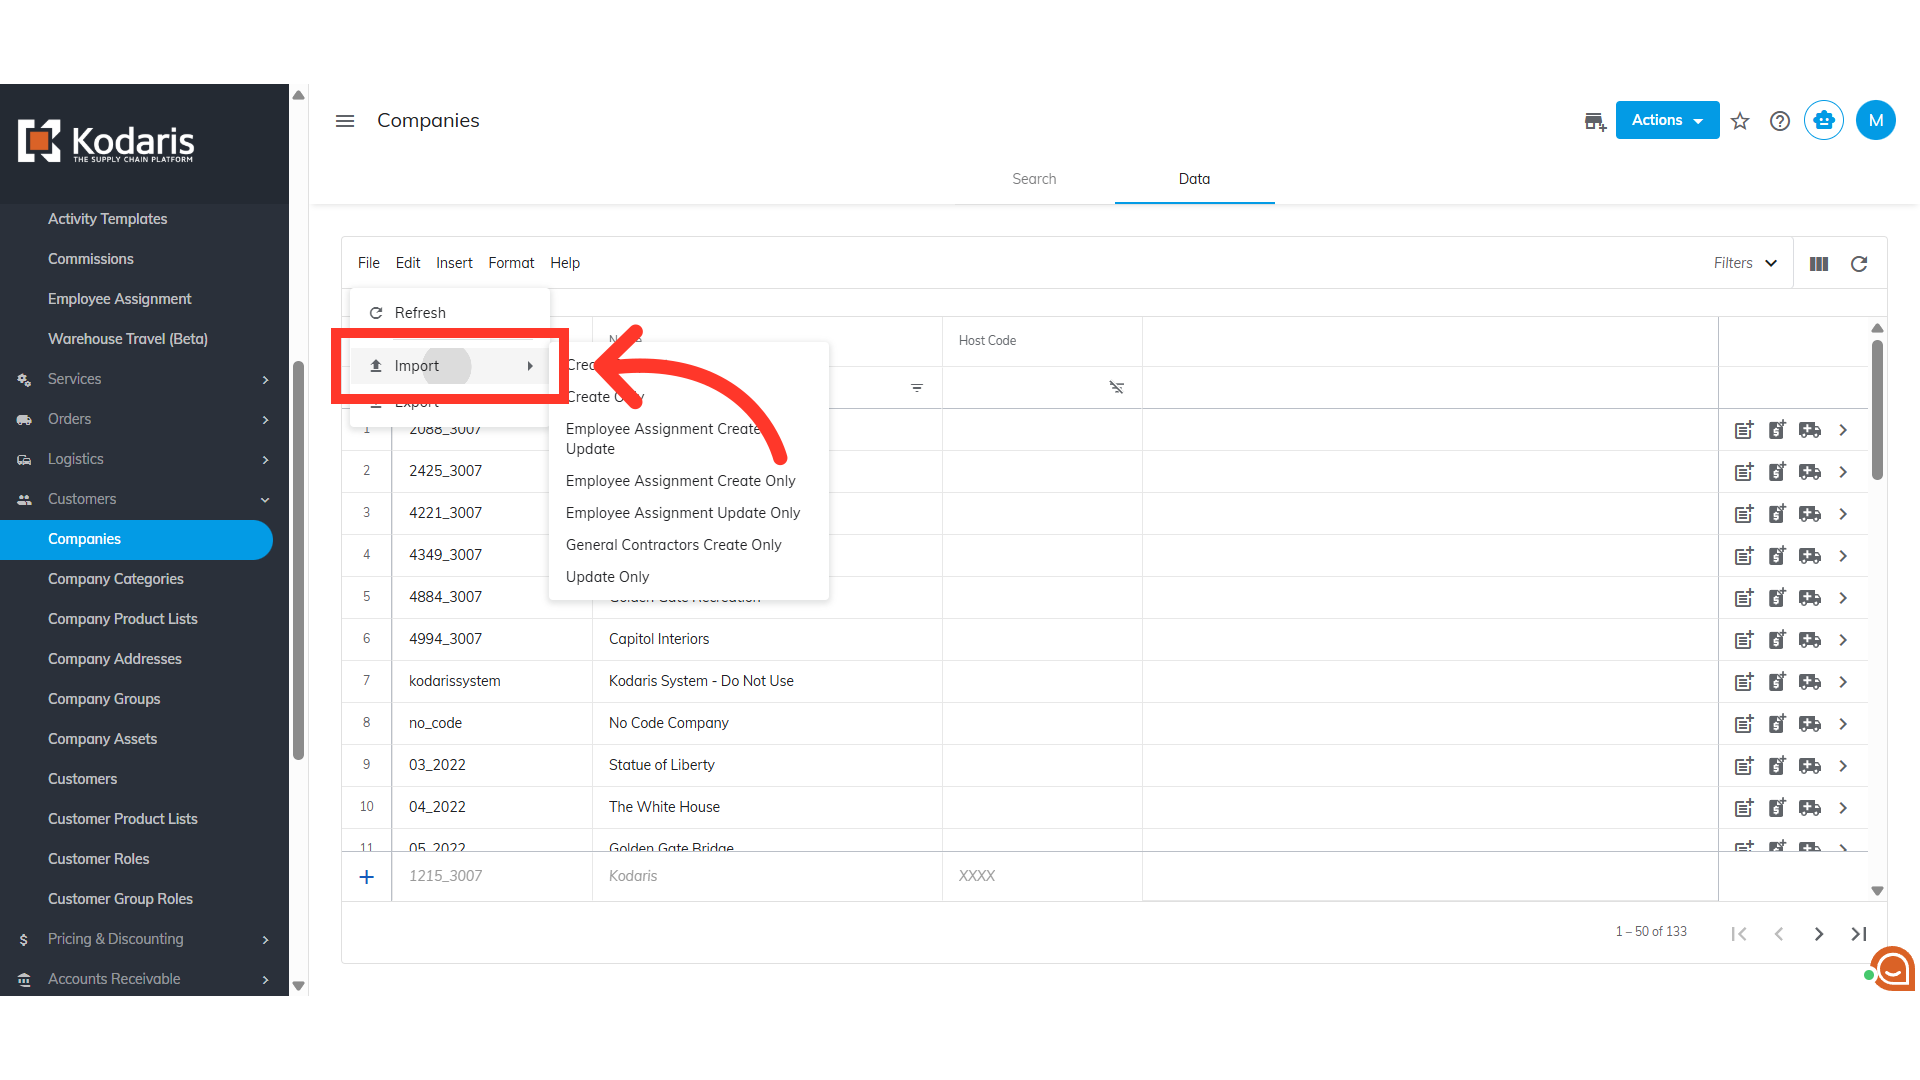
Once the spreadsheet is ready to import, navigate back to the companies screen and click "File".
Select or hover your mouse over to "Import" to view the options. In order to import data, you will need to be set up as an “administrator” or “superuser” or have the roles of: "importEdit" & "importView"
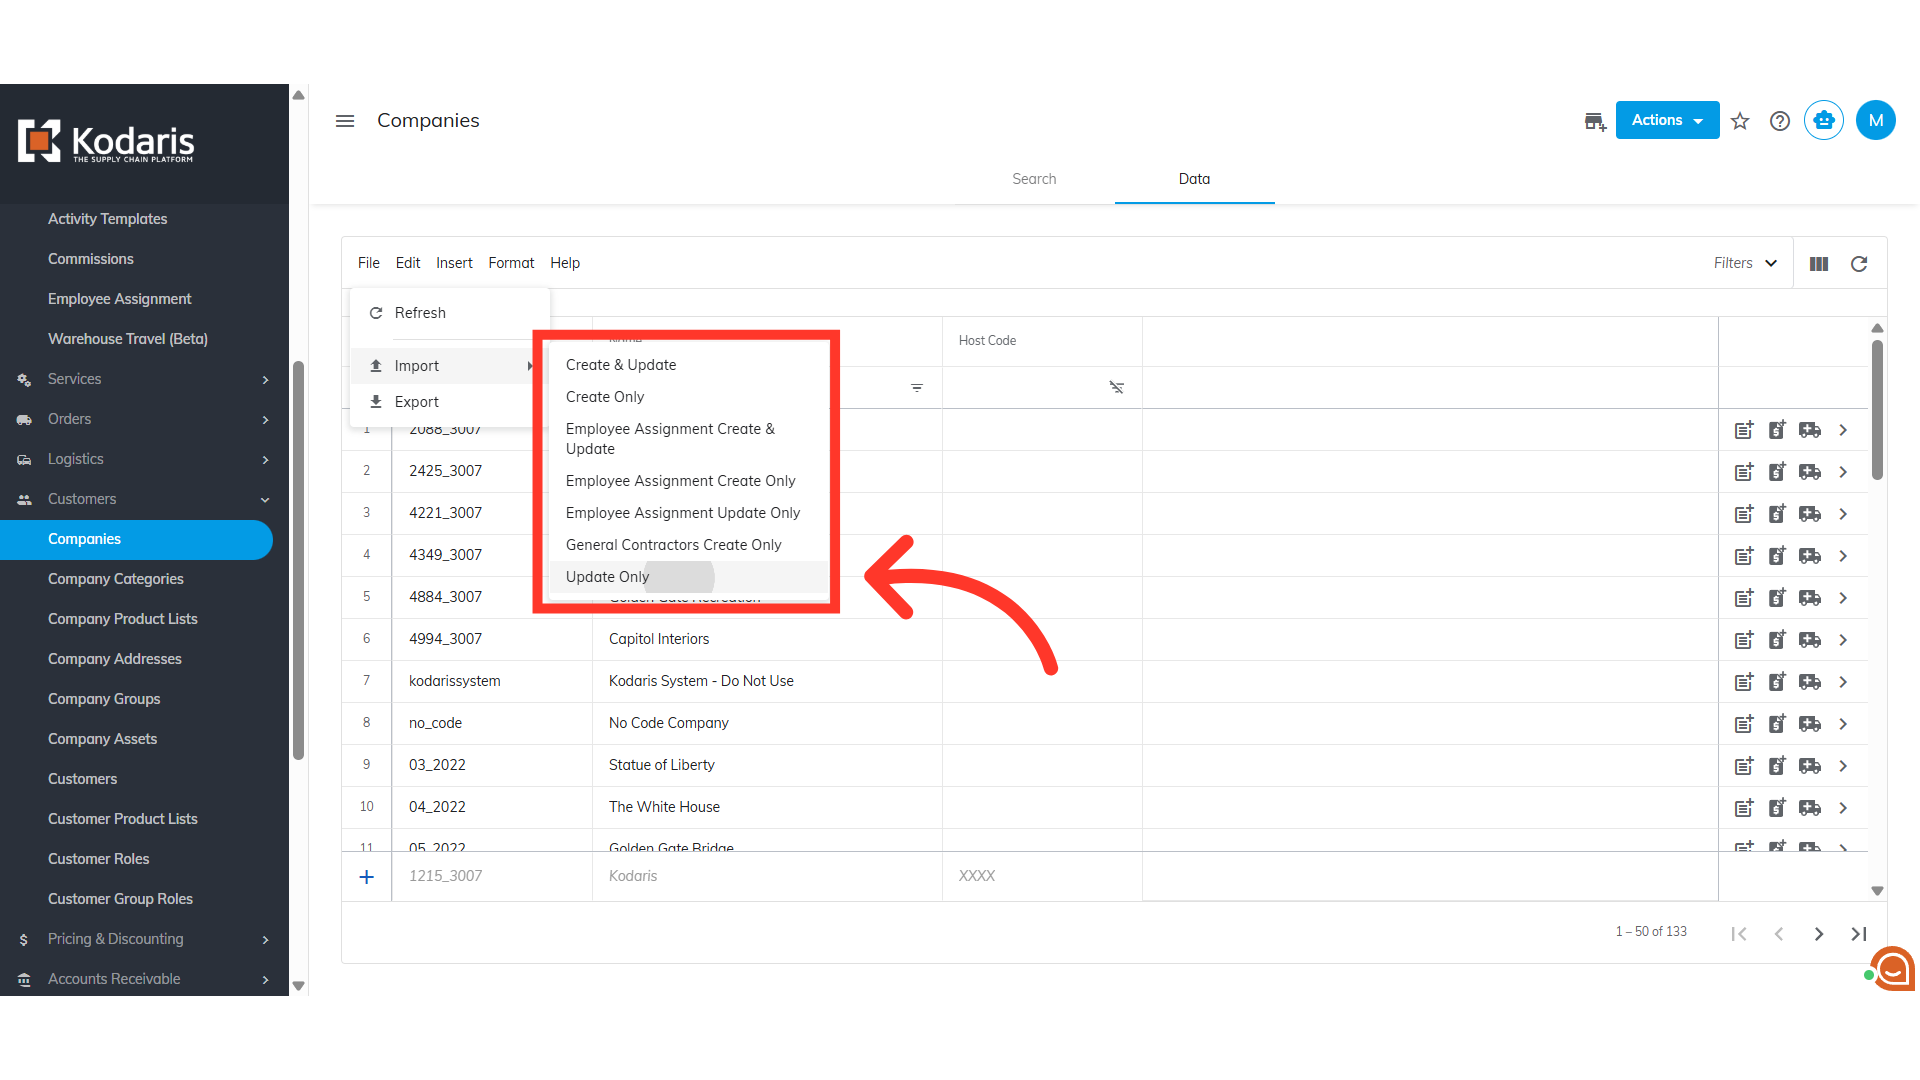
We only want to update data at this time, so select the "Update Only" option.
Choose your updated .CSV file, and click "Open" to import. Please be sure that you select the correct file, as there are no rollbacks for imports.

To verify that the data has been updated, you can view the changes made in the "Host Code" column

You will also receive an email report about the import status.
