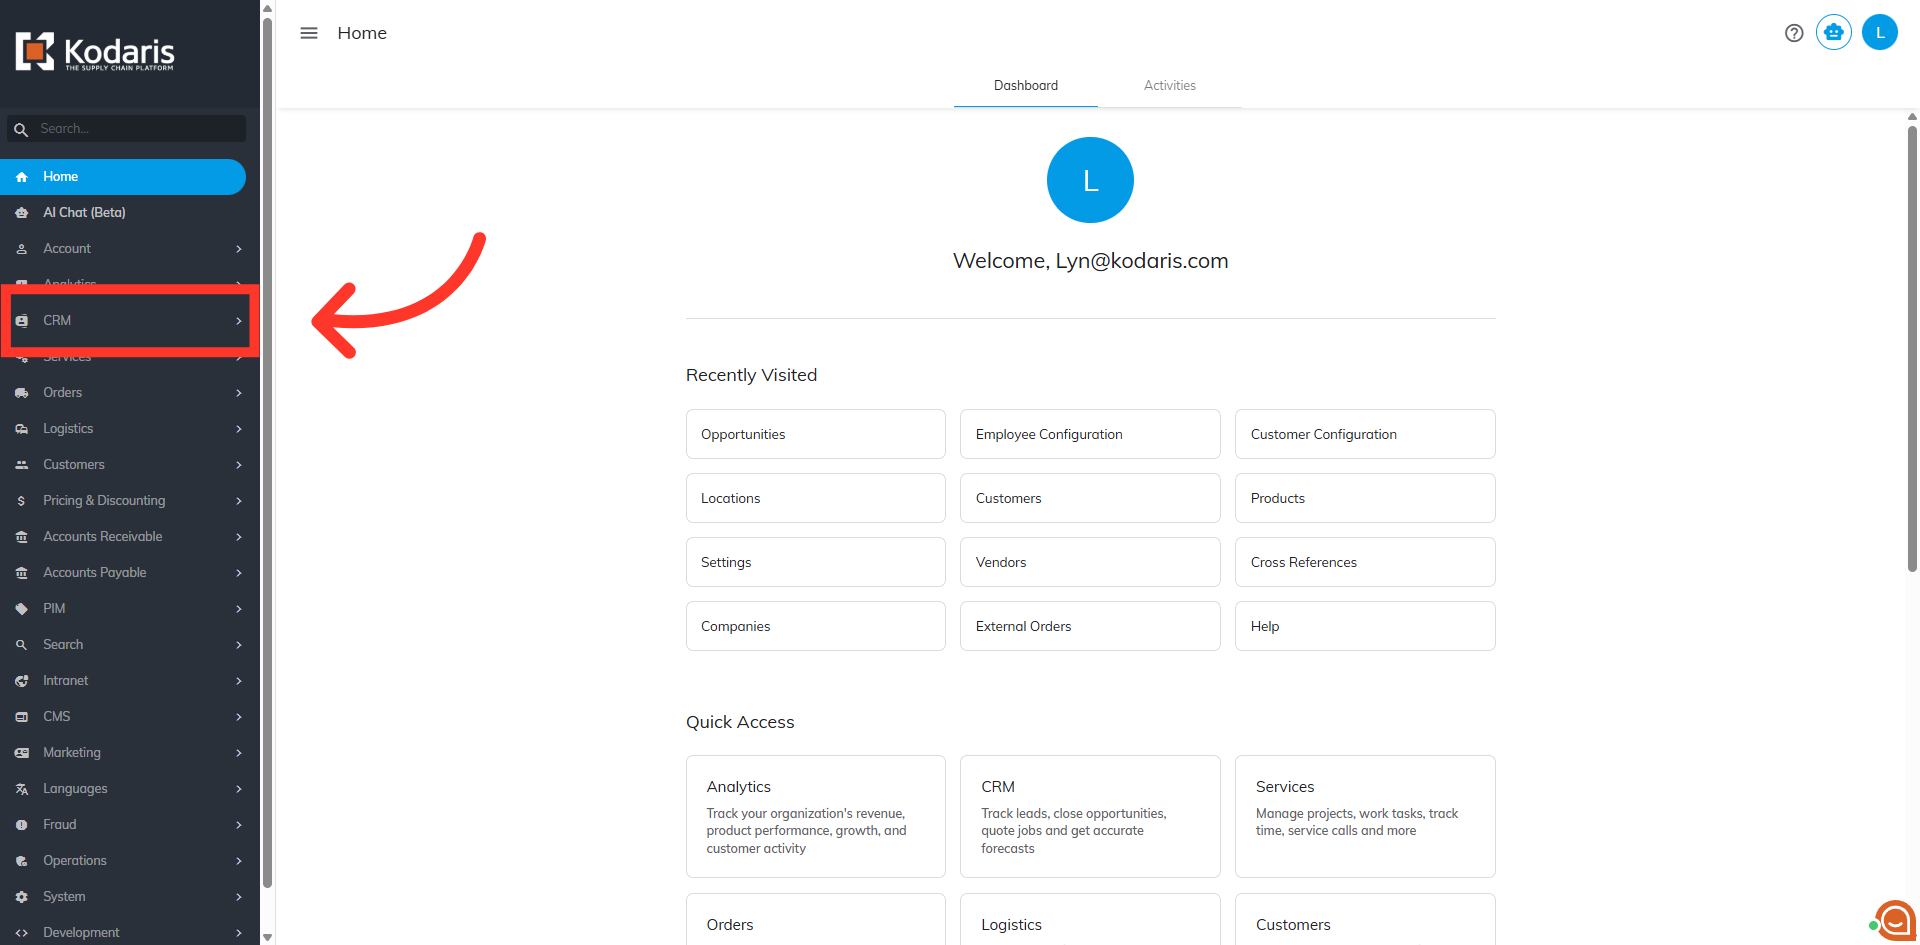
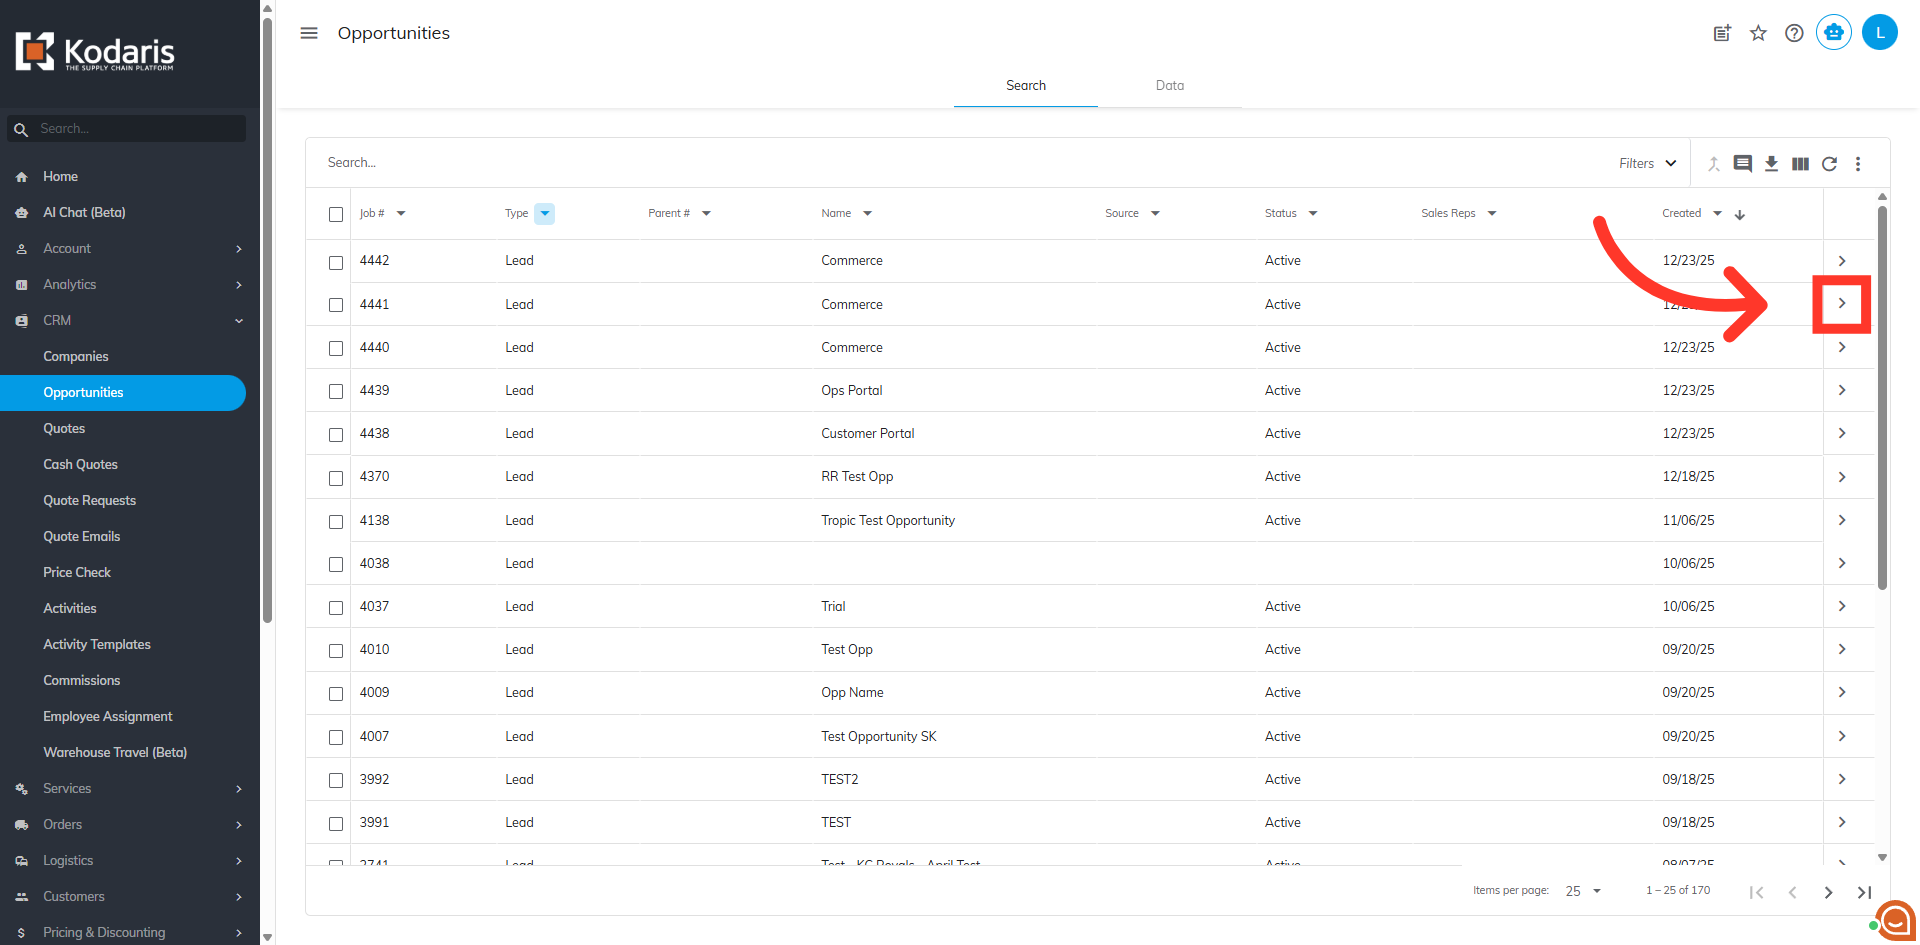
In order to create a ticket from an opportunity, navigate to "CRM" in the Operations Portal.
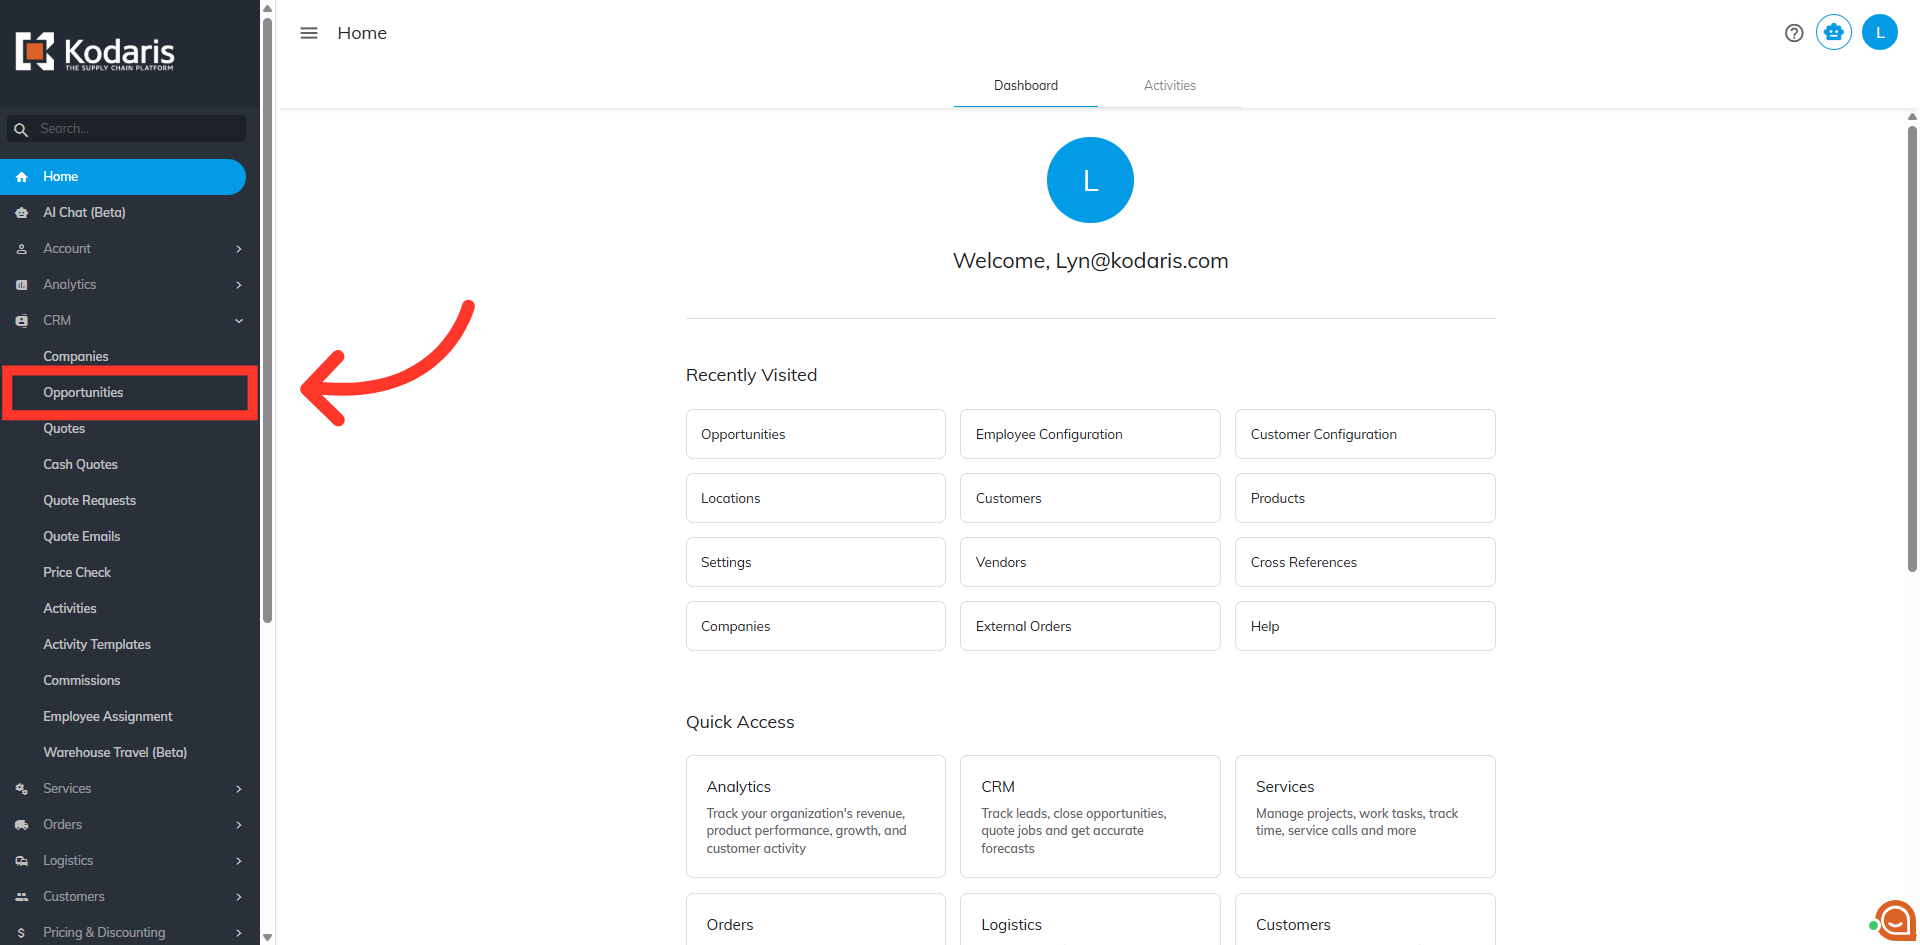
Then, click "Opportunities".
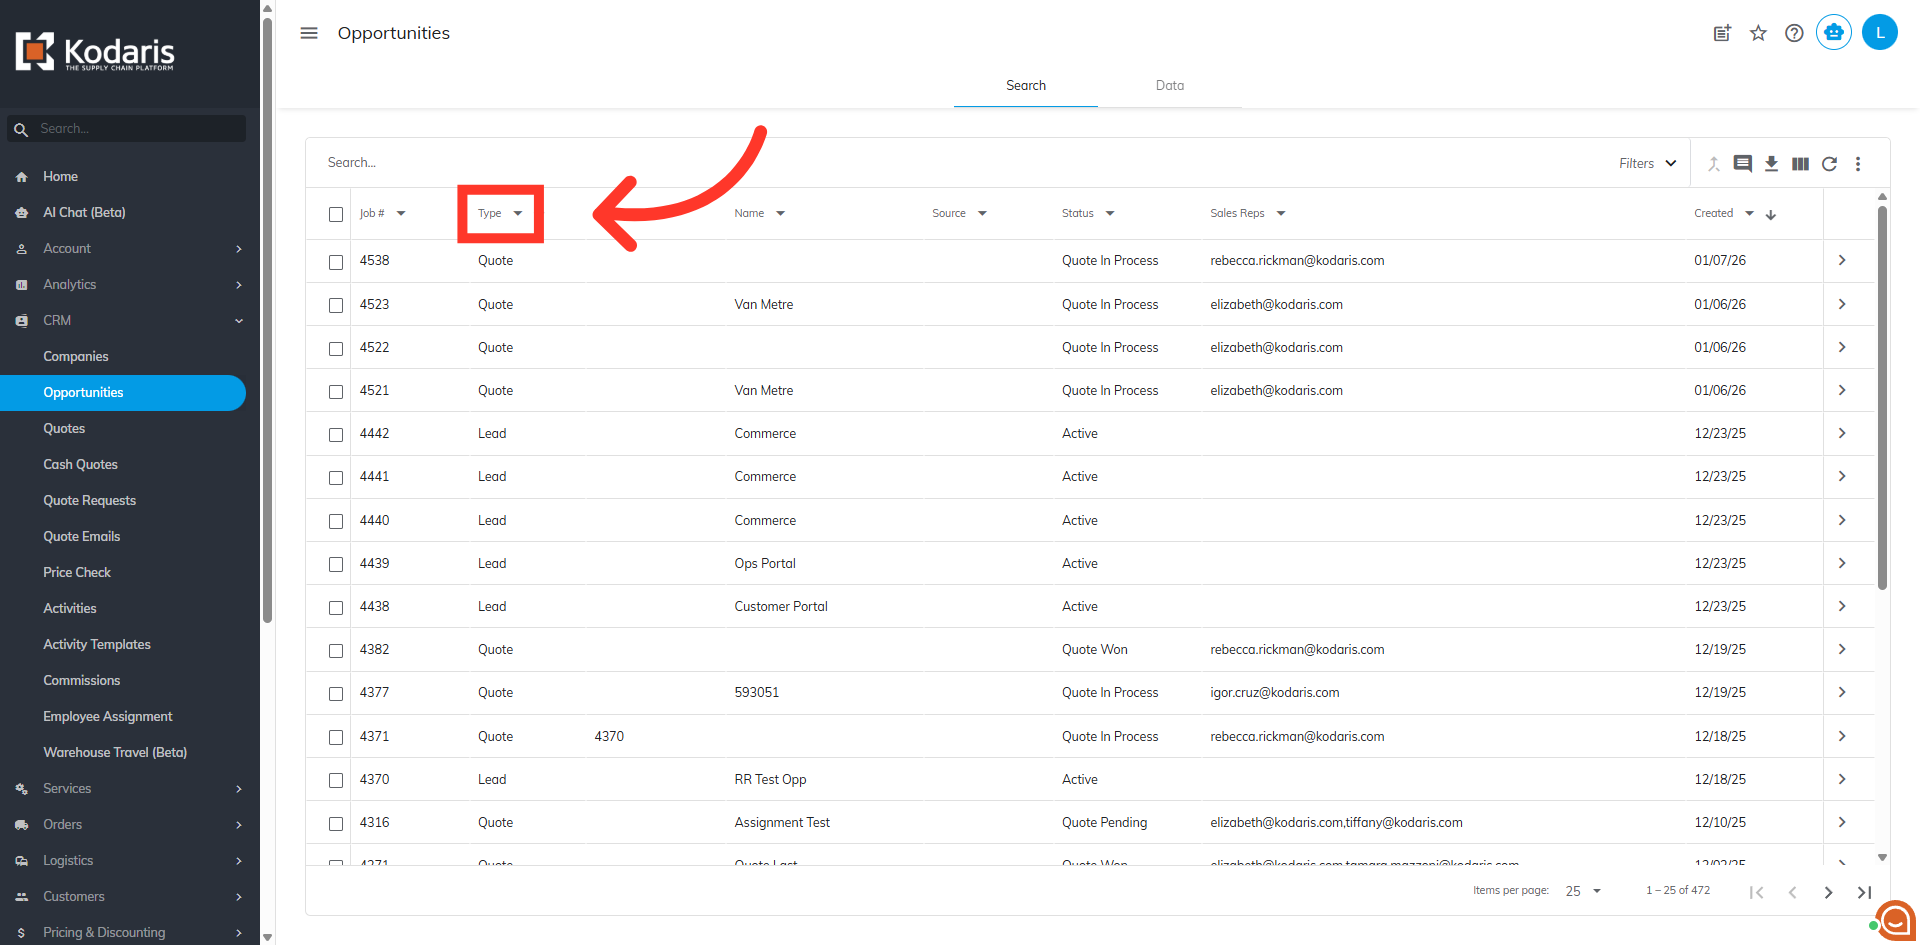
Narrow down the list of opportunities by clicking on "Type". For this example we are going to create a ticket from a "Lead".
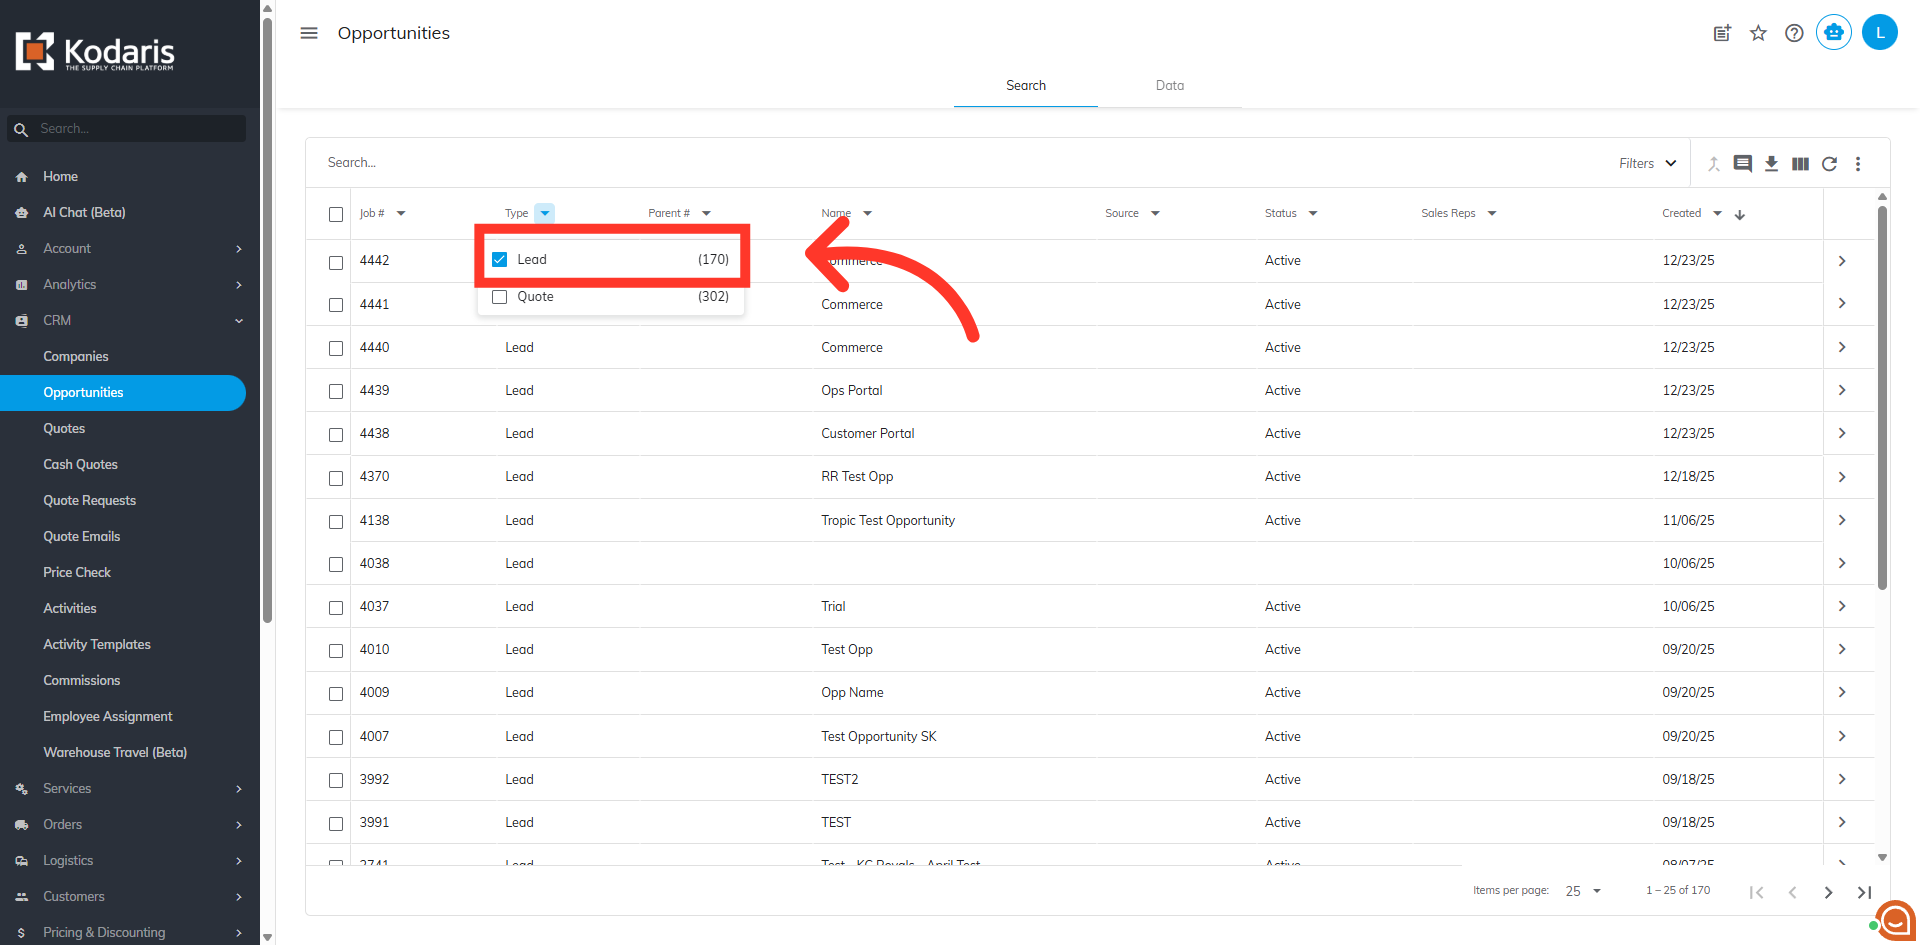
Select "Lead". In order to access "Lead", you will need to have the role of “administrator” or “superuser”, or have the roles of “accountQuoting”, "leadEdit", and "leadView".
Once filtered, select the opportunity you would like to create a ticket from and click on the more details icon.
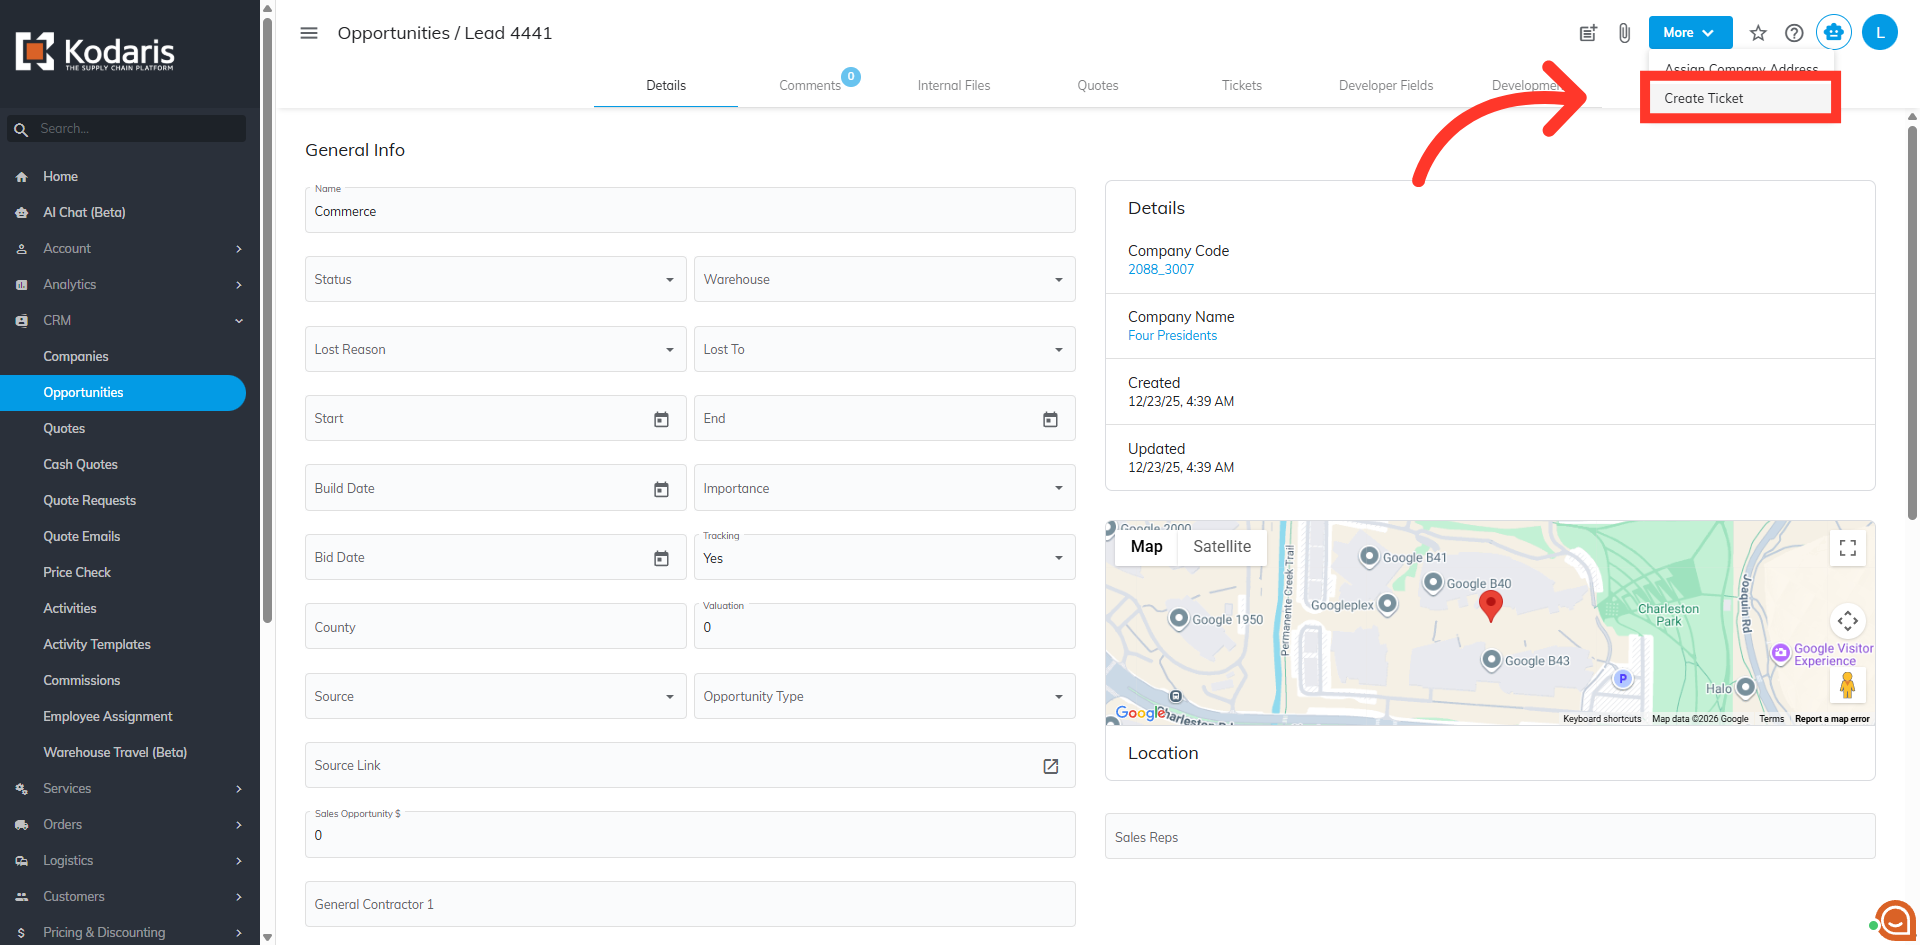
Click "More".

Then, select the "Create Ticket" option.
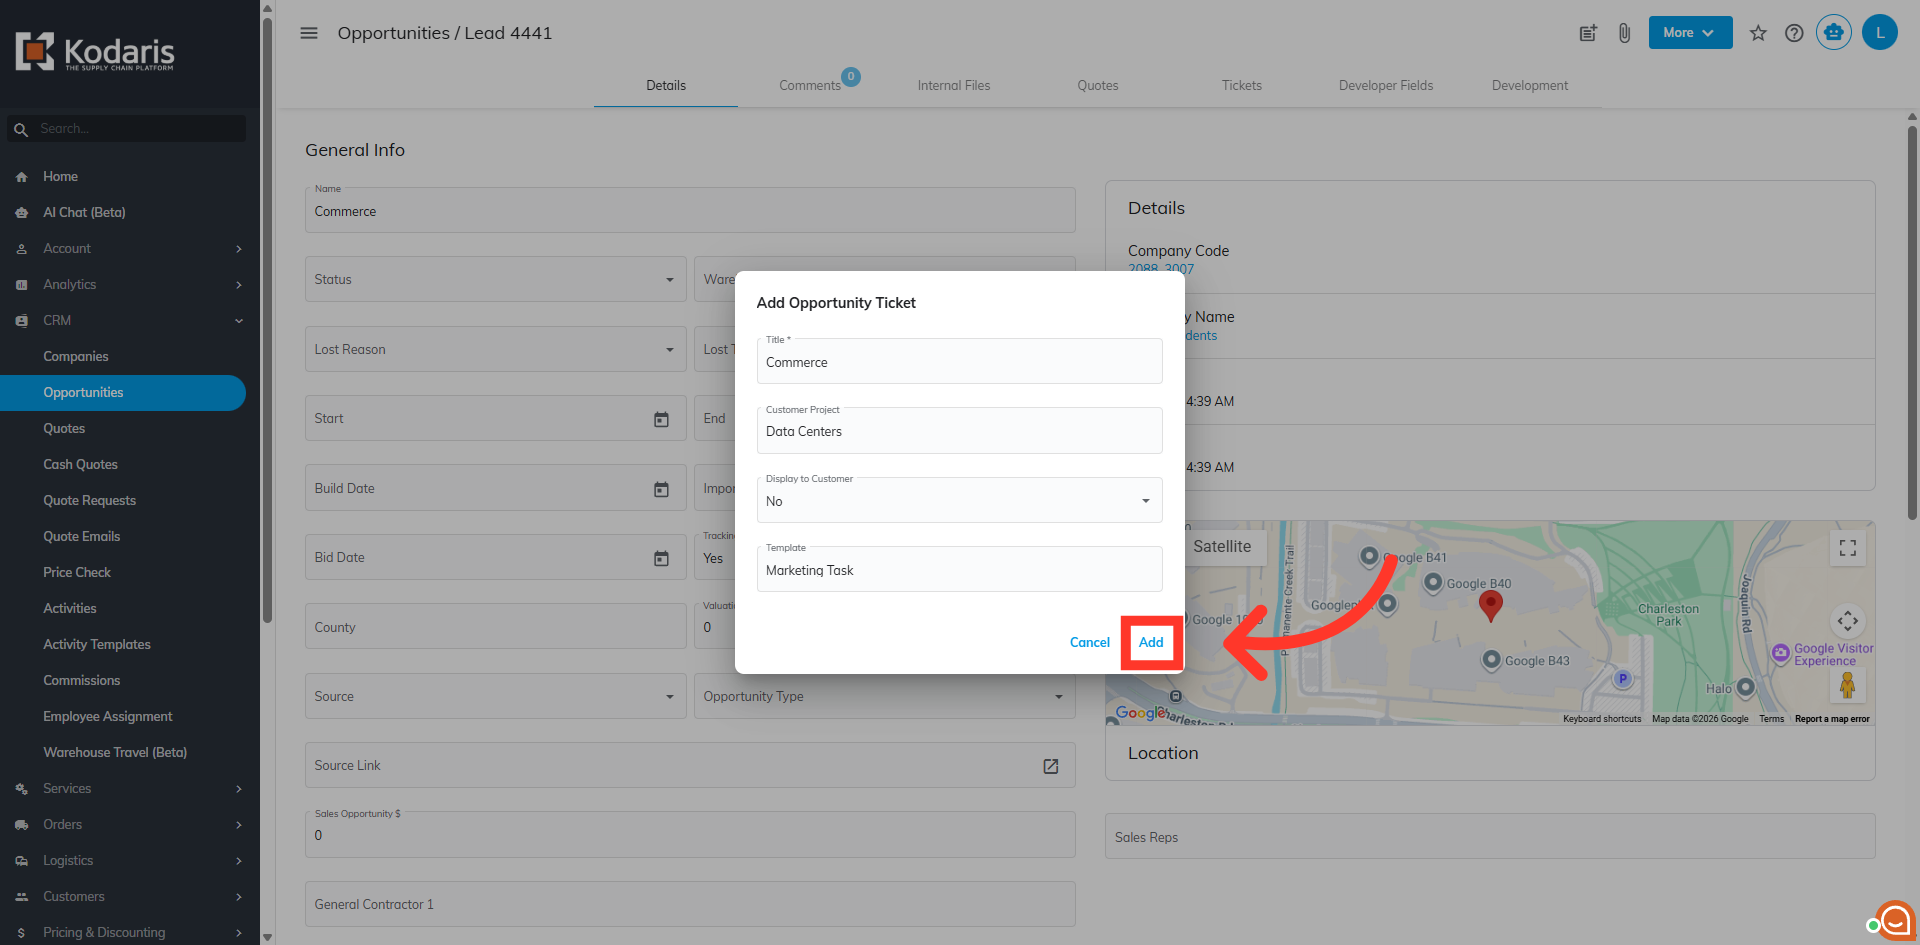
An "Add Opportunity Ticket" window will appear with four fields. First, "Title". This field is automatically prefilled with the title of the opportunity, and can be edited.

"Customer Project" is a drop down that contains the same values available in the opportunity type field. Select the value that best applies to your ticket. You can also leave this field blank.

By default, "Display to Customer" field is set to "No". However, if you would like this ticket to be visible to customers select "Yes".
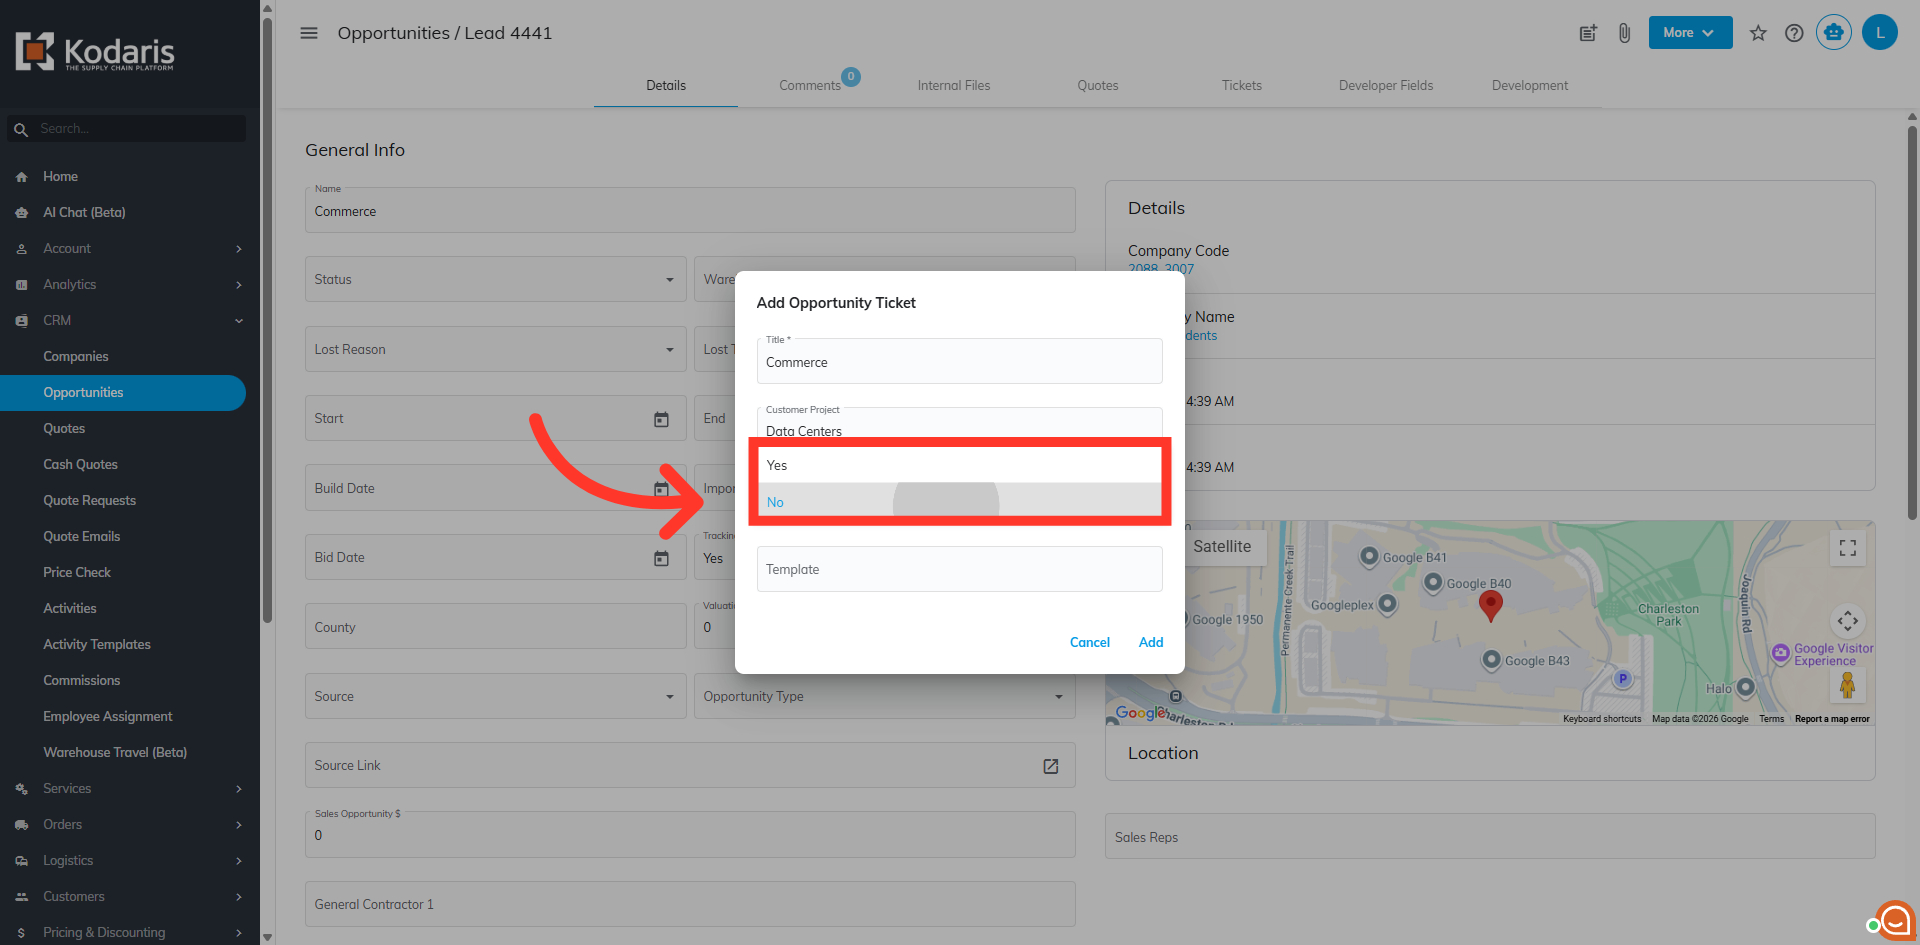
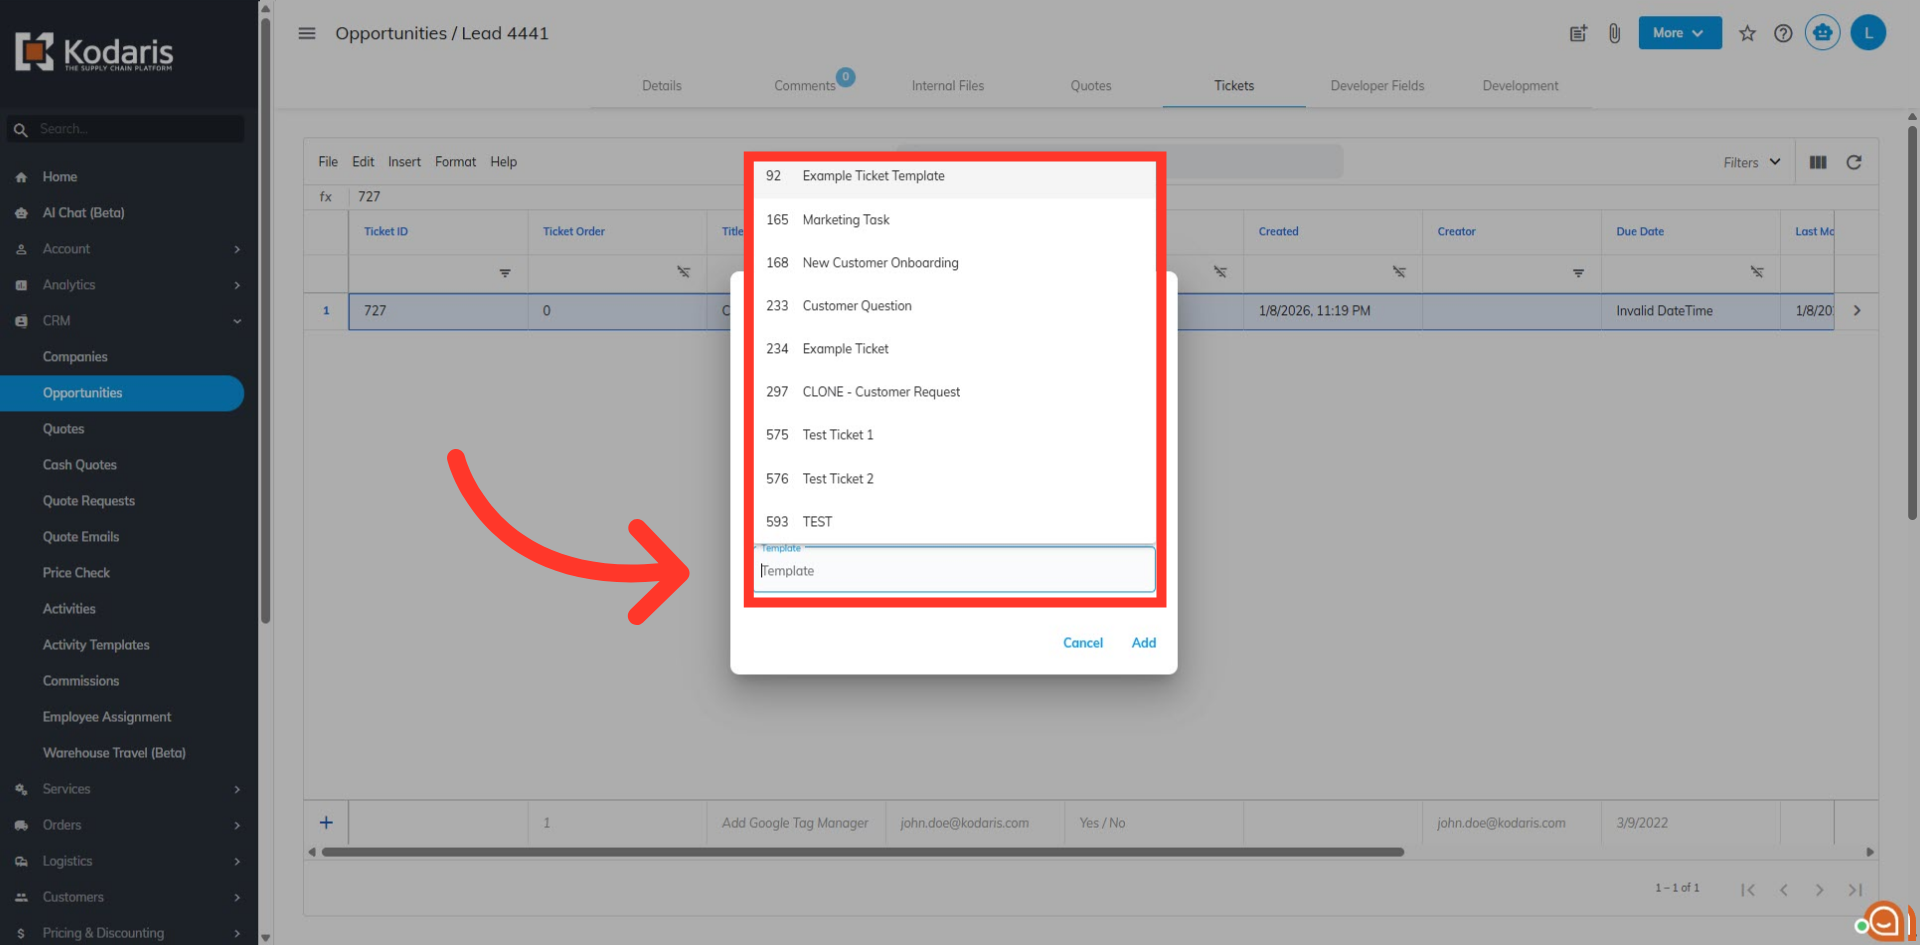
This field is optional, and will depend on having ticket templates already set up in your system. If set up, clicking the "Template" field will display a list of available ticket templates that you can select to create your ticket.
After updating, click "Add".
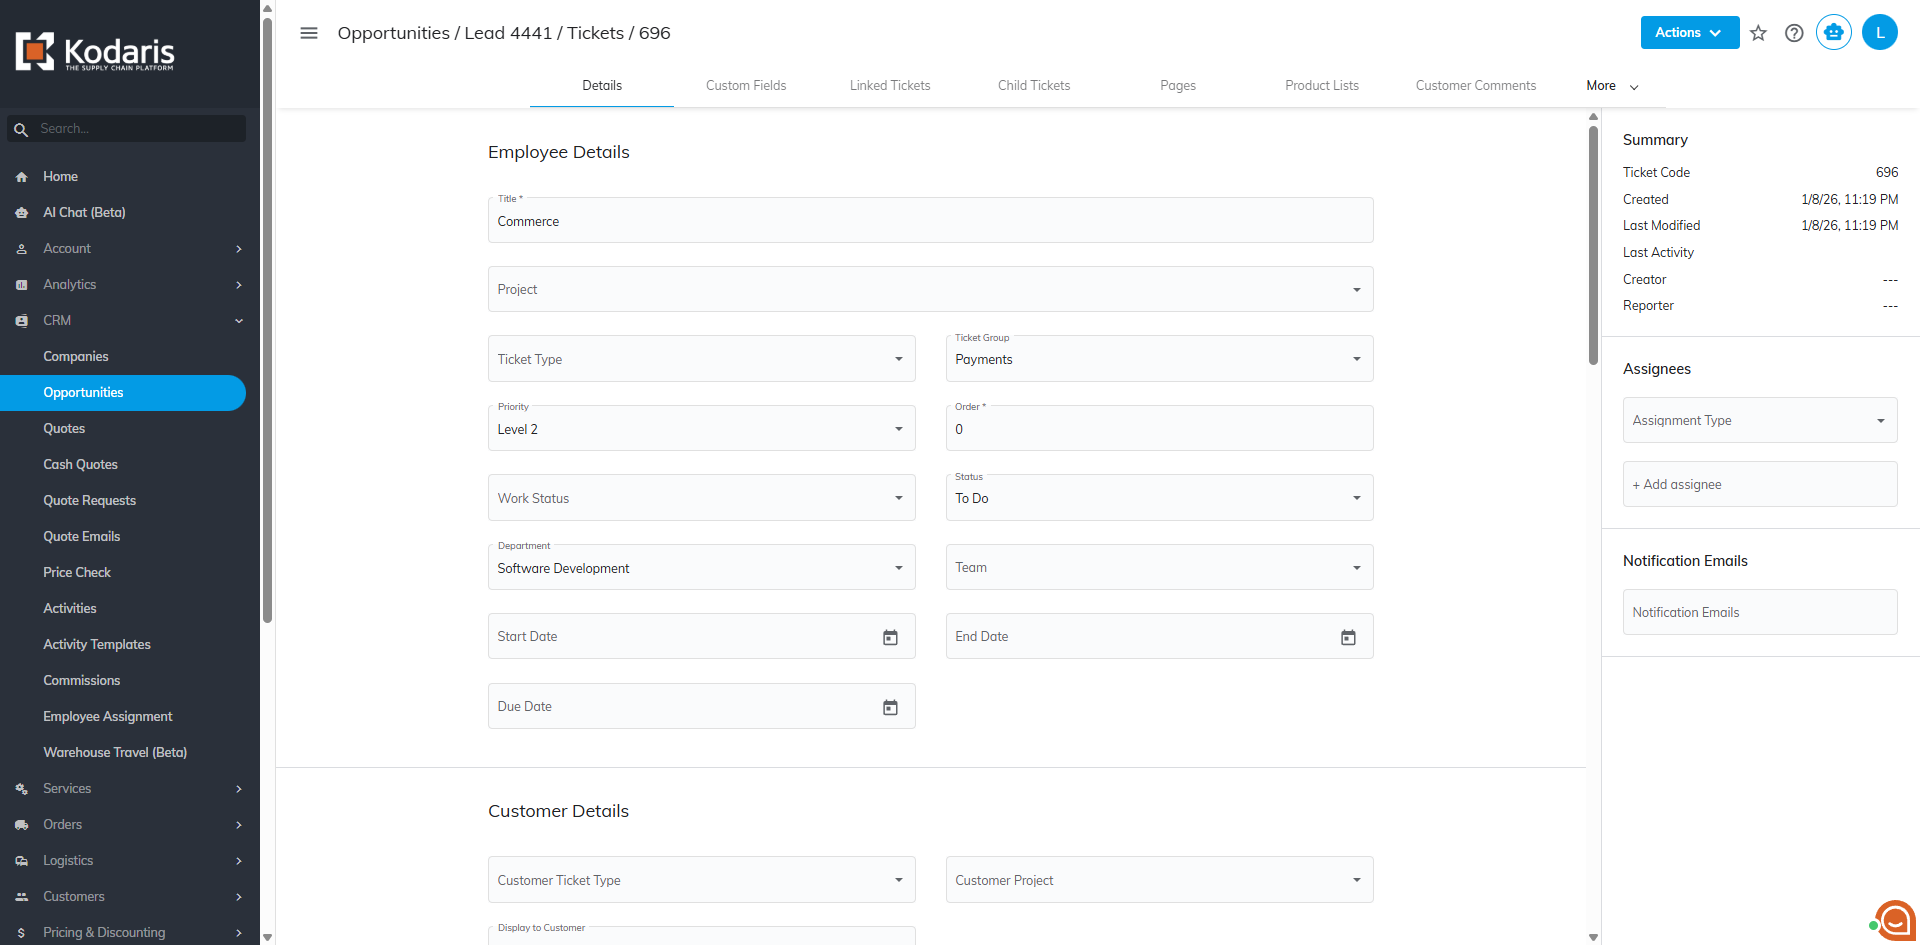
You will automatically redirected to the ticket details page once the ticket has been created.
To verify, go to opportunities "Tickets" tab.
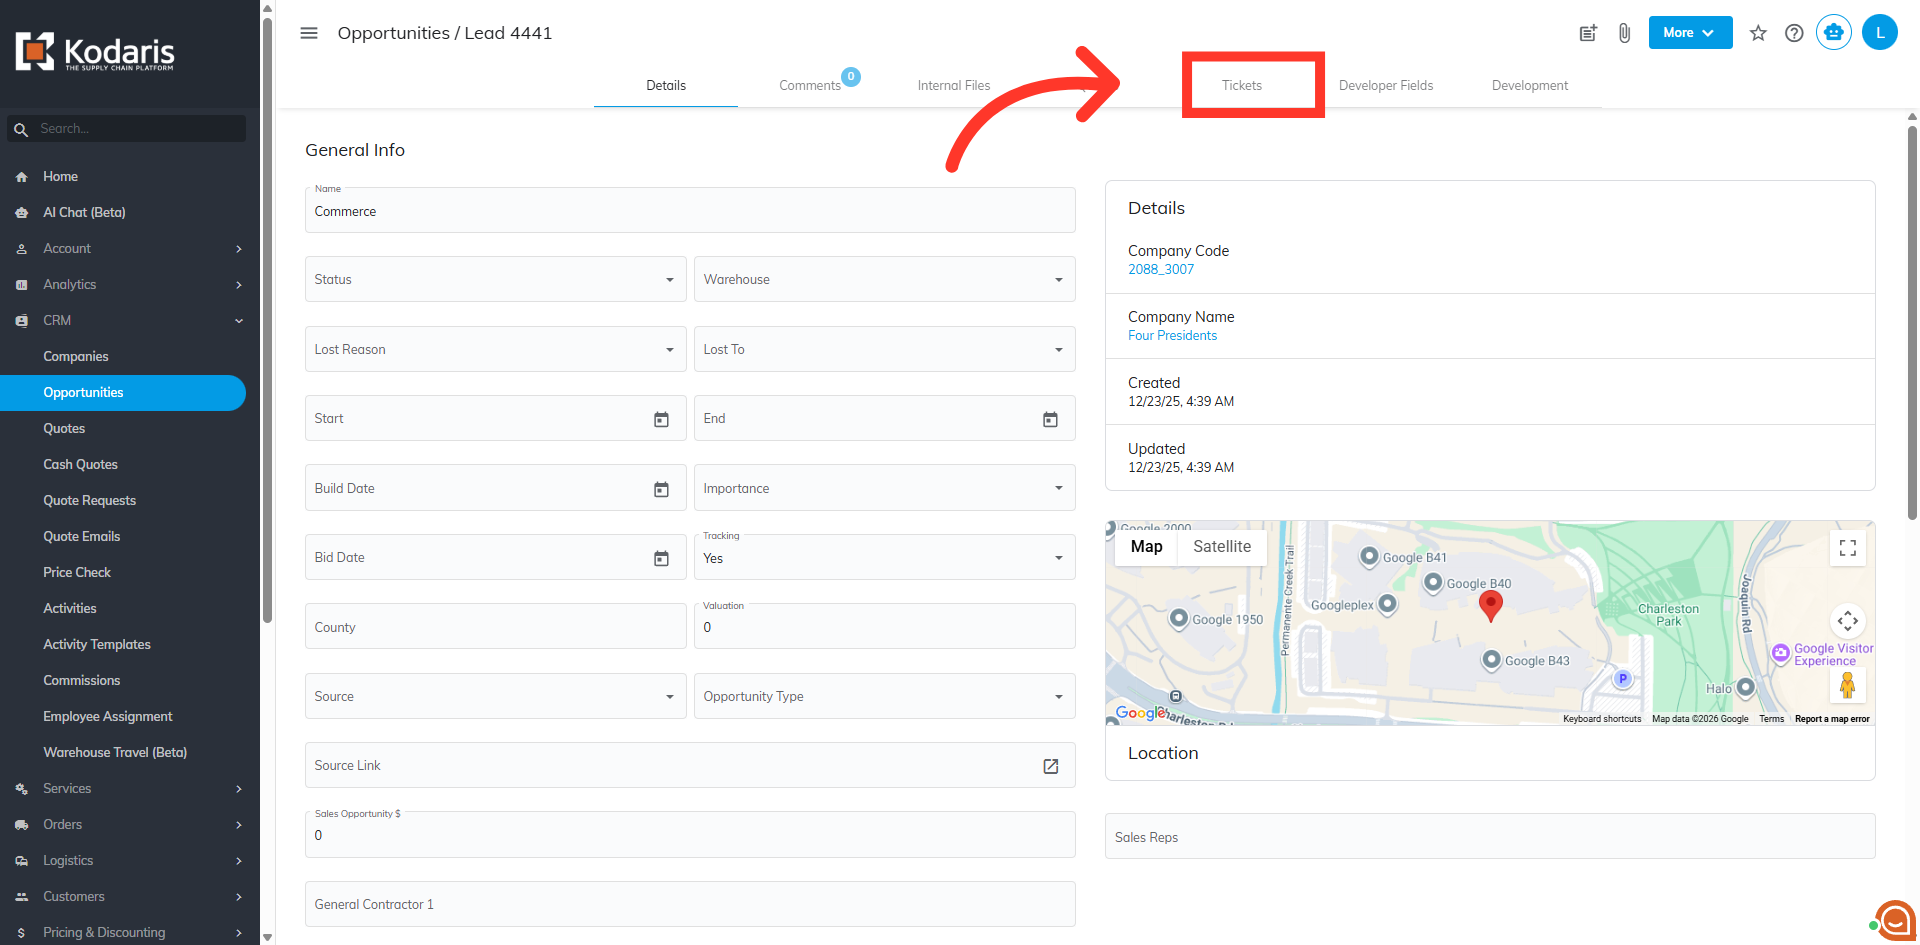
The created ticket now appears in the grid and is associated with the opportunity.
