To format and customize text size, color, and more on your ticket comments on your tickets, navigate to the "Tickets" screen in the Customer Portal.

Then, click on the ticket number to view the ticket details page.

Or, click on the more details icon.

Go to the "Comments" section at the bottom of the page.

At the top of the comment box, there is a menu bar showing all the formatting functions.

Enter your comment inside the "Comments" box.

Highlight the text before you format.

In this example, we will format the text style. Click the dropdown icon and select the text style that you want.

Choose an icon to format the text as desired.

You can also choose to update the text color.

Tables can also be inserted in your comment. This table is customizable.
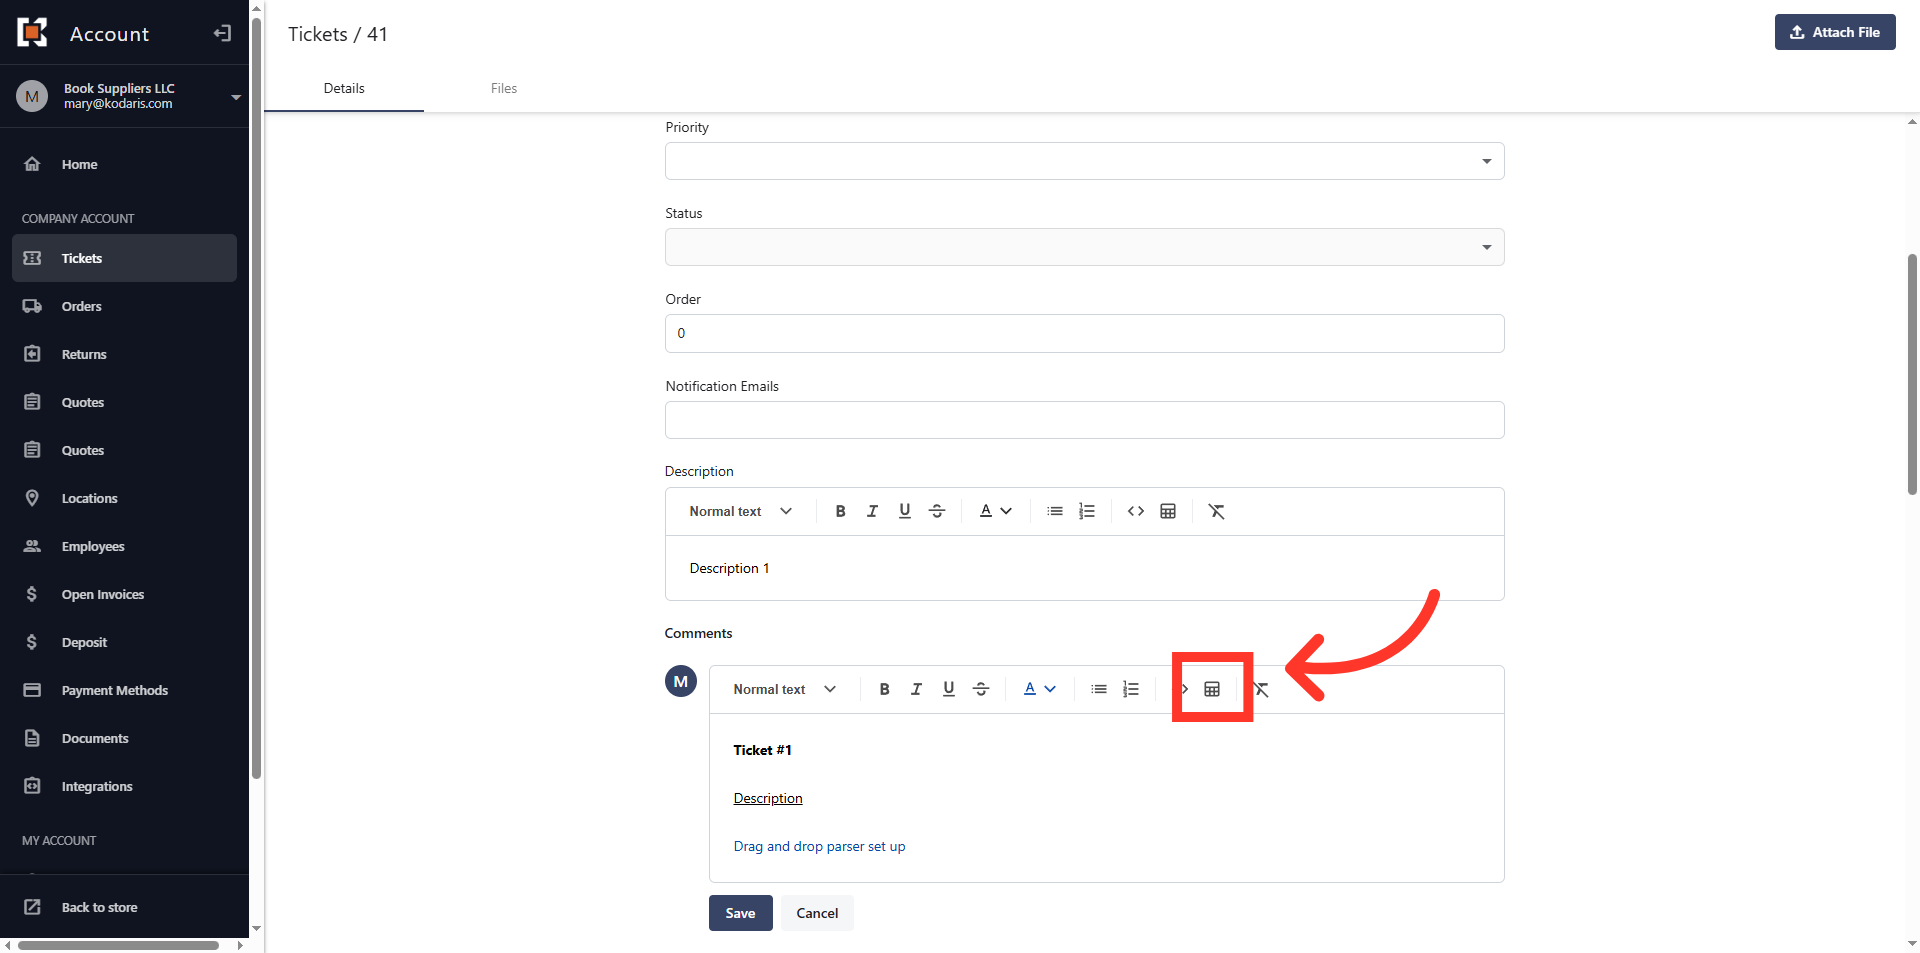
You can enter text or data each cell.

Click the cell dropdown icon to edit the cell or the entire table.

Then, choose from the available options to format the table.

Once the comment looks good, click "Save." Please note that once the comment has been saved, it cannot be edited.
