Scheduling payments works similarly to making payments in real time.
Once the desired invoices are selected using the checkboxes on the left-hand side of the Open Invoices screen, they can click the “Actions” button at the top right-hand corner and choose “Schedule payment for selected invoices”.

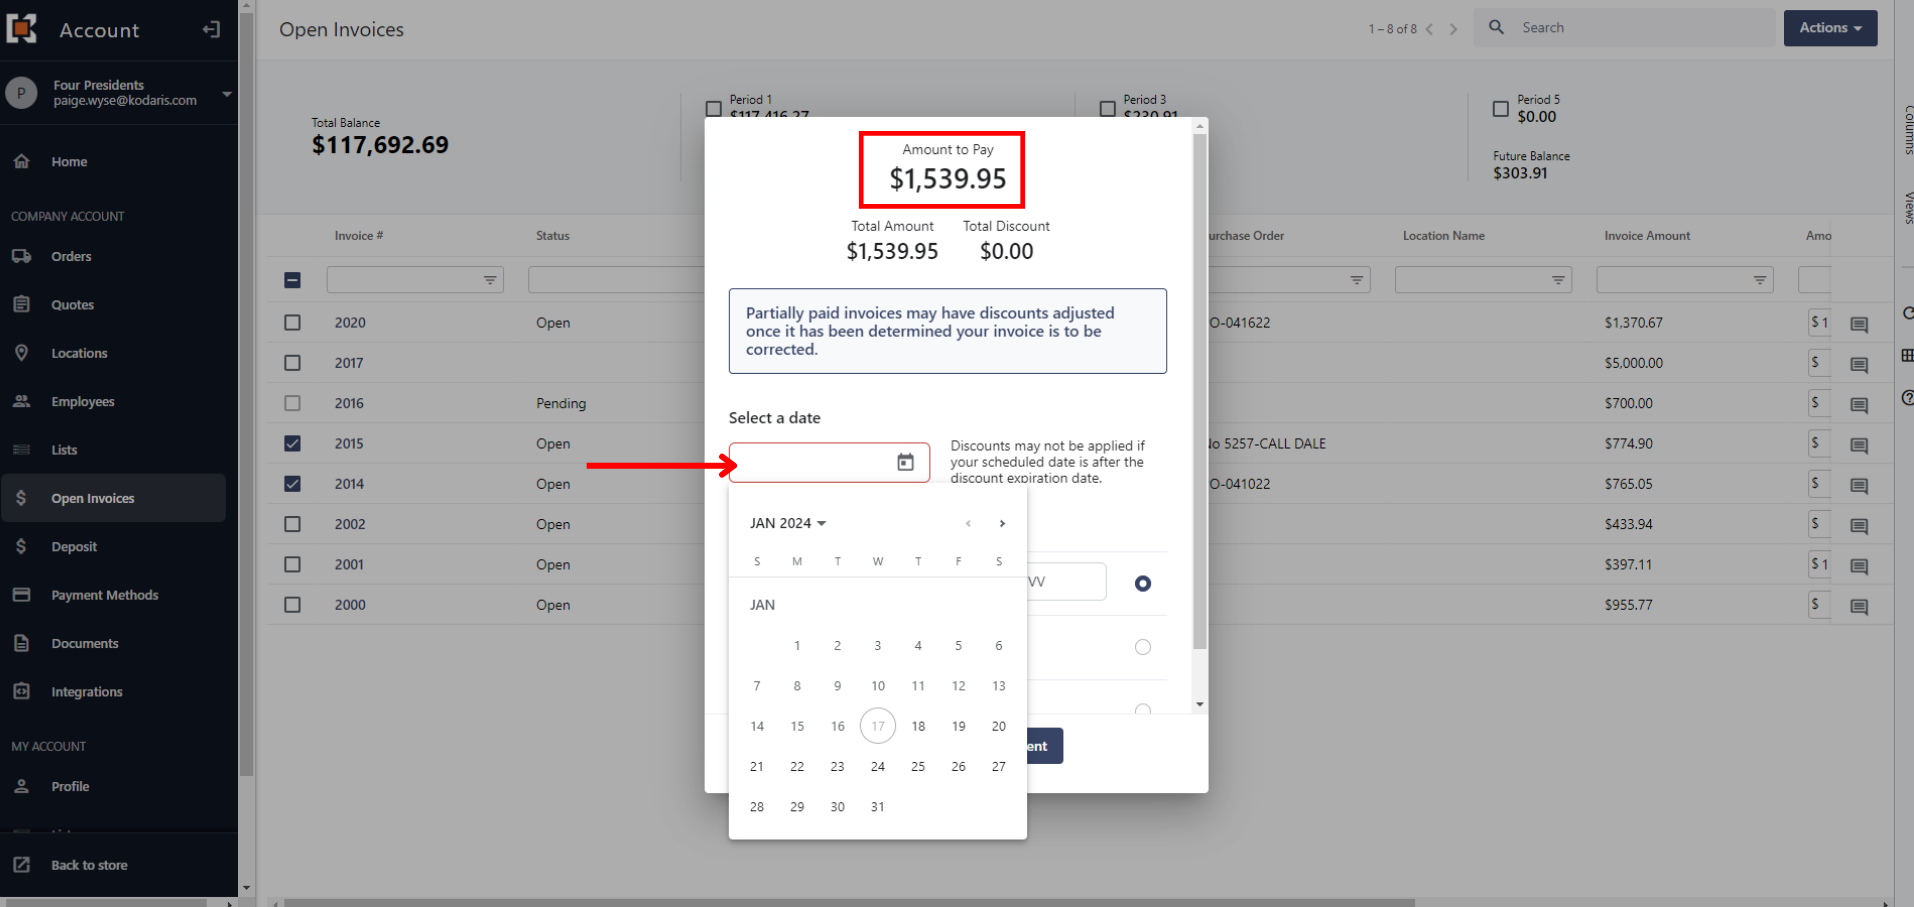
The pop-up box will show the total of the selected invoices. There will also be an option to select the date they want to initiate the scheduled payment. Then, they can choose their desired payment method and click “Make Payment” to proceed.
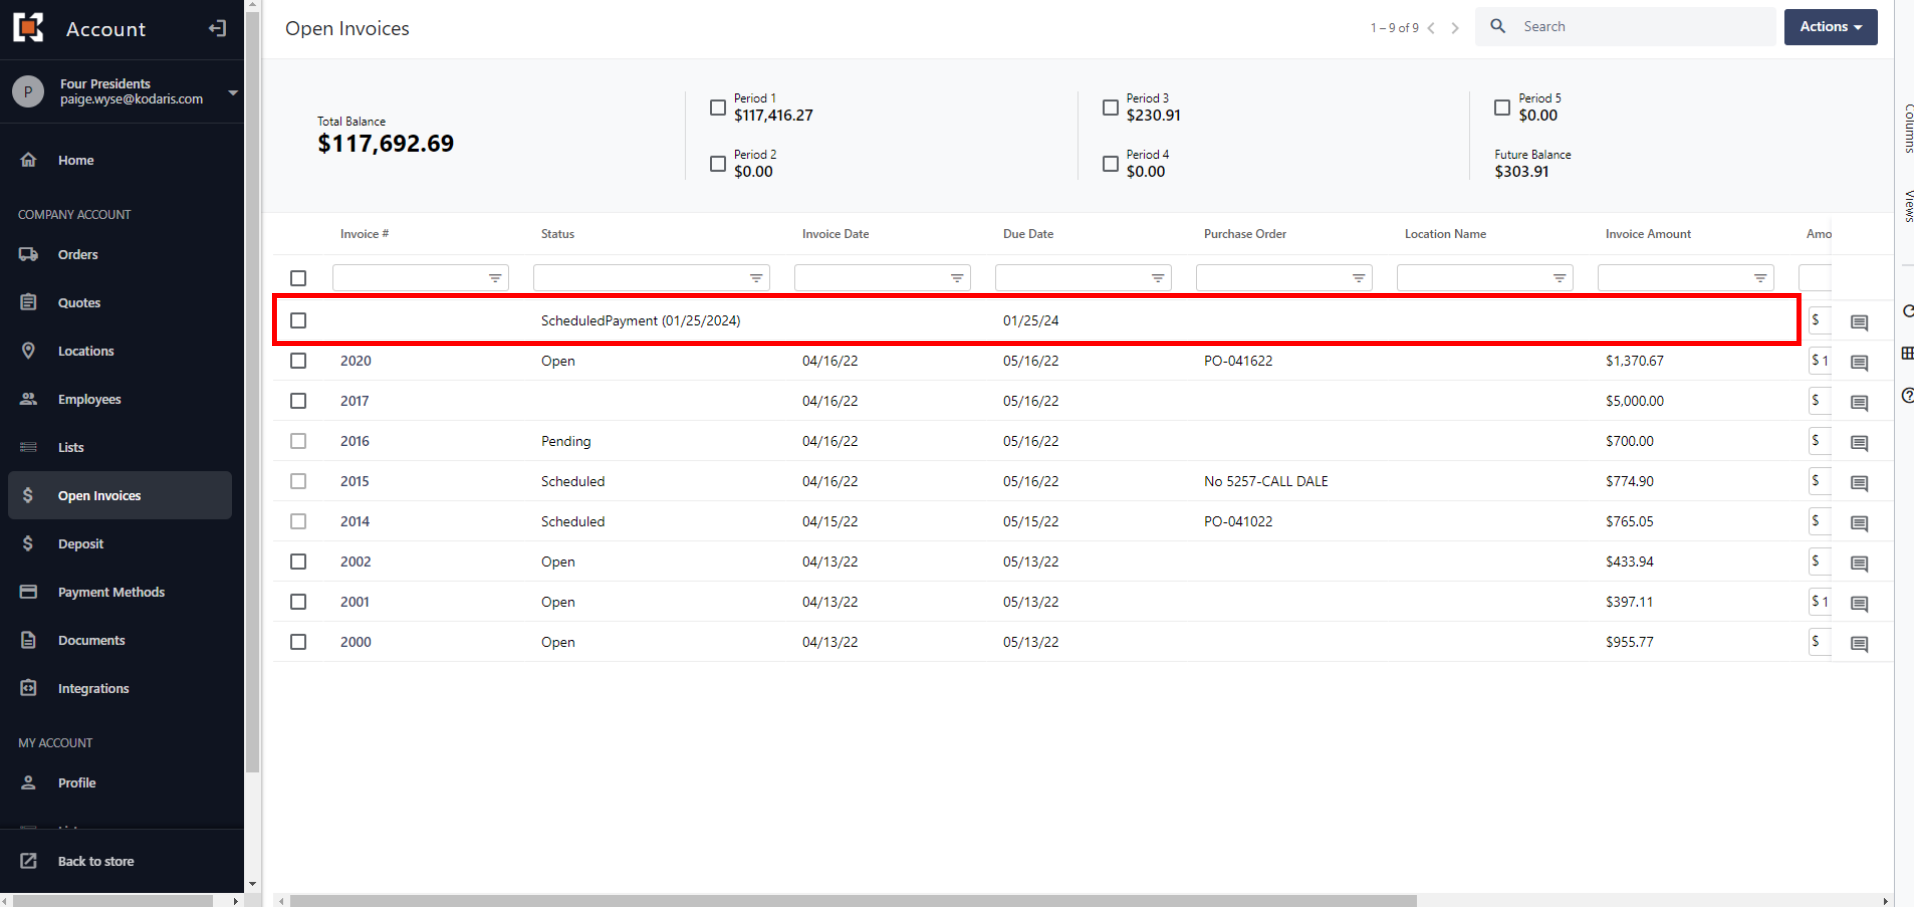
After they’ve selected “Make Payment”, they’ll receive an email with a list of the invoices they’ve scheduled. The Open Invoices screen will now update the status of scheduled invoices as “Scheduled”.
The status of each invoice will always reflect if it has already been paid, scheduled, or still needs to be paid.
Once invoices have been marked as “Scheduled”, they will not be able to make another payment on those specific invoices. This prohibits anyone from paying the same invoice twice.

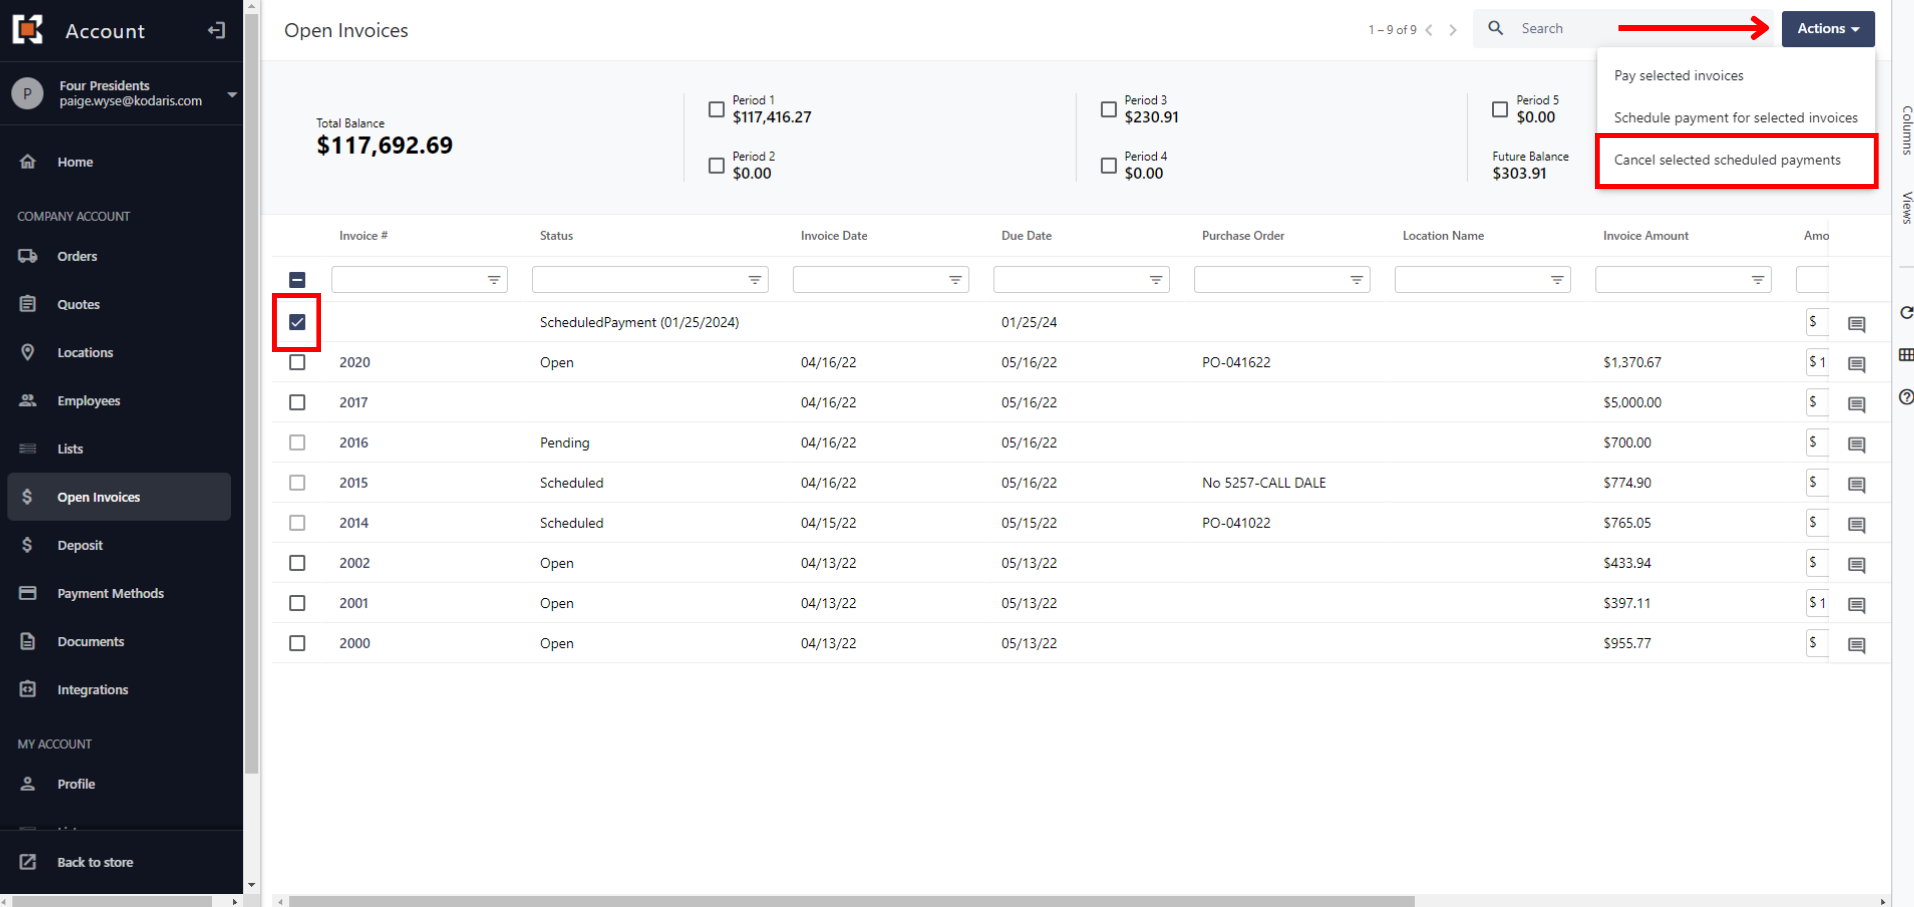
Once they’ve made a scheduled payment, the original invoice row will remain intact with the status updated to “Scheduled”. They will also see a new corresponding row for the same scheduled invoice. This is available in case they need to cancel their scheduled payment.
To cancel a scheduled payment, click on the checkmark associated with the scheduled payment(s) they wish to cancel.
Go to the “Actions” button and click “Cancel selected scheduled payments”. After doing so, the system will cancel the selected in-process payment(s). It will now revert the status of said invoice from “Scheduled” back to “Open”.