Customers have the ability to create tickets in their Customer Portal. To create a ticket in the Customer Portal, navigate to the "Tickets" section. In order to access and edit "Tickets", you will need to have the role of "companyAdmin" or "editTickets".

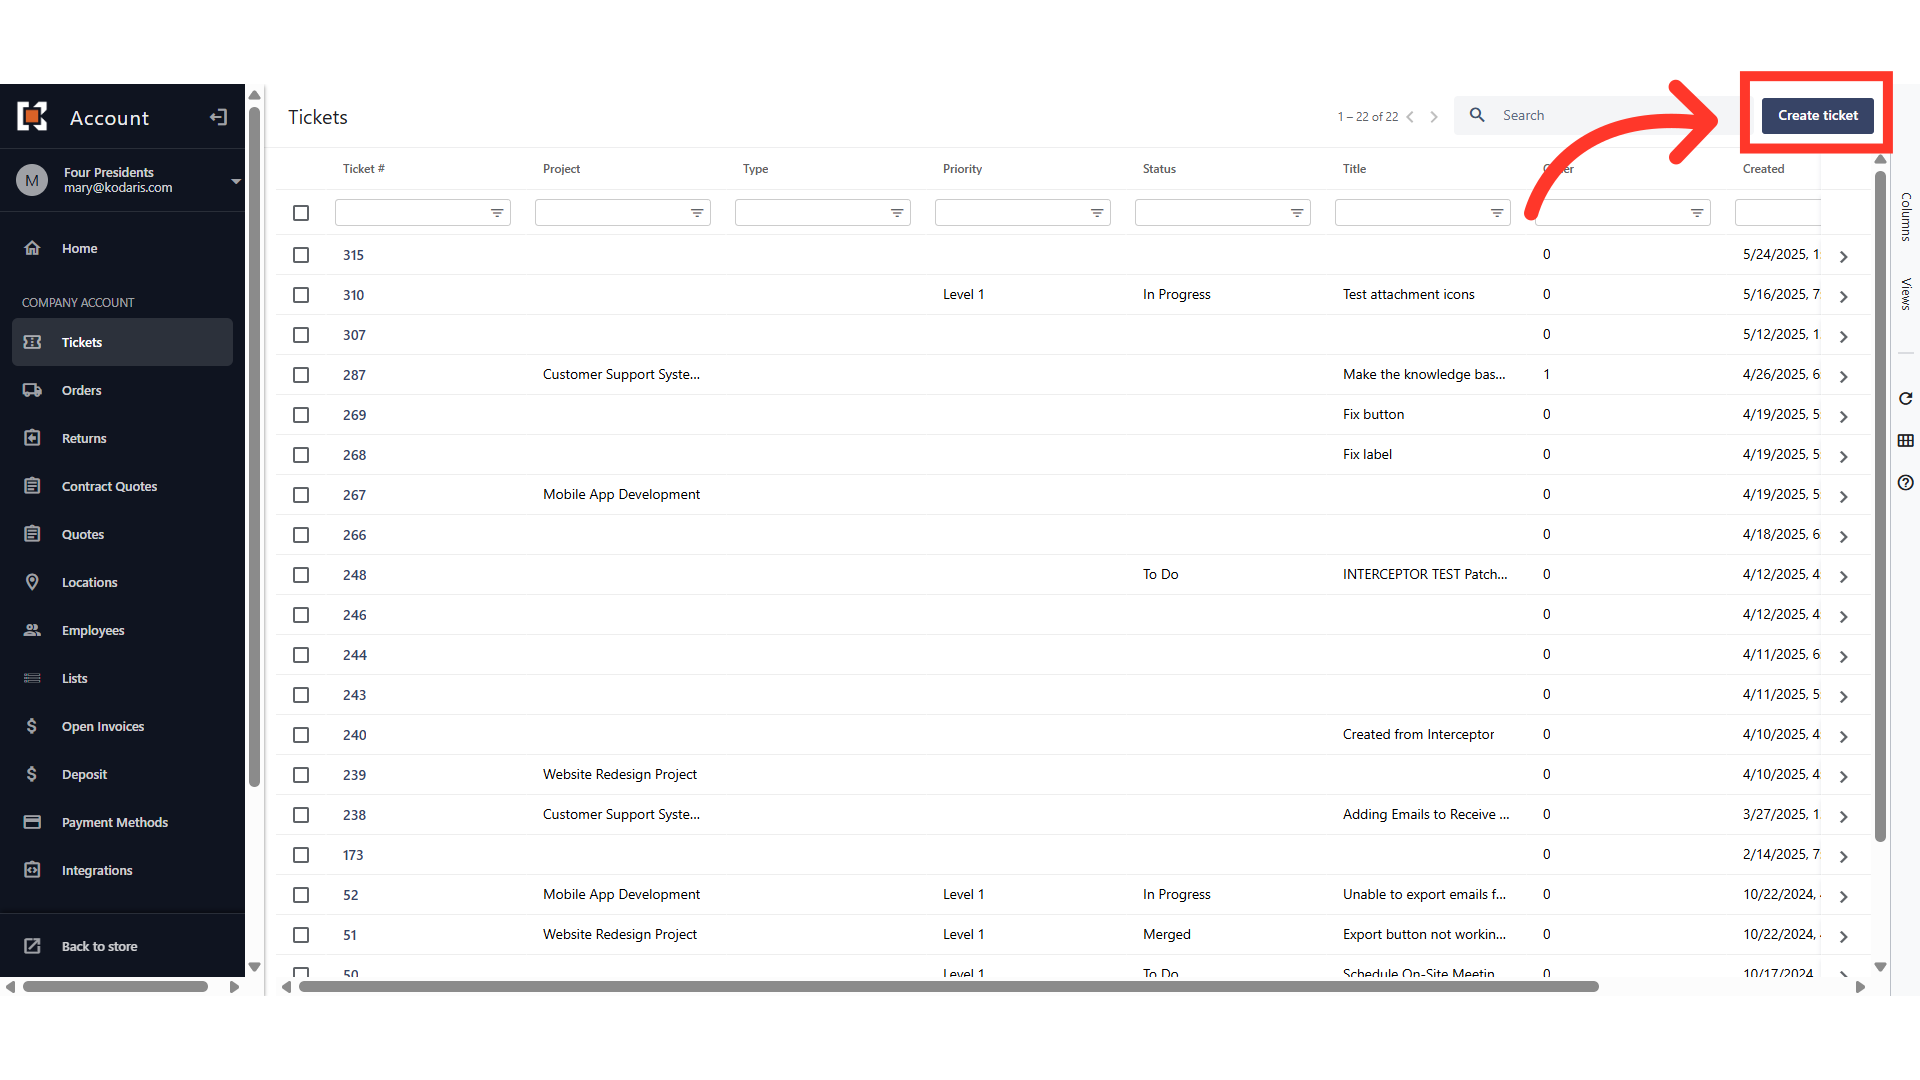
On the upper right corner of the screen, click the "Create Ticket" icon.
In the "Title" field, enter the ticket title.

Click the dropdown to see Ticket "Type" options and select the Ticket Type. The dropdown options that appear will depend on what has been set up in the system.

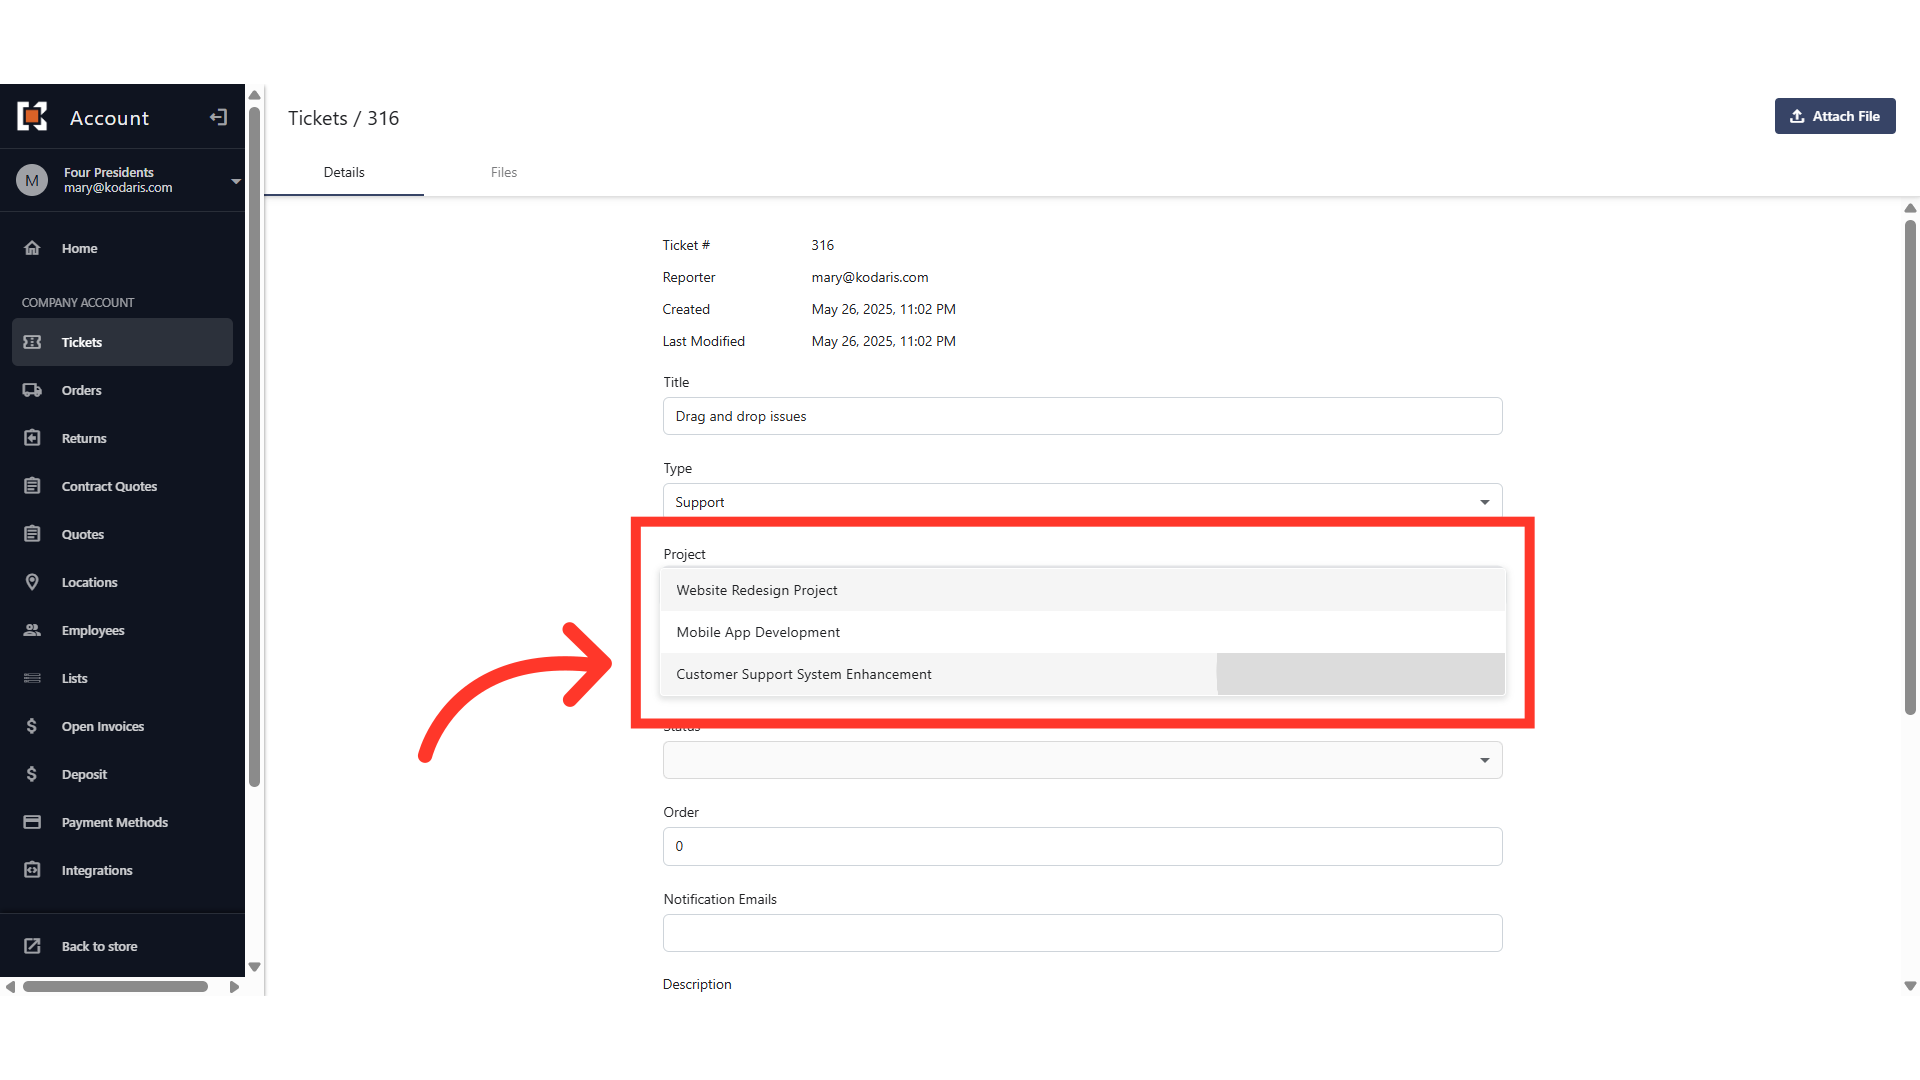
Select the Title "Project" from the options. The dropdown options that appear will depend on what has been set up in the system.
Select the Ticket "Priority". This indicates whether the ticket requires immediate attention or can be addressed later. The dropdown options that appear will depend on what has been set up in the system.

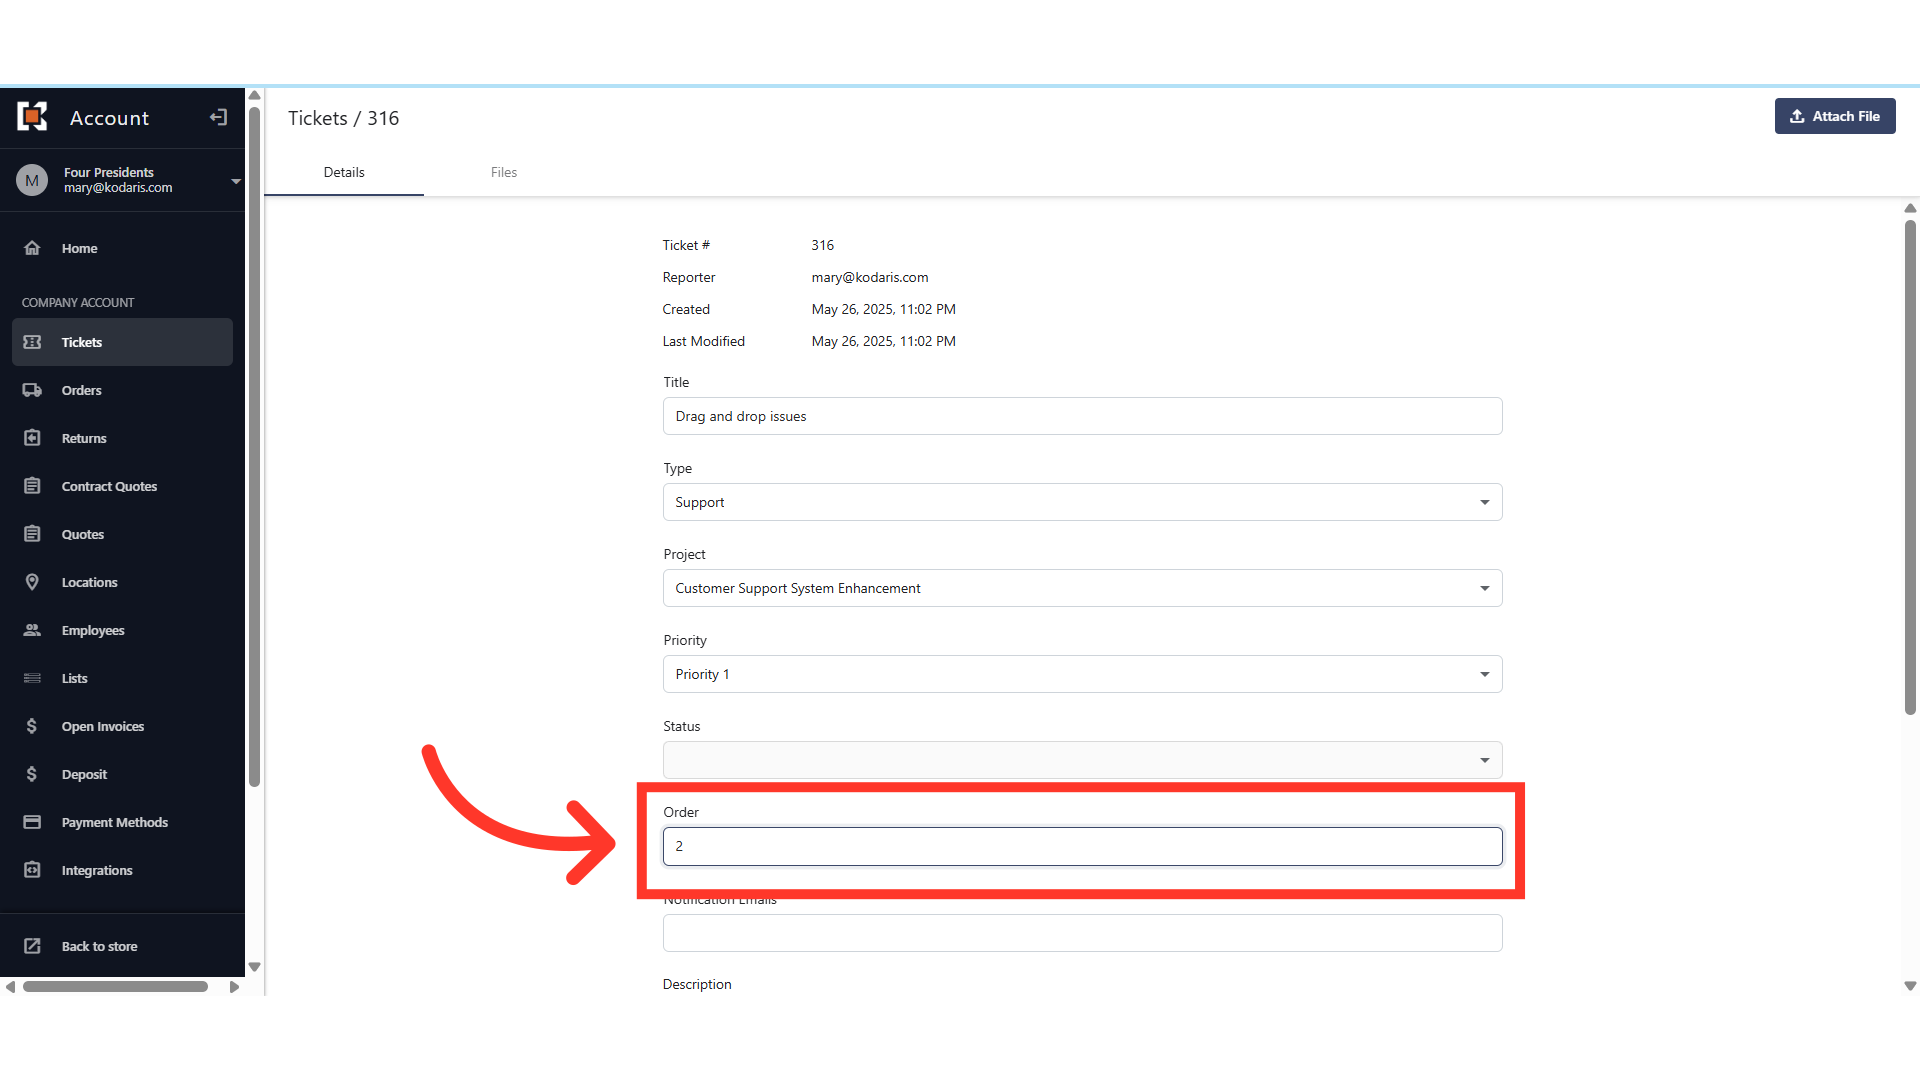
You can use the "Order" field to control the order in which the tickets are displayed. It can also be used for which order tickets should be worked on. For example, if you have entered three "Priority 1" tickets, you can update the tickets in which order they should be worked: 1, 2, 3, etc.
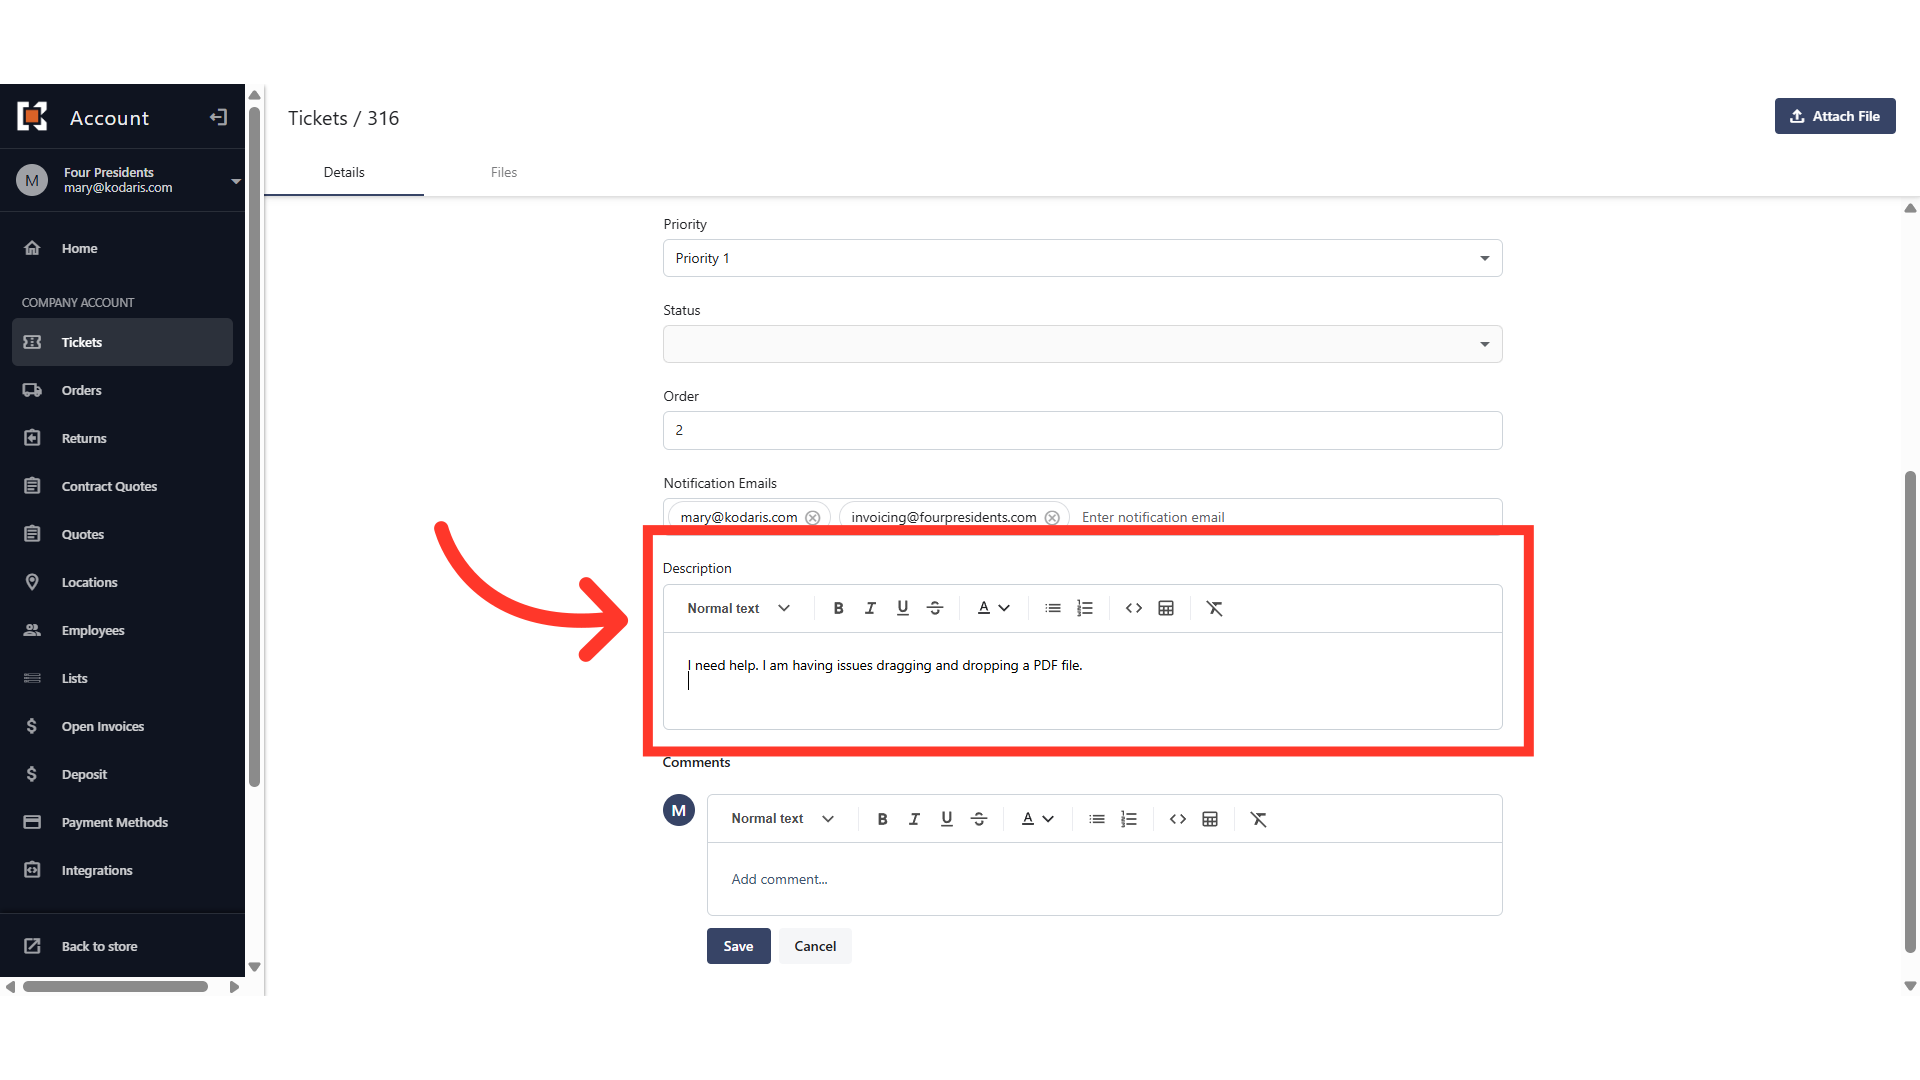
In the "Notification Emails" field, you can add the email addresses of your team members who should be notified about updates made to the ticket.

Enter a clear summary or a detailed explanation of the request in the ticket "Description" box.
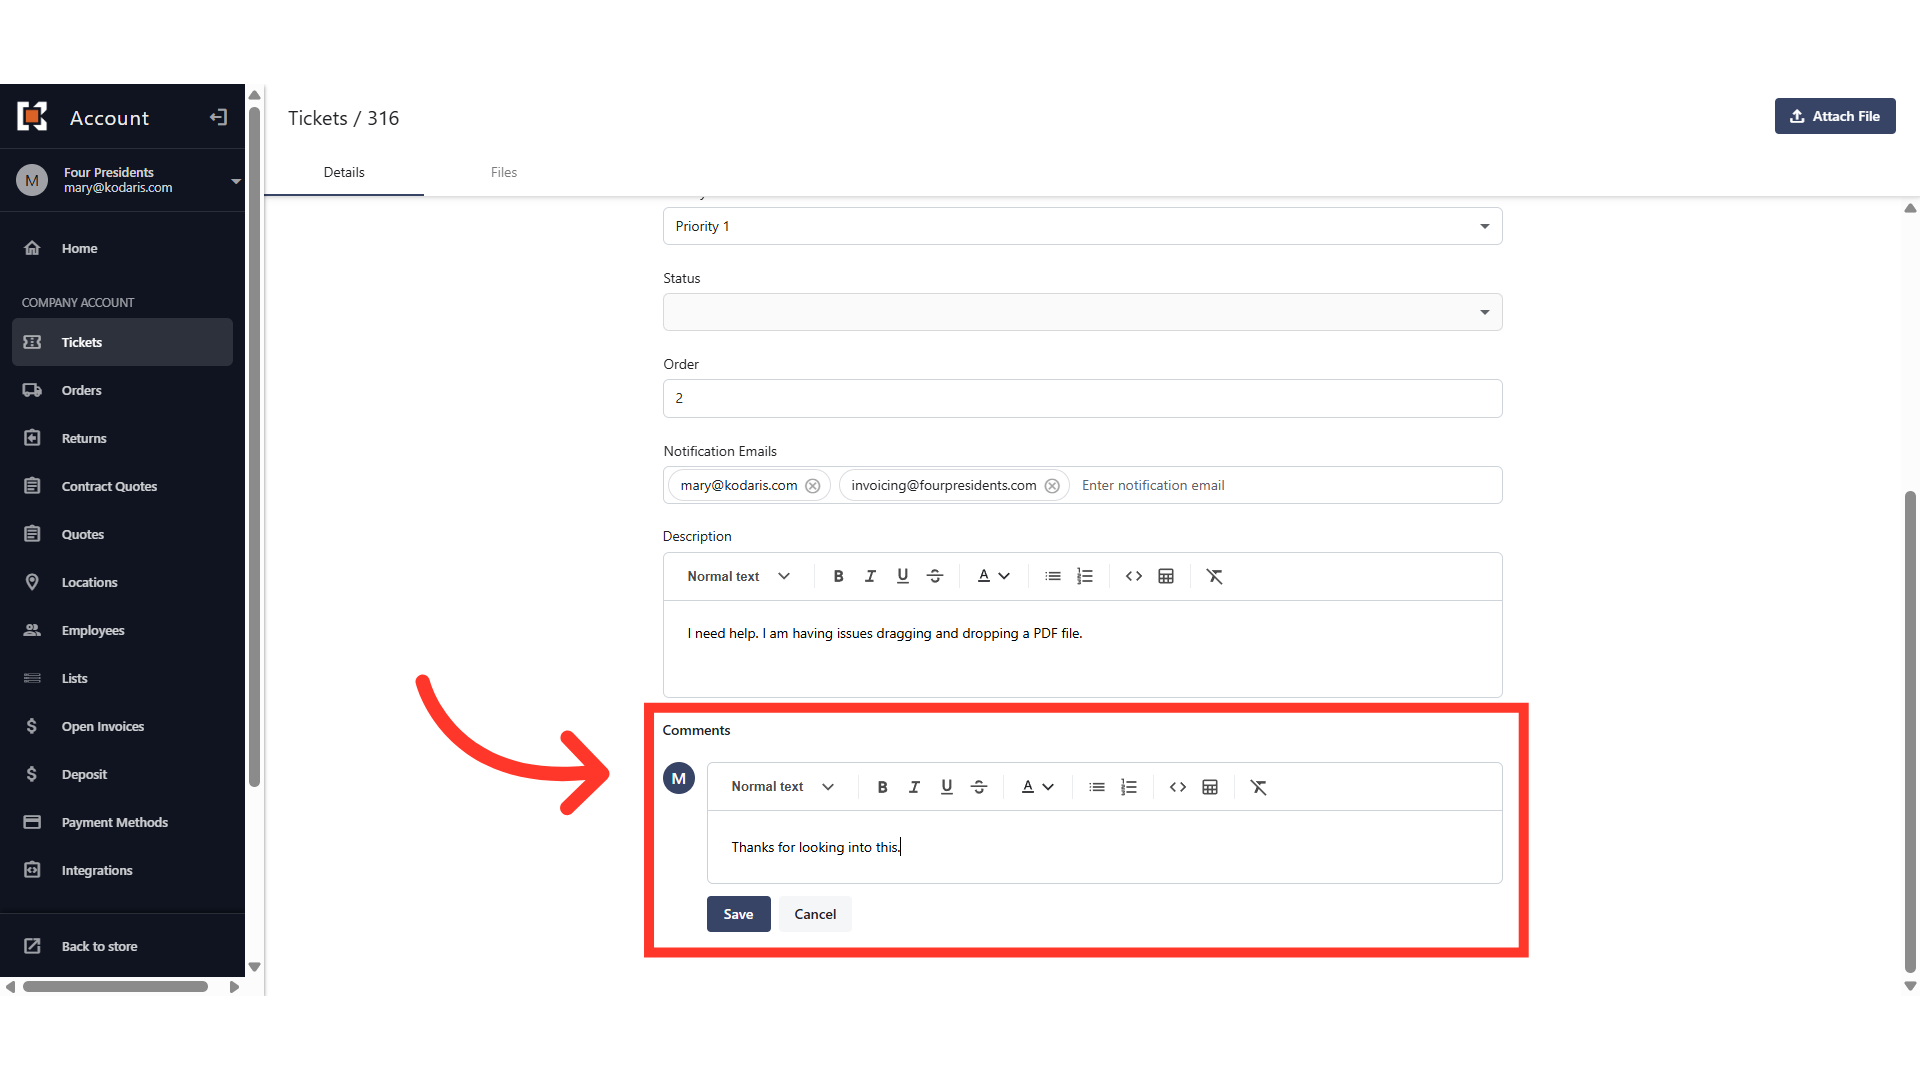
You can also add a comment in the comments section if you have questions or an update regarding the ticket. Simply enter your comment in the "Comment" box and click "Save". Any customer who has access to the ticket screen in the customer portal will be able to view comments. They will also be visible to employees in the operations portal.
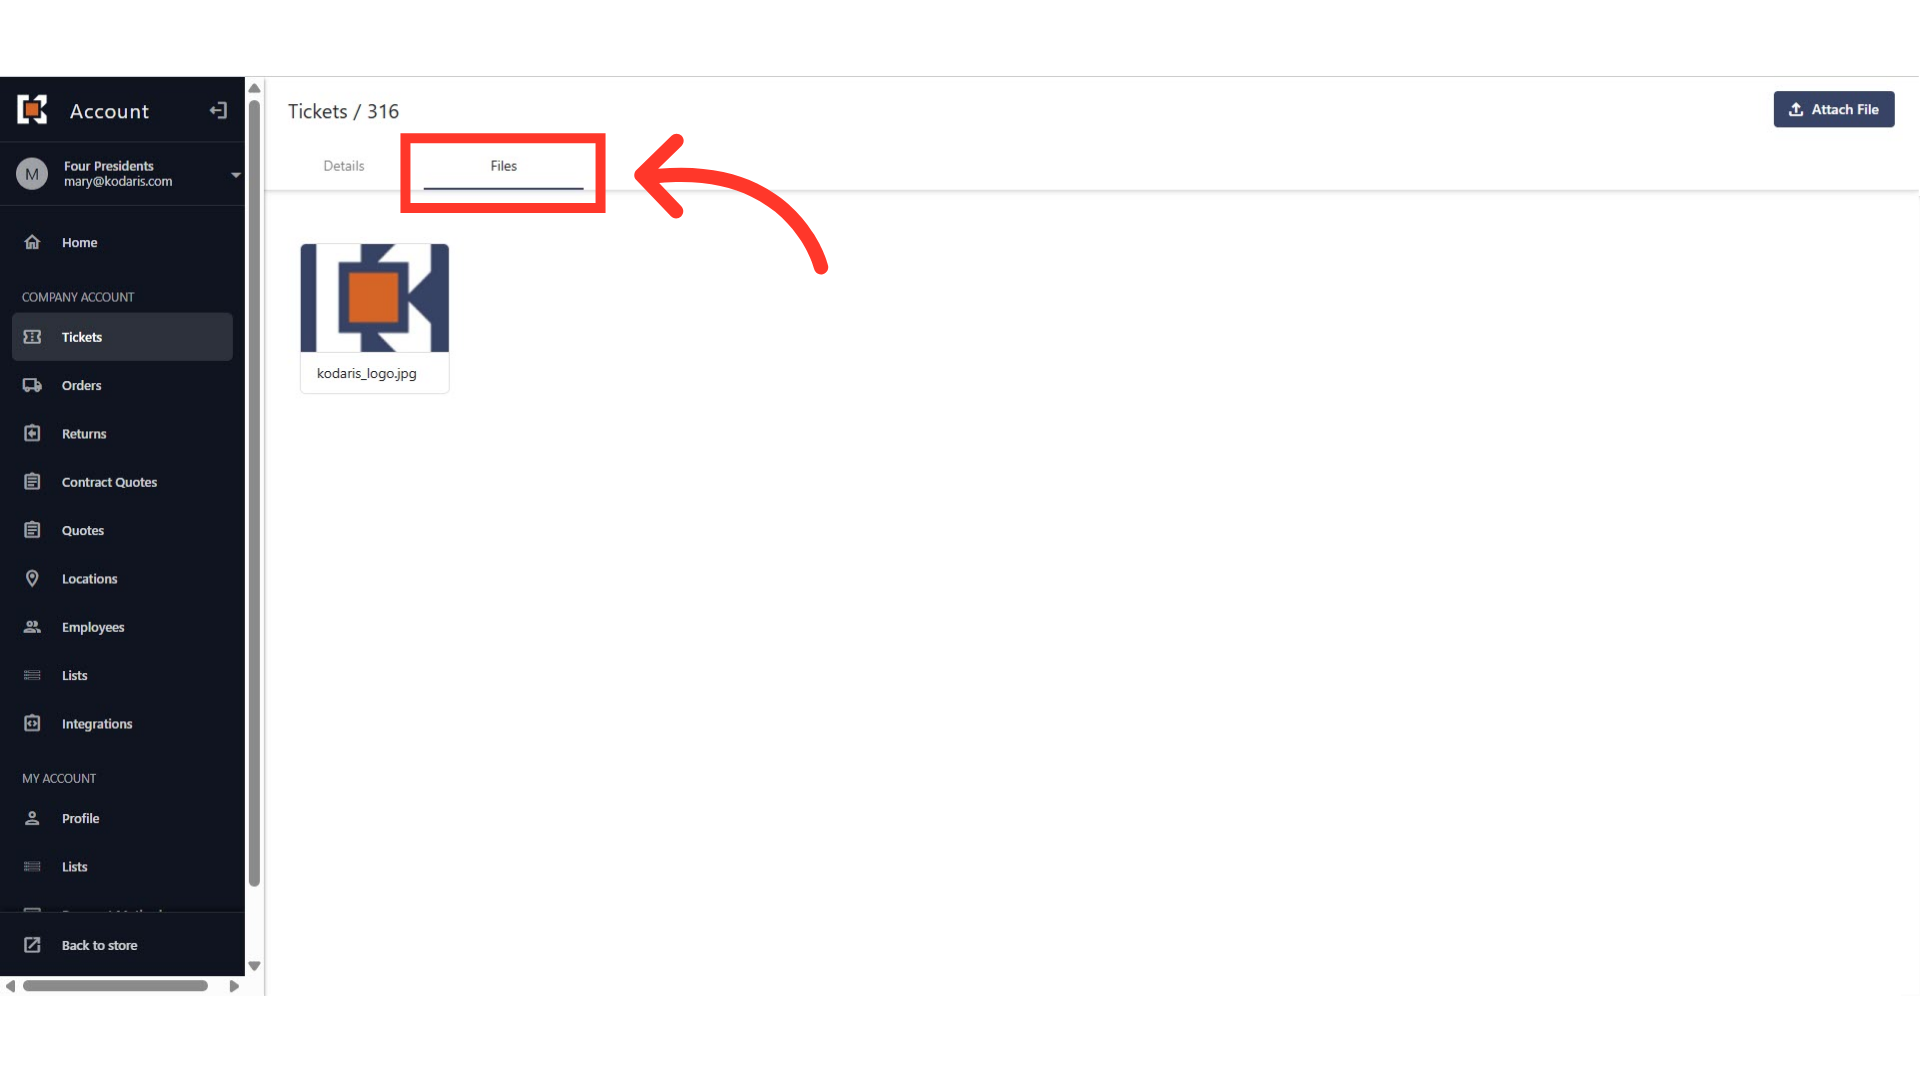
You can attach files to the ticket if needed, by using the "Attach File" button.
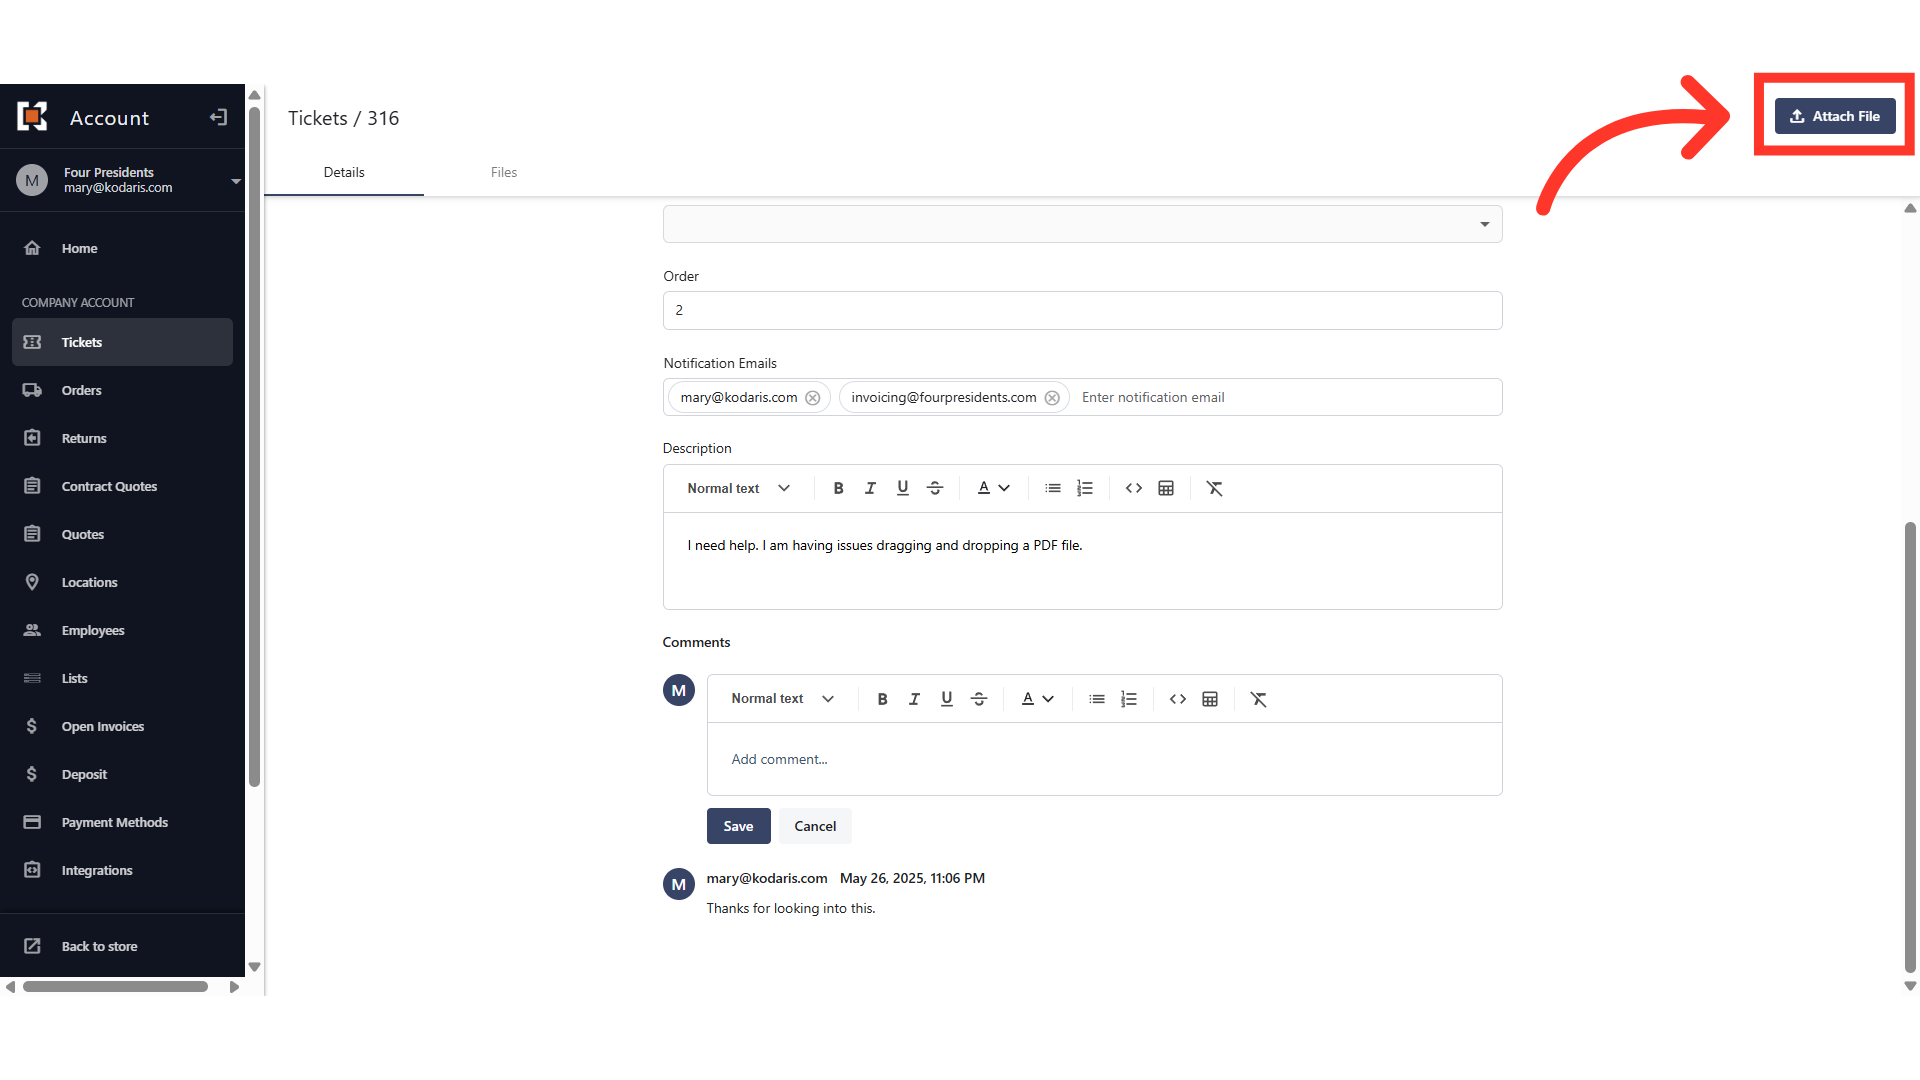
All files attached to the ticket will be accessible in the "Files" tab. These files will be visible to your team and anyone else who has the required roles to view tickets.