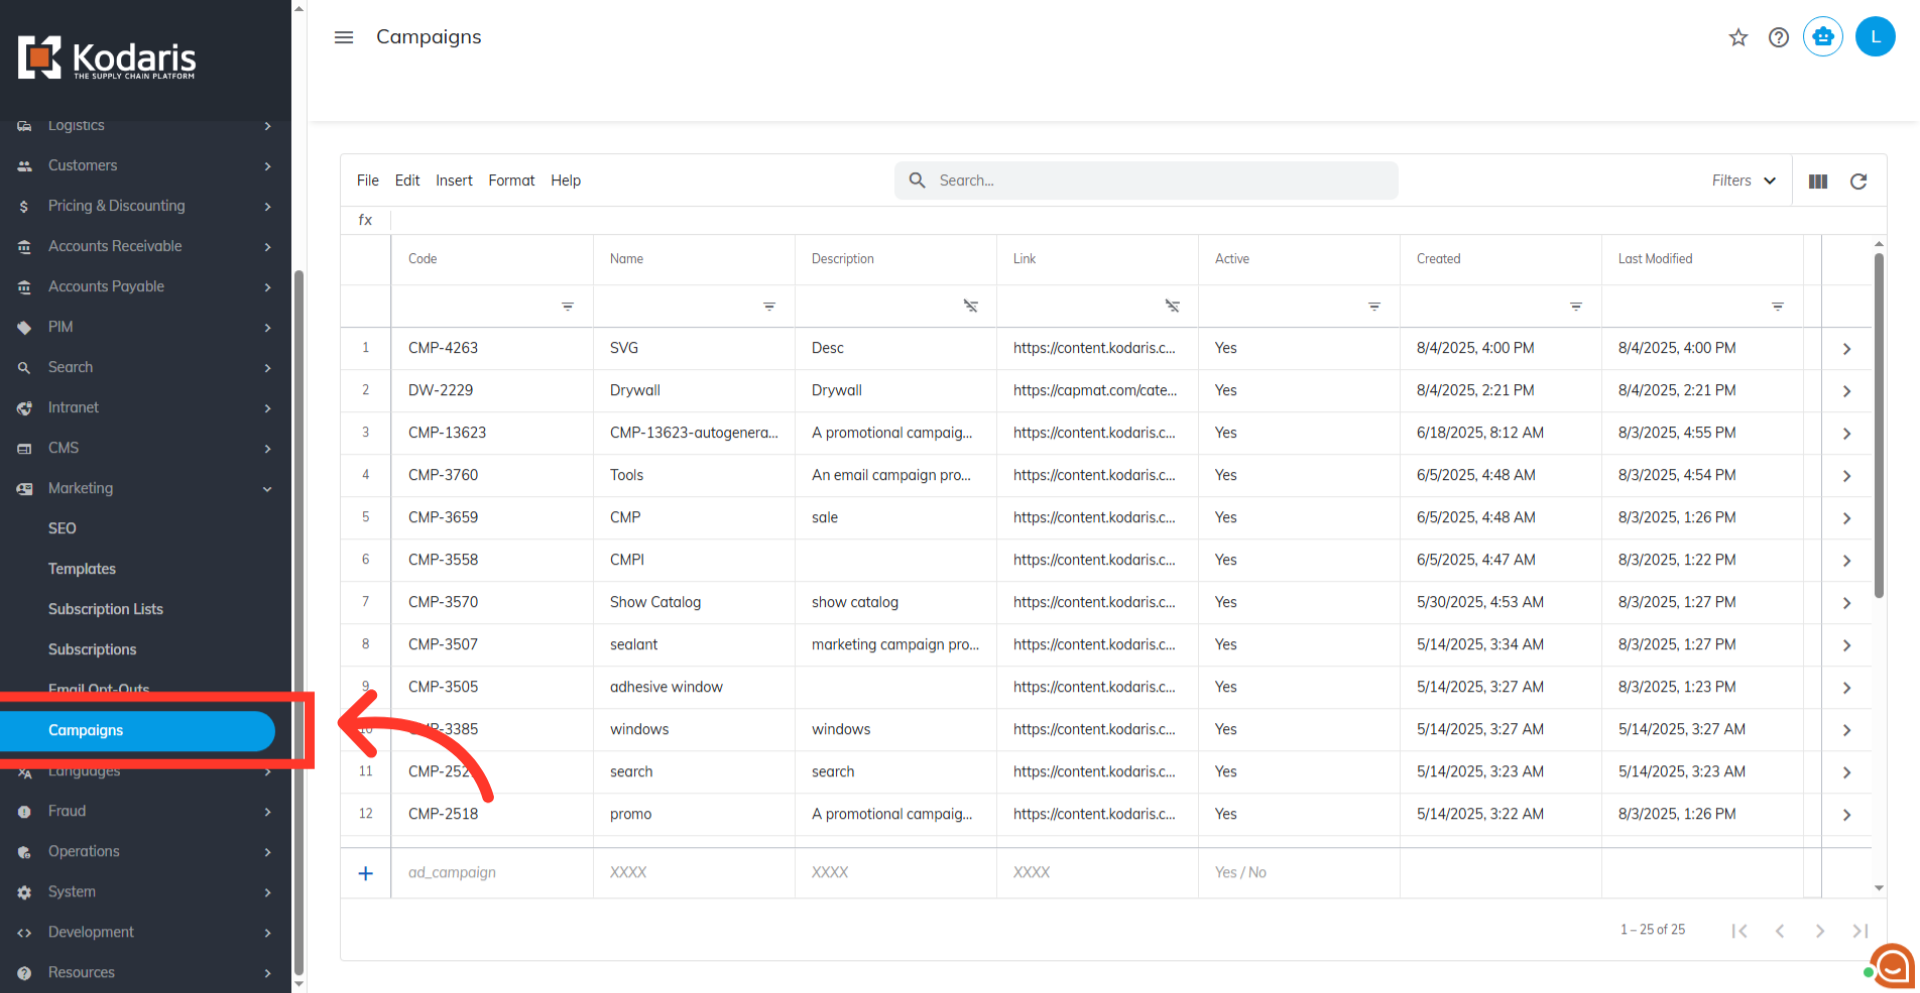
A campaign is a tracking record that measures your marketing efforts by connecting customer actions and sales to a specific campaign. To access your campaigns, go to the Marketing section in your operations portal and select the Campaigns screen. To view or update campaigns, users must be an "administrator" or "superuser," or have both "campaignView" and "campaignEdit" roles.
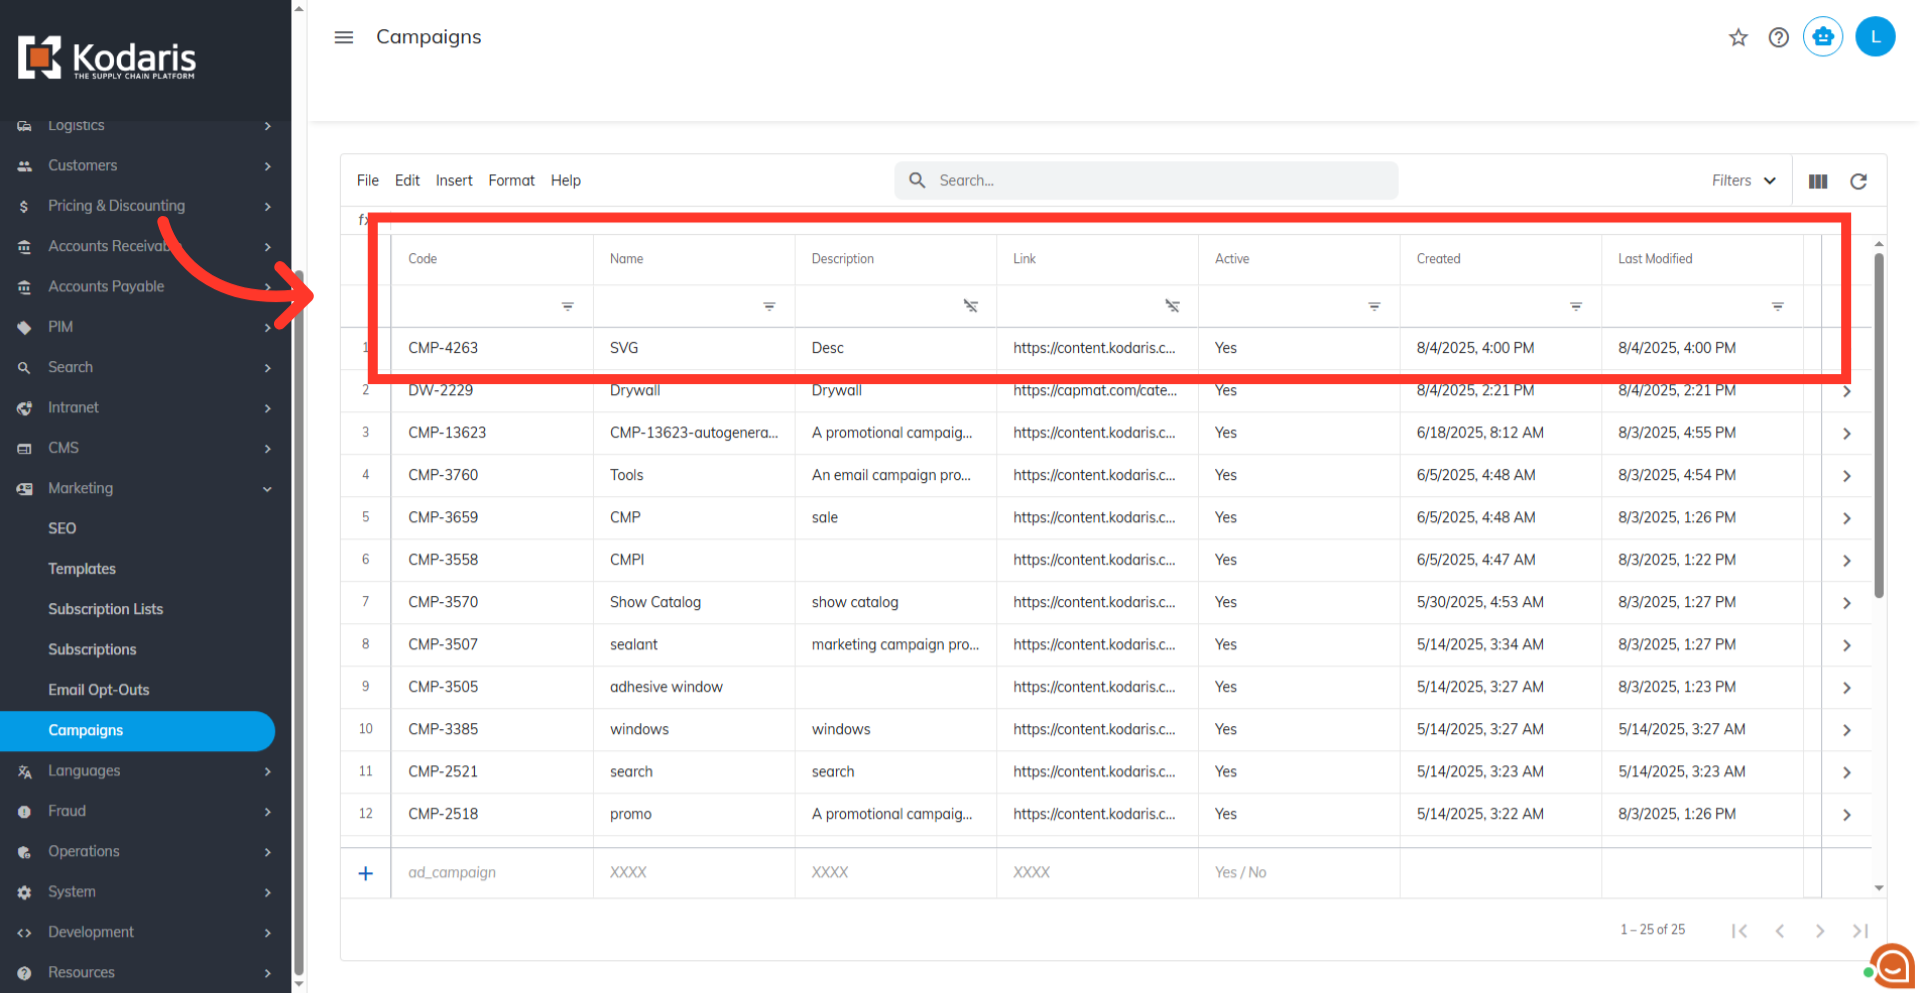
Each row in the grid is a unique campaign, with columns showing campaign details. You can use campaigns for many marketing activities, from Product Campaigns that track specific items to Generic Campaigns that track general traffic from banners or email signatures.
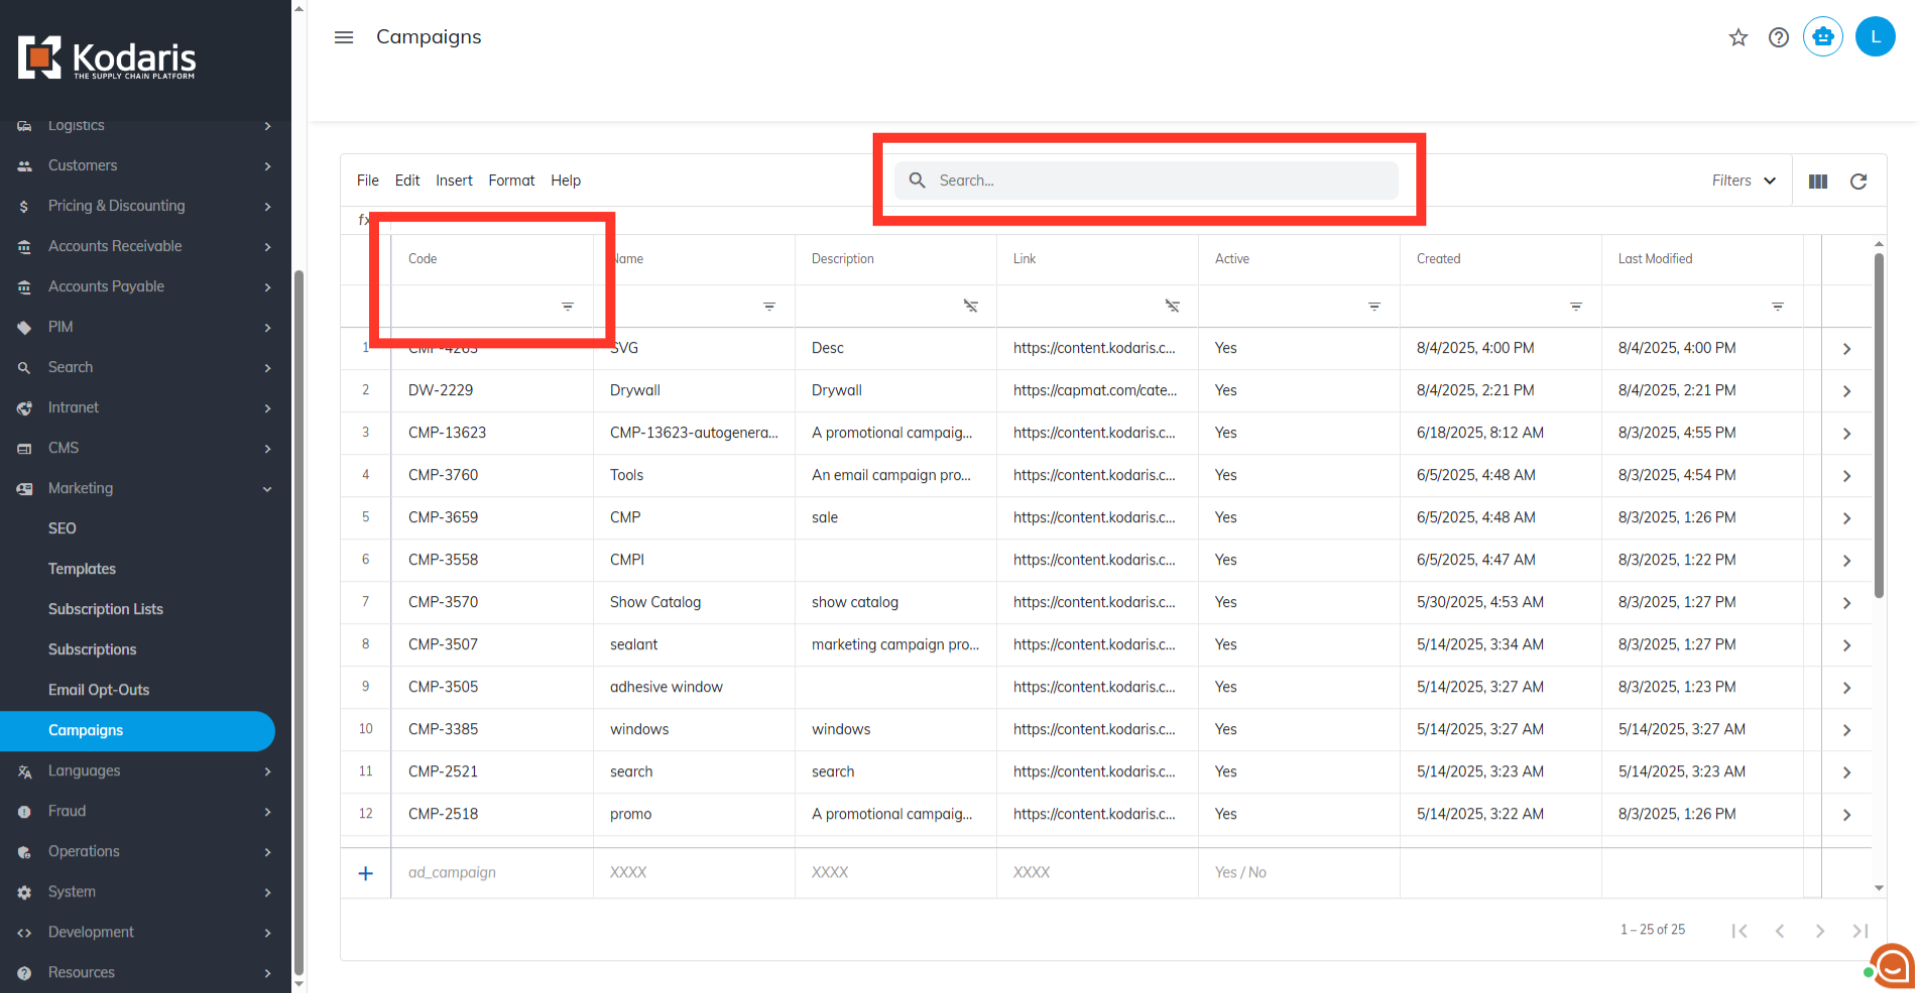
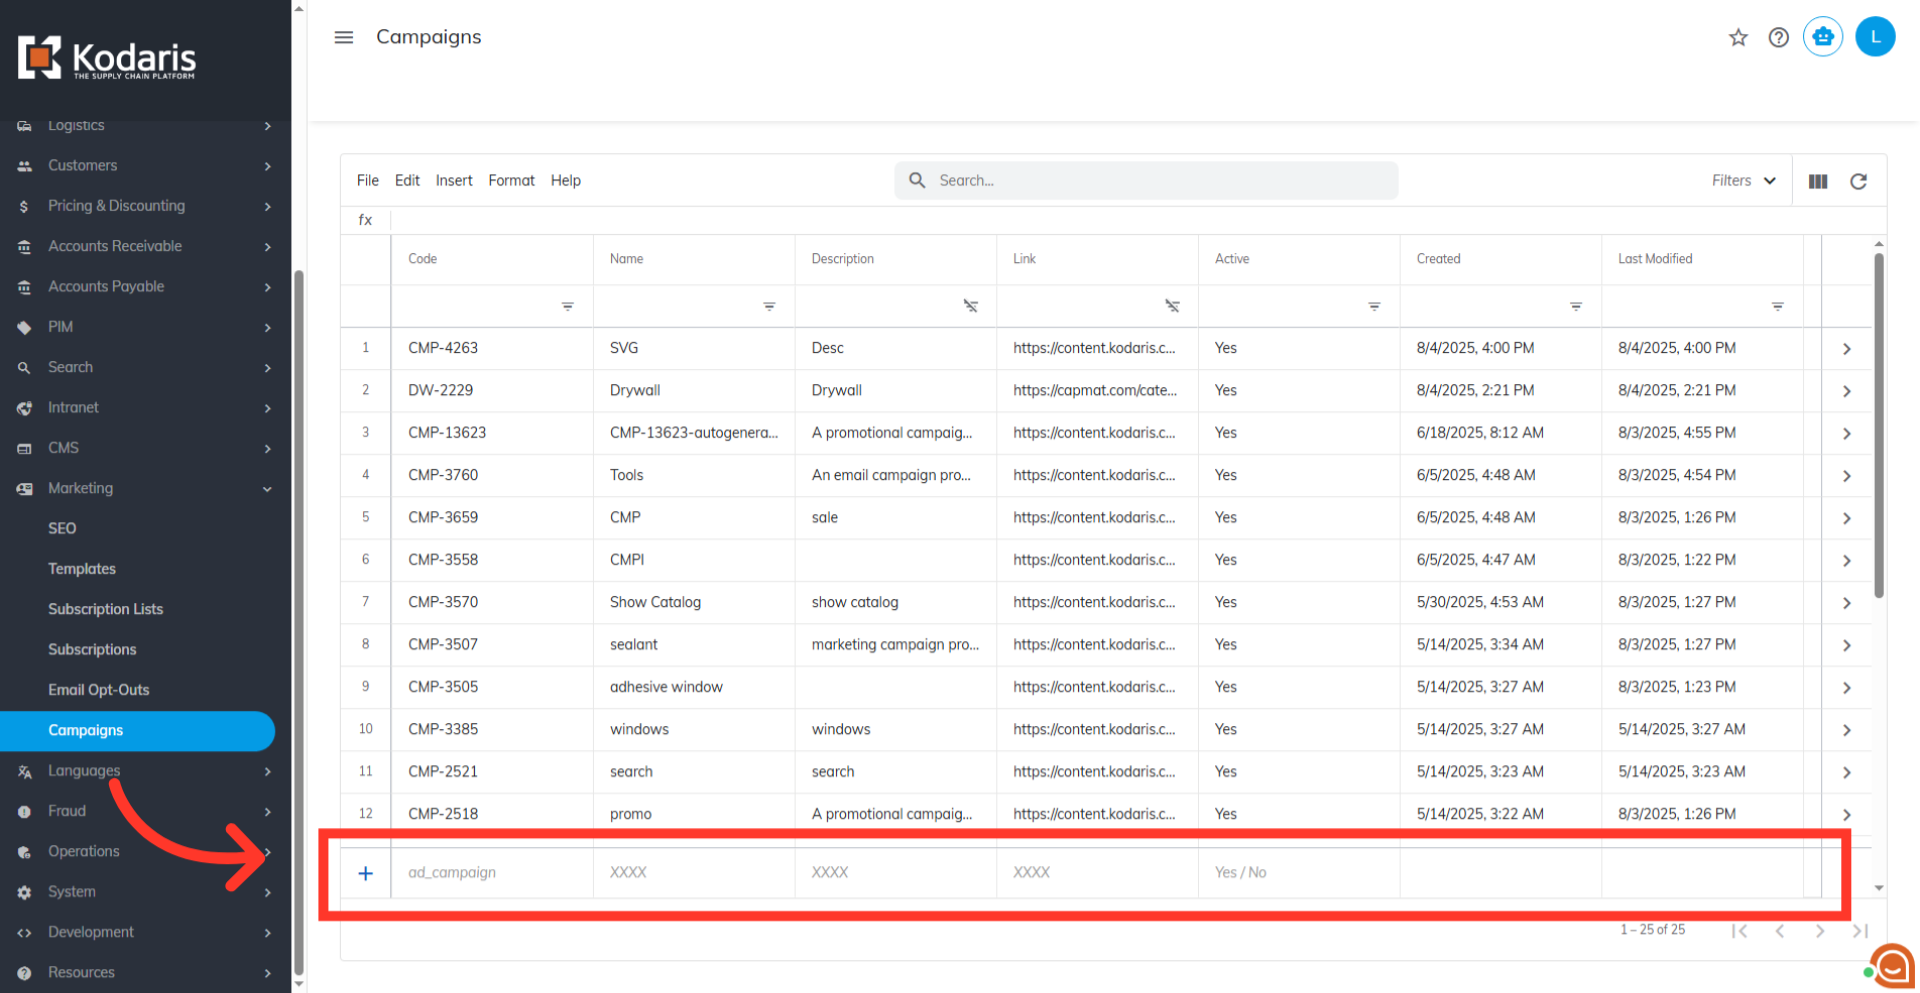
The campaign grid is your central hub for creating, managing, and viewing campaigns. Use the search bar, filters, and column options to easily organize and narrow down your view.
Use the standard menu options to sort, edit, select, and navigate within the grid.

You can create a campaign on this screen by either entering a specific URL or by using the site browse tool to generate a link from a product or category page on your website.
Click the "Show / Hide" Column button to customize your grid view. Each column represents a campaign property, such as Active, Start Date, or Last Modified. For tracking, ensure that Code, Campaign Name, Campaign Description, and Link are enabled.

The "Code" is the unique tracking code embedded in the URL. It is the main identifier for the campaign in all tracking and reporting.

The Campaign Name is a descriptive, user-defined name to help you easily identify the campaign.

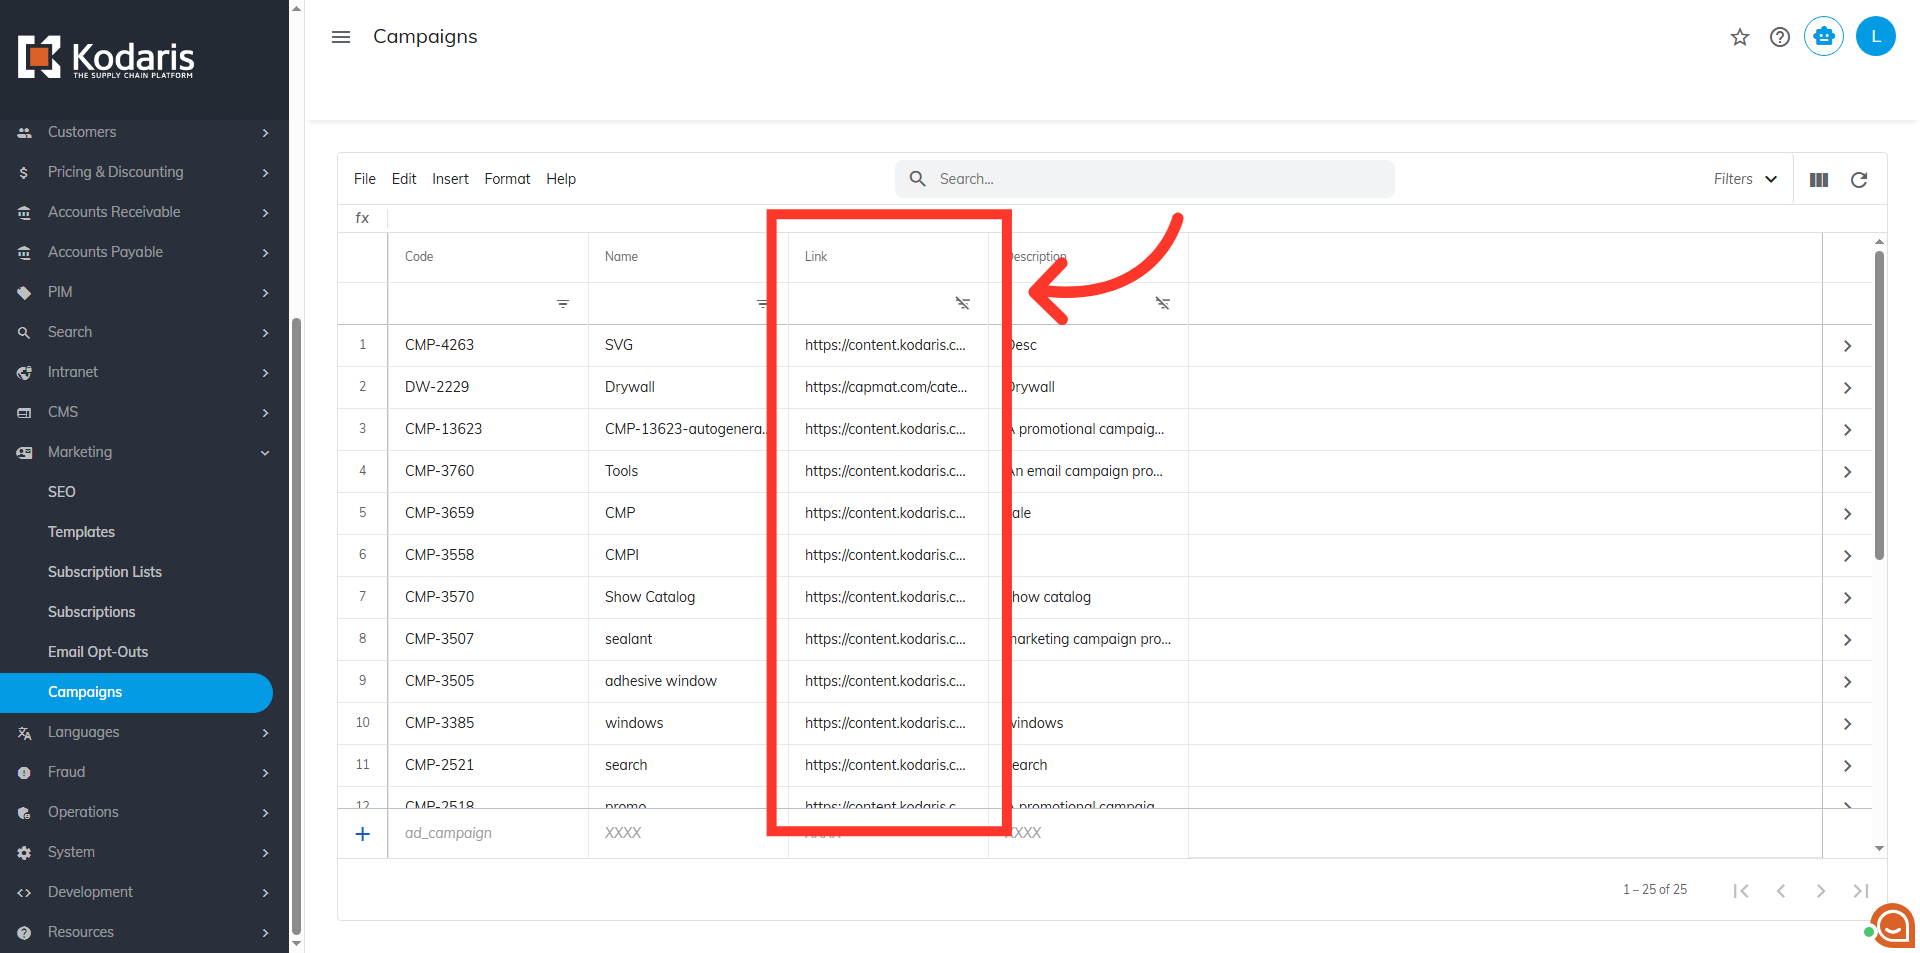
The complete value in the Link field is what you use for your marketing campaigns. It combines your website's page link with a campaign code that's added automatically. The moment a customer clicks this link, their activity is tracked and recorded.
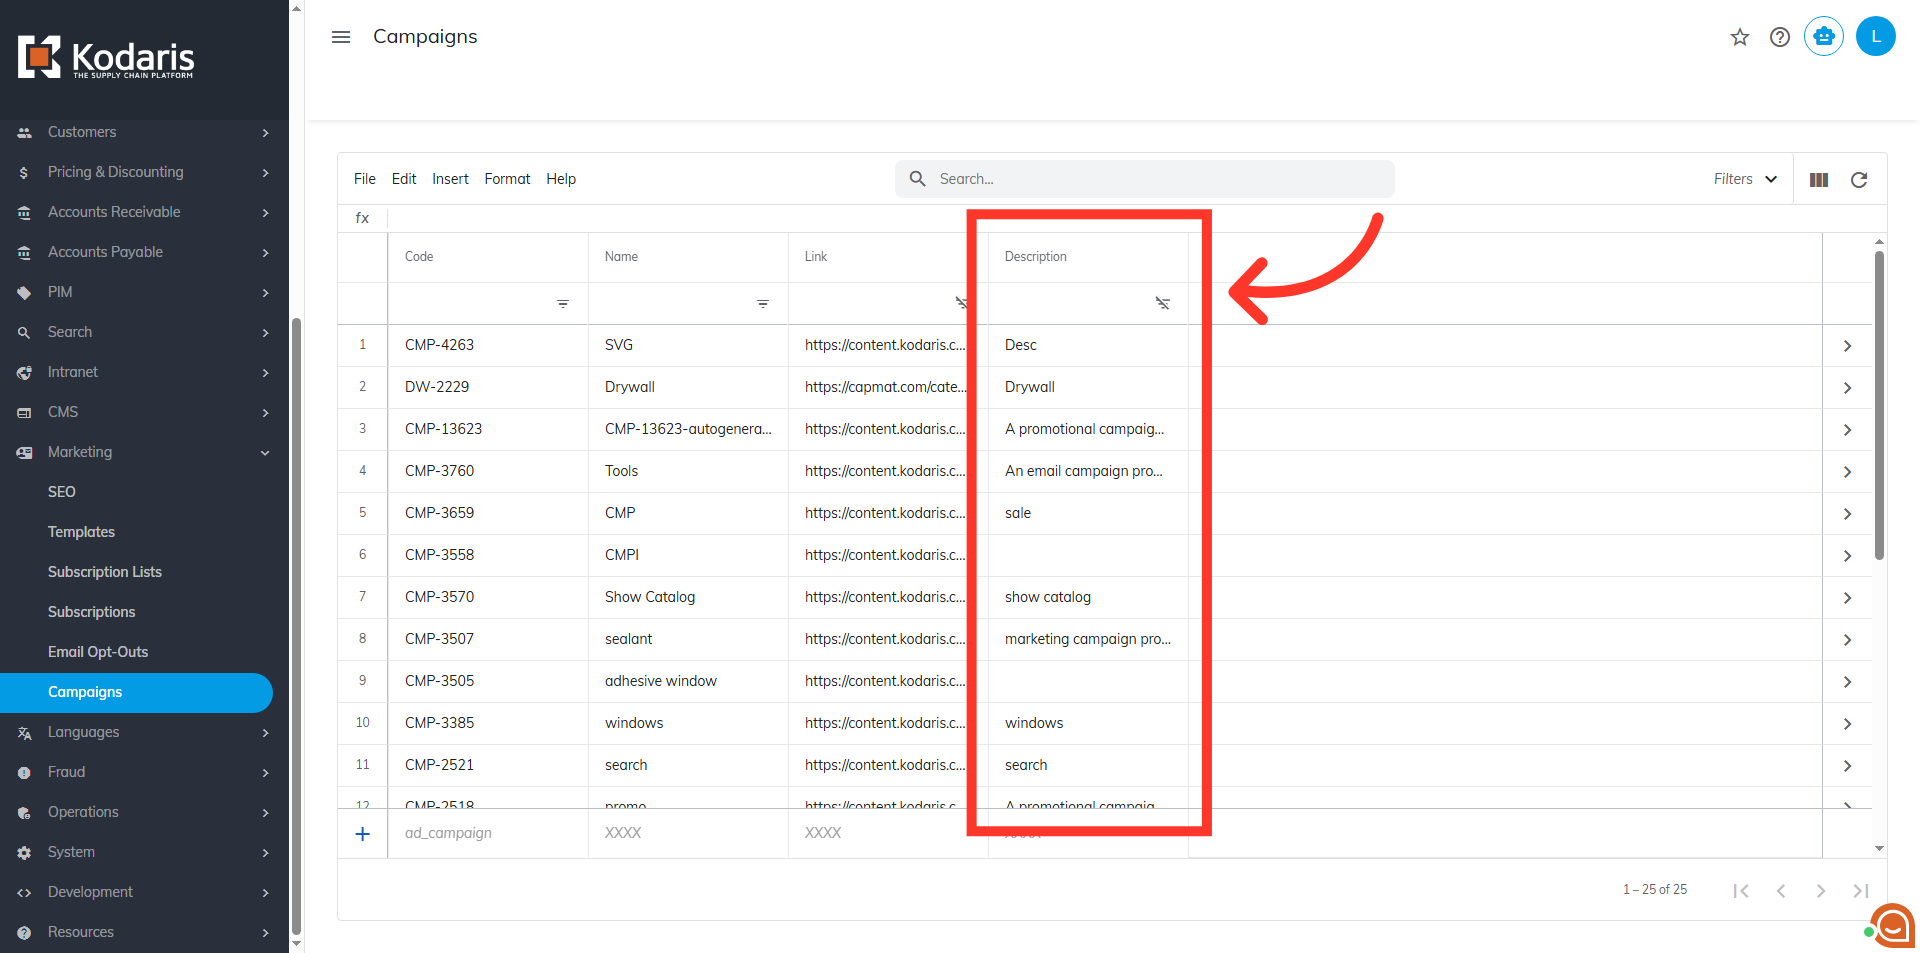
The Campaign Description is an optional field for any additional notes or details about the campaign's purpose.