Product Documentation
Product Documentation
Product Documentation
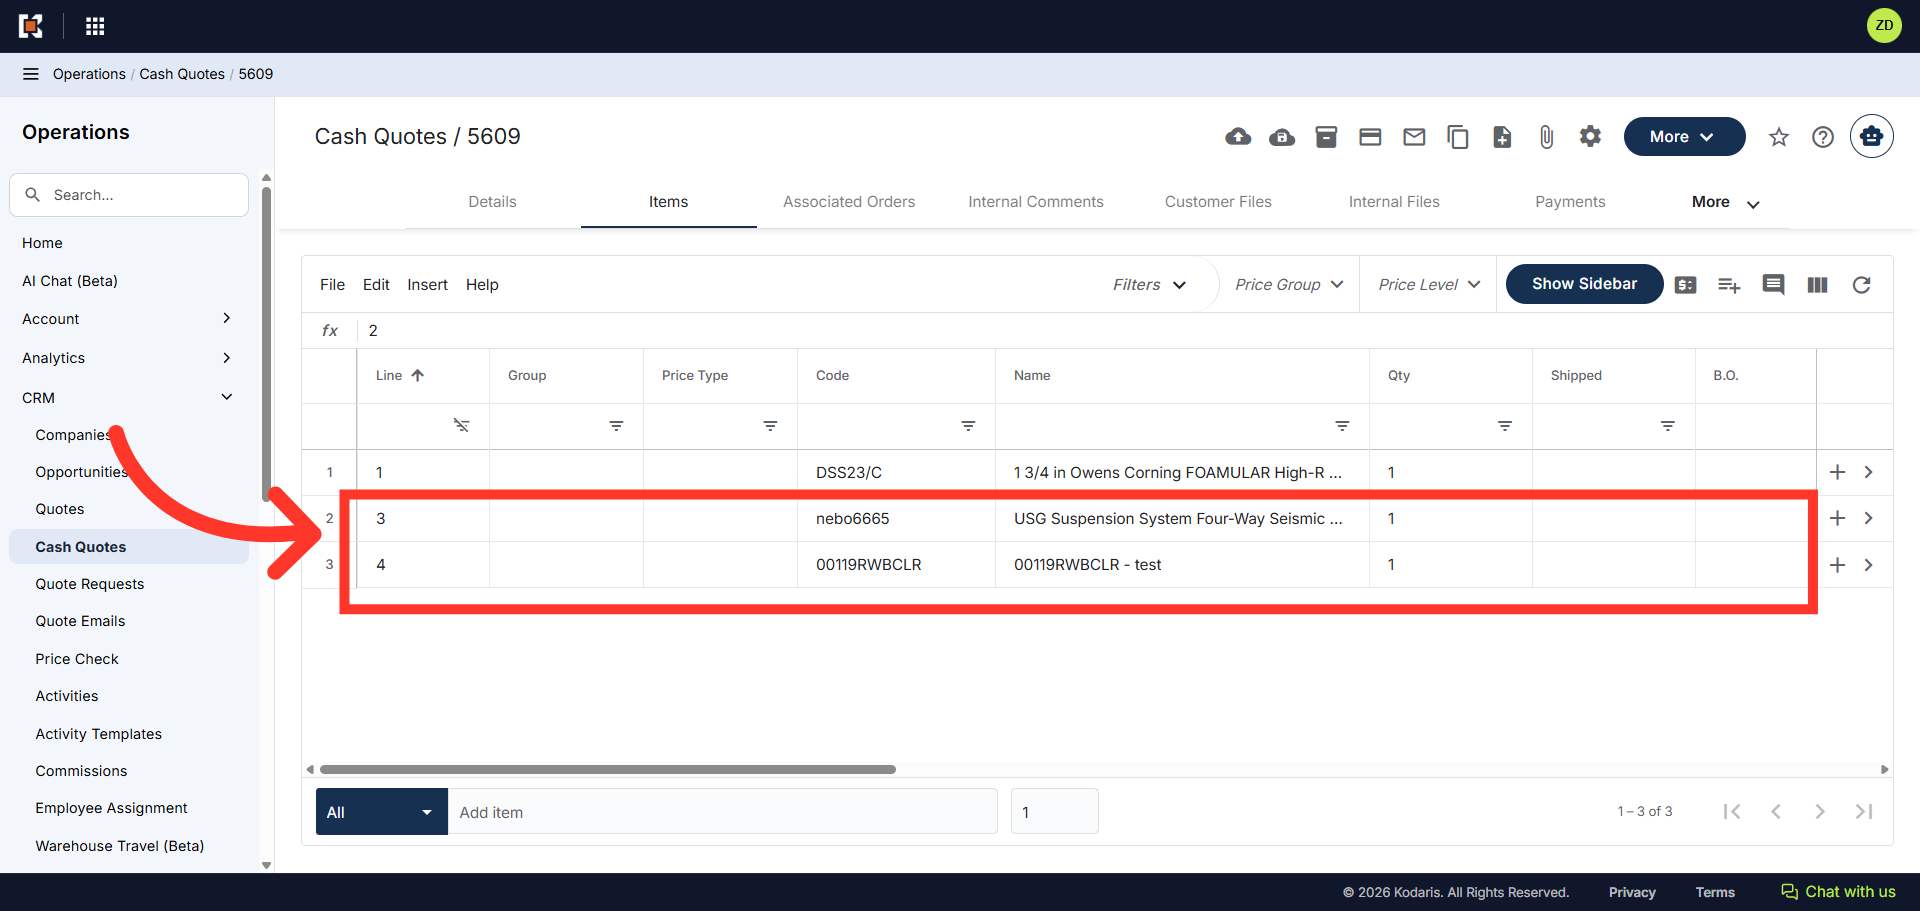
You can quickly add multiple items to a "Cash Quote" by using the import feature in the Operations Portal. First, navigate to the "CRM" section.
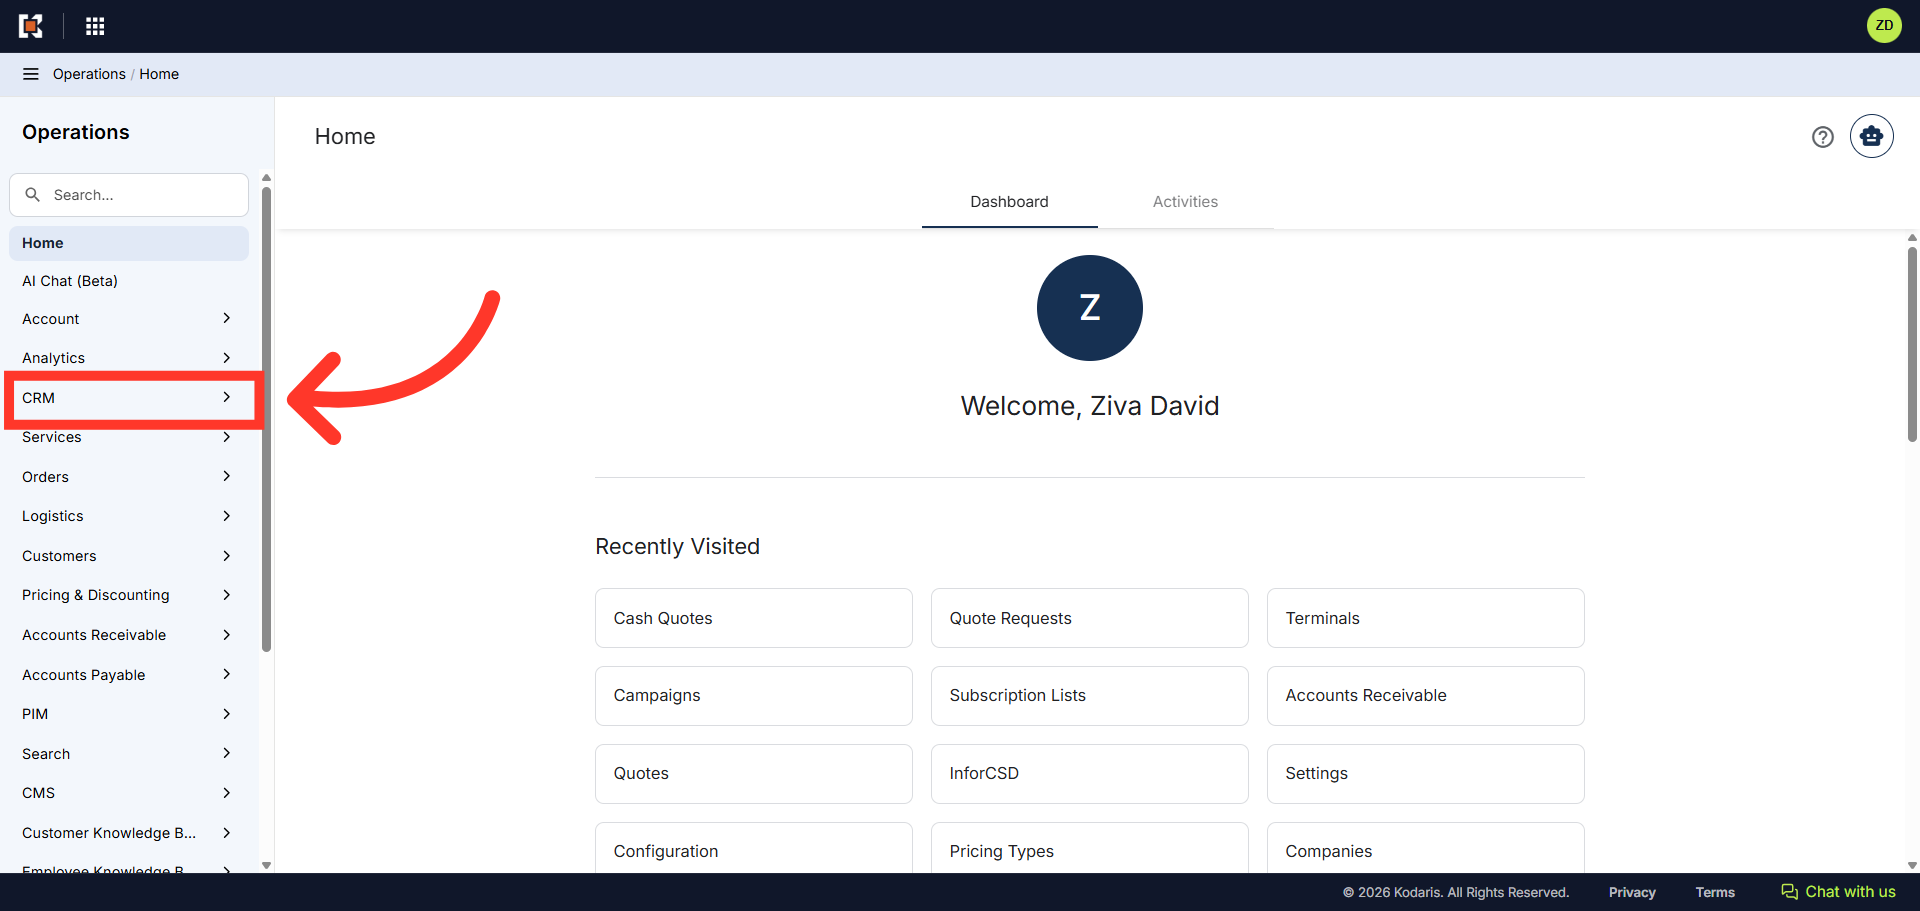
Then, click "Cash Quotes". In order to access and update Cash Quotes, you will need to be set up either as an "administrator" or "superuser", or have the roles of "dashboardSearch" and "dispatch", "orderEdit", and "crmCompanyOrderEdit".
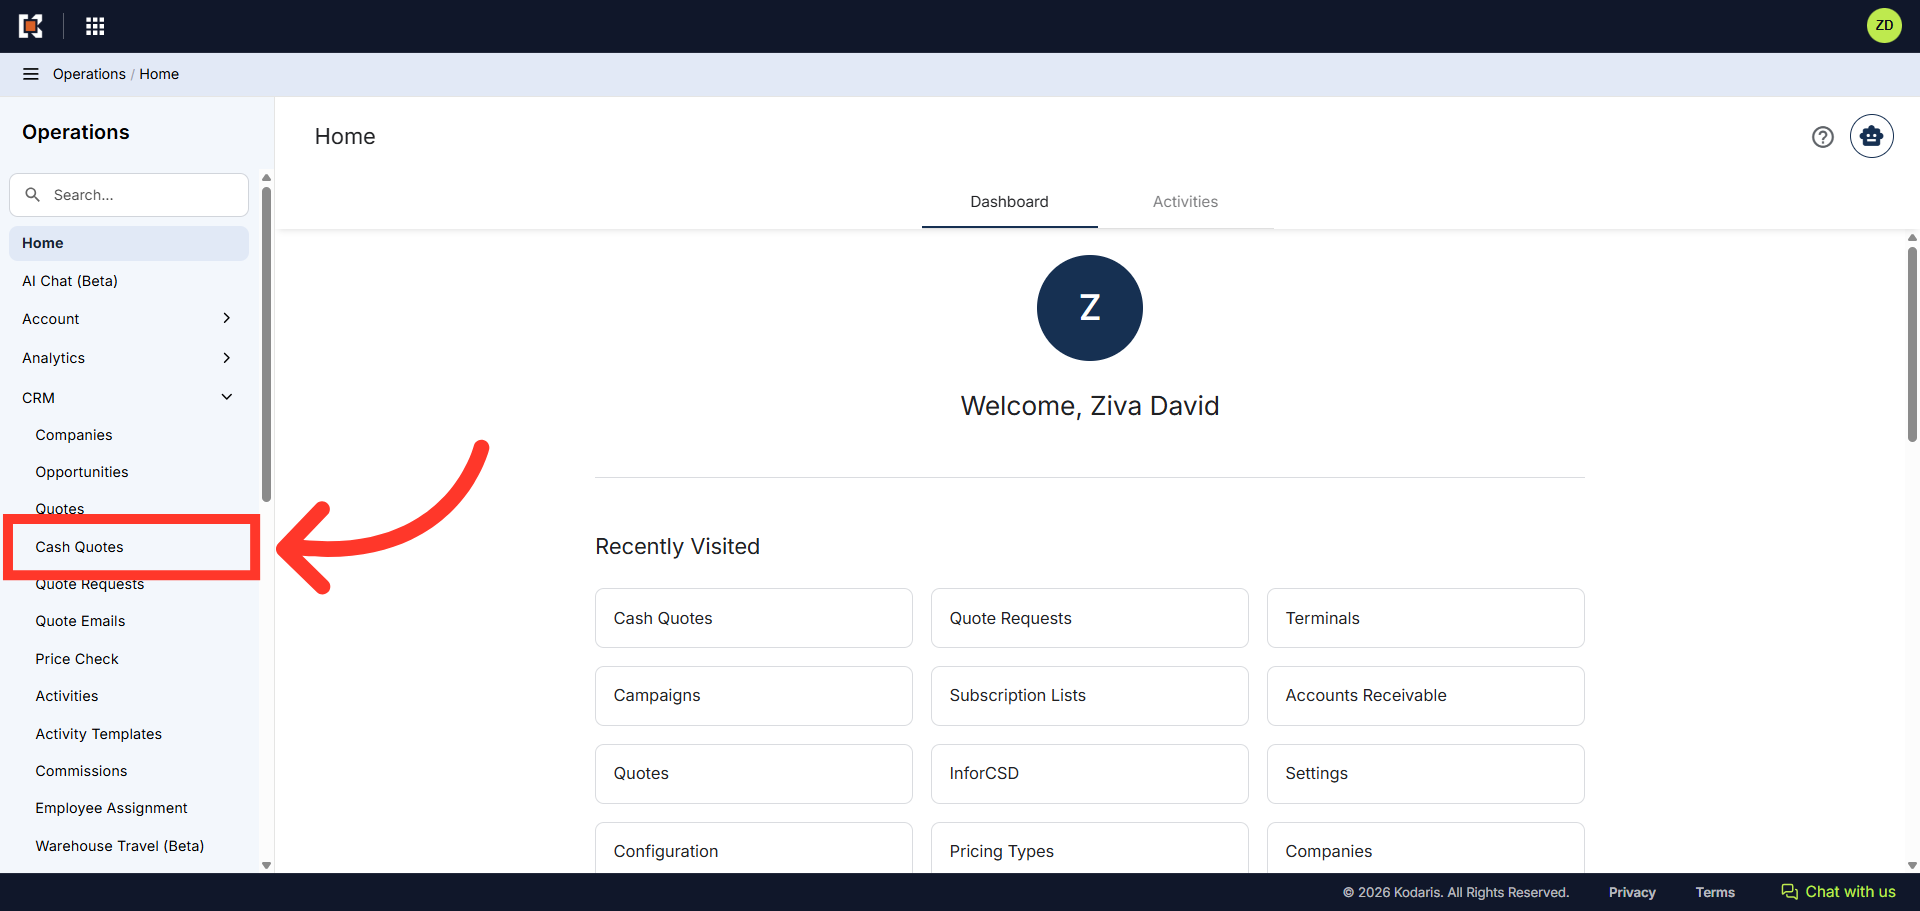
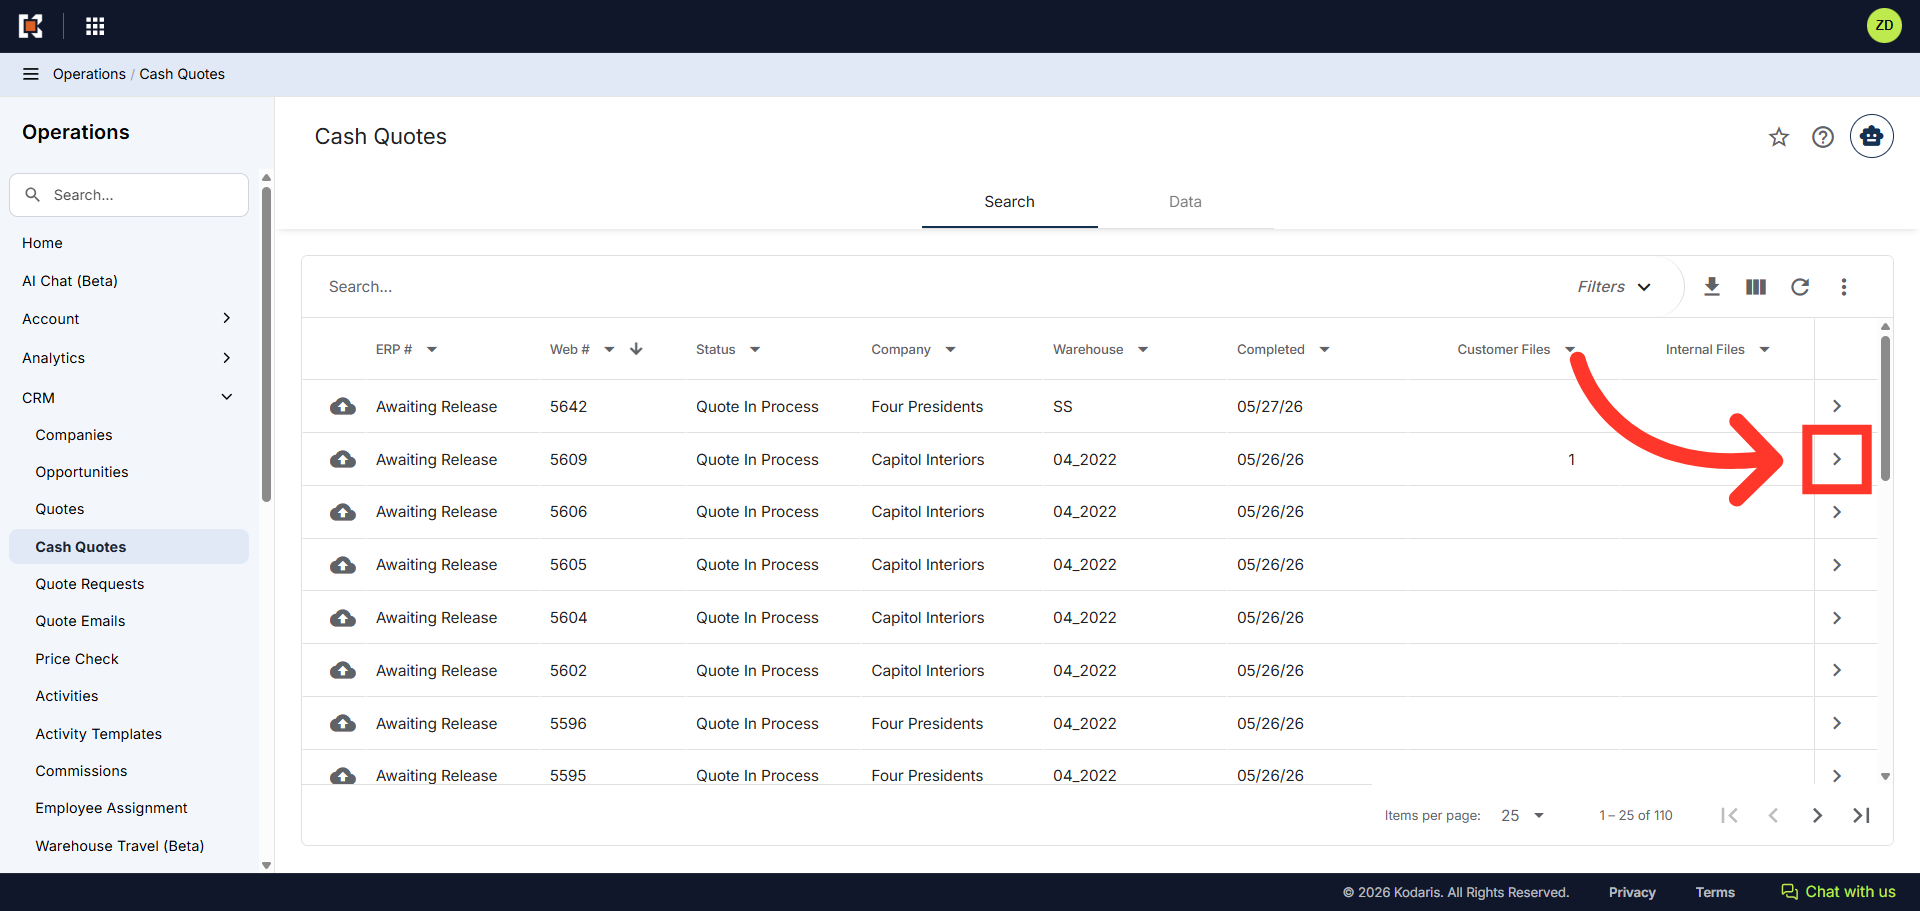
Locate the cash quote you wish to add items in the "Search..." field.
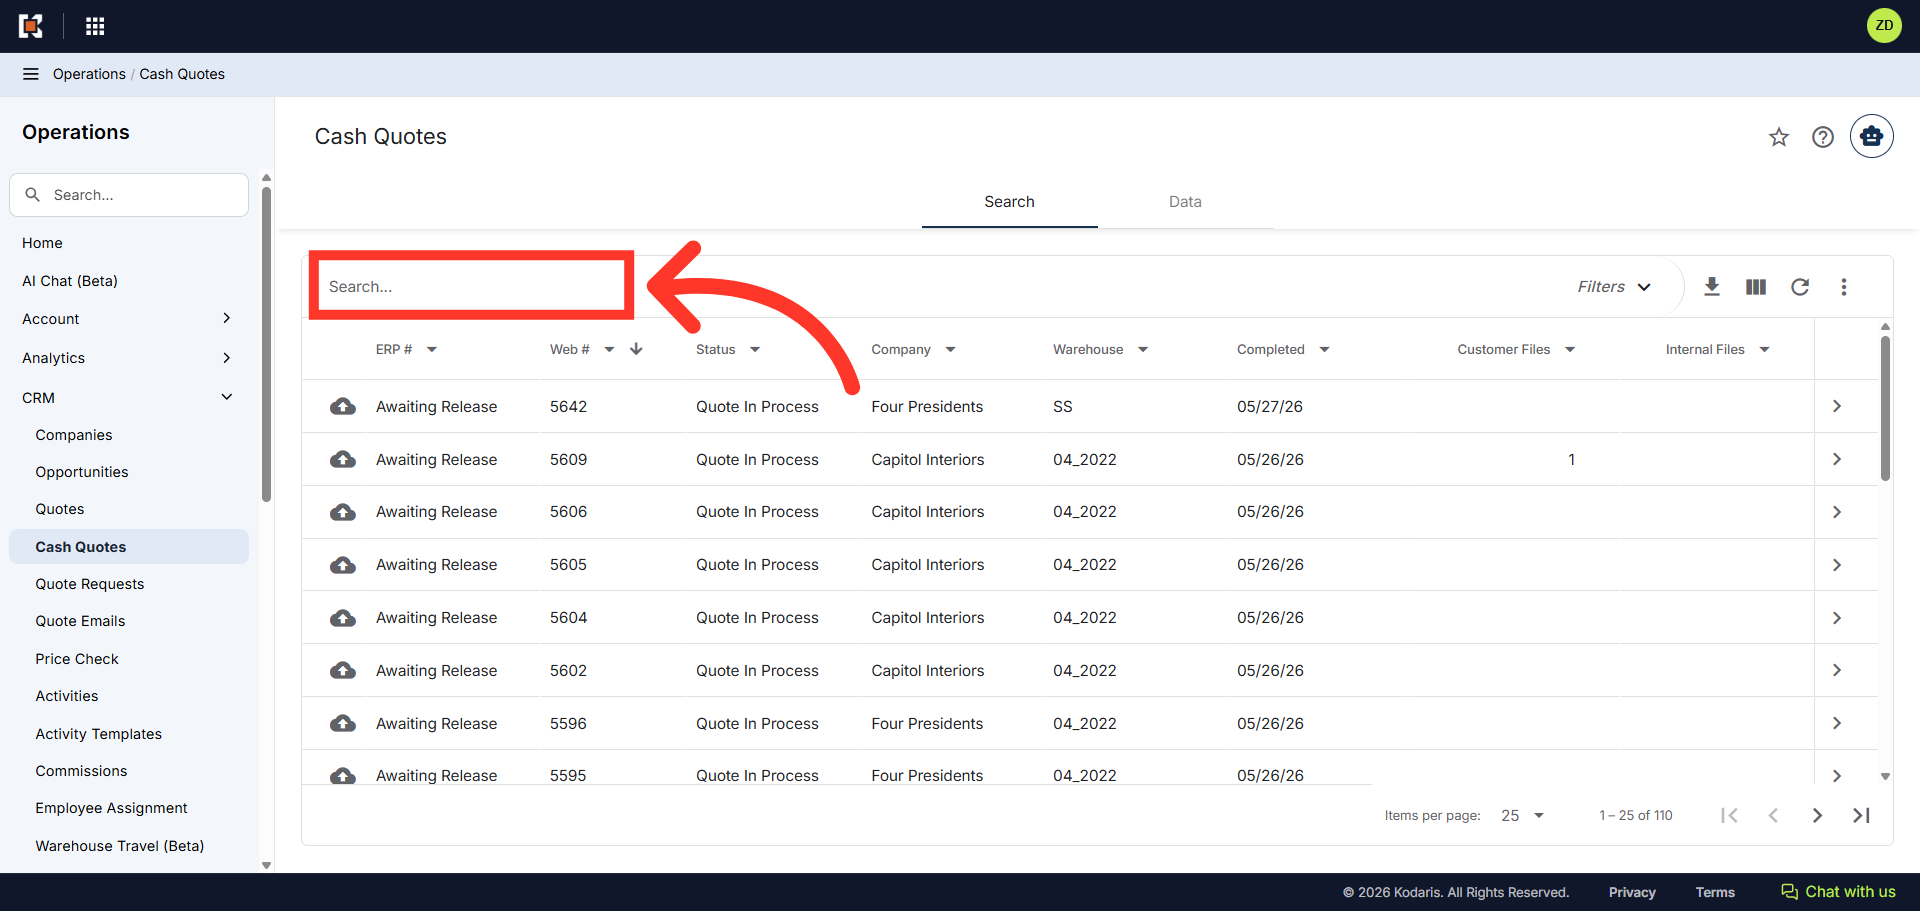
Click on the more details icon to view the more details screen.
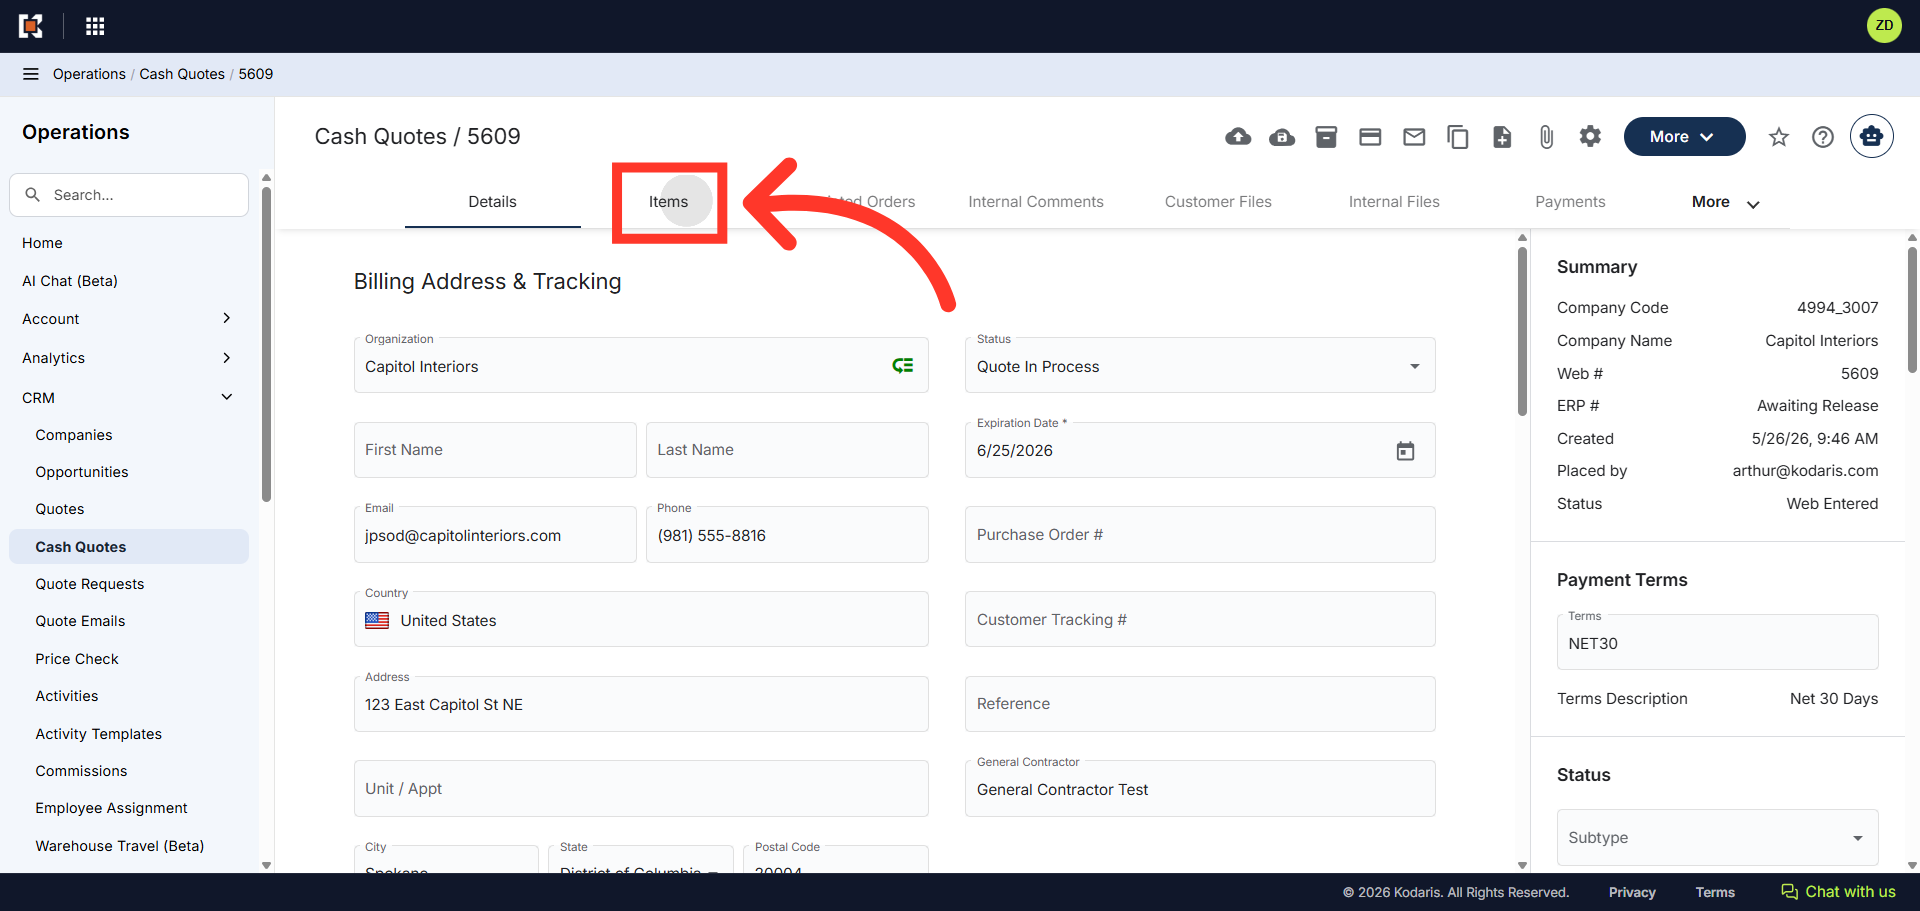
Click the "Items" tab.
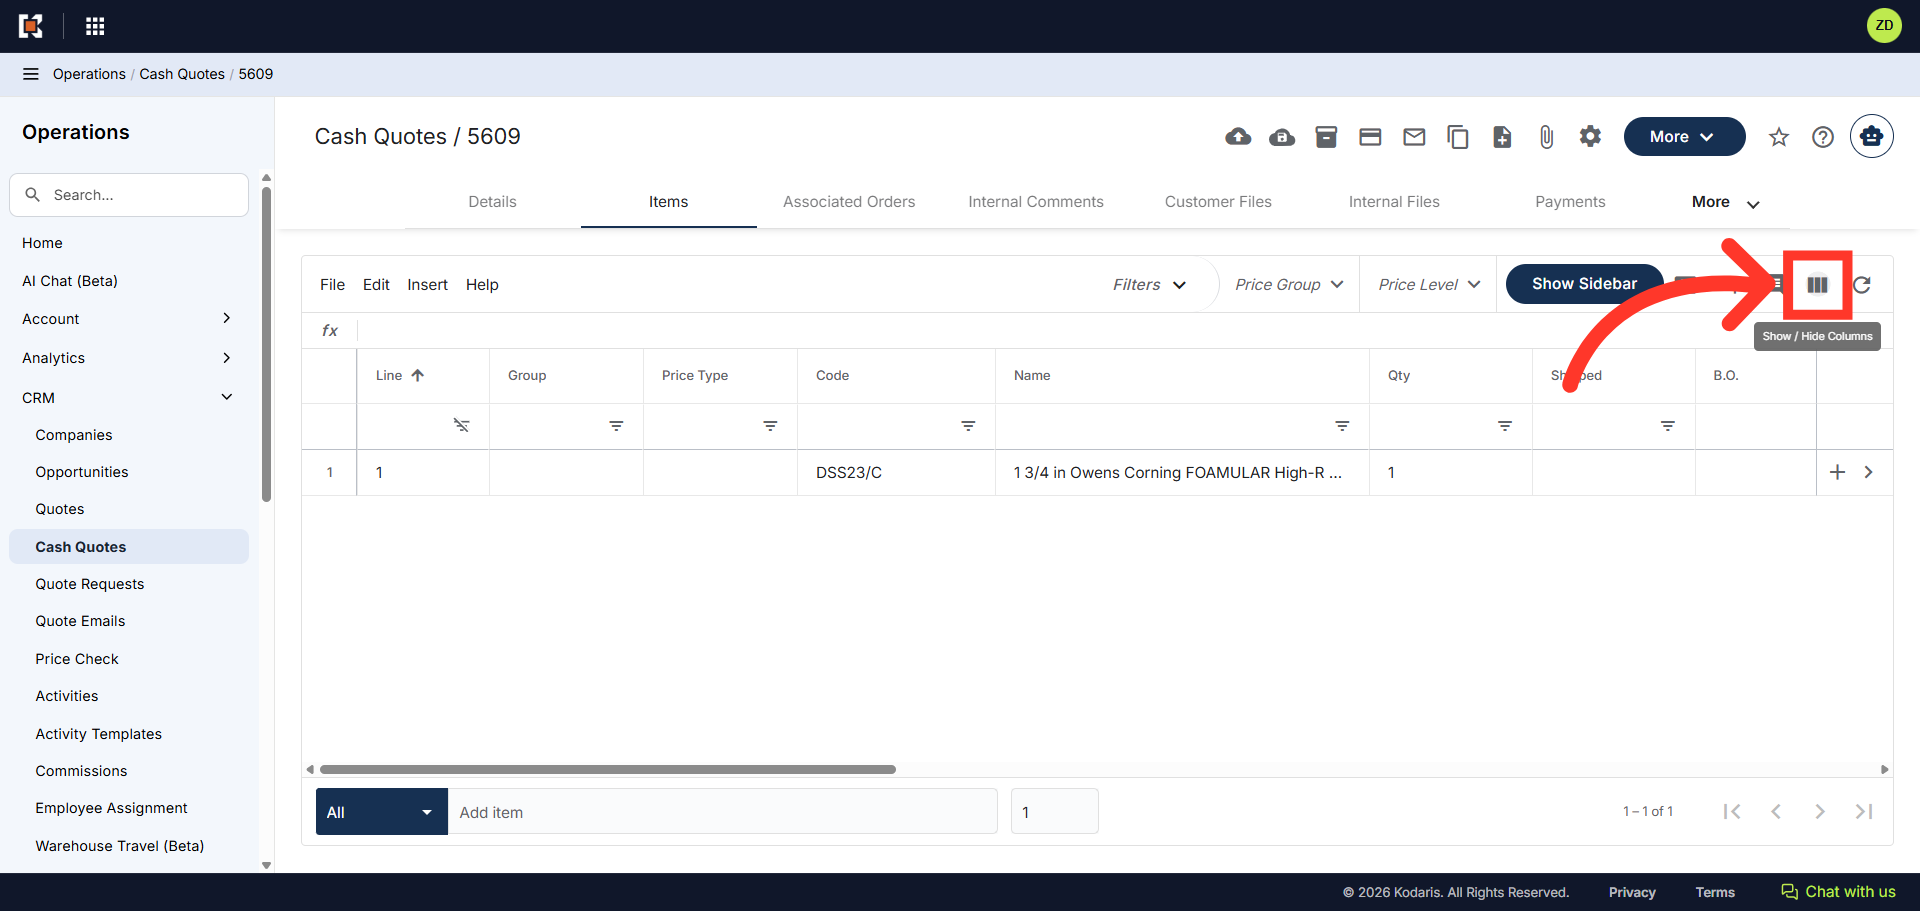
You can filter the information displayed in the grid. Click the "Show/Hide Columns" icon.
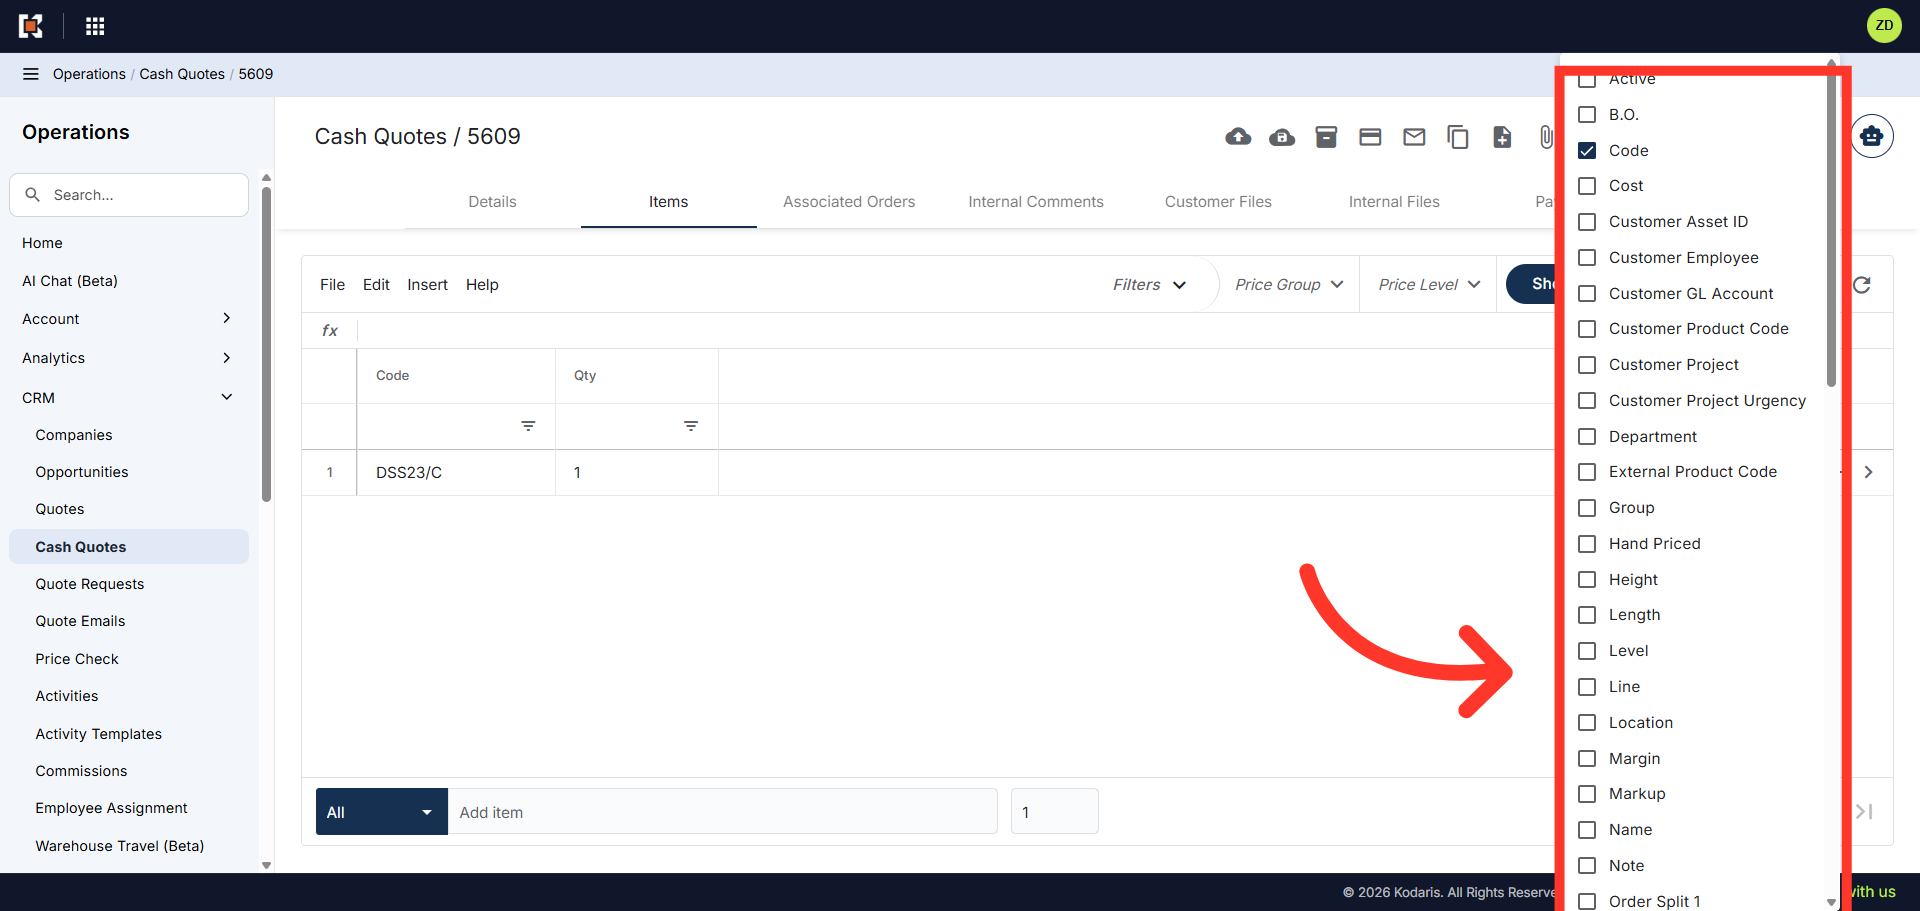
If you would like to export a file that can be used for importing items to a cash quote, select the needed columns from the grid. The "Code" column is required, and the "Qty" is helpful if updating quantities with the import. You can also include any other helpful columns if you would like. Uncheck any columns that are not needed to simplify the export file.
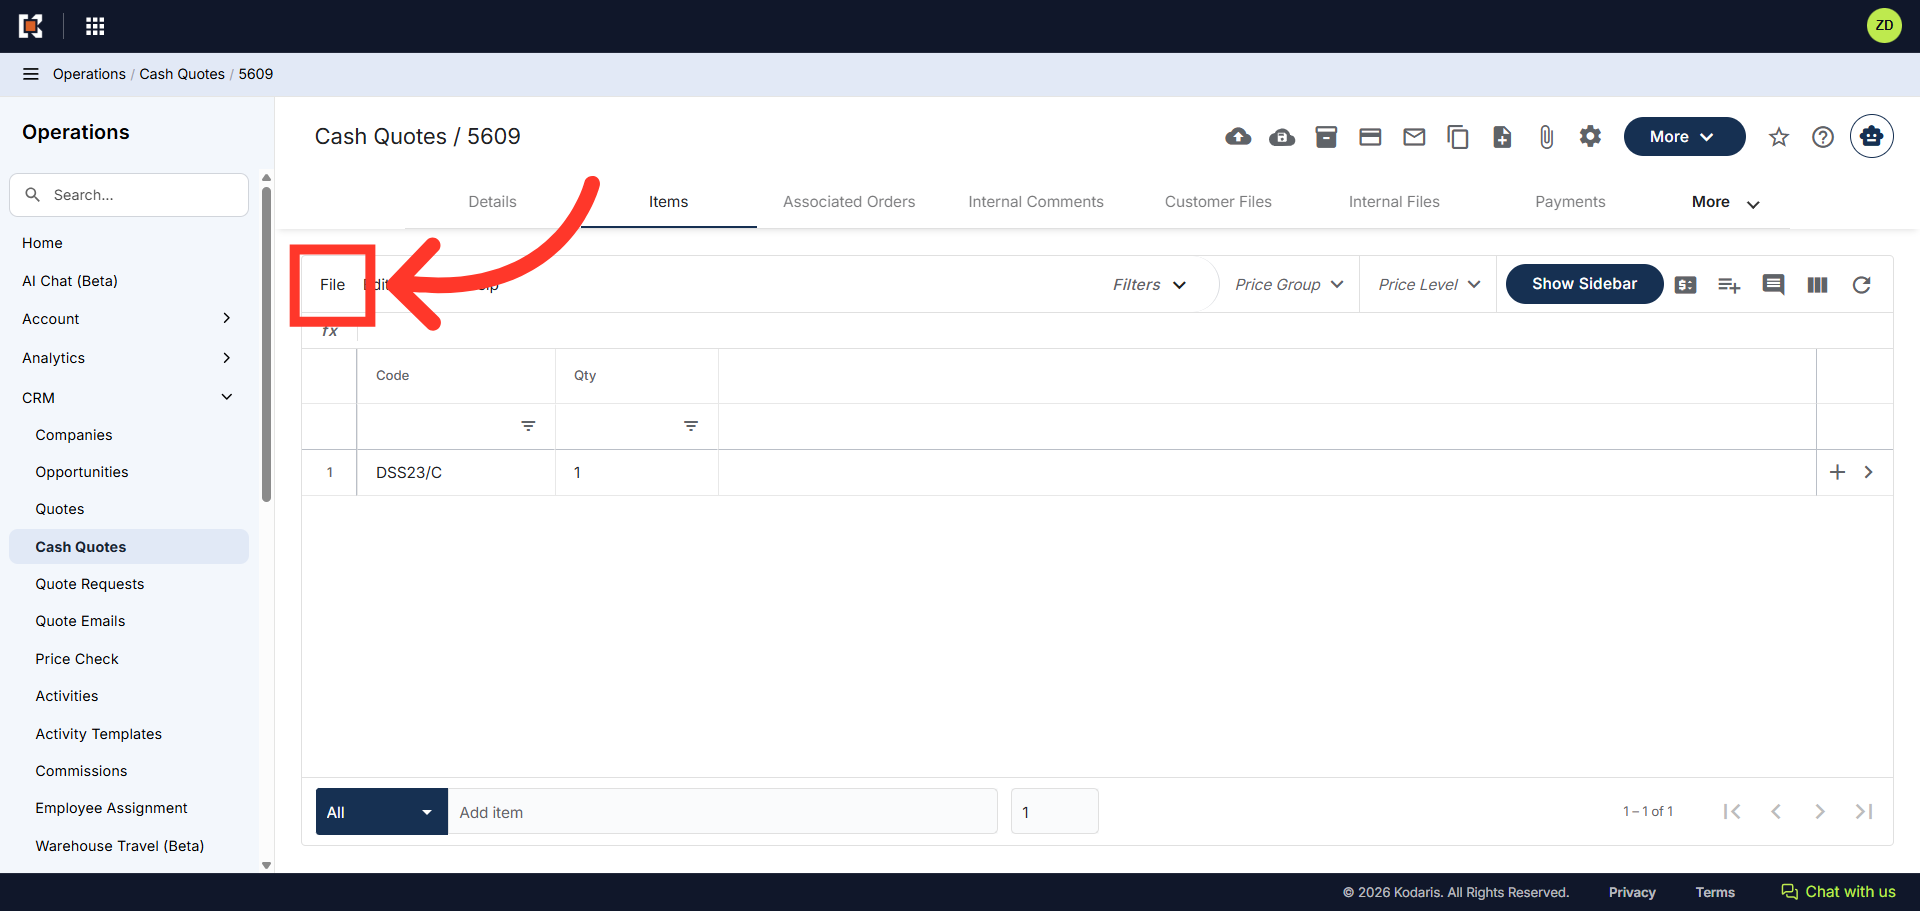
Next, click "File".
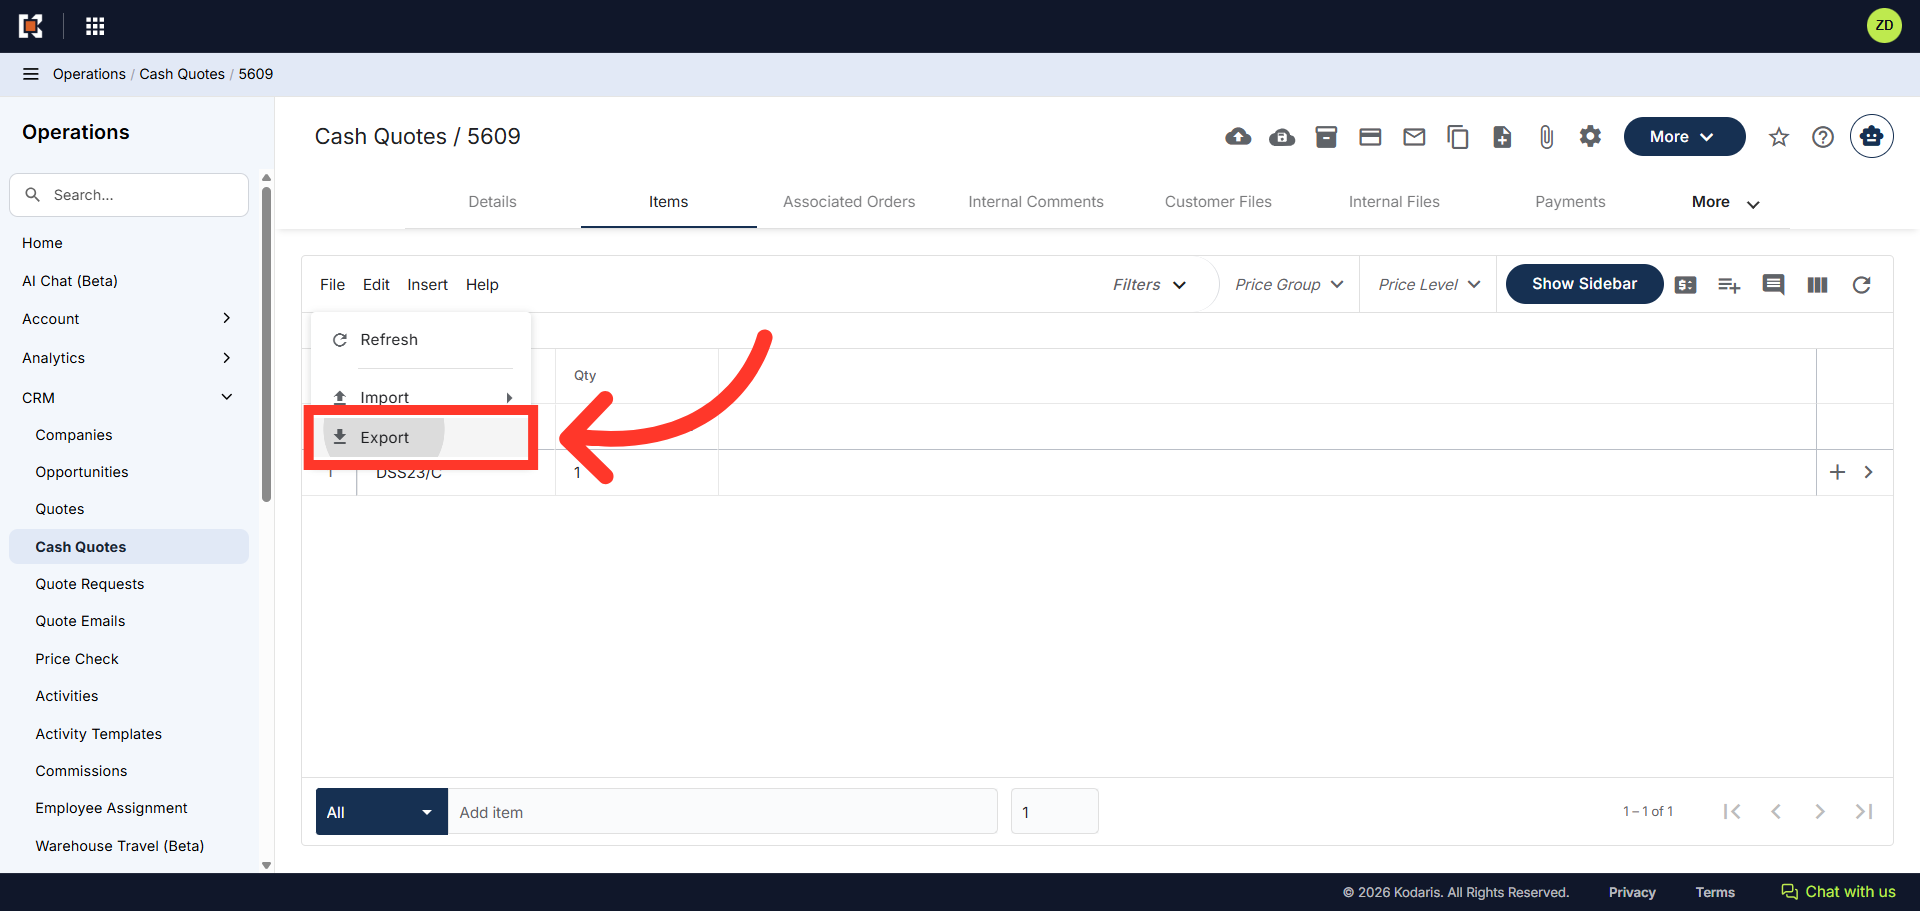
Then, click "Export". This export will have the needed header row and data that will be used for importing back into the system.
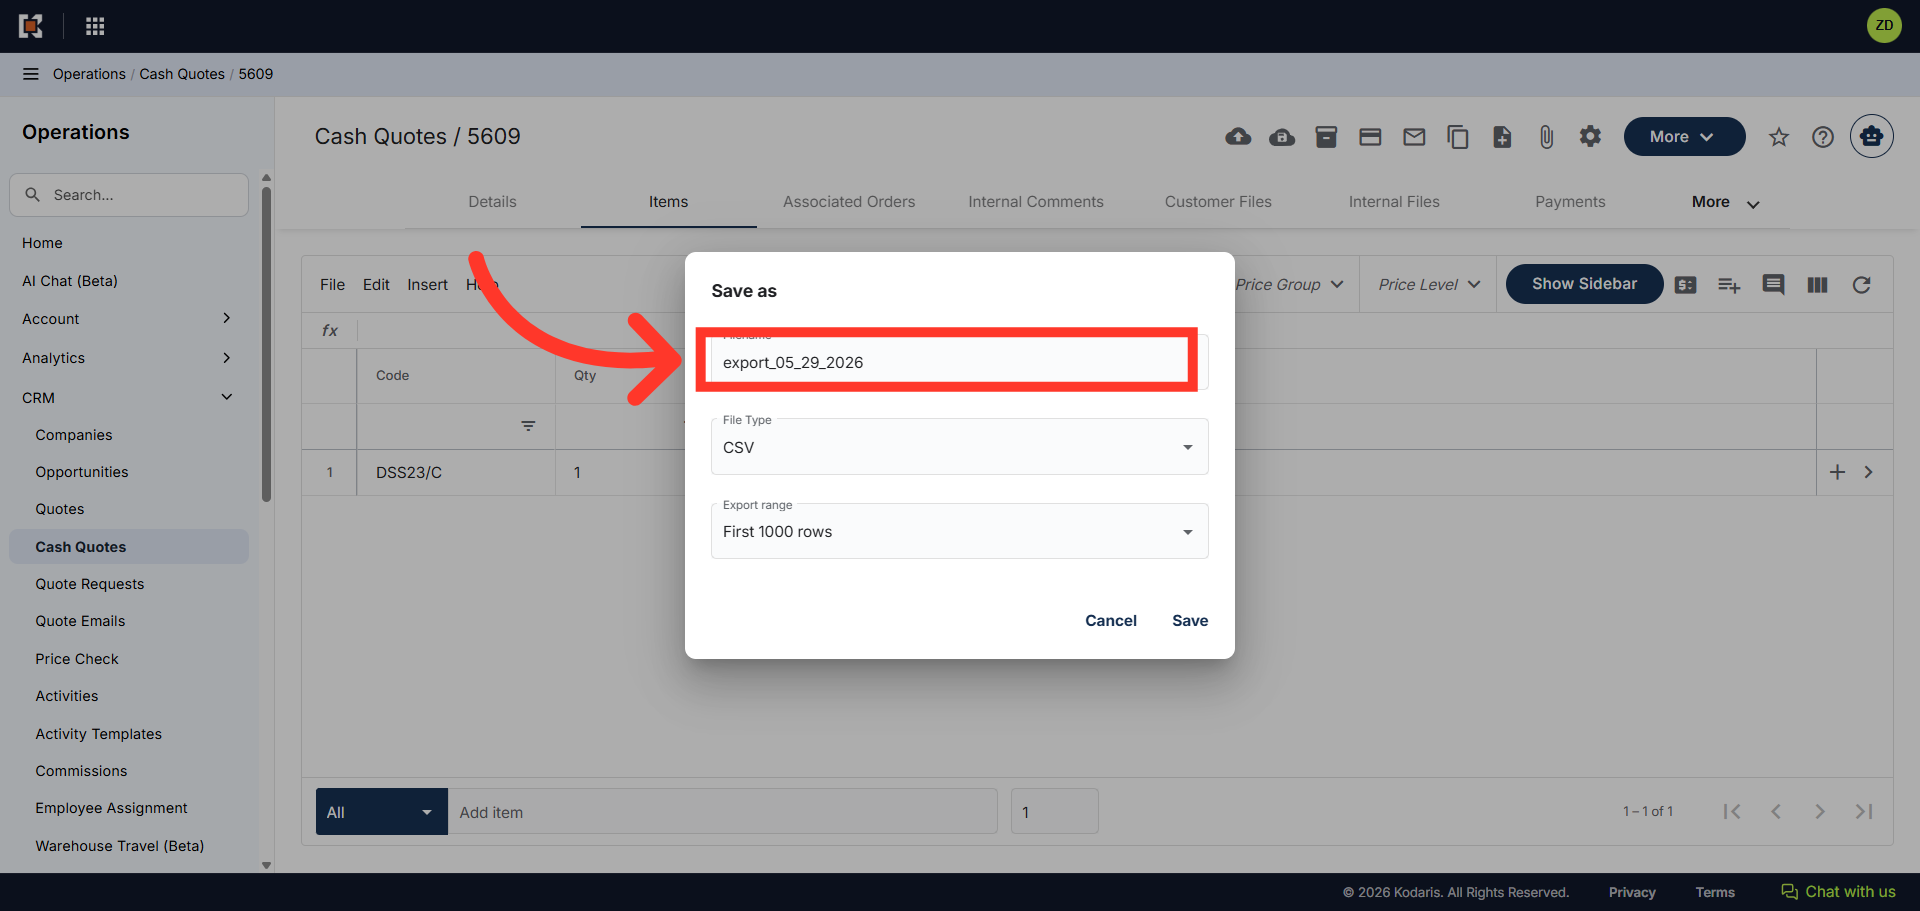
The "Save as" dialog box should appear. If you would like to rename your export, click in the "Filename" field to type and enter the name of your file.
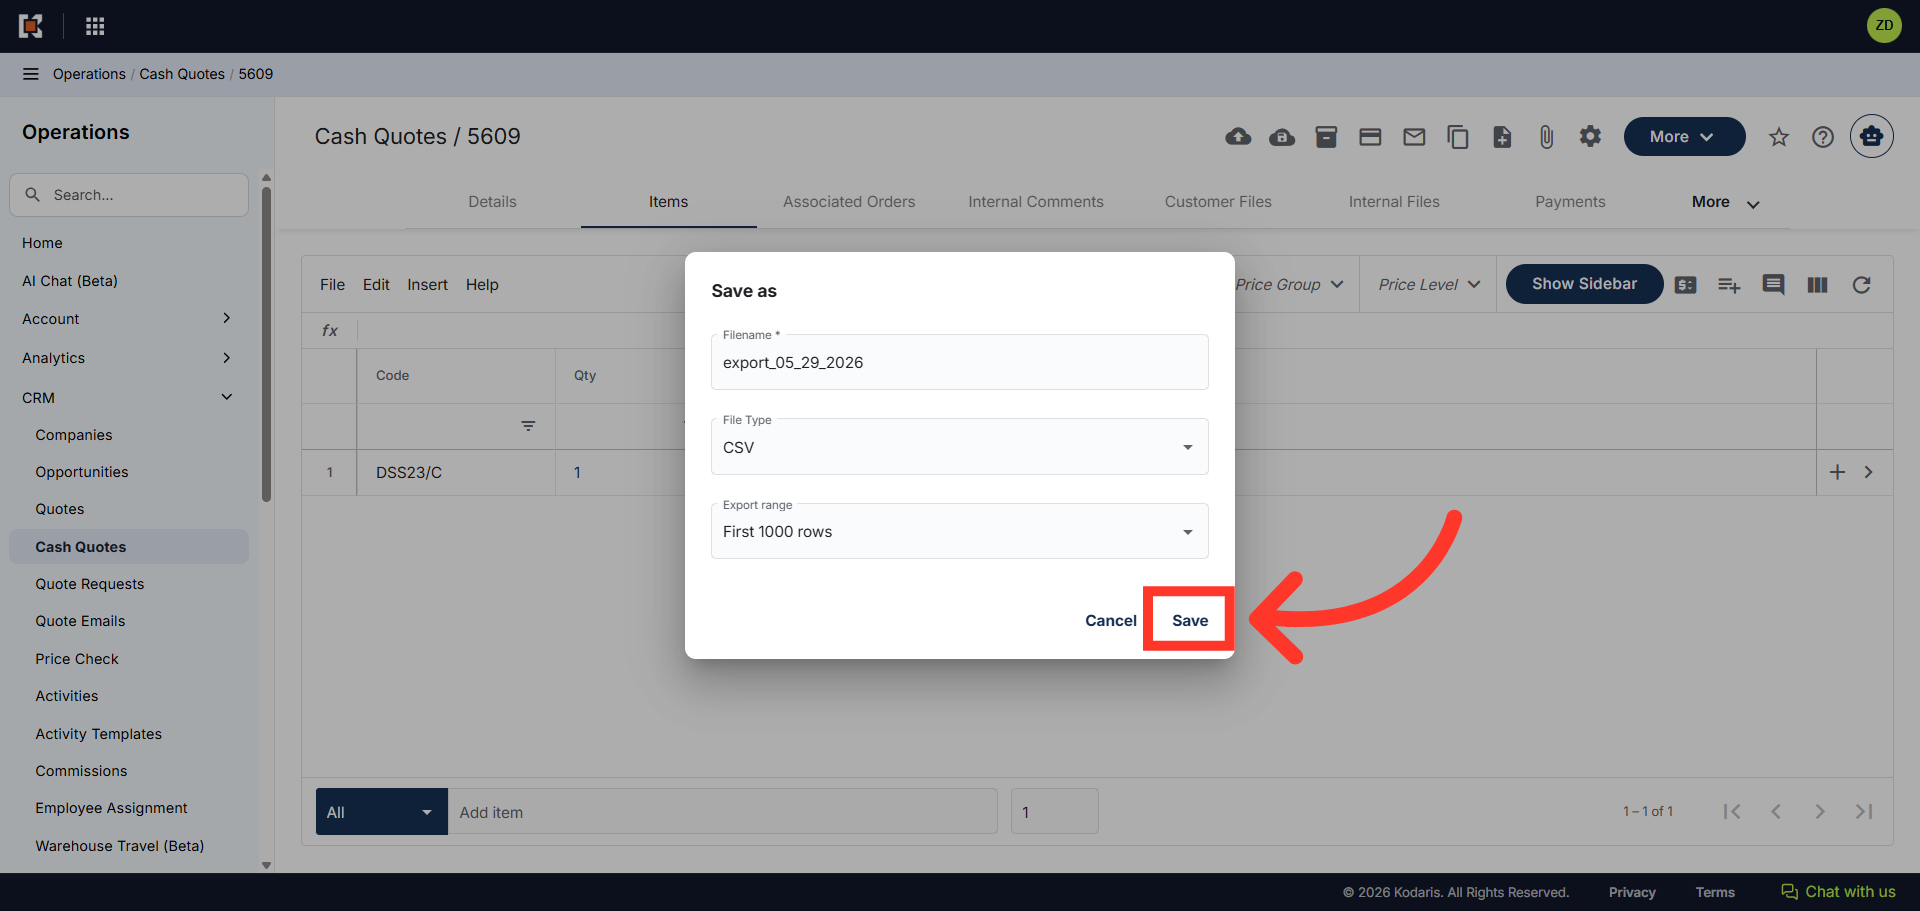
Click "Save" to save the file to your computer. If you are exporting a large amount of data, it may take a small amount of time to complete the export.
Here, you can see an example export that includes the required columns, "Code" and "Qty". This export can be used as a template for adding items.
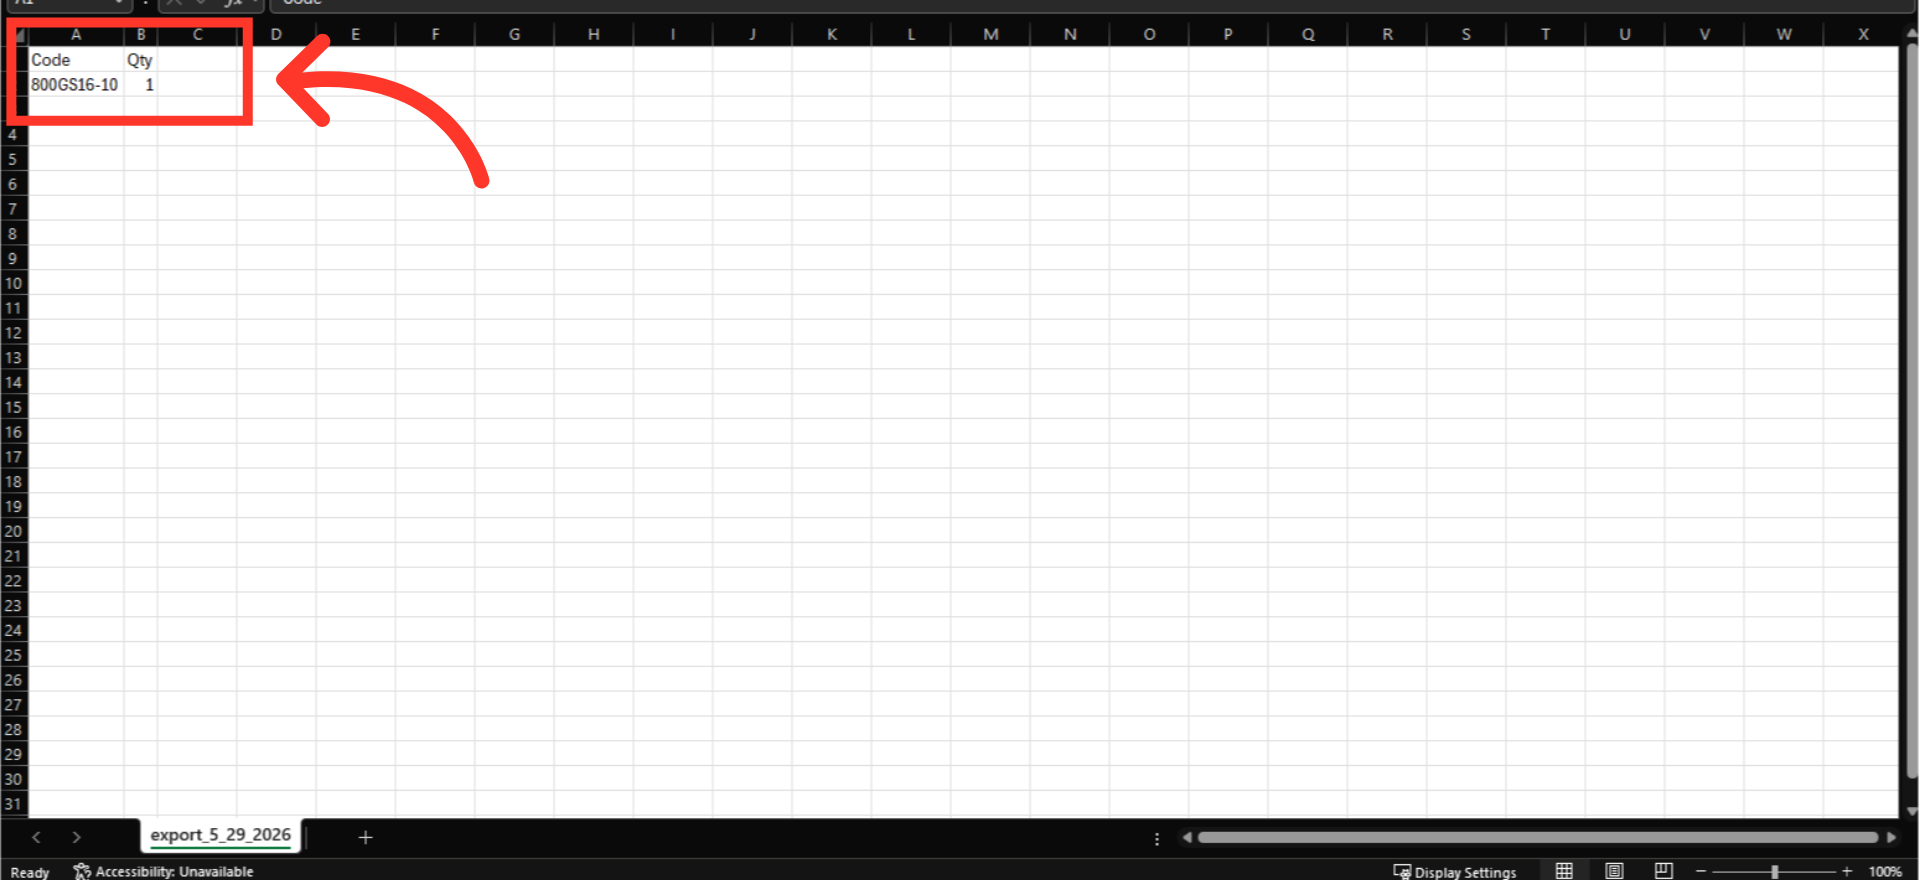
The "Code" column contains the item code for the item you wish to add to the cash quote. When importing data, the code is required as it is the identifying factor for matching information.
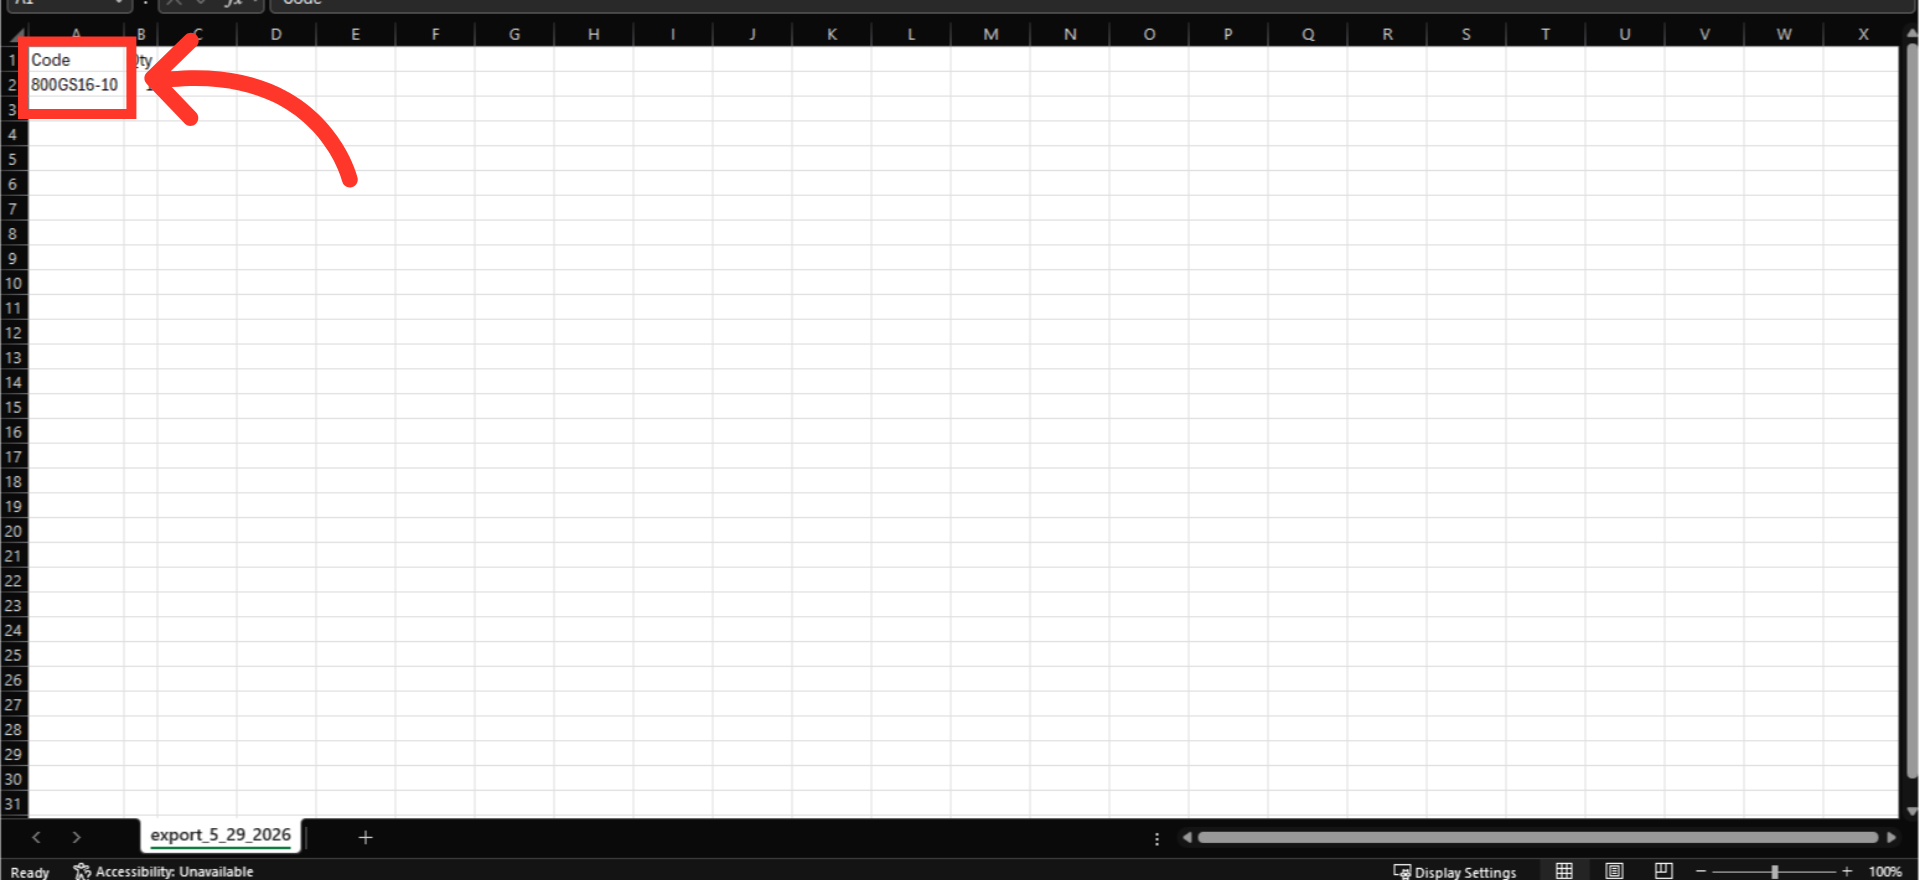
The "Qty" column enables you to add the number of items wish to add to the cash quote.
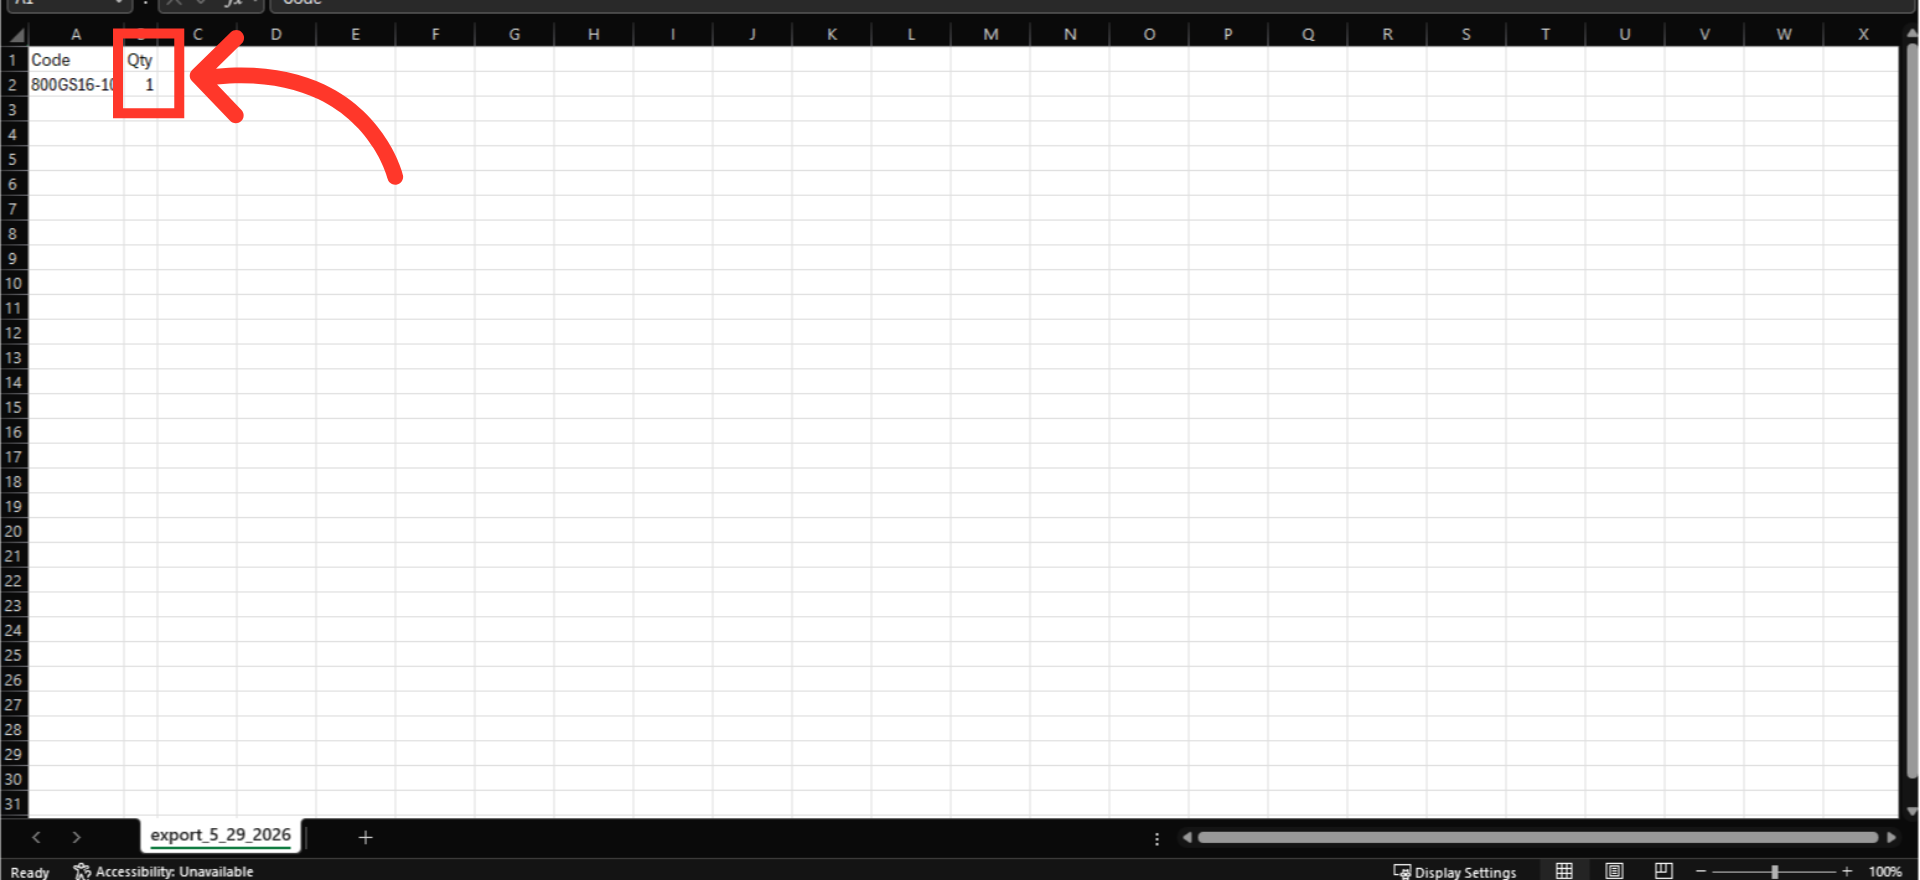
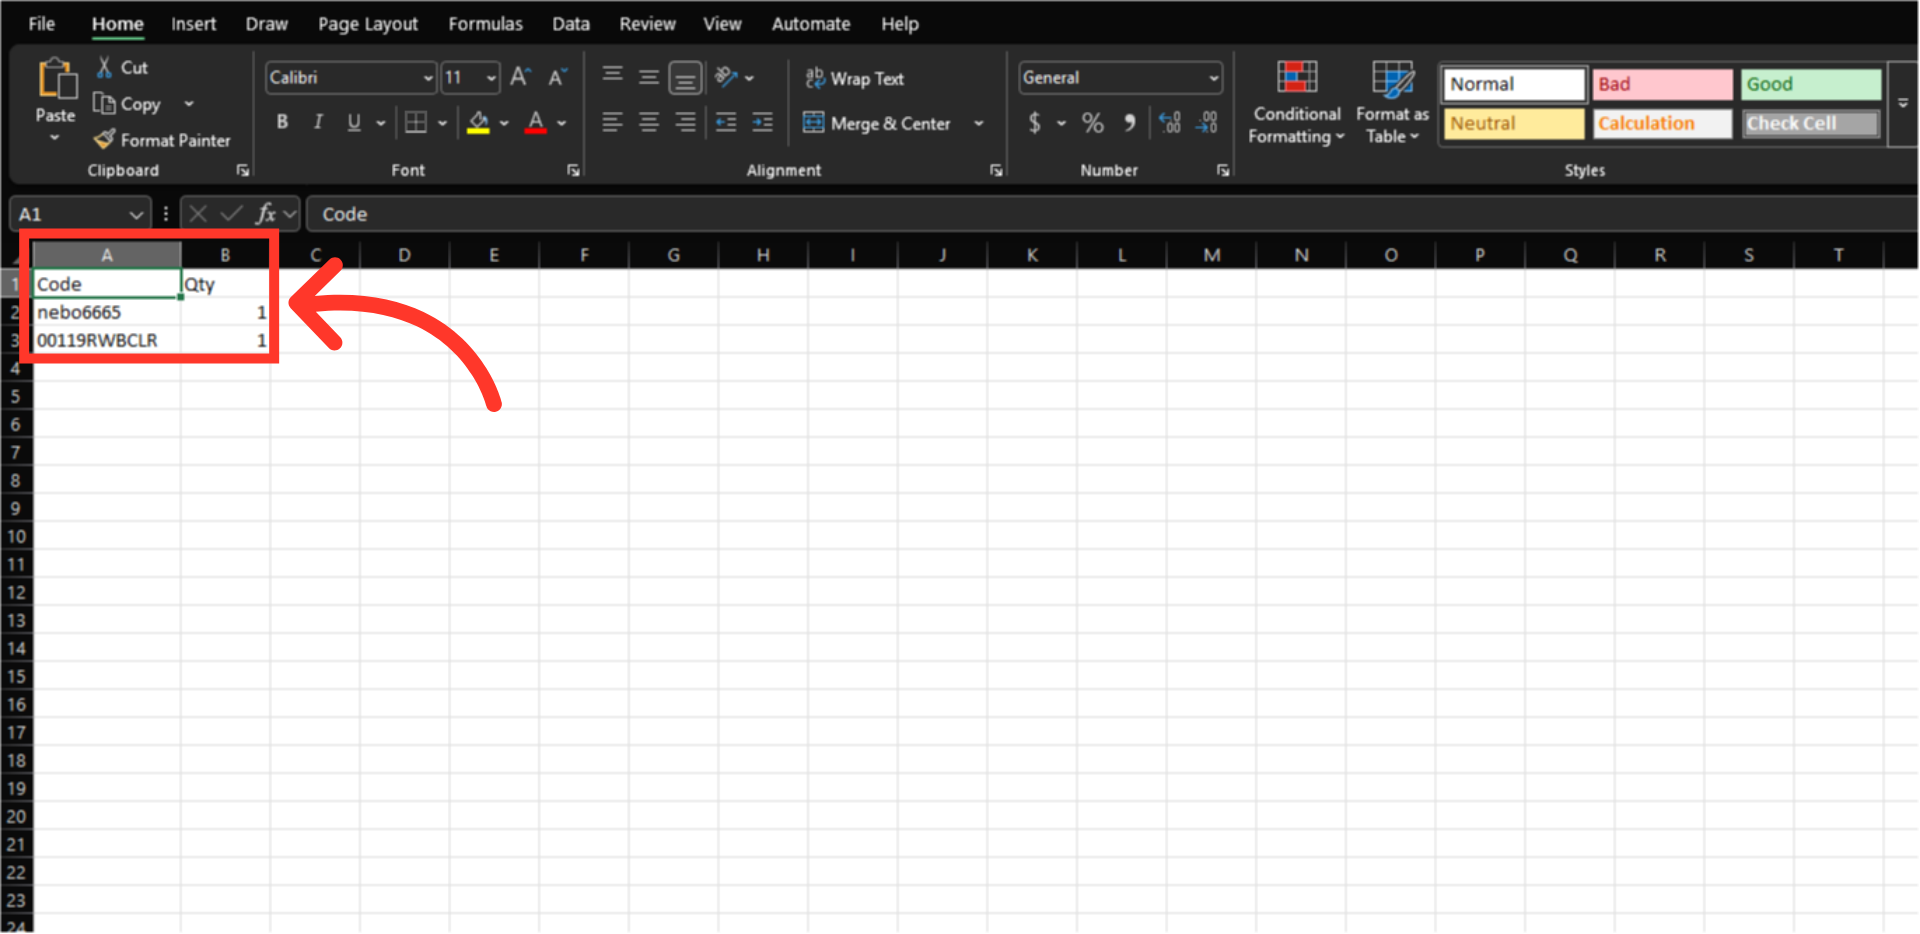
Once the file has been saved to your computer, you can check and update the file. Ensure the spreadsheet contains only the data intended for the update. If a cell is empty when importing, the import will clear any existing data in that system for that field. Once you have entered the items to be added, save the spreadsheet as a .CSV file which is spreadsheet compatible and the file is now ready for import.
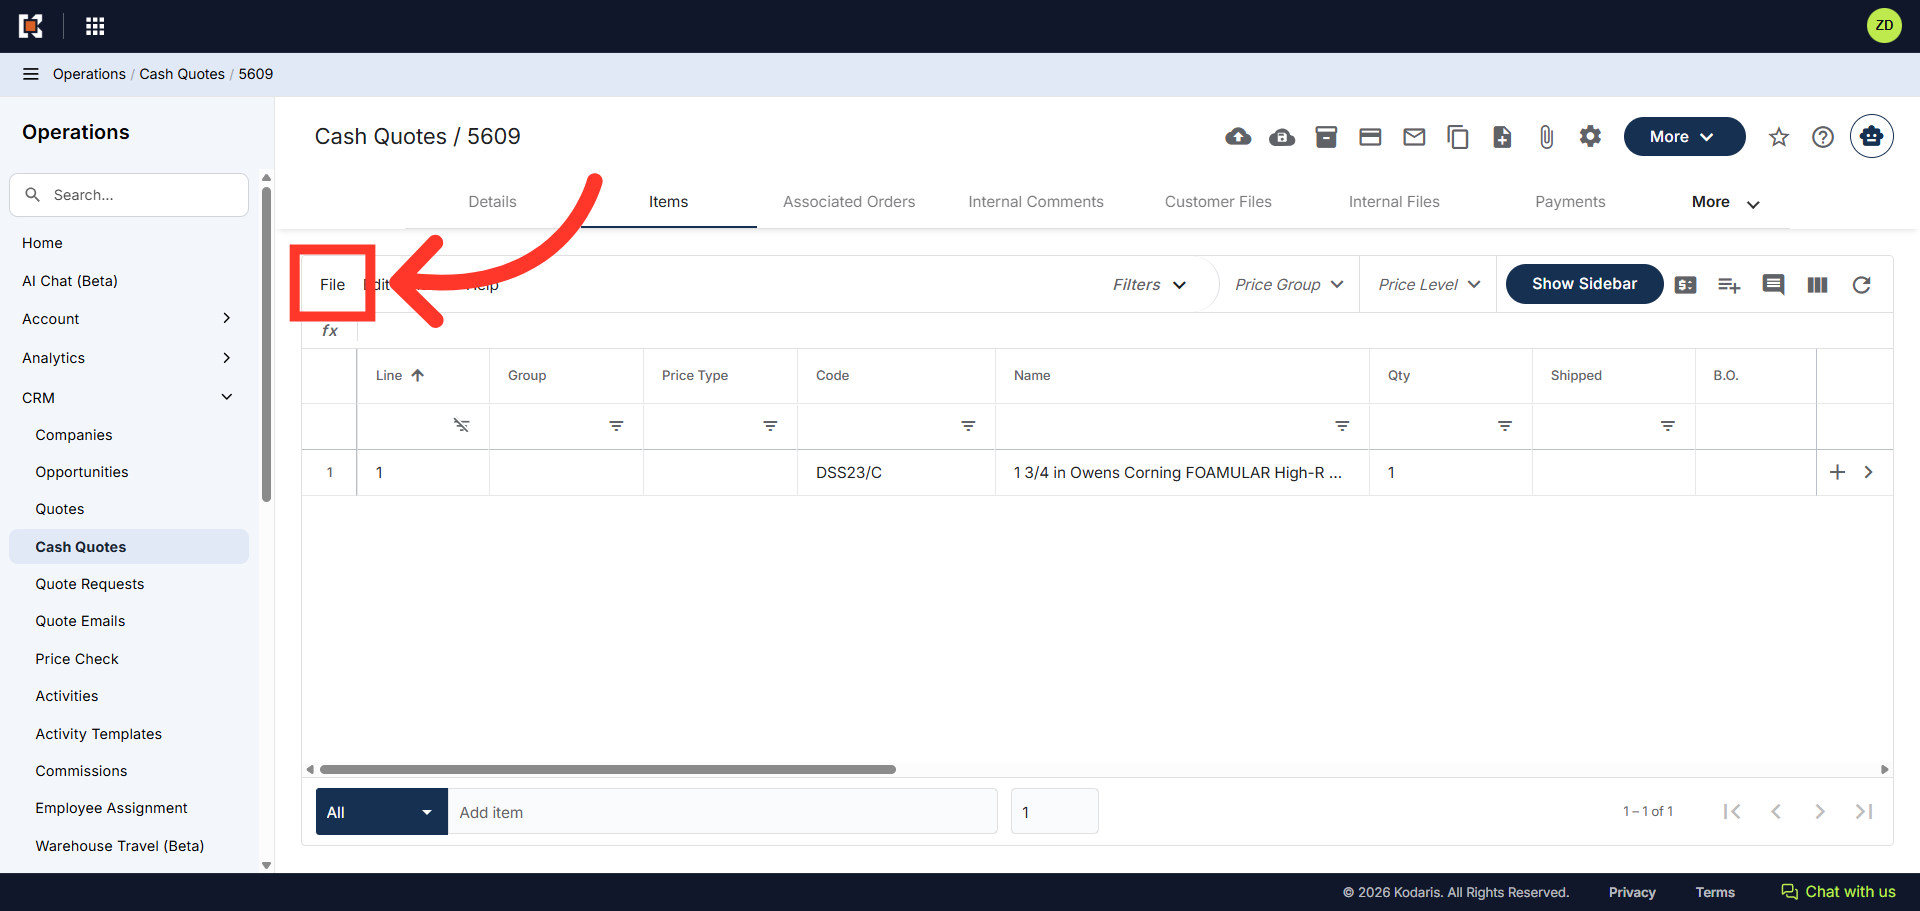
To import the data, click "File".
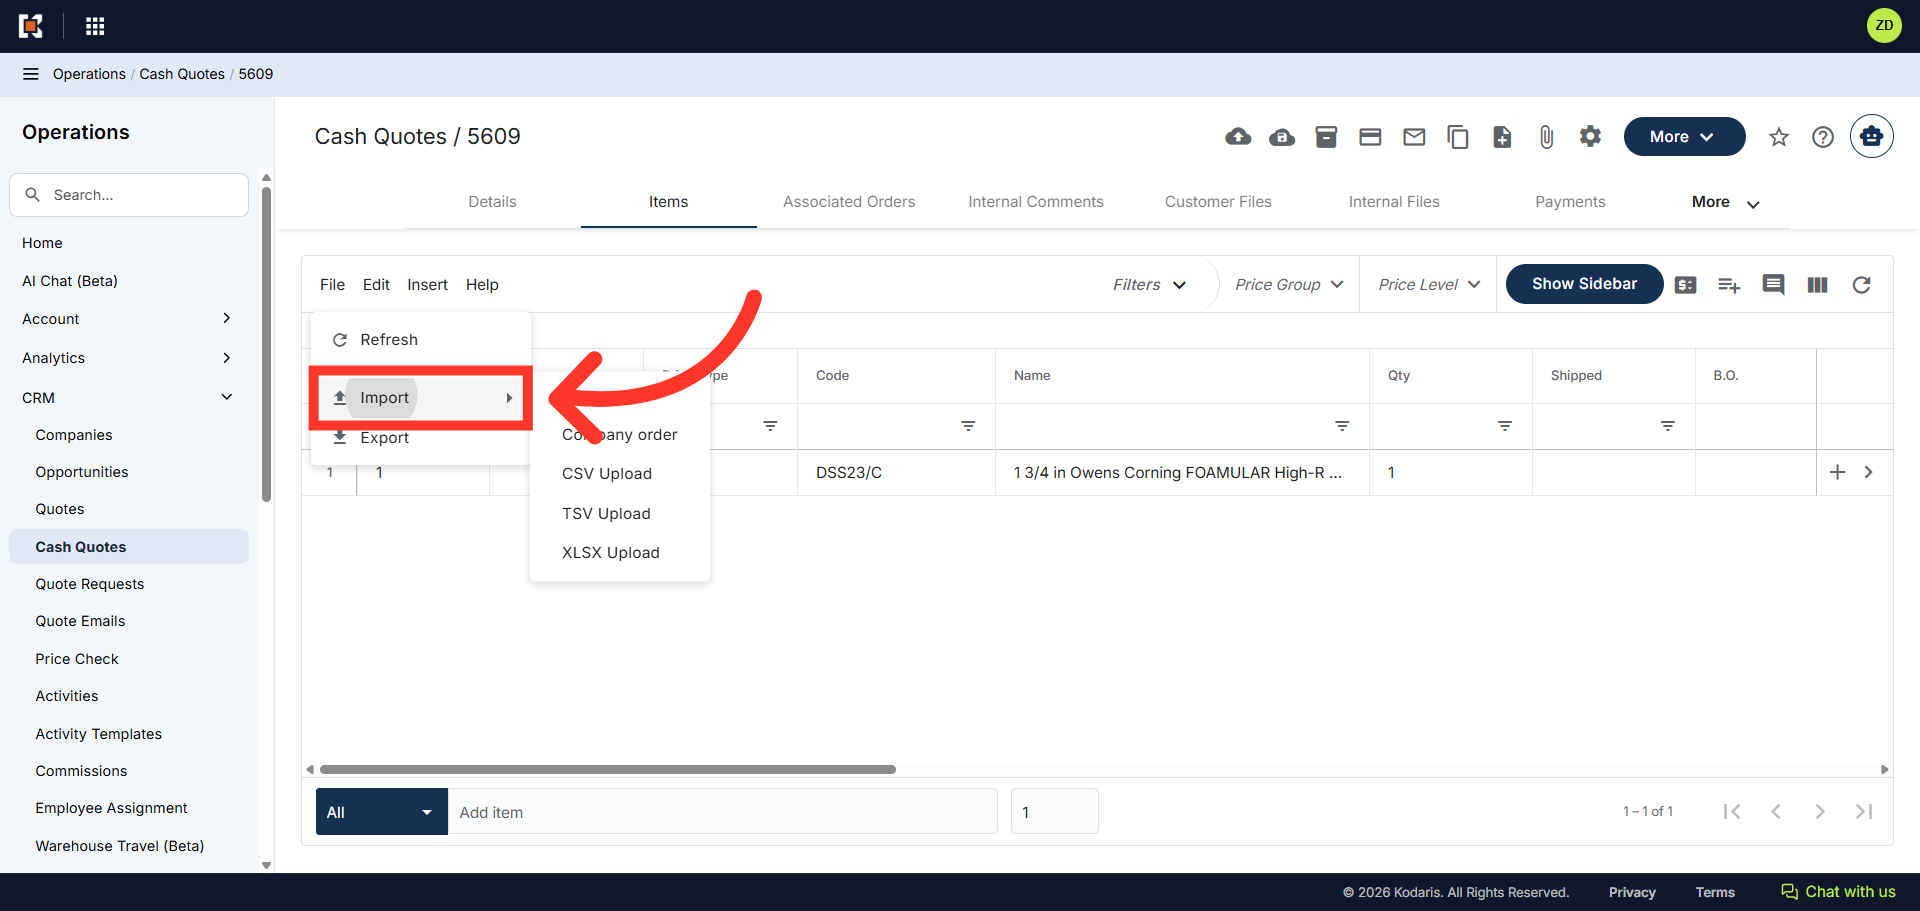
Then, click "Import" to view the import options. In order to import data, you will need to be set up as an “administrator” or “superuser” or have the role of: importEdit.
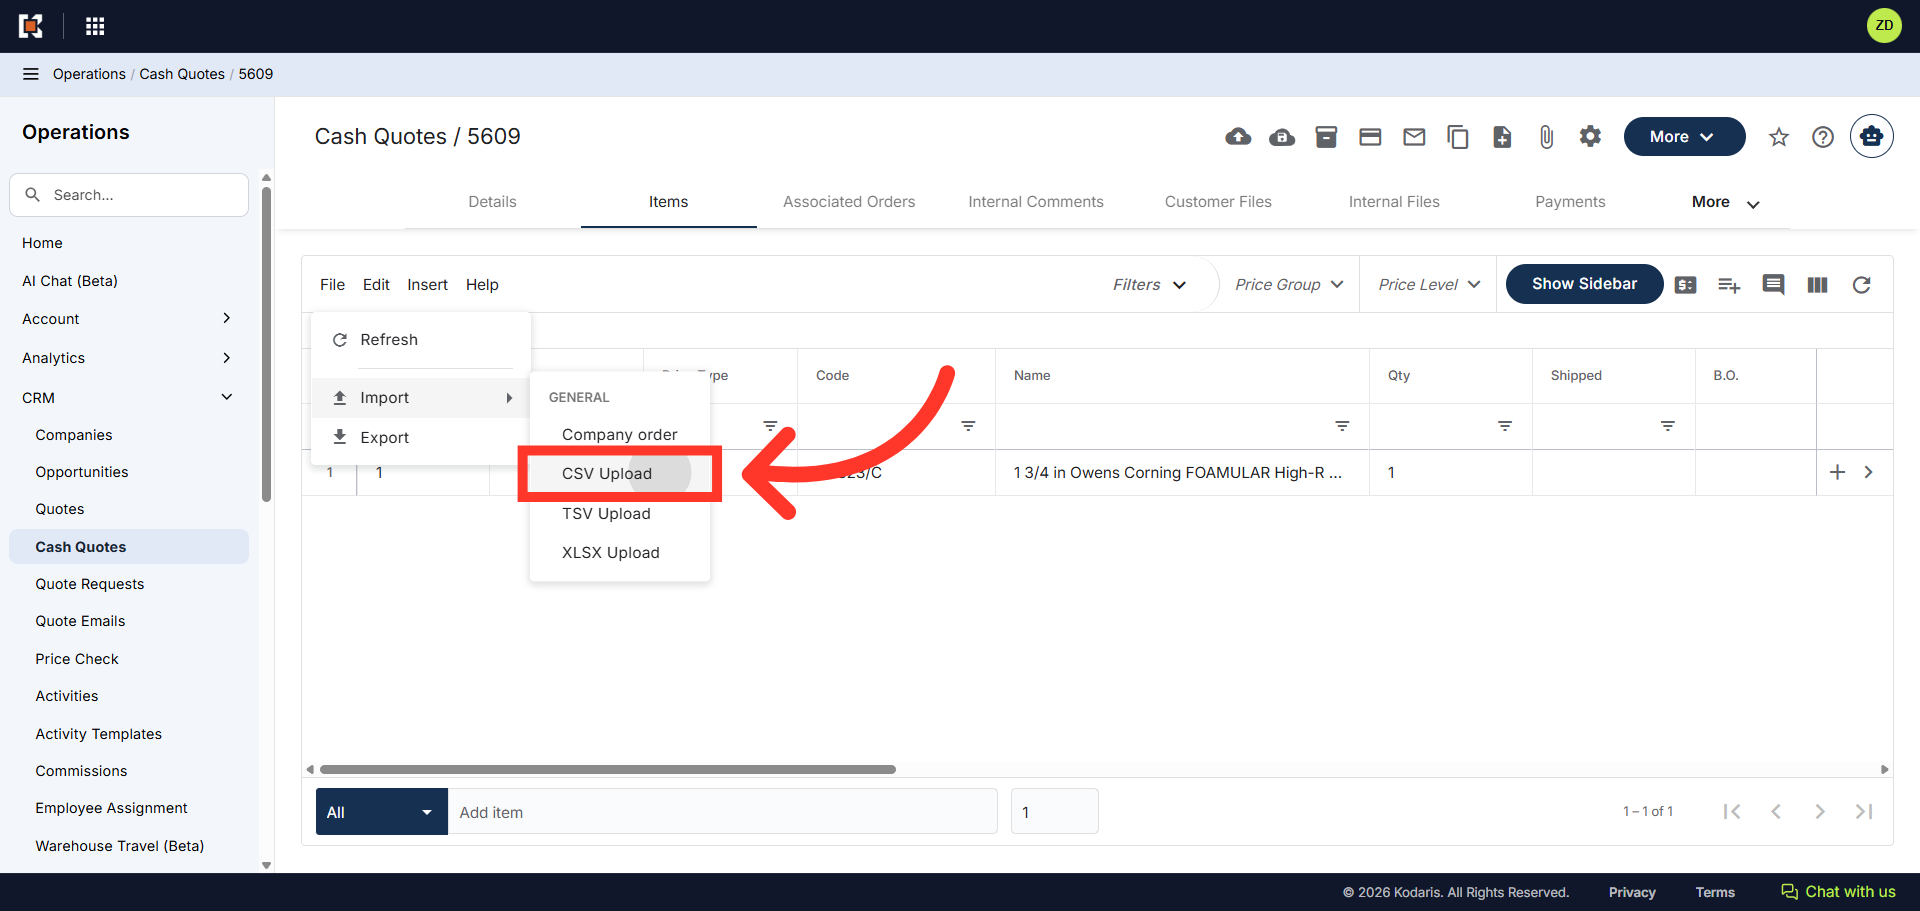
From the dropdown list, click "CSV Upload" to upload the import file.
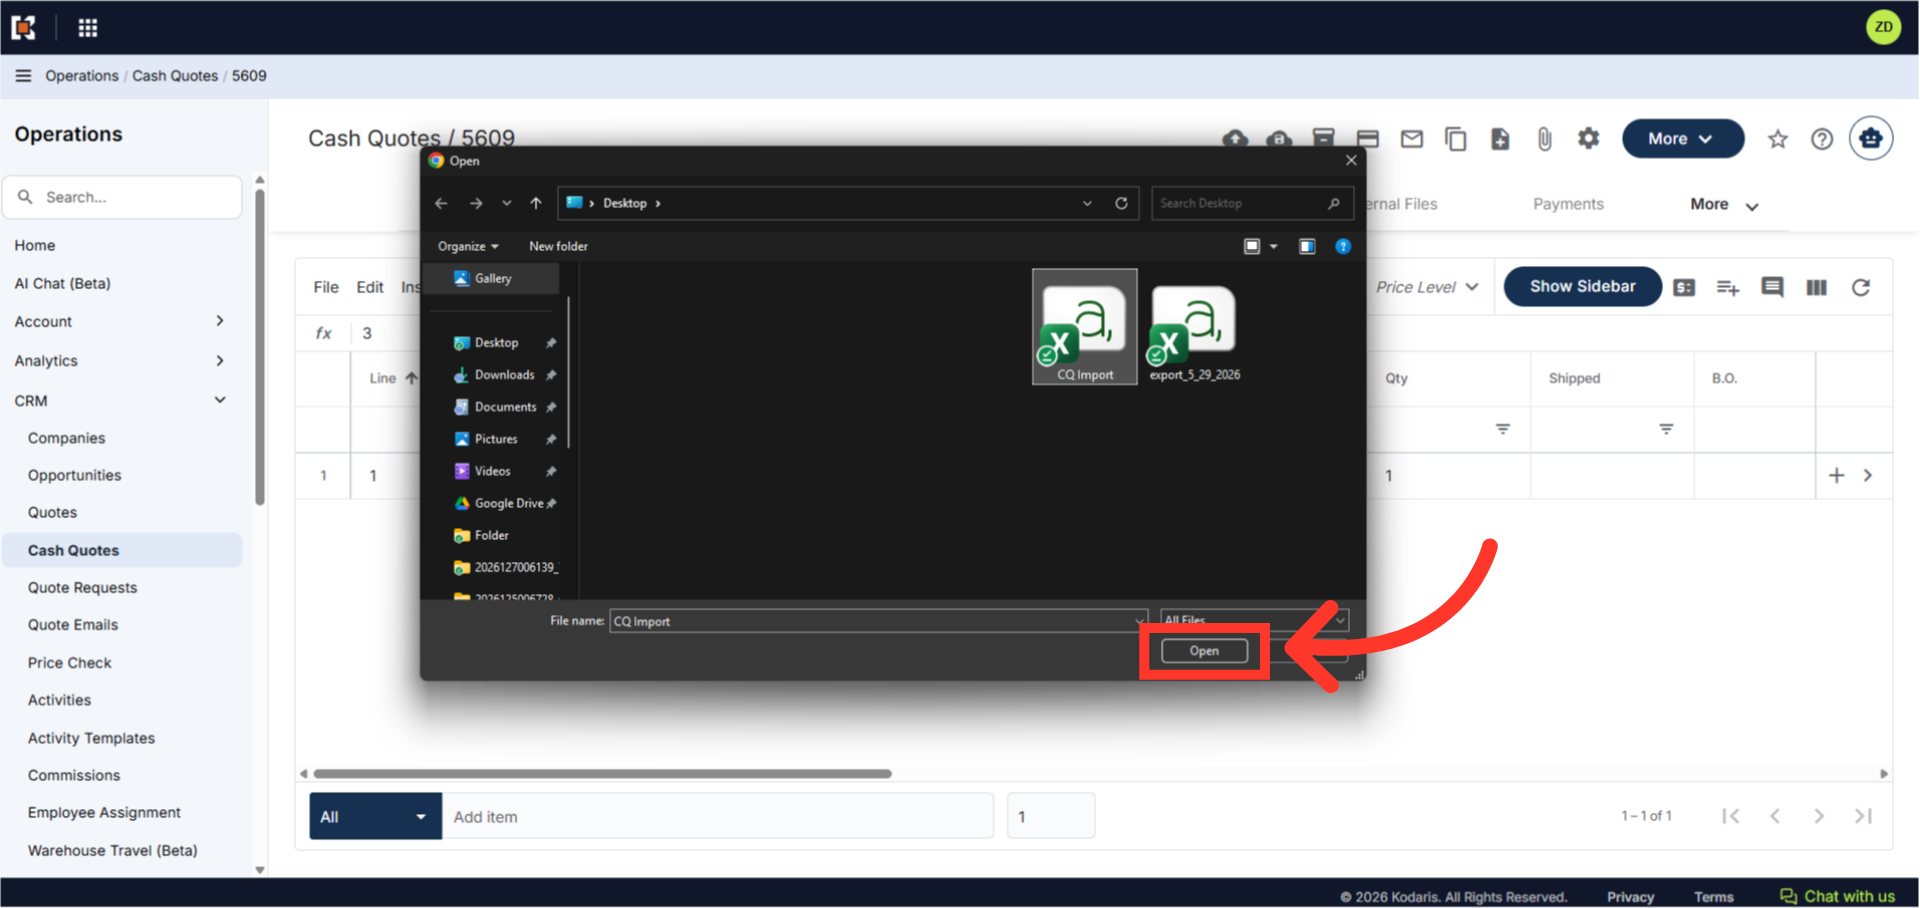
Select the file from your computer, then click, "Open". If you are importing large amounts of data, it may take a short amount of time to complete. The import will continue to run in the background.
Once the import has finished, confirm the updates on the Items screen.